Last updated: October 29, 2026
Everyone wants to start a travel vlog. Almost nobody wants to do the unglamorous parts: planning videos before the trip, filming B-roll when you’d rather be eating, editing in a hostel bunk at midnight. But those parts are the job. The good news: the barrier has never been lower. Your phone shoots 4K, editing software is free, and every platform is hungry for travel content.
Here is the whole path, from your first idea to a published video. You will settle on an angle that is more than “I went places,” plan trips around videos instead of hoping videos happen on trips, and pack only the gear worth its weight. You will also film alone in a foreign city, edit on bad Wi-Fi, publish in a way people can actually find, grow on the platforms that matter in 2026, and see how the money really works.
Your first trip as a travel vlogger: a first-trip prescription
- Before you book: write your angle in one sentence, then list 5 video ideas it gives you. If you can’t, the angle isn’t ready.
- Plan one short trip (2-4 days) around one or two videos per day with working titles, not “a travel vlog.”
- Pack the minimal kit from the gear section. If it doesn’t fit in a daypack, it stays home.
- On the trip: film the plan first, then film everything else. Back up footage every single night.
- Back home: edit video #1 this week and publish it. Then start planning trip two. You are now a travel vlogger.
On this page
- Find your travel angle before you book anything
- Plan the trip like a producer, not a tourist
- The travel vlogging kit: pack light, shoot everything
- Filming on the road: the shots that make travel videos work
- Traveling solo: film yourself without a crew
- Travel vlogging craft: the advanced layer
- A three-pass editing workflow
- Titles, thumbnails, and publishing that get clicked
- Growing a travel audience in 2026
- How travel vloggers actually make money
- FAQs
- Keep exploring
Find your travel angle before you book anything
Your angle is the specific way you travel, for a specific viewer: “cheap eats in expensive cities,” “weekend hiking trips,” “traveling with a toddler.” “I travel” is a hobby; an angle is a channel.
Destinations are covered by thousands of creators. Perspective isn’t. Nobody needs another generic “48 hours in Paris”, but “48 hours in Paris on a shoestring” or “Paris with a wheelchair” or “Parisian bakeries ranked by a pastry chef” each serve a viewer nobody else is serving. Your angle is what makes a viewer choose your video over the twenty others about the same city.
Run every angle through the 50-video test: could you make fifty videos about this without running dry or getting bored? “Budget travel” passes easily. “My gap year” expires in twelve months. Also picture one specific viewer (the person who will binge your channel) and make every video for them. A channel for “solo female travelers doing Southeast Asia safely” usually outperforms a channel for “everyone who likes travel,” because the first viewer feels seen.
Angles can evolve, too. Start narrow enough to get discovered, then broaden once you have an audience that trusts you. If you’re still working out the fundamentals of niching, our how to start vlogging guide covers that foundation before you add the travel layer.
One decision rides on the angle: your channel name. Name the channel for the angle, not the destination, because destinations change and angles travel with you. Keep it short, easy to spell after hearing it once, and available on every platform you plan to use; check the handles before you commit. Your own name works if you are the constant in every video. Avoid names that lock you to one country or one gimmick unless you are certain that is the channel forever.
Plan the trip like a producer, not a tourist
Plan each trip as a content calendar: give every day one or two videos with working titles before you leave, and leave buffer time for the unplanned moments that become your best footage.
Start with search. Before booking anything, look at what people actually search about your destination. Itineraries (“3 days in Marrakech”). Costs (“how much does a week in Vietnam cost”). Verdicts (“is Santorini worth it”). Warnings too: scams, best time to visit, areas to avoid. Those searches are your video titles. Plan the trip to answer them: answering search questions is where discovery starts.
Turn the answers into a shot-list itinerary. For each video, note the 3-5 key scenes it needs: the market at opening time, the viewpoint at sunset, the cooking class, the night train. Schedule the unmissable exteriors for morning or evening light, and put interiors, museums, and food in the harsh midday hours. Then deliberately leave gaps: the wrong turn, the festival you stumble into, the local who invites you somewhere. Planned videos pay the bills; unplanned moments make the channel.
Handle the logistics that ruin trips. Check drone rules for your destination before you pack one. Many countries require registration or ban drones outright (see our drone guide for what’s current). Some places restrict commercial-looking filming, and plenty of temples, museums, and markets are no-camera zones. Know before you go. Get travel insurance that covers your gear, download offline maps, and share your route with someone at home. Don’t overschedule either: exhaustion shows on camera, and a tired vlogger makes boring videos.
The travel vlogging kit: pack light, shoot everything
The travel kit comes in three tiers: Phone-only is a phone, mini tripod, wireless mic and power bank; Compact creator adds an action camera and a tiny LED light; Full setup adds a drone and a tablet or laptop for editing on the road. Everything must justify its weight. You will carry it up hills at 6am.
Travel gear is a weight budget, not a shopping list. Every item competes for space in your daypack. The best kit? The one you will actually carry to the sunrise viewpoint instead of leaving in the hotel. Start minimal. Add only what a specific trip demands.
| Kit level | What’s in the bag | Who it’s for |
|---|---|---|
| Phone-only | Phone, mini tripod, wireless mic, power bank | First trips: proves the concept before you spend on a camera |
| Compact creator | Above plus an action camera and a tiny LED light | Regular travel vloggers who film water, action, and dim restaurants |
| Full setup | Above plus a drone and a tablet or laptop for editing on the road | Publishing weekly while traveling long-term |
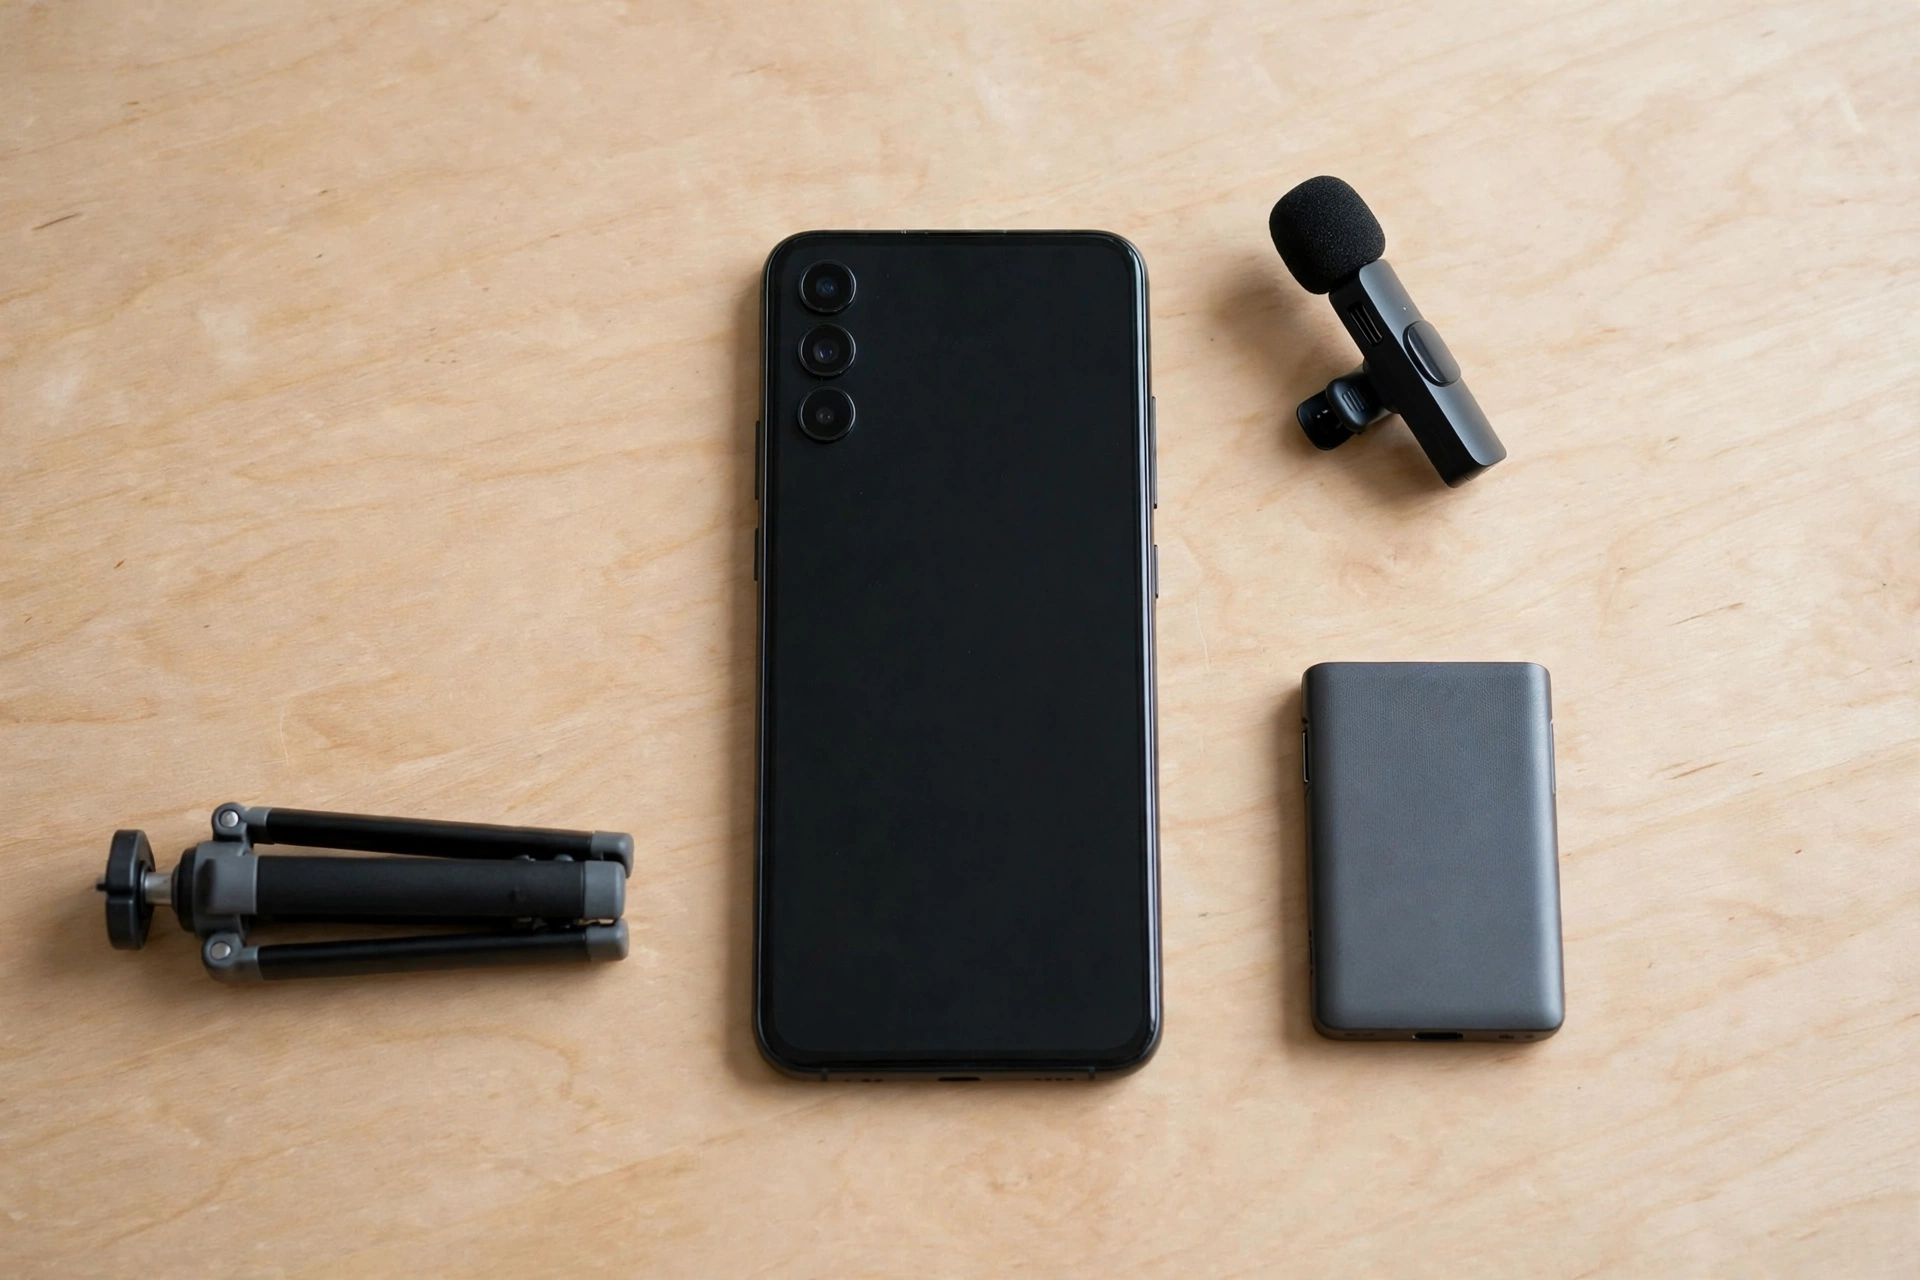
Phone: still the core of most travel channels: always with you, excellent 4K, and nobody looks twice at a tourist with a phone. Our mobile vlogging kit guide builds the complete phone-first setup.
Tripod: the difference between “tourist footage” and a vlog. A flexible mini tripod wraps around railings and signposts for solo filming; see best vlogging tripods for the full field.
Microphone: wind, traffic, and crowds are the travel vlogger’s enemies, and a wireless mic clipped to your shirt beats any camera’s built-in mic. Audio matters more than any camera upgrade.
Action camera: for snorkeling, rain, motorbikes, and anything you’d never risk a phone on. Our action camera guide covers the budget end.
Drone: one aerial establishing shot per video transforms production value, where it’s legal. Check local rules first, always. Best drones for vlogging has the current options.
Light: a pocket LED panel saves dim restaurants, night markets, and hotel rooms. Best lights for vlogging covers the travel-friendly ones.
Then the unglamorous essentials: a 20,000mAh power bank, a universal adapter, a portable SSD for nightly backups, a dry bag, and a cable organizer. For the complete beginner breakdown with specific picks at every budget, see vlogging equipment for beginners. Final rule: if you wouldn’t carry it up a hill at 6am for sunrise, don’t pack it.
Filming on the road: the shots that make travel videos work
Every watchable travel video is built from the same five shots: the establishing wide, the walk-and-talk, detail close-ups, a movement transition, and your genuine reaction. Get all five at every location.
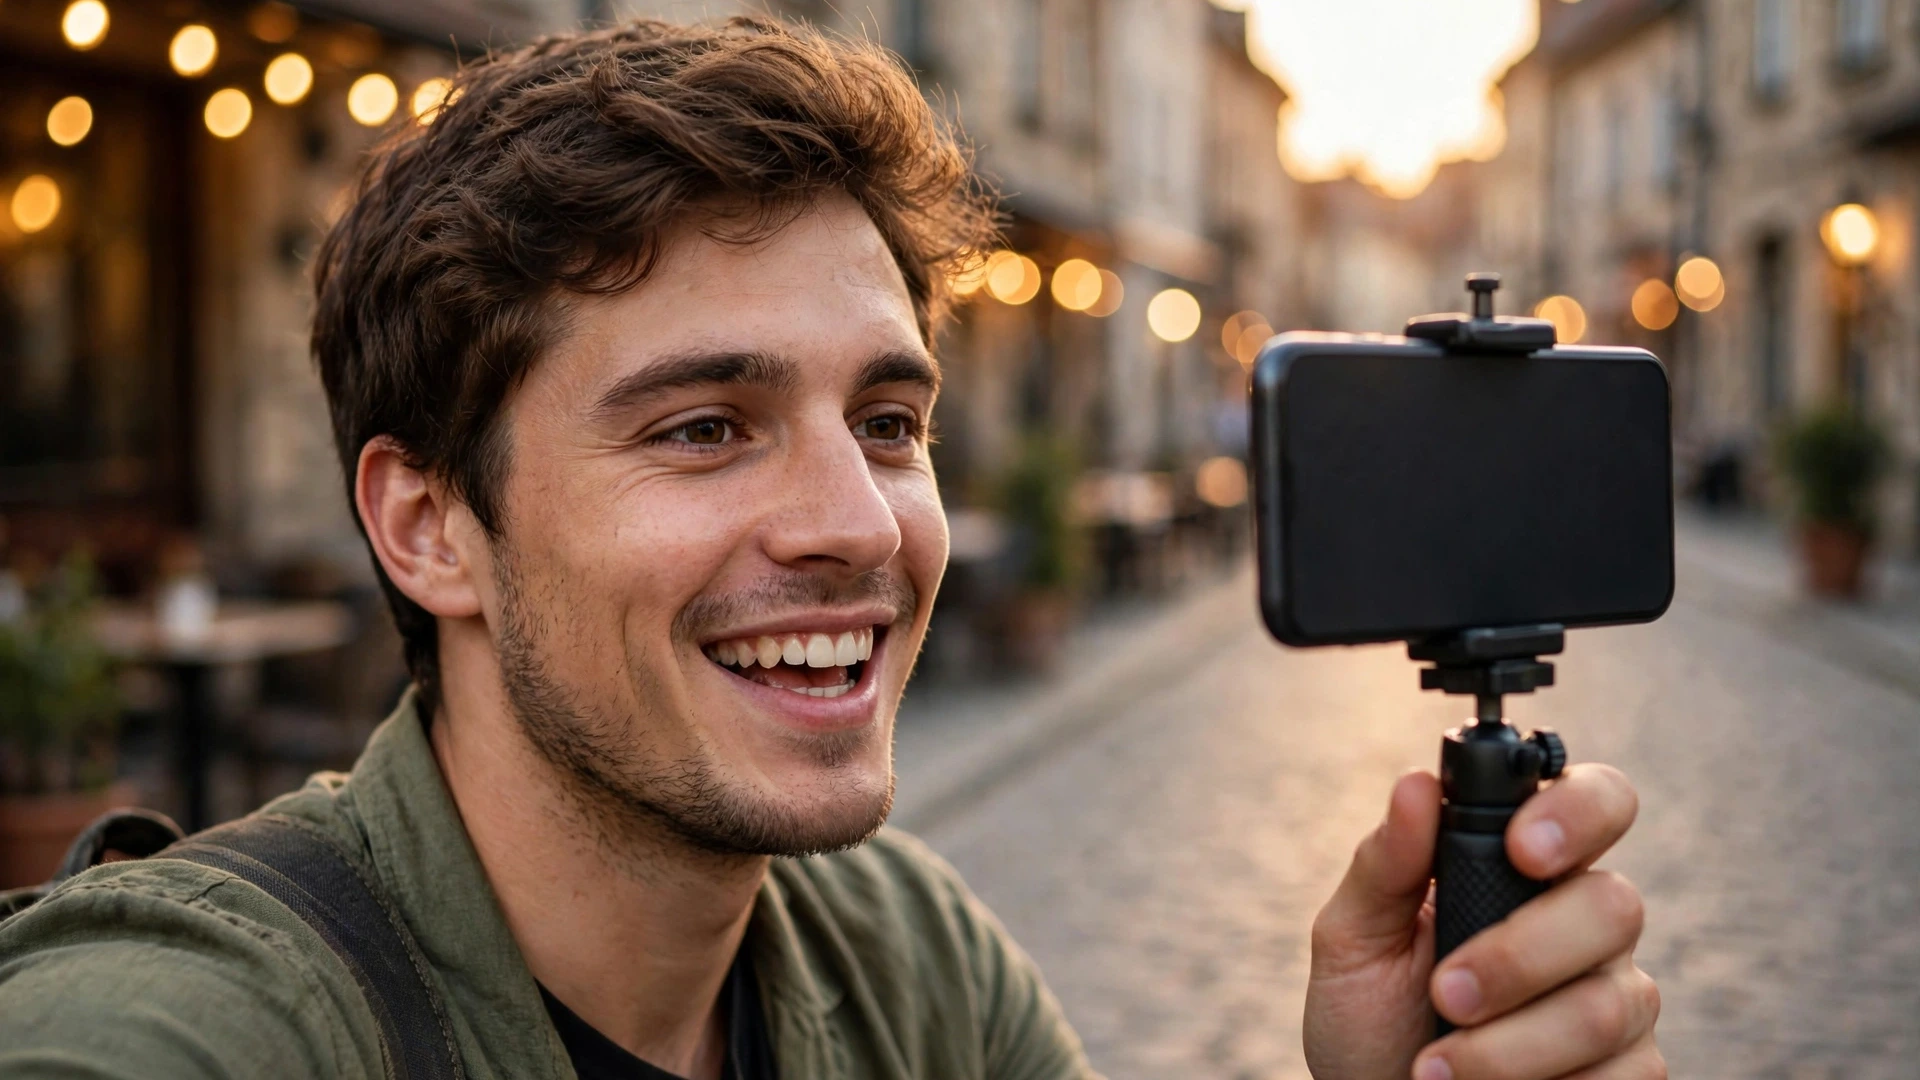
The establishing wide tells the viewer where they are: a drone shot, a viewpoint panorama, the street from across the square. One per location, filmed in the best light you get.
The walk-and-talk is the backbone: you, moving through the place, telling the viewer what’s happening. Hold the camera at arm’s length or mount it on a short tripod handle, keep the mic close, and talk like you’re showing a friend around, not presenting a documentary. The walk-and-talk is also where handheld shake shows up most, so it pays to learn how to shoot steady handheld video while you walk, from grip and stride to the stabilization modes that help.
Detail close-ups are what beginners skip and what makes videos feel rich: hands exchanging money, steam rising off food, textures of walls, feet on cobblestones. Film ten seconds of every interesting detail; you’ll use half of them.
The movement transition carries the viewer between scenes: a whip pan, walking past the camera, pushing through a doorway. Film a few generic ones at every location; they’re editing gold.
Your genuine reaction is the one thing stock footage can’t provide. Film your real response to the first bite, the viewpoint, the surprise, before you’ve composed yourself. Authentic beats polished every time in travel.
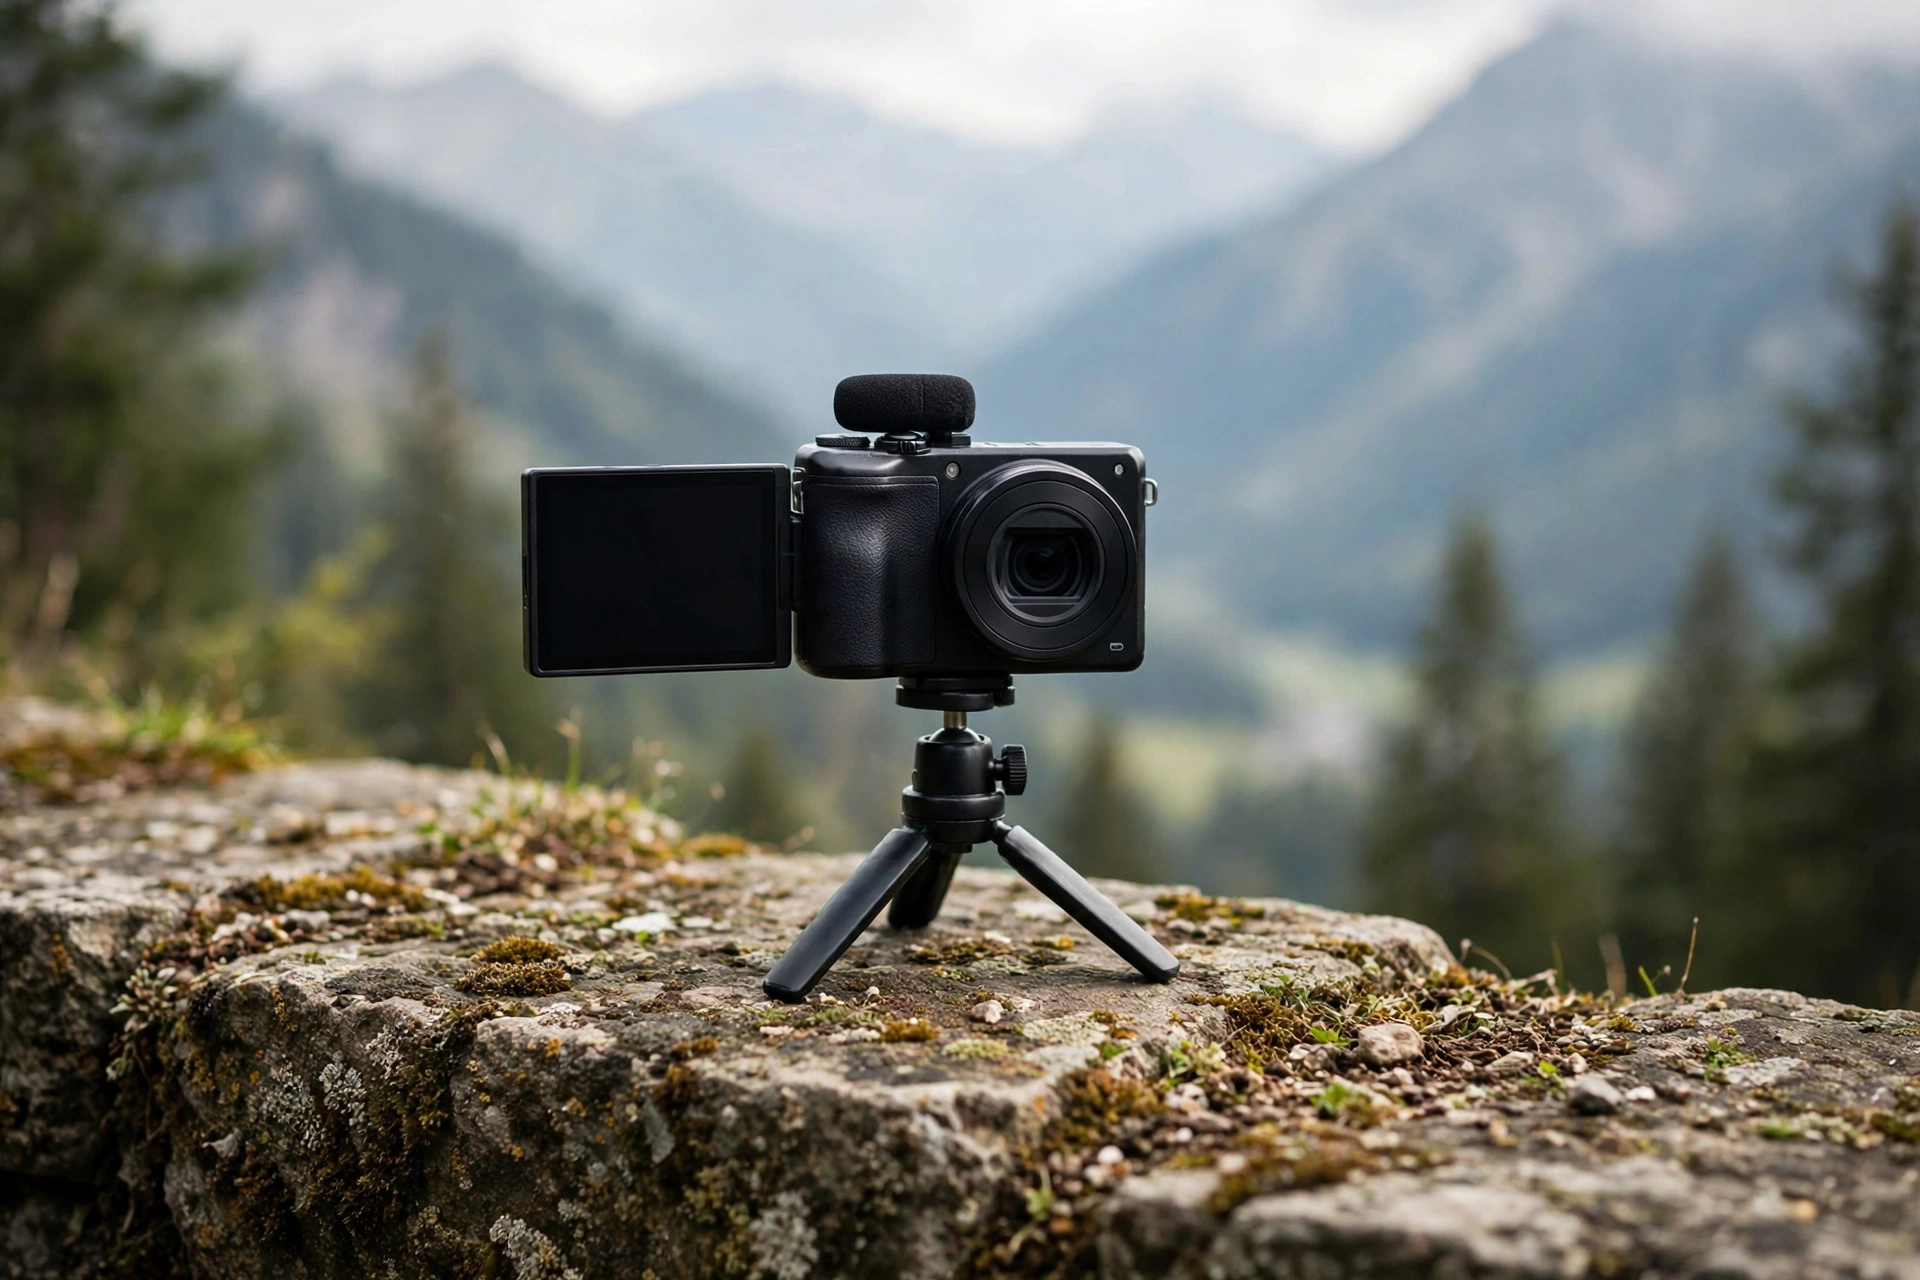
A few road rules. Chase golden hour: plan key exteriors for morning and evening, and shoot interiors, museums, and food in harsh midday light. Fight wind by keeping the mic close and your body between the wind and the microphone. And record voiceovers later in the hotel when a scene’s audio is unusable. Film the “boring” logistics too: trains, check-ins, getting lost, the walk to the viewpoint. That’s the story glue that turns clips into a video.
Filming solo? A mini tripod plus your camera’s 10-second timer covers most situations. Prop it on railings, walls, and your backpack. Ask fellow travelers to film you (offer to take their photo first; it works remarkably often). And every night, without exception: dump footage to your SSD, verify the copy before formatting anything, put every battery on charge, and keep the original cards as a second copy until you’re home. The most common travel filming disaster isn’t bad light: it’s a full memory card at the viewpoint.
One more road rule, about people. Strangers did not agree to be in your video. Wide shots of busy public places are normal travel footage almost everywhere, but a close-up of a stranger’s face or an interview deserves a quick ask first; a smile, a point at the camera, and a thumbs-up crosses every language barrier. For a child close-up, only a parent’s clear yes counts. Respect a no instantly and completely, and take extra care around religious sites, schools, and anyone in uniform. Rules on filming people, and on shoots that look commercial, vary by country and by venue, so when in doubt, ask on the spot rather than apologizing later.
Traveling solo: film yourself without a crew
Solo travel vlogging is a different job from filming with a crew: you are the presenter, the camera operator, and the person carrying the bag. The system below covers self-filming, the day pack, confidence, gear safety, and the production realities of a solo trip.
The solo self-filming system: tripod, tracking, and remote
Start with three tools working together. First, the tripod walk-in: set the camera on a tripod or a stable surface, frame the shot, start recording, then walk into frame and do the thing. Second, a tracking gimbal for moving shots: a phone gimbal that follows you keeps you in frame while you walk, which a static tripod cannot do. Third, a remote shutter or your camera’s phone app: start and stop recording from where you stand, and check the framing on the app before you walk in. That last piece matters more than it sounds, because it kills the ritual of walking to the camera, checking it is recording, and walking back, which is where most solo shots fall apart.
The flexible tripod the kit section names still earns its place here, wrapped around a railing or a signpost where no flat surface exists. The timer the filming section gives you covers the simple cases; the remote and the app preview cover the ones where you need to see the frame before you commit.
Set it and walk past: the shot that proves you were there
The most useful solo shot is also the simplest. Set the camera down, start recording, walk past it, then walk back and collect it. Two passes give you an entrance and an exit, and the viewer sees you moving through the place instead of only talking at a lens. Keep each spot to about thirty seconds: set, walk past twice, collect. Do not stand there replaying the clip ten times; that is how a five minute stop eats half an hour, and how self-consciousness creeps in.
That movement transition in the filming section moves the viewer between scenes. This shot puts you in the scene, which is the whole problem solo travel solves. One more trick for sharp focus, in a quiet spot where the bag stays in your sight: put your bag where you will stand, lock focus on it, then move the bag out of frame and take its place. Your face lands sharp even when you are twenty feet from the camera. In a busy place, skip this one and keep the bag on you, as the safety rule below sets out.
Pack the day, not the trip
The kit section’s rule is that everything must justify its weight. The day pack is where you enforce it, every evening. Pack only what the next day needs, and put each item in the same pocket every day, so you can find the mic, the spare card, and the power bank without looking. A bag you repack daily stays light, and a light bag is a bag you actually carry up the hill at 6am.
Two habits protect the footage itself. First, the bag stays on your body in transit and never sits on the ground behind you in a crowd. Second, memory cards ride in a pocket on your person, not in the bag, so a stolen bag costs you gear, not the trip’s footage. The nightly backup the filming section sets out is still the main safety net; this is the layer underneath it.
Filming alone without freezing up
Feeling watched is the normal part, not the exception. The fix is speed and routine, not courage. Treat each spot like a tiny sprint: place the camera, record, walk past, collect, move on. Stand with your back to a wall or a corner when you talk to camera, so fewer people pass behind you. Talk the way you would to a friend standing beside you, not projected across the square, smile if someone stares, and keep going. Film the busy bits where everyone is already looking around, at viewpoints, crosswalks, and station doors, and the camera stops feeling like an event.
If the awkwardness wins on a given day, use it: film the walk, the food, and the place, and record the talking bits later in a quiet corner or back at the hotel. A video with no talking head still moves; a video you never filmed because you froze does not.
Solo safety routines for your gear
The safety answer in the FAQs covers discretion, local rules, and backups. These routines sit alongside it. Keep the camera strapped to your wrist or your body on crowded streets, never dangling from one hand. Never set the bag down to film a walk-past shot in a busy place; if you cannot keep the bag on you, skip the shot. Before the trip, photograph your gear and its serial numbers, so a police report or an insurance claim starts from facts, not memory.
In the hotel, the safe holds the SSD and the spare cards, not just the passport. Gear left charging on a desk in an empty room is gear at risk.
Solo-trip production realities: rest days, contact, and checks
Three realities catch solo creators that crews never face. First, schedule No-Film Days: whole days with no filming at all, built into the trip like any other plan. Solo filming is tiring in a way group filming is not, because every decision lands on one person, and a rested creator films better than an exhausted one with twice the footage.
Second, schedule social contact the same way you schedule uploads: a regular call or message with a friend or family member, on a fixed rhythm. This is not the safety check-in from the FAQs; it is the antidote to the loneliness that flattens your energy on camera after a week alone. Third, check eye level before every talking head on the road. A camera propped on a bag films up your nose. Raise it to eye level, check the frame on the app preview, and only then press record. The wireless mic the kit section names does the audio; eye level does the face.
Travel vlogging craft: the advanced layer
Once the basics are covered, the next layer is craft: plan each location on paper before you travel, hold yourself to five clips a day, learn a few camera moves properly, film people and places with respect, and edit so the trip still feels like the trip.
Storyboard each location before you leave
A storyboard is the video on paper: one line per shot, in order, for one location, written before you travel.
The planning section already gives each video a shot list of key scenes. The storyboard is the step after that list: it puts the scenes in order and names the shape of the video. Three boxes per location are enough. Arrival: how the viewer first meets the place. The thing itself: the moment the location exists for, such as a market morning, a viewpoint at dusk, or the meal you came for. Leaving: how the viewer says goodbye to it, a train pulling out, a door closing, a last look back. Keep it to one notebook page per location. Draw stick figures if drawing is not your skill. The point is decisions made at home, not on a busy street while the light changes.
Run this checklist at every stop, once the storyboard is done. Opening shot filmed. The turn, the moment the location surprises you, filmed. One detail close-up you have not filmed anywhere else. One 10-second sound clip with no talking. Permission checked wherever a face is close or a venue is private. Exit shot filmed. The checklist is small on purpose: it catches the shot you would otherwise remember on the train to the next town.
The 5-clip daily discipline: Place, Movement, Sound, People, Ending
On any day, however tired you are, film five clips: one place, one movement, one sound, one person, one ending.
Place is the location in one wide shot, no talking, no walking, just the place. Movement is you or something else moving through the frame, a boat crossing, a crowd parting, your own feet on a trail. Sound is ten seconds of the place with no voiceover: market noise, waves, station announcements. People is one human moment, filmed with the same quick ask the filming section sets out. Ending is the day closing: sunset, packing the bag, the train home.
This is a floor, not a target. On a bad day, a delayed bus, a rained-out plan, a headache, it keeps the video alive. On a good day it is already done by lunch and everything after it is a bonus. The five shots from the filming section are about craft at one location. The five clips are about discipline across a whole day. A travel video dies more often from a missing day than from a missing shot.
Movement and light craft that lifts a travel video
Five moves, learned one at a time, do more for a travel video than any new piece of gear.
Parallax: walk sideways past something close, a pillar, a market stall, a tree, with the location behind it. The near layer moves faster than the far layer, and the shot gains depth no wide shot can give. Keep the near object close and your walk steady, or the effect turns into shake.
Rack focus: shift focus once, deliberately, from a near detail to the scene behind it, or back again. One shift per shot. Hunting back and forth between two focus points looks like a mistake, and viewers read it as one.
Whip pan, done properly: the filming section names it as a transition, and the technique is what makes it work. Lock the exposure first, pick a start frame and an end frame, pivot fast, and stop clean on the end frame. A whip pan with no chosen end frame is just a blur.
Drone orbit: one slow circle around a single subject, at one height, where flying is legal. Stop after one full circle. Two or three circles in a row stop feeling like a reveal and start feeling like a screensaver.
Hyperlapse: a journey compressed, a walk through a market or a road between two towns, played fast. Use it to move the viewer between places, not as decoration over a scene that deserves real time.
Light for these moves needs no new gear. A small white card or a reflector bouncing daylight onto a face in shade does the panel’s daylight job, and it weighs nothing. Shoot the moves in the morning or evening light the trip plan already schedules. One rule covers all five: one advanced move per scene. Two in one scene looks like showing off, and the viewer notices the camera instead of the place.
Film the culture, not just in it
A place is not a backdrop. Film how people live there, and ask more than a quick smile when the shot goes closer.
Start with manners, because the camera follows the same manners you do. Cover shoulders where that is expected, remove shoes where that is expected, lower your voice in sacred spaces. A creator who behaves well gets filmed moments a pushy one never sees.
Sacred spaces, markets, and vendors each have their own rules. A vendor’s stall is their workplace: buy something first, ask, and accept that some sellers charge a small camera fee or say no. In a sacred space, follow the posted rules exactly. If photography is banned, the ban is part of the story, not an obstacle to dodge. For a portrait, go further than the quick ask: show the person the shot, offer to send it, and take extra care with children, where a parent’s clear yes is the only yes that counts.
For a sensitive place, or a language you do not speak, a local guide is worth more than any lens. They open doors a tourist camera cannot, they tell you what not to film before you film it, and they keep you out of trouble you would not see coming. One boundary holds everywhere: grief, prayer, and private moments are not content. If you would not want someone to film that of you, do not film it of them.
Edit for authenticity, not just pace
Cut dead air, keep human moments. The editing section cuts what does not move the video forward. Authenticity decides which imperfect moments count as forward.
Keep the mistake that tells the story: the wrong turn, the burnt food, the mispronounced word you laugh at. Cut the mistake that only wastes time, the ten-minute search for a tripod plate, the repeated take that adds nothing. The test is simple: does the viewer learn something or feel something? If yes, it stays, even if it is not polished.
Lay ambient sound under your cuts instead of music alone. The ten seconds of market noise or waves from the daily sound clip covers more edits than any transition, because it tells the viewer the place is real even when the picture changes. Film the same place at two different times when you can, morning market and midday crowd, so the edit shows the place living, not posing. That is a choice about time of day as story, not about light.
Polished is not the same as honest. The viewer trusts the video that shows the trip, not just the highlights. Keep the wrong turn in, and the right turn means more.
A three-pass editing workflow
Organize footage by day, cut the story before touching color or effects, and edit in the order you filmed. Work offline and avoid cloud-dependent steps: hostel Wi-Fi is for uploading finished videos, not for editing. Momentum is the only editing shortcut that works on the road.
Build a nightly ingest ritual. Every evening: dump cards to your portable SSD, sort clips into folders by day and location, and mark your best moments while they’re fresh. Fifteen minutes a night saves hours of confused scrubbing later, and it means your footage survives even if your camera doesn’t.
Edit in three passes. Pass one is story: arrange your selects in order and cut everything that doesn’t move the video forward: no color, no music, no titles yet. Pass two is pacing: tighten gaps, cut dead air, make sure every 30 seconds earns the next 30. Pass three is polish: consistent audio levels, voiceover recorded later in the hotel for any scene whose audio is unusable, a simple color pass, titles, and music. Music needs one extra check: only use tracks you actually have the right to publish, from your platform’s own audio library or a library you have licensed, because a copyright claim can take a video’s revenue or get it muted in some countries. Our guide to getting music for your vlogs walks through the safe options. Trying to do all three at once is how a 10-minute video eats a whole week.
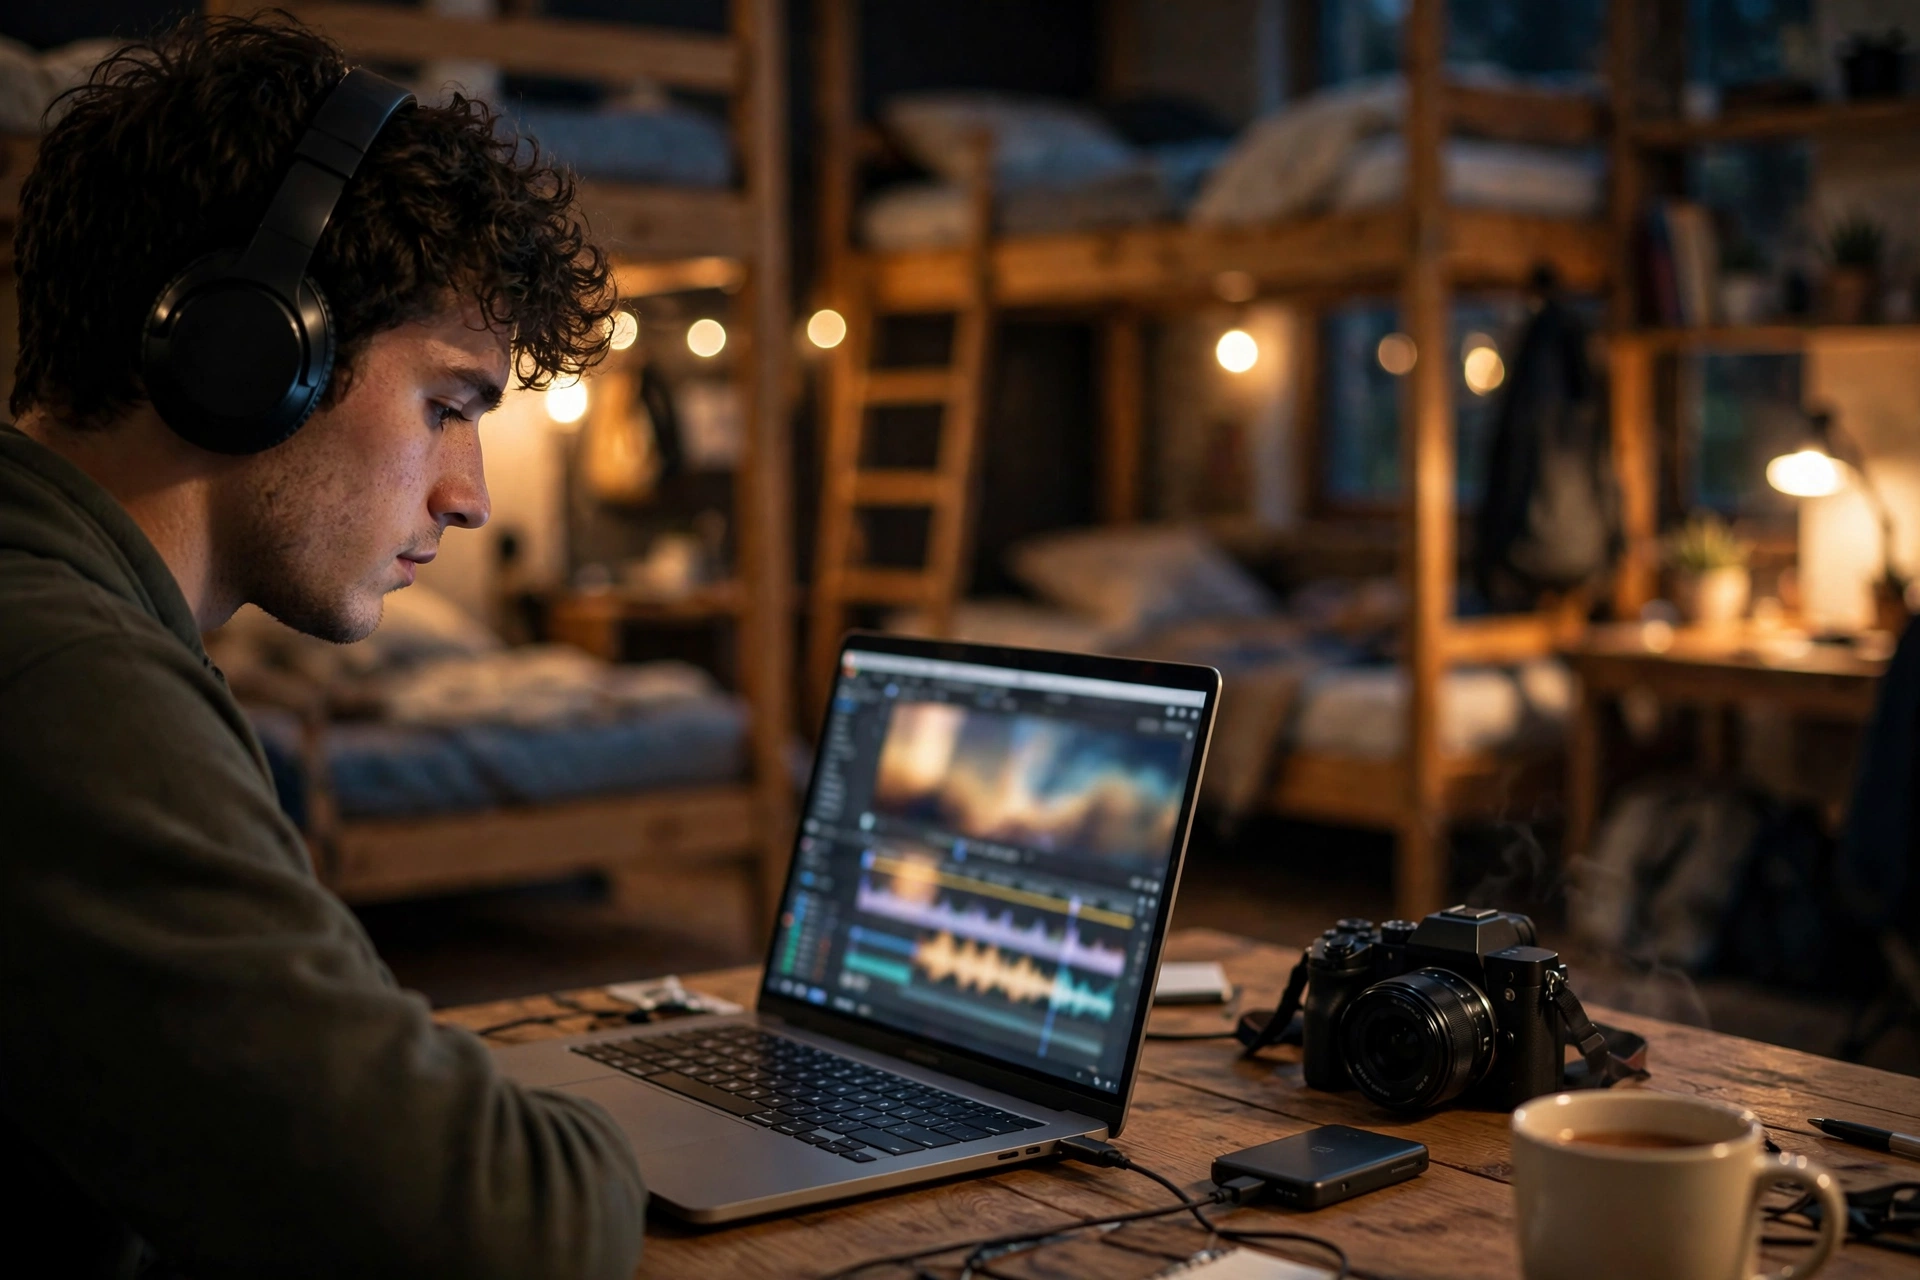
Reuse everything. Build templates once (intro card, lower thirds, fonts, a color preset, an end screen) and every future video starts halfway done. Keep one music style per series so the channel feels cohesive. Captions matter as well. A huge share of viewers watch with sound off, especially on short-form, so put burned-in subtitles on clips and accurate captions on long videos.
Edit on the road with a tablet or lightweight laptop and your SSD. On a tablet, use CapCut’s tablet version or LumaFusion on iPad. Our tablets for video editing guide covers the options that handle real timelines away from a desk. For software, start free: DaVinci Resolve on desktop is genuinely professional-grade, and CapCut is the fastest route on a phone. One hard rule: never let your editing backlog exceed two trips. An unpublished video earns nothing and teaches nothing. Publish, then improve on the next one.
Titles, thumbnails, and publishing that get clicked
Travel videos are discovered through search, so title each one like the answer to a trip-planning question (“3 Days in Lisbon: The Perfect Itinerary”) and design the thumbnail to be readable on a phone screen.
Steal these title formulas shamelessly: the itinerary (“3 Days in Marrakech: Complete Itinerary”), the cost breakdown (“What a Week in Vietnam Really Costs”), the verdict (“Is Santorini Worth It in 2026?”), the warning (“7 Tourist Scams in Bangkok to Avoid”), the timing guide (“Best Time to Visit Japan”). Each promises a specific payoff to someone planning a trip. That person clicks, watches, and subscribes.
Thumbnails are billboards: one strong subject (your face reacting, or the single most stunning shot), three words max, readable at phone-screen size. Zoom out to 10%. If you can’t tell what it is, neither can a scroller. Then open the video with the payoff: where you are and what the video will deliver, in the first 30 seconds. No logo animations, no “hey guys welcome back” preamble.
Write descriptions like mini-guides with timestamps: chapters help both viewers and search. Group videos into playlists by destination and build series formats (a strict daily budget in a new city, “48 hours in…”) so one good video pulls viewers into five more. Pick a publishing schedule you can sustain on your worst month, and ideally bank two or three finished videos before the channel launches. The one exception is the launch video: publish video #1 to open the channel, then bank two or three finished videos before the regular schedule starts. A new viewer who finds one great video and an empty channel rarely subscribes.
Growing a travel audience in 2026
Run two tracks: long-form YouTube videos that rank in search and compound for years, and short-form clips that feed them. In 2026, travel channels that ignore either track grow slower.
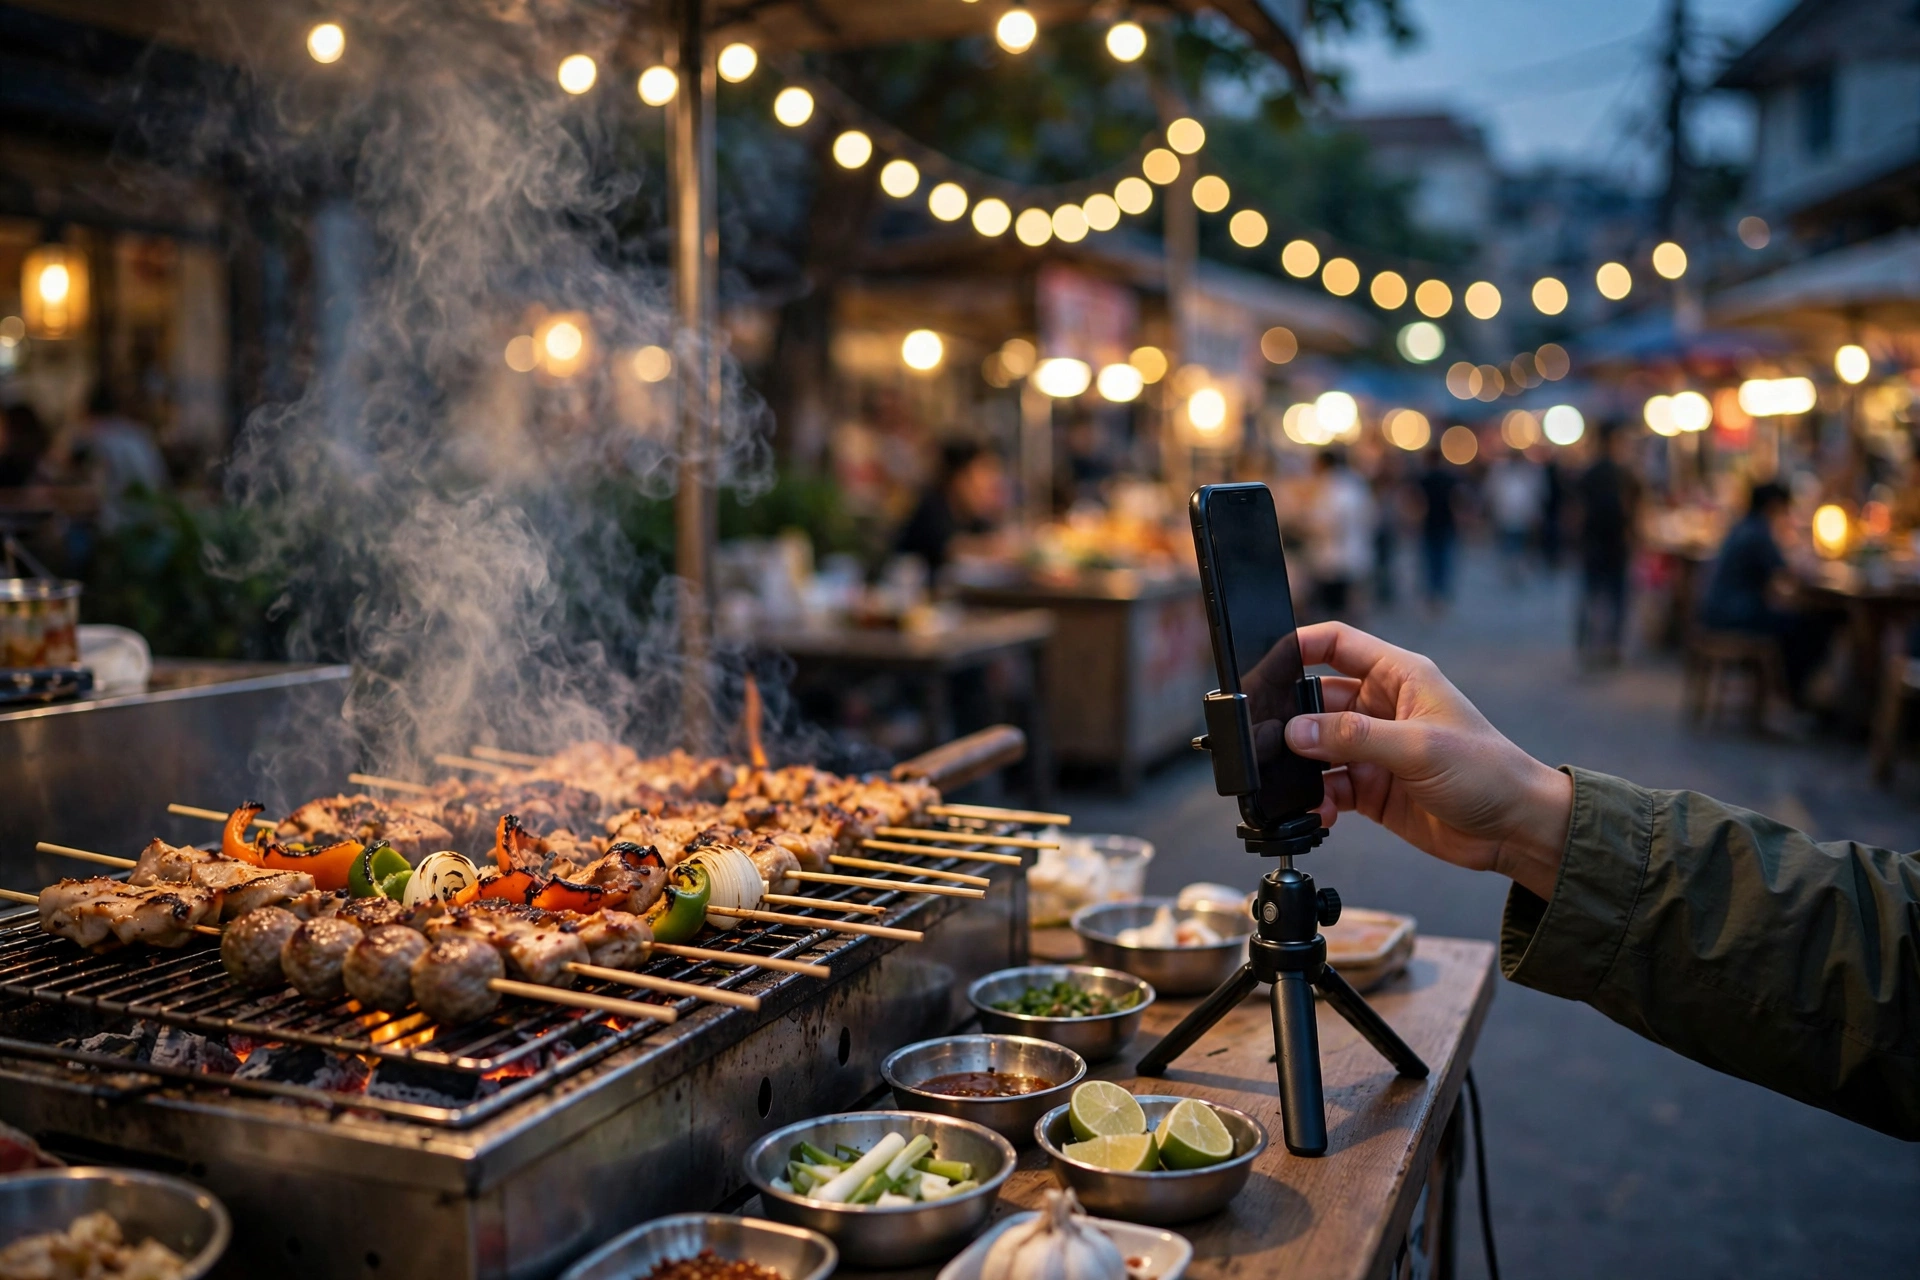
Long-form is your library. Itineraries, cost breakdowns, and destination guides get searched for years. A good “3 days in” video can bring in viewers (and subscribers) long after you forgot you made it. Short-form is your discovery engine: cut 3-5 clips from every long video (the funniest moment, the most beautiful shot, the hottest take) and post them natively to each platform. Upload directly rather than reposting watermarked clips; each platform favors native uploads.
| Platform | Its job in your strategy | Post what |
|---|---|---|
| YouTube (long-form) | Searchable library that compounds over time | Itineraries, guides, cost breakdowns, vlogs |
| YouTube Shorts | Discovery that converts to subscribers | Best 30-second moments from each long video |
| TikTok | Fastest discovery, raw format | In-the-moment clips, trends, street food, fails |
| Instagram Reels | Brand-friendly audience and portfolio | Your most aesthetic highlights, short vertical itinerary clips |
Then close the loop with your numbers. Once a month, open YouTube Studio and read two things: where viewers stop watching (the retention graph shows the exact second a slow intro or a dull middle loses people) and which search terms brought them in. Make more of what the data already rewards, and fix the recurring drop-off in your next video instead of guessing. Our YouTube analytics guide shows beginners which reports matter and which ones to ignore.
If monetization is the goal, know the YouTube Partner Program thresholds: 1,000 subscribers plus 4,000 watch hours in the last 12 months for long-form ad revenue, or 1,000 subscribers plus 10 million Shorts views in 90 days via the Shorts path. Shorts pay far less per view than long-form. Treat them as a growth engine that feeds your library, not as income.
Away from the platforms, growth is embarrassingly human. Reply to comments, especially trip-planning questions. Each one is a future video idea handed to you. Collaborate with other travelers you meet; a guest appearance exposes each creator to the other’s audience. And go live from the road now and then. Live Q&As from interesting places build loyalty fast. Our cameras for streaming guide covers setups if you go that route.
How travel vloggers actually make money
Expect income in this order: affiliate links, then sponsored stays and brand deals, then your own digital products. Ad revenue comes last, once volume exists. Nobody funds trips on ads in year one.
Affiliate links come first because they need no permission: link the gear you actually use and the booking sites you’d recommend anyway, and disclose it. It won’t pay for flights, but it teaches you what your audience buys.
Brand deals follow once you have proof of work: tourism boards, hotels, tour operators, and travel brands pay for videos, but pitch a specific concept (“48 hours in your city on a backpacker budget”), not “I’d love to visit.” Start local and small: a weekend stay from a regional hotel is a real portfolio piece. Always disclose sponsorships clearly; it’s the law in most countries, and audiences can smell hidden ads instantly.
Digital products scale best: detailed itinerary PDFs, Lightroom presets, packing checklists, “how I plan trips” guides. You make them once and sell them to every future viewer. A well-made itinerary PDF can outsell months of ad revenue earned by the very videos that promote it.
Ad revenue is the slowest stream: it needs serious volume. Don’t model your finances on it early. And keep costs honest: travel in shoulder season, use points you’ve actually earned, stay longer in cheaper places. The channels that last treat the first year as an investment, not an income. Keep your day job until the money is consistent for months, not weeks.
Travel vlogging FAQs
The questions everyone asks before starting a travel vlog.
How much does it cost to start a travel vlog?
The vlogging part can cost nothing: your phone, free editing software, and a tripod you may already own. The real cost is the travel itself, which is why smart beginners start with trips they’d take anyway: weekend breaks, visiting family, exploring their own city like a tourist. Let the channel earn its first dedicated trip.
Can I start a travel vlog with just my phone?
Yes, and most beginners should. A recent phone shoots excellent 4K, fits in your pocket at every viewpoint, and draws none of the attention a big camera does. Add a mini tripod and a wireless mic when you can; those two fix the shaky shots and rough audio that viewers actually notice. Upgrade to a dedicated camera only when you hit a specific limit: weak low light, no real zoom, or not enough background blur.
Do I need to travel full-time to be a travel vlogger?
No. Some of the strongest travel channels publish one trip a month (or even one big trip per season) and fill the gaps with planning videos, cost breakdowns, and gear content. Weekend trips, staycations, and “hidden gems in my own city” all count. Consistency of publishing matters far more than frequency of flying.
What’s the best camera for travel vlogging?
The one you’ll actually carry all day: for most beginners that’s a phone, plus an action camera for water and adventure. Upgrade to a dedicated camera when you hit a specific wall: low light, background blur, or zoom reach. Our mobile vlogging kit and beginner equipment guides map the upgrade path.
How do travel vloggers make money?
In this order: affiliate links for gear and bookings, sponsored stays and brand deals with tourism boards and hotels, digital products like itinerary guides and presets, and finally ad revenue once view volume exists. Most full-time travel vloggers combine at least three of these. No single stream is reliable alone.
How do I get views as a beginner travel vlogger?
Make videos that answer trip-planning searches: itineraries, costs, “is it worth it,” best times to visit. Those get discovered for years, unlike “day 12 of my trip” vlogs that only your subscribers watch. Pair each long video with short clips for discovery, and give every video a title someone would type into a search bar.
How long should a travel vlog be?
As long as the story earns, and not a minute longer. Most focused travel guides and day vlogs land somewhere around 8 to 15 minutes: long enough to answer the searcher’s question properly, short enough to hold attention. A dense itinerary can justify more; a single-activity video usually cannot. Cut anything that adds no information, story, or beauty, and let your retention graphs, not a target number, judge the result.
Should I post long videos or short videos?
Both, with different jobs. Long-form YouTube videos are your searchable library that compounds over time; Shorts, TikTok, and Reels are your discovery engine. Cut 3-5 short clips from every long video and post them natively to each platform. Choosing only one track means leaving half your potential audience on the table.
How do you film yourself when traveling solo?
A mini tripod plus your camera’s 10-second timer covers the simple cases; the upgrade is a remote shutter or your camera’s phone app, so you can check the framing on the app preview before you walk in. Prop it on railings, walls, and your backpack. Ask fellow travelers to film a shot for you (offer to take their photo first). Flexible tripods wrap around signposts and branches, and a drone’s follow-me mode can film you walking hands-free where it’s legal.
What if I feel awkward talking to a camera in public?
Everyone does at first, and it fades faster than you expect. Start where nobody knows you: a quiet street early in the morning, a viewpoint before the crowds arrive. Keep the camera close and talk quietly; you are recording a conversation, not performing for the whole square. Most passersby are looking at their own phones, and the few who notice forget you within a minute. After ten published videos, it will feel as normal as filming at home.
Is it safe to vlog while traveling?
Use the same judgment you’d use with an expensive watch: keep gear discreet in crowded areas, avoid filming in places where cameras attract the wrong attention, know local drone and filming rules, and back up footage nightly so theft costs you a camera, not your whole trip’s work. Tell someone your route and check in regularly when traveling remote areas alone.
How do I back up footage while traveling?
Every night: copy the day’s cards to a portable SSD and verify the copy before formatting anything. Keep the original cards as a second copy until you’re home. Upload selects to cloud storage when you get decent Wi-Fi, but never rely on hostel Wi-Fi as your only backup. Assume it will fail when you need it most.
Is travel vlogging too saturated in 2026?
Destinations are saturated; angles aren’t. There are a thousand “48 hours in Paris” videos and very few “Paris on a wheelchair user’s budget” or “Paris bakeries ranked by a pastry chef.” New channels break through every month with a specific angle, searchable titles, and consistent publishing. Saturation kills generic channels: it rewards specific ones.
Keep exploring
Going deeper? These guides cover every piece of the travel vlogging puzzle.
- How to Start Vlogging in 2026
- Best Mobile Vlogging Kit
- Vlogging Equipment for Beginners
- Best Drones for Vlogging
- Best Vlogging Tripods
- Best Tablets for Video Editing
- Best Lights for Vlogging
- Best 4K Action Camera Under $100 in 2026
- How to Get Smooth Handheld Video Without a Gimbal: IBIS, OIS and EIS Explained
- How to Get Music for Vlogs Without Copyright Strikes in 2026
- YouTube Analytics for Vloggers in 2026: The 5 Metrics That Actually Matter
- Best Cameras for Streaming in 2026