
Last updated: October 2026
Most people watch on a phone held upright. The creators growing fastest get that, and they treat vertical video as a craft of its own. Cropped leftovers from a horizontal vlog won’t cut it. Shorts, Reels and TikTok all live in 9:16, and each one rewards people who shoot, frame, edit and hook for that tall feed. So here’s the playbook. You’ll find how to shoot 9:16 on a phone or a proper camera, how to frame for a tall canvas, where the safe zones sit, how to edit without wasting an evening, how to turn one vlog into a week of shorts, where the three platforms really differ, and how to hook someone in two seconds flat.
Key takeaways
- Shoot native 9:16 whenever you can. Shooting vertical from the start beats cropping horizontal footage later. You keep the full resolution, you control the framing, and nothing important gets chopped off in the edit.
- Respect the safe zones. Every platform parks buttons, captions and comments over the top and bottom of your video. Keep faces, text and anything that matters in the middle band, where nothing covers them.
- One vlog becomes five shorts. Pull out the best moment, the biggest tip and the funniest reaction. Add a behind-the-scenes clip and a teaser, and one shoot fills a week of posts.
- Platforms differ in ways that matter. Shorts can feed your long-form channel. Reels skew older and more polished, TikTok likes it raw. Post everywhere, yes, but tailor the cut each time.
- The first 2 seconds decide everything. People swipe faster than they think. Open on the payoff, put the hook on screen as text, and skip the logo and the long hello.
On this page
- Why vertical video became the main game
- Filming in 9:16: camera and phone settings
- Composing for a tall canvas
- Safe zones: where the interface covers your video
- Editing vertical video without headaches
- One vlog, five shorts: the repurposing system
- Shorts vs Reels vs TikTok: what actually differs
- Hooks for the first 2 seconds
- Posting cadence that actually works
- Vertical video questions, answered
- Keep exploring
Why vertical video became the main game
Vertical is how people watch now. Shorts, Reels and TikTok all push 9:16 harder than anything else, so for a vlogger it’s the quickest route to new viewers in 2026.
Think about your own phone for a second. You hold it upright, nearly always. Short-form video met people where their thumbs already were, and the platforms paid attention. Each one now runs its own vertical feed with its own recommendation engine, and short clips get reach that standard uploads rarely see. Picture a new creator’s first hundred videos. A long horizontal vlog might reach ten people. A short can scroll past ten thousand. The short gets the audition.
That gap is why vertical works as a growth tool, not as a side format. One short that lands well can put a brand new vlogger in front of more people in a day than months of long-form uploads manage. Shorts sit on your existing YouTube channel too, so they feed straight into your long-form audience. People find you vertically, then stay for the vlogs. Treat vertical as an afterthought and you’re leaving the cheapest source of subscribers on the table.
Good vertical looks different, too. It rewards immediacy over polish. Tight framing. Fast pacing. Captions for everyone watching with the sound off, and a hook inside the first two seconds. You don’t need better gear than a horizontal vlog takes. You need to think about the frame differently, and that’s what the rest of the guide covers.
Filming in 9:16: camera and phone settings
Shoot vertical natively, at 1080 by 1920 (or 4K vertical if your device offers it) and 30 or 60 frames per second, with stabilization on. Turning the device beats cropping later, every time.
Start with one habit: film the vertical version while you’re shooting, not afterwards. Turn your phone upright and it records 9:16 natively, at full resolution, with no guessing about what fits. Most modern cameras do something similar. Mirrorless bodies, action cameras and drones either shoot vertical natively or record the orientation so the footage comes out genuinely tall. Got a camera that only records horizontal? Film wide in 4K and crop a 1080 by 1920 window in the edit. 4K gives you enough pixels that the crop still looks crisp.
Resolution is the easy part. 1080 by 1920 is the standard across Shorts, Reels and TikTok, and it’s all you need, since the platforms compress everything anyway. Shoot 4K when you plan to crop, zoom or punch in for emphasis in the edit. Plenty of creators do that to fake a second camera angle from a single take. Frame rate stays familiar: 30fps as the default, 60fps for buttery slow motion or smoother movement on sports and action.
Two settings matter more in vertical than anywhere else. First, stabilization on, always. A shaky tall frame is dizzying to watch. Second, grid lines on. They help you keep the subject centered in a frame shape your eye isn’t used to yet. Shooting on a proper camera rather than a phone? A small gimbal, or a compact tripod with a vertical mount, makes handheld vertical footage look far steadier. Check your editor’s vertical preview when you can, too. A shot that looks centered in a horizontal viewfinder can drift once you rotate the crop.
Shoot vertical, crop horizontal, or film both?
When you can, film vertical and horizontal as two passes instead of stretching one take across both formats. Do the vertical take first. It’s the harder composition. The horizontal pass usually goes faster, because you already know your lines. If you have to pick one, let the destination decide: vertical for Shorts, Reels or TikTok, horizontal for a long-form vlog. Force one orientation to serve both and you’ll get a lovely horizontal vlog plus a set of shorts where everyone’s head is cut off.
And if a clip simply isn’t 9:16? Each platform improvises, and none of it flatters the footage. TikTok letterboxes horizontal video behind black bars and crops square footage at the sides. Shorts accepts square video, but shows it smaller than a full-height clip. Reels center-crops whatever doesn’t fit its frame. Every improvisation shrinks your subject and reads as a cross-post, so treat a non-vertical upload as a rescue job, never as the plan.

Composing for a tall canvas
Build each vertical shot around one centered subject. Keep the face in the upper middle of the frame, leave breathing room at the edges, and use the tall space to stack foreground and background in layers.
Horizontal composition arranges things left to right. Vertical stacks them top to bottom. Your subject, usually your face, belongs in the upper middle of the frame rather than dead center. Why? The bottom third of the screen belongs to captions, like buttons and comments on every platform (more on that below). Leave more room above the face than below it. Headroom should feel slightly generous compared with horizontal, because a cramped tall frame turns claustrophobic fast.
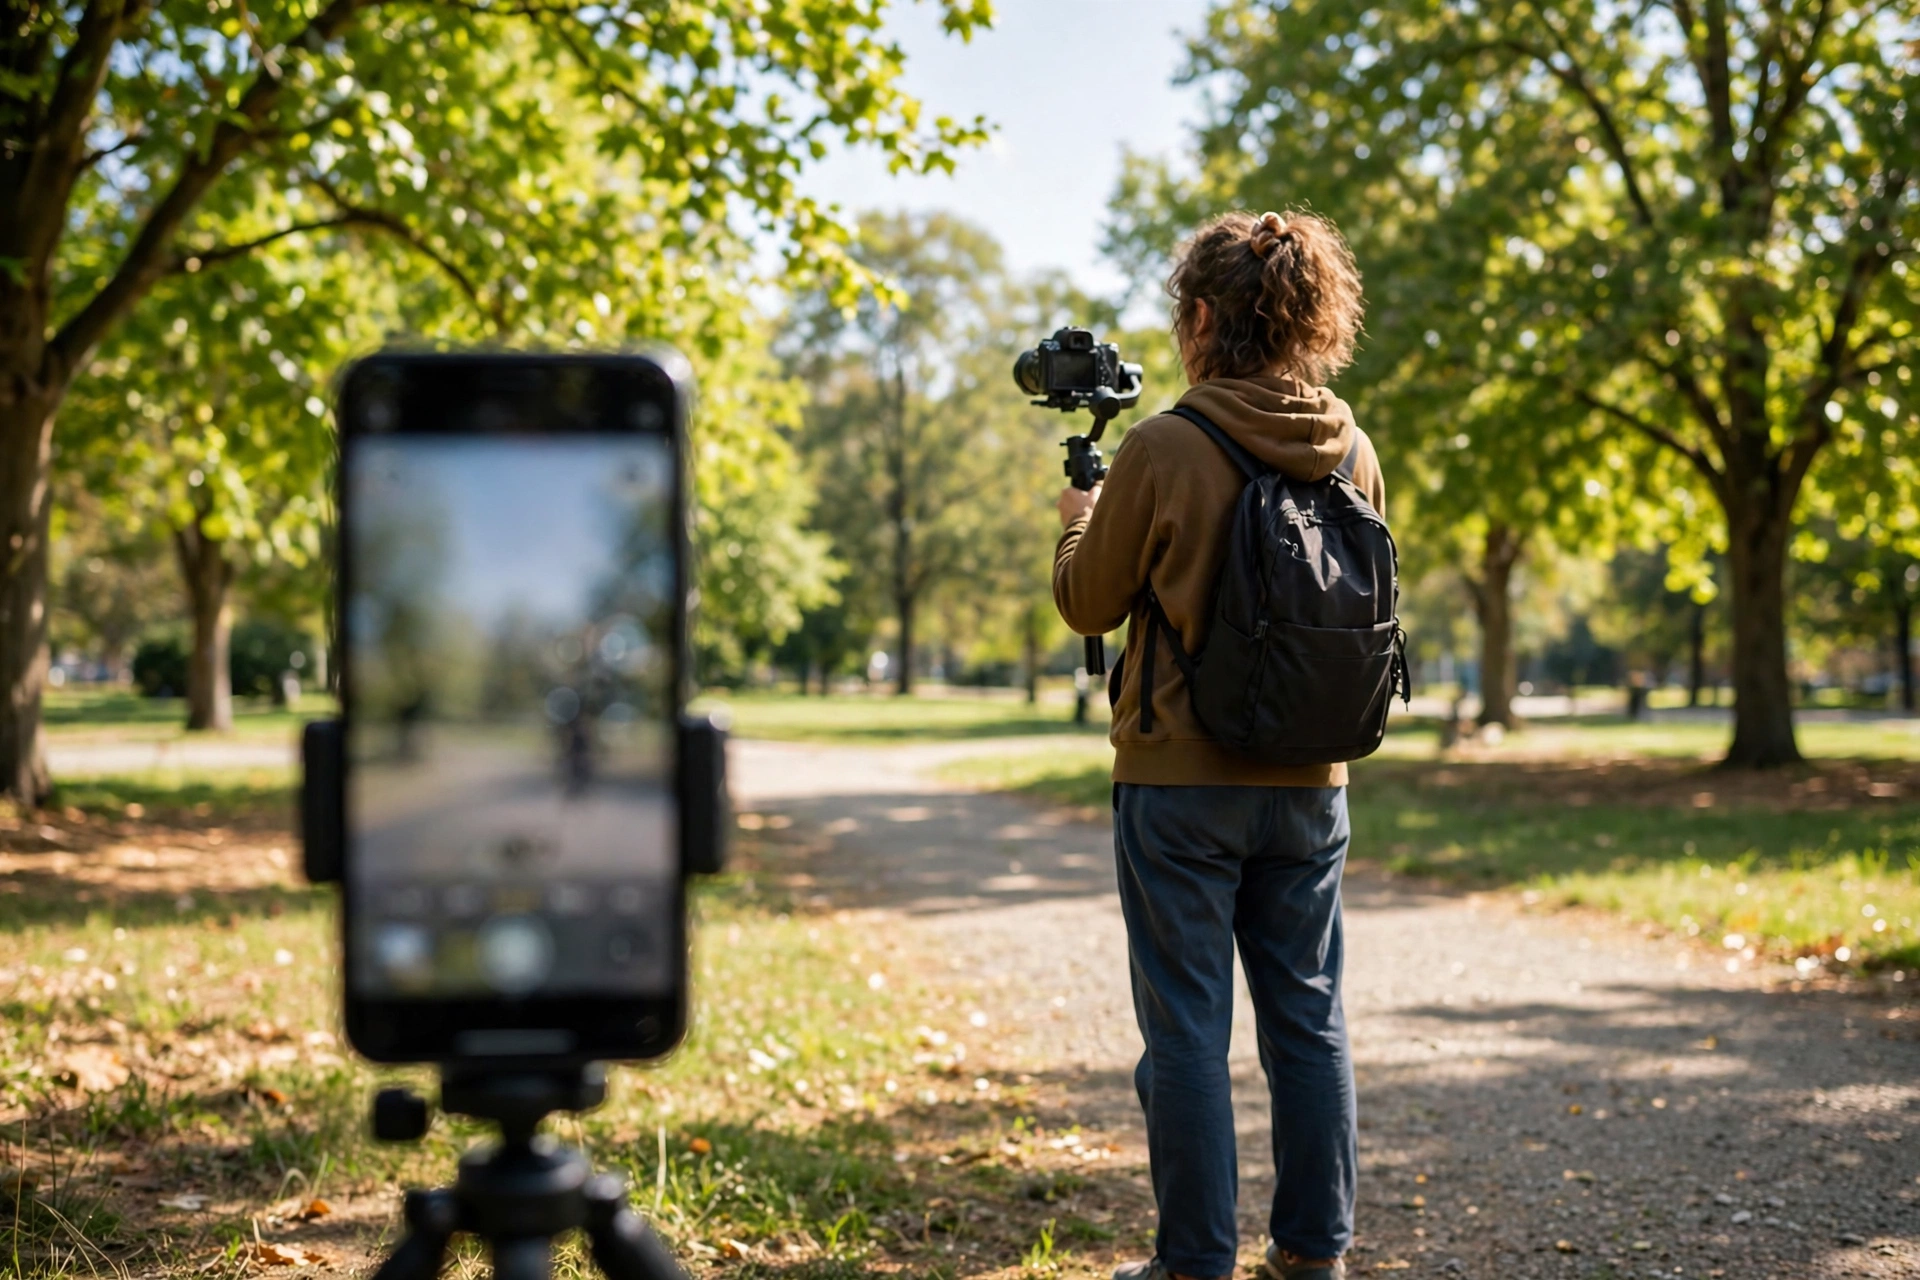
The tall canvas is a gift for depth, actually. Layer a foreground element up front, a coffee cup or a hand gesture. Put your subject in the middle. Let the environment sit behind. Three planes in one shot look far more professional than the flat, centered selfies most creators shoot. Walking shots benefit too. Frame yourself from the waist up while the street or the scenery stretches out behind you, and you get movement and context that a face-only crop can’t give.
A few quick rules save clips in the edit. One subject per shot. Two people side by side simply don’t fit in 9:16, so stack them front to back or take turns. Shoot tighter than feels natural, because wide vertical shots shrink your subject into a tiny strip. And leave the outer 10% of the frame quiet. Slight platform cropping and rounded phone corners nibble at the edges. Turn on the vertical grid, practice placing your face on the upper intersection, and after a dozen shoots the tall frame feels as natural as the wide one.
Safe zones: where the interface covers your video
Every platform covers part of your video with its own interface, roughly the top 15% and the bottom 20% of the frame. Keep faces, captions and on-screen text in the middle band, roughly the central 65%.
People ignore this rule more than any other in vertical video, and it’s the mistake viewers notice first. You upload a clean short. Then TikTok drops its caption over your subtitles and the like buttons eat the text down the right side. Shorts lays its title and buttons across the bottom. Reels puts the caption, the audio name and the action rail there too, and all three reserve the top for progress bars and channel info. The upshot is simple: the middle band of the frame is the only real estate you fully control.
So build three habits. Put captions and subtitles in the vertical center or upper middle, never the bottom. Keep your face and the key action out of the bottom quarter. And treat the right-hand edge as hostile territory, because the like, comment and share rail sits there on all three platforms. Keep text and faces clear of it. Most editors let you drop a safe-zone overlay onto the timeline. Turn it on once and you’ll stop placing text under buttons for good.
| Zone | What covers it | Rule |
|---|---|---|
| Top ~15% | Progress bar, channel name, sound info | No text; fine for background |
| Right edge | Like, comment, share buttons and the creator avatar | Keep text and faces clear |
| Bottom ~20% | Video caption, audio track name, CTAs | No captions or key action |
| Middle ~65% | Nothing: your safe canvas | Faces, text, captions, the story |
Prefer pixels to percentages? On a 1080 by 1920 export, the covered strips measure roughly like this. TikTok keeps the top 120 pixels and the bottom 250 pixels busy, with about 150 pixels down the right side for its action rail. Reels stacks its caption and audio line taller, so treat the bottom 350 pixels as covered and the top 250 as interface space. Shorts sits between the two, at roughly 220 pixels along the top and 230 along the bottom. If you only want one set of numbers to compose for, use the Reels figures. They are the strictest of the three, and a frame that survives Reels stays safe everywhere else.
Editing vertical video without headaches
Set your project to a 1080 by 1920 timeline from the start, caption everything in the middle band, cut faster than feels comfortable, and export once in a format every platform accepts.
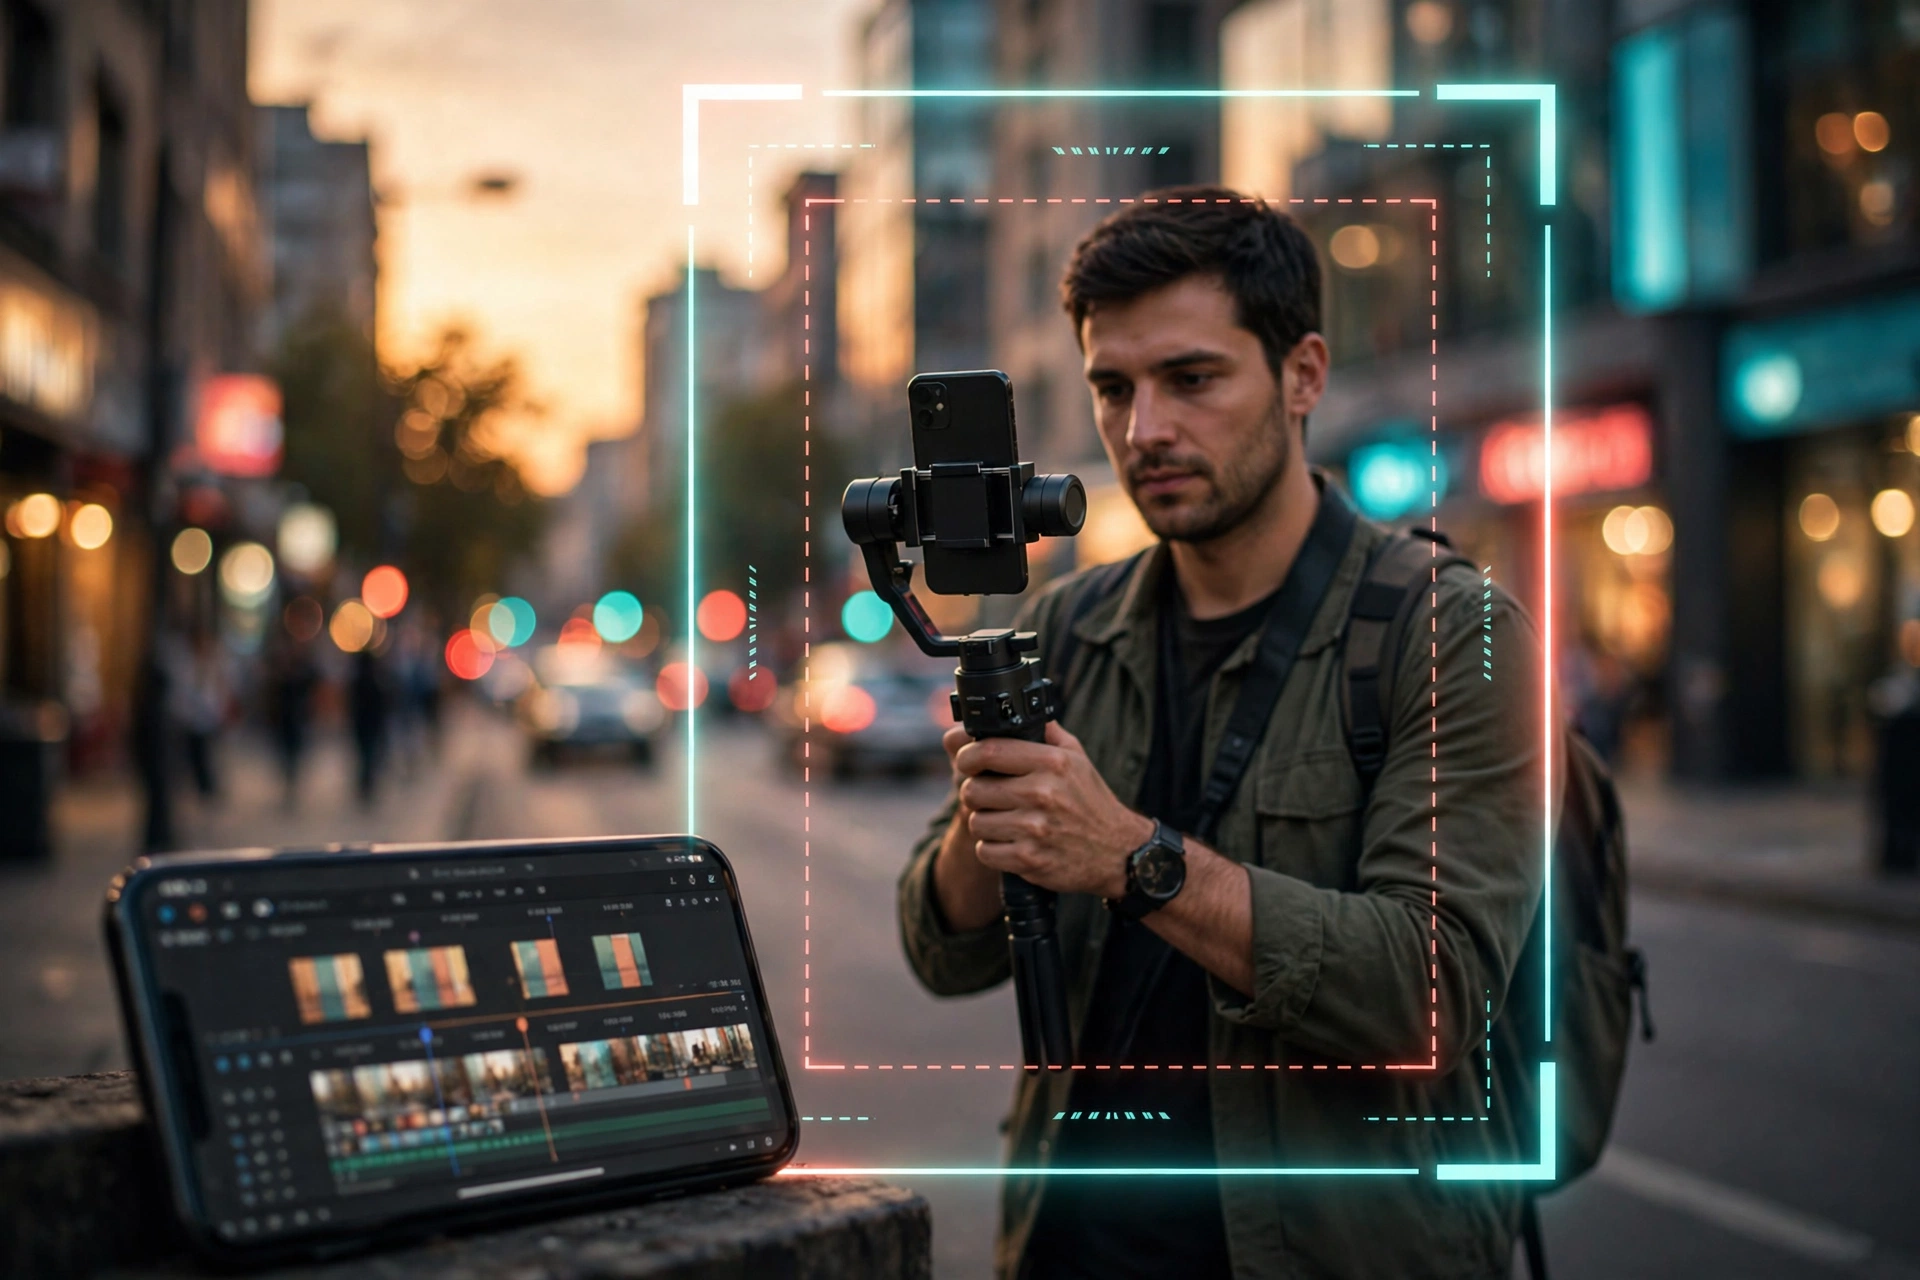
The quickest way to ruin a vertical edit is to build it on a horizontal timeline and rotate at the end. Set the project to 9:16 before you import a single clip. In CapCut, Premiere, DaVinci or any phone editor, that’s one tap. Editing native vertical means your safe-zone overlays, text placements and export framing are right from the first cut, and nothing gets re-cropped at the last minute.
Captions aren’t optional. Most short-form viewing happens with the sound off: on mute in public, in bed, half-watching during a meeting. Captioned clips hold people measurably longer. Auto-caption tools are good enough now that this takes seconds. Generate them, then read them back and fix the words the tool misheard, and place them in the vertical center of the safe zone, clear of every platform’s buttons. How those captions should look and read, the wording, timing, styling and translated tracks, is a craft of its own, and our captions and subtitles guide for vloggers covers it in depth.
Cut about twice as fast as you think you should. A 30-second short with six cuts feels slow. One with twelve feels alive. Silence is the enemy here, so trim pauses to the frame, tuck your audio slightly under the next shot, and speed-ramp a dragging sentence instead of letting it breathe. That doesn’t mean chaos. Every cut should still serve the sentence you’re saying, and fast pacing with a clear point beats slow pacing with a vague one.
Export once and post everywhere. 1080 by 1920 MP4, H.264, 30fps at around 10 to 12 Mbps works on Shorts, Reels and TikTok. The bitrate matters because every platform re-encodes your upload: start too low and that second compression turns skies, walls and skin into mush, while a clean master survives it. For longer TikTok clips, upload from a computer instead of the phone app. Desktop uploads accept far bigger files and keep noticeably more of that quality. Name your exports clearly (“vlog12-tip1-shorts.mp4”) so you still know what each file was for in six months’ time. If your turnaround needs a bigger overhaul, our guide on how to edit vlogs faster covers templates, keyboard shortcuts and batch routines that apply to vertical work too.

One vlog, five shorts: the repurposing system
Every long-form vlog holds five to ten vertical clips waiting to be cut: the strongest moment, the single best tip, the funniest reaction, a behind-the-scenes beat, and a teaser that sends viewers to the full video.
Repurposing is the best-return editing hour a vlogger can spend. You’ve already done the hard work: the filming, the story, the performance. Mining the finished vlog for vertical clips turns one shoot into a week of posts. So watch the completed vlog back with fresh eyes and mark anything that stands alone. A punchline that needs no setup. A tip that fits in 30 seconds. A reaction with real emotion, a process shot that looks satisfying, a line that makes a perfect teaser.

The trick that makes it work is the punch-in reframe. A 4K horizontal vlog has enough resolution for a clean 1080 by 1920 crop that follows the action. Animate that window, punching in tighter on the key line and pulling back for context, and you’ve manufactured a second camera angle from one take. That moving crop is what separates a short that feels shot for the format from a lazy letterboxed repost. Add fresh captions and a hook in the first frame, and the clip stands on its own.
The five-clip system keeps the habit repeatable. From each vlog, pull (1) the best moment, the emotional peak, the money shot; (2) the one tip, a single piece of advice that needs nothing around it; (3) the reaction, your genuine face at the funniest or most surprising beat; (4) the process, a satisfying behind-the-scenes slice; and (5) the teaser, a line that ends on a question the full vlog answers, posted with a pinned comment linking to it. Most vlogs won’t yield all five. Most yield three, and three shorts a week, every week, is a publishing machine most channels never build.
One caution. Don’t re-upload the horizontal vlog with black bars and call it a Short. Viewers spot the lazy crop instantly, and a tiny centered image surrounded by dead space performs terribly. If the footage can’t be reframed cleanly, leave it for long-form and shoot the vertical version properly next time.
Shorts vs Reels vs TikTok: what actually differs
Shorts feed your long-form channel, Reels skew older and reward polish, and TikTok rewards raw authenticity and speed on trends. Post to all three, but tailor each cut instead of uploading identical copies.
On the surface the three platforms look interchangeable. Study what each one rewards and they aren’t. YouTube Shorts is home turf for a vlogger. Shorts live on your existing channel, a strong one can turn viewers into long-form subscribers with a tap, and YouTube’s revenue sharing now covers Shorts views. They also keep the longest shelf life of the three. A good short can surface in the feed for months. If you make horizontal vlogs, Shorts should be your first vertical priority, because every short doubles as a trailer for your channel.
Instagram Reels sit inside a social graph rather than a video platform. The audience skews a bit older and more lifestyle-oriented, and Reels reward visual polish, clean color, good lighting and tidy framing, more than the other two do. Discovery comes through the Explore page and the Reels tab instead of pure algorithmic luck. Reels are also the best of the three at turning viewers into followers of you, not just watchers of a video, which suits creators building a personal brand. Add the links and shopping integrations, and Reels are the most commercially direct of the three as well.
TikTok is still the trend engine. Its recommendation system is the most aggressive of the three at finding an audience for a brand new account, authenticity beats production value harder here than anywhere else, and trends cycle in days rather than weeks. The catch is volatility. TikTok audiences are the least loyal of the three, so a channel built on TikTok alone is built on rented attention. Use it as the top of your funnel, where new people find you, and route that attention toward platforms you control more of.
| YouTube Shorts | Instagram Reels | TikTok | |
|---|---|---|---|
| Max length | Up to 3 minutes | Up to 3 minutes for most accounts | Up to 10 minutes (60 on select accounts) |
| Max file size | 256 GB (the standard YouTube limit) | 4 GB | 287.6 MB in the app, 4 GB from a computer |
| Sweet spot | 20 to 45 seconds | 15 to 30 seconds | 15 to 60 seconds |
| Discovery engine | Shorts feed + suggested | Explore + Reels tab | For You page |
| Best for vloggers | Growing a YouTube channel | Personal brand, lifestyle audience | Fastest new-audience discovery |
| Longevity | Months of shelf life | Weeks | Days to weeks |
So how do you post in practice? Film once in 9:16, edit once, export once. Then tailor the caption, hashtags and pinned comment for each platform instead of copy-pasting. YouTube rewards keyword-rich titles and descriptions. Instagram rewards hashtags and saves. TikTok rewards trend sounds and posting natively in the app. Whatever the platform, write the first line of your caption like a second hook, in the plain words a viewer would type into search: TikTok and Instagram now index captions and on-screen text, so a searchable first line keeps finding viewers long after the feed has moved on. A trending sound layered quietly under your voiceover on TikTok or Reels can help a clip surface, too, as long as it never fights the words. Post natively everywhere, too, rather than cross-posting a version carrying another platform’s watermark. All three quietly demote watermarked content, and five minutes of native uploading buys you full distribution. Small differences, each one. Together they’re enormous.
Hooks for the first 2 seconds
Open on the payoff, not the setup. The first frame should show or promise the most interesting thing in the clip, with a short text hook on screen and your first spoken line landing the point.
Vertical viewers swipe at a speed that makes thumbnail-skipping look leisurely. You get no intro, no greeting, no channel logo. You get about two seconds before the thumb moves. Creators who win at this treat the opening frame as an advert for the whole clip. It holds the most interesting visual you’ve got, a text hook that opens a question, and audio that starts at full energy instead of ramping up.
The simplest formula is promise, then deliver. Say what the viewer gets in your first sentence, something like “Three camera settings that fixed my blurry shorts,” and put a short version of that promise on screen as text. The text matters because so many people start muted. The spoken line matters because sound-on viewers decide just as fast. Both need to fire inside two seconds. And never open with “hey guys, welcome back.” Every second of pleasantry costs you viewers you’ve already lost.
Some hook types keep working, year after year. Try the visual pattern interrupt: start mid-action, a hand slamming something down, a before-and-after snap cut. Try the curiosity gap: “I filmed this wrong for two years,” with the answer held back until second five. There’s the direct call-out, “Stop filming your shorts in 4K horizontal,” aimed at exactly the viewer you want. And there’s the payoff first: show the end result, then rewind to how you got it. The thread running through all of them is timing. The viewer gets why they’re watching before their thumb can reach the swipe. That packaging instinct is the same muscle you build for regular uploads, and our guides on thumbnails that get clicks and getting more views on YouTube go deeper on both sides of the attention equation.
Then design the last two seconds with the same care as the first. Two endings earn their keep. The clean loop, where your final shot or line flows straight back into the opening frame, restarts the video before the viewer has decided to leave, and quietly stacks up repeat views. And the save-worthy close: a checklist, a setting, a number, something stated plainly enough that people bookmark the clip to use later. A short that ends on value gets kept. A short that trails off gets swiped past and forgotten.
Posting cadence that actually works
Post at least three to five shorts a week for the first three months. Then settle into a pace you can hold for a year, because twelve months of consistency beats one furious month followed by silence.
All three platforms learn from volume. More posts give the algorithm more data about who watches you, and that data improves the targeting of your next post. That’s why new creators get told to post daily. The point isn’t that every post must hit. It’s that ten posts teach the system ten times more than one post does. Three to five vertical clips a week is the realistic version of that advice, and it’s within reach if you’re repurposing vlogs with the system above instead of filming everything from scratch.
Volume has a floor, though, and the floor is quality. A daily post that nobody finishes teaches the algorithm that people swipe past you, which is worse than posting less. Hold yourself to one rule: never post a short you would swipe past yourself. Weak clip? Cut it harder or bin it. One strong short beats five forgettable ones, because the real currency here isn’t how often you post. It’s how long people watch when you do.
After three months, switch from sprint to marathon. Go through your analytics and look for the pattern. Which shorts got watched to the end? Which topics pulled in new followers, and which hooks held those first two seconds? Then post more of what won. Most creators who last settle at three to seven shorts a week, batch-filmed in one or two sessions. Pick a schedule you can keep in your worst week, too. The algorithm punishes disappearing far more than it rewards overposting.
Vertical video questions, answered
Quick answers to the questions vloggers ask most when starting out with vertical video for Shorts, Reels, and TikTok.
What is the best resolution for vertical video?
1080 by 1920 pixels. That’s the 9:16 standard all three platforms are built around. Shoot in 4K only if you plan to crop, zoom or reframe in the edit. Otherwise 1080p keeps file sizes manageable and looks identical once the platform has compressed it.
Should I film vertically or crop horizontal footage?
Film vertically. Native 9:16 gives you full resolution and lets you compose for the tall frame while you shoot. Cropping horizontal footage works in a pinch, especially from 4K, but you lose pixels and framing control, and you risk cutting off heads or key action.
How long should a YouTube Short be?
Shorts can run up to 3 minutes, but the sweet spot is 20 to 45 seconds. That’s long enough for one complete idea and short enough to hold a swiping viewer. Aim for one idea per short instead of squeezing a whole vlog into it.
Where do I put captions so the interface doesn’t cover them?
In the middle band of the frame, roughly the central 65% vertically. All three platforms cover the top ~15% (progress bar, channel info) and the bottom ~20% (caption, buttons, audio name) with their own interface, so anything placed there gets hidden or has to fight for attention.
Do I need a different camera for vertical video?
No. Your phone shoots native 9:16, and most modern cameras either shoot vertical or let you crop a vertical frame from 4K. The upgrade that matters most is stabilization, a phone gimbal or a tripod with a vertical mount, because shaky tall footage is hard to watch.
Should I post the exact same video to Shorts, Reels, and TikTok?
Post the same footage, but tailor each upload. Rewrite the caption and hashtags for the platform, use trending sounds natively on TikTok, and upload natively everywhere instead of reposting a version with another platform’s watermark on it. Watermarked cross-posts get quietly demoted.
Why do my shorts get views but no subscribers?
Because the short entertained people without giving them a reason to subscribe. End your shorts with a reason to stick around: a teaser for the full vlog, a pinned comment linking to it, or a series format people want to follow. Shorts bring the discovery. Your long-form channel and your consistency do the converting.
What frame rate should I use for vertical video?
30fps is the standard default, and it matches how the platforms display short-form video. Use 60fps for smooth slow motion or cleaner movement on action and sports clips, then slow the best moments down in the edit.
How do I make vertical video look less amateur?
Four things. Stabilize the footage. Light your face, because a window or a ring light beats a better camera. Caption everything, inside the safe zone. And cut faster than feels comfortable. Most amateur-looking vertical video is shaky, dark, uncaptioned and too slow, so fixing those four reads as professional straight away.
Can vertical video actually grow a long-form channel?
Yes, and it’s one of the cheapest discovery channels going. Shorts live on your existing YouTube channel, so a short that travels puts your channel name in front of thousands of potential subscribers. A pinned comment or a teaser format then funnels them to your vlogs. Treat shorts as the trailer, not as a separate channel.
Keep exploring
Vertical video brings the viewers. The rest of your craft keeps them, so here is the editing, packaging and growth side of the channel.