
Last updated: October 2026
Rural vlogging is not city vlogging with a prettier background. The signal comes and goes, the nearest plug socket may be a cafe an hour away, and a single upload can eat a whole evening. The vloggers who cope are not the ones with the most gear. They are the ones who plan the day around two questions: where will I get a connection, and how much power do I have left. This guide gives you that plan, as one workflow you can repeat on any rural trip.
The short version
- Work the signal ladder in order. Phone hotspot first, then village or cafe Wi-Fi, then a portable satellite kit when the trip justifies it.
- Budget power in watt-hours, not bars. Add up what each device draws, charge in a fixed order, and let the sun do its work in the middle of the day.
- Edit offline with proxy files. Small proxy clips let a modest laptop cut a full vlog without a connection or a huge drive.
- Queue uploads around connectivity windows. Export a lean 1080p file, start the upload where the signal is strongest, and let it run while you do other work.
- Do the upload maths before you start. If the file will not fit the window you actually have, shrink it, split it into parts before you start, publish a short piece first, or move it. Never start a file you already know will not fit.
- Carry less, but carry the right less. Spare batteries, one power station, a solar panel, two drives, and a kit that fits in one bag beat a car full of chargers.
On this page
- The rural vlogging workflow in one page
- Find signal before you need it: the signal-finding ladder
- Power first: build a daily watt-hour budget
- Shoot for a weak connection
- Will the upload fit the window? Do the maths first
- Edit offline, then queue uploads around connectivity windows
- The practical rural kit list
- Small communities: permission, privacy, and manners
- A sample three day rural shoot plan
- When to move, when to wait, and when to call it a day
- Rural vlogging questions, answered
- Keep exploring
The rural vlogging workflow in one page
Plan every rural shoot day in this order: scout signal, budget power, shoot lean, back up the same day, edit offline, and upload only inside a known connectivity window. Signal and power are the schedule. Filming fits around them, not the other way round.
City workflows assume the connection is always there and the wall socket is always close. Rural work breaks both assumptions at once, and that is why it feels chaotic. You film all day, then discover at night that the upload will take about eleven hours, the laptop is at 12 percent, and the only cafe with Wi-Fi closed at six. None of those problems is a filming problem. All of them are planning problems, and they are all fixable the night before.
The workflow in this guide has six steps, and they repeat daily. Find tomorrow’s connection today, budget power, shoot lean, back up the same day, edit offline, and upload only inside a tested connectivity window. Miss a step and the next day starts with a debt: unbacked footage, a flat battery, or an upload that never had a chance.
A note on honesty before the detail. This guide is research based. It pulls together published specs, platform guidance, and widely reported field practice for remote work. It does not claim hands on tests of every device named here, and where a figure varies by model or conditions, the guide says so and gives you a planning range instead of a false exact number.
The night before checklist
Copy this list for every trip, and tick it off before you leave a place that has power and signal. It is the cheapest insurance in this guide.
- Signal spots written down: each tested hotspot, cafe, and shared Wi-Fi spot, with the upload speed measured there and the hours it is open.
- Satellite site checked: if you carry a satellite kit, run the app obstruction check at the planned site before you commit to it, and allow extra time on first use, when the kit can take a while to find satellites.
- Power budget written down: tomorrow’s jobs in watt-hours, the charging order, and the reserve, not a guess in your head.
- Laptop set to stay awake: sleep switched off while plugged in for upload nights, so a closed lid or a sleep timer does not kill a long upload.
- Offline assets downloaded: music, fonts, graphics, and thumbnail files already on the laptop, because an offline edit cannot fetch a missing file.
- Files named clearly: date and title in every export name, so the upload file, the archive master, and the proxy project can never be confused.
Find signal before you need it: the signal-finding ladder
Climb the ladder from cheapest to heaviest: your phone hotspot, then a village or cafe Wi-Fi connection, then a portable satellite kit. Test each rung before you depend on it, and never let an upload be the first thing you try on a new connection.
Start with the map, not the modem. Before a rural trip, mark every place you are likely to pass that has a known connection: your stay, cafes, libraries, visitor centres, and towns on the route. Note opening hours and whether the connection is really usable for uploads or only good enough for messages.
Rung one: the phone hotspot
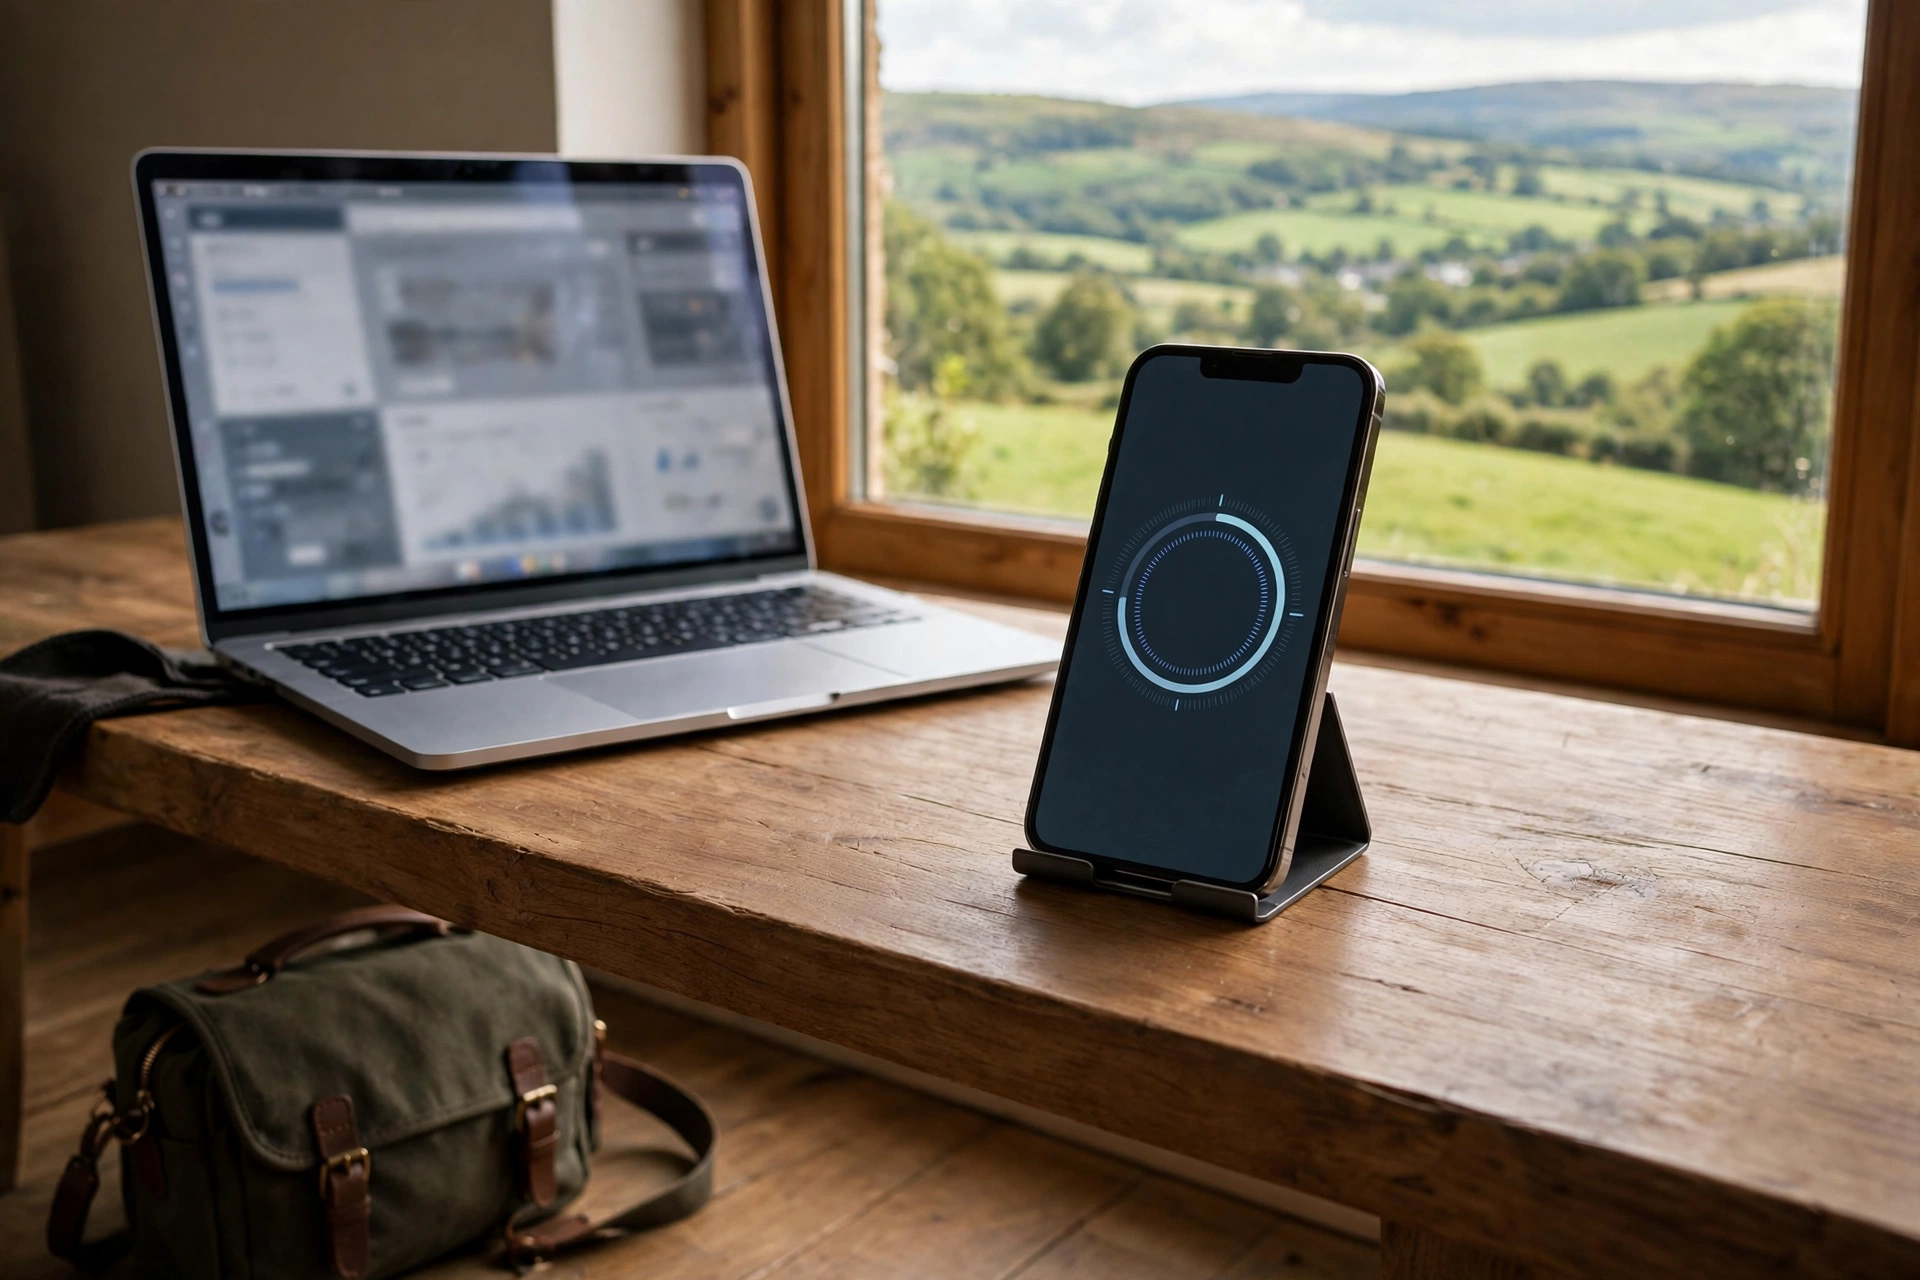
Your phone is the fastest test and the weakest upload tool, so use it in that order. On arrival at a location, run a quick speed test, send a message, and check that the connection holds for a few minutes before you plan anything bigger. Hotspots are fine for research, thumbnails, titles, comments, and short clips. They are a poor choice for a full length 4K upload, because phone data caps, heat, and battery drain all bite at once, and a phone that is also your camera, map, and contact book should not be flattened by an upload.
Two habits make hotspots work harder. Keep the phone cool and plugged in while hotspotting, placed high, near a window or outside wall. Turn the hotspot off between jobs, so it does not drain the phone you also rely on for filming, navigation, and contact.
Rung two: village and cafe Wi-Fi
Shared Wi-Fi is often the best rural upload option, because it is usually unmetered, or at least far less capped than phone data, and it runs on mains power. Its weakness is that it is shared, so speed varies with how many people are on it and what the building’s own connection can carry. Test it the same way every time: a speed test, a small test upload, then the real file. If the test upload crawls, do not start the real one and hope. Edit, back up, or scout instead, and return at a quieter hour.
Be a good guest on shared Wi-Fi. Buy something, ask whether a long upload is fine, keep the laptop on one table rather than spreading across a room, and pause the upload if the connection clearly serves other people first. Rural businesses remember the vlogger who asked. They also remember the one who did not.
Rung three: a portable satellite kit
When the route has no usable hotspot and no shared Wi-Fi, a portable satellite kit is the rung that makes the trip possible rather than merely hopeful. The best known portable option for a solo vlogger is the Starlink Mini: a compact kit with its Wi-Fi router built into the dish itself, a kickstand for ground use, and a DC power cable in the box, according to Starlink’s own specifications page. That built in router matters in a bag, because there is no second box to power, pack, or lose.
Two practical facts decide whether it earns its place in your kit. The first is sky view: a valley floor under trees, a narrow gorge, or a roof overhang can hurt a satellite dish far more than a few extra metres of cable help. Set it where the sky is widest and test before you build the day around it. The second is power, covered in the next section: treat satellite time as a budgeted job, not background use.
Satellite is not a reason to skip the lower rungs. If a cafe connection can carry the upload, use it and save the satellite battery for the day you truly have no alternative. The ladder works because each rung is tried in order, and the heavy option is kept for the job only it can do.
| Connection | Best for | Watch out for |
|---|---|---|
| Phone hotspot | Messages, research, short clips, speed tests | Data caps, heat, battery drain, weak indoor signal |
| Village or cafe Wi-Fi | Full uploads, backups to cloud, long sessions on mains power | Shared speed, opening hours, etiquette, upload limits set by the host |
| Portable satellite kit | Places with no other usable connection, scheduled upload windows | Needs open sky, draws steady power, adds weight and setup time |
Power first: build a daily watt-hour budget
Write down each device, its rough draw in watts, and how many hours you will run it, then multiply to get watt-hours. If the total with reserve added is bigger than what your batteries and solar can replace, cut a job, shorten a session, or move the upload, before the day starts.
Power feels vague until it is written as numbers, and rural days punish vague power plans first. A camera battery, a phone, a laptop, a drone, a satellite dish, and a light each look small on their own. Together they are a day’s budget, and the only way to know whether the day fits is to add them up.
The maths is simple, and it is worth doing on paper the night before. Watts multiplied by hours equals watt-hours. A device drawing 40 watts for four hours uses 160 watt-hours. A laptop drawing 60 watts for two hours of editing uses 120 watt-hours. Add every planned job, compare the total with the usable capacity of your power station and spare batteries, and leave a reserve for the job you forgot. A reserve of about a fifth of the total is a sensible habit, because cold weather, an extra take, or a second upload attempt all cost power you did not plan.
| Job | Planning figure to use | Example for one day |
|---|---|---|
| Portable satellite kit, upload window | Plan at 40 watts, the top of its normal range | 40 watts x 3 hours = 120 watt-hours |
| Laptop editing, offline | Plan at 45 to 65 watts depending on the machine | 60 watts x 2 hours = 120 watt-hours |
| Camera batteries, charged from the station | Count each full charge, not each battery bar | Three charges at about 15 watt-hours each = 45 watt-hours |
| Phone, hotspot and navigation | Plan a full day of mixed use, not a single charge | About 20 to 30 watt-hours for the day |
That example day totals roughly 305 to 315 watt-hours before reserve, which is roughly 366 to 378 watt-hours once a reserve of about a fifth is added. Compare that with-reserve total, not the before-reserve figure, with the usable capacity of your power station and spare batteries. Knowing that number changes every later decision: it tells you whether a midday solar session can refill the station, whether the satellite window must be shorter, and whether the laptop edit should wait until you are back on mains power. Without the number, you are guessing, and guessing is how a shoot ends with a dead station at dusk.
The charging order that saves shoots
Charge in this order, and do not rearrange it without a reason. First, the camera batteries you need for tomorrow’s shoot, because no footage matters more than tomorrow’s footage. Second, the phone, because it is your map, hotspot, and emergency contact. Third, the laptop and drives, because editing can wait until mains power if it must. Fourth, everything else: lights, drone batteries, and accessories. When power is short, the order tells you what to cut, so you are not choosing in a panic at midnight.
Solar windows, used properly
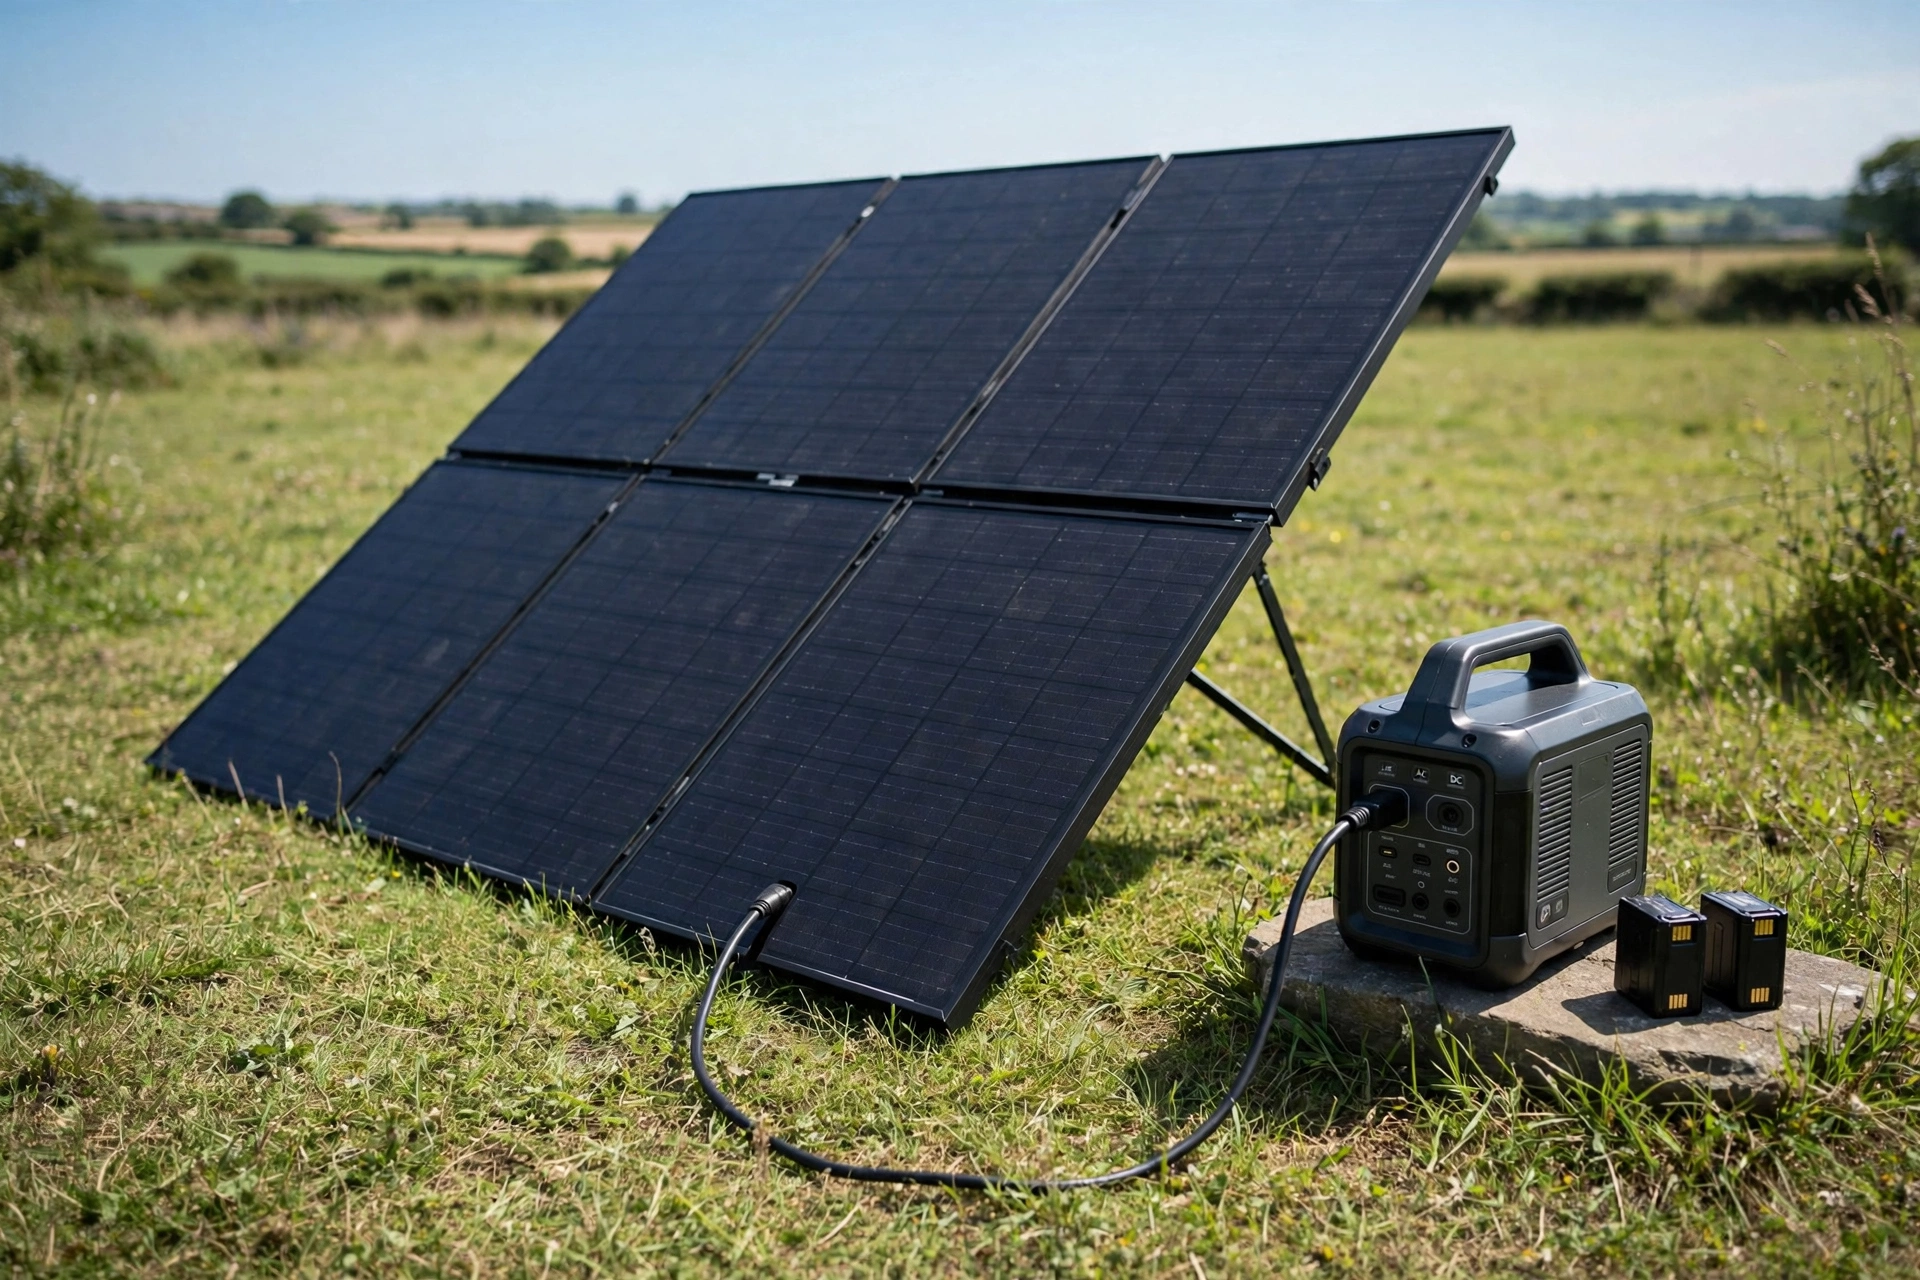
Solar power in rural places is a midday job, not an all day promise. Panels earn their keep in the bright hours, roughly late morning to mid afternoon, when the sun is high and the panel can face it squarely. Set the panel out early, angle it toward the sun, keep it clear of shade from fences, trees, and your own bag, and move it once or twice as the sun moves. A panel left flat in shade all morning and packed away at noon has not had a solar day at all.
Charge the power station from solar while you shoot or scout, not while you also run the satellite dish from the same station. Running a heavy load while charging slows both jobs and makes the numbers hard to trust. The cleaner routine is: solar charges the station during the day, the station runs the evening edit and the upload window, and the station goes back on charge at the next bright window or mains socket. If the weather turns, shorten the satellite window first, because it is the hungriest job with the most flexible timing.
Four power traps that drain a station silently
First, a weak power supply. A satellite kit pulls a brief surge when it starts up and when it reacquires satellites, and a thin cable or an underpowered USB supply can make it restart again and again. Use the cable and supply the kit came with, or a supply rated for the job, and treat repeated restarts as a power problem before you blame the sky.
Second, idle draw. A large inverter left switched on can draw power all day even when nothing is plugged into it, so switch the inverter off when it is not in use and run small devices from direct DC or USB where the station allows it.
Third, heat. A dish in use belongs outdoors, under open sky, with air around it and no shade over it. Inside a vehicle a dish is stored, never operated: it cannot see the sky there, so keep it shaded and ventilated while stored, and only set it up outdoors when you need a connection.
Fourth, sleep schedules. A dish left on a sleep schedule can look exactly like a disconnect, so check the sleep schedule in the app before you declare the connection dead.
For planning runtime, divide the station capacity by the draw, then allow for losses. A 500 watt-hour station running a 40 watt load gives 12.5 hours on paper, but planning on about 10.6 hours, roughly 85 percent of paper, leaves room for conversion losses and a cold night. If the planned job needs more than the planning figure, shorten the job, not the reserve.
Shoot for a weak connection
Shoot and export for the connection you actually have, not the one you wish you had. A clean 1080p vlog uploaded on time beats a 4K file that stalls, overheats a phone, or never finishes.
The biggest rural mistake is filming as if the upload will sort itself out. It will not, and the fix is made at the shoot, not at the upload bar. Every choice that makes the final file smaller without hurting the story is a rural choice: fewer long 4K takes, tighter in camera edits, and less filler that will be cut anyway.
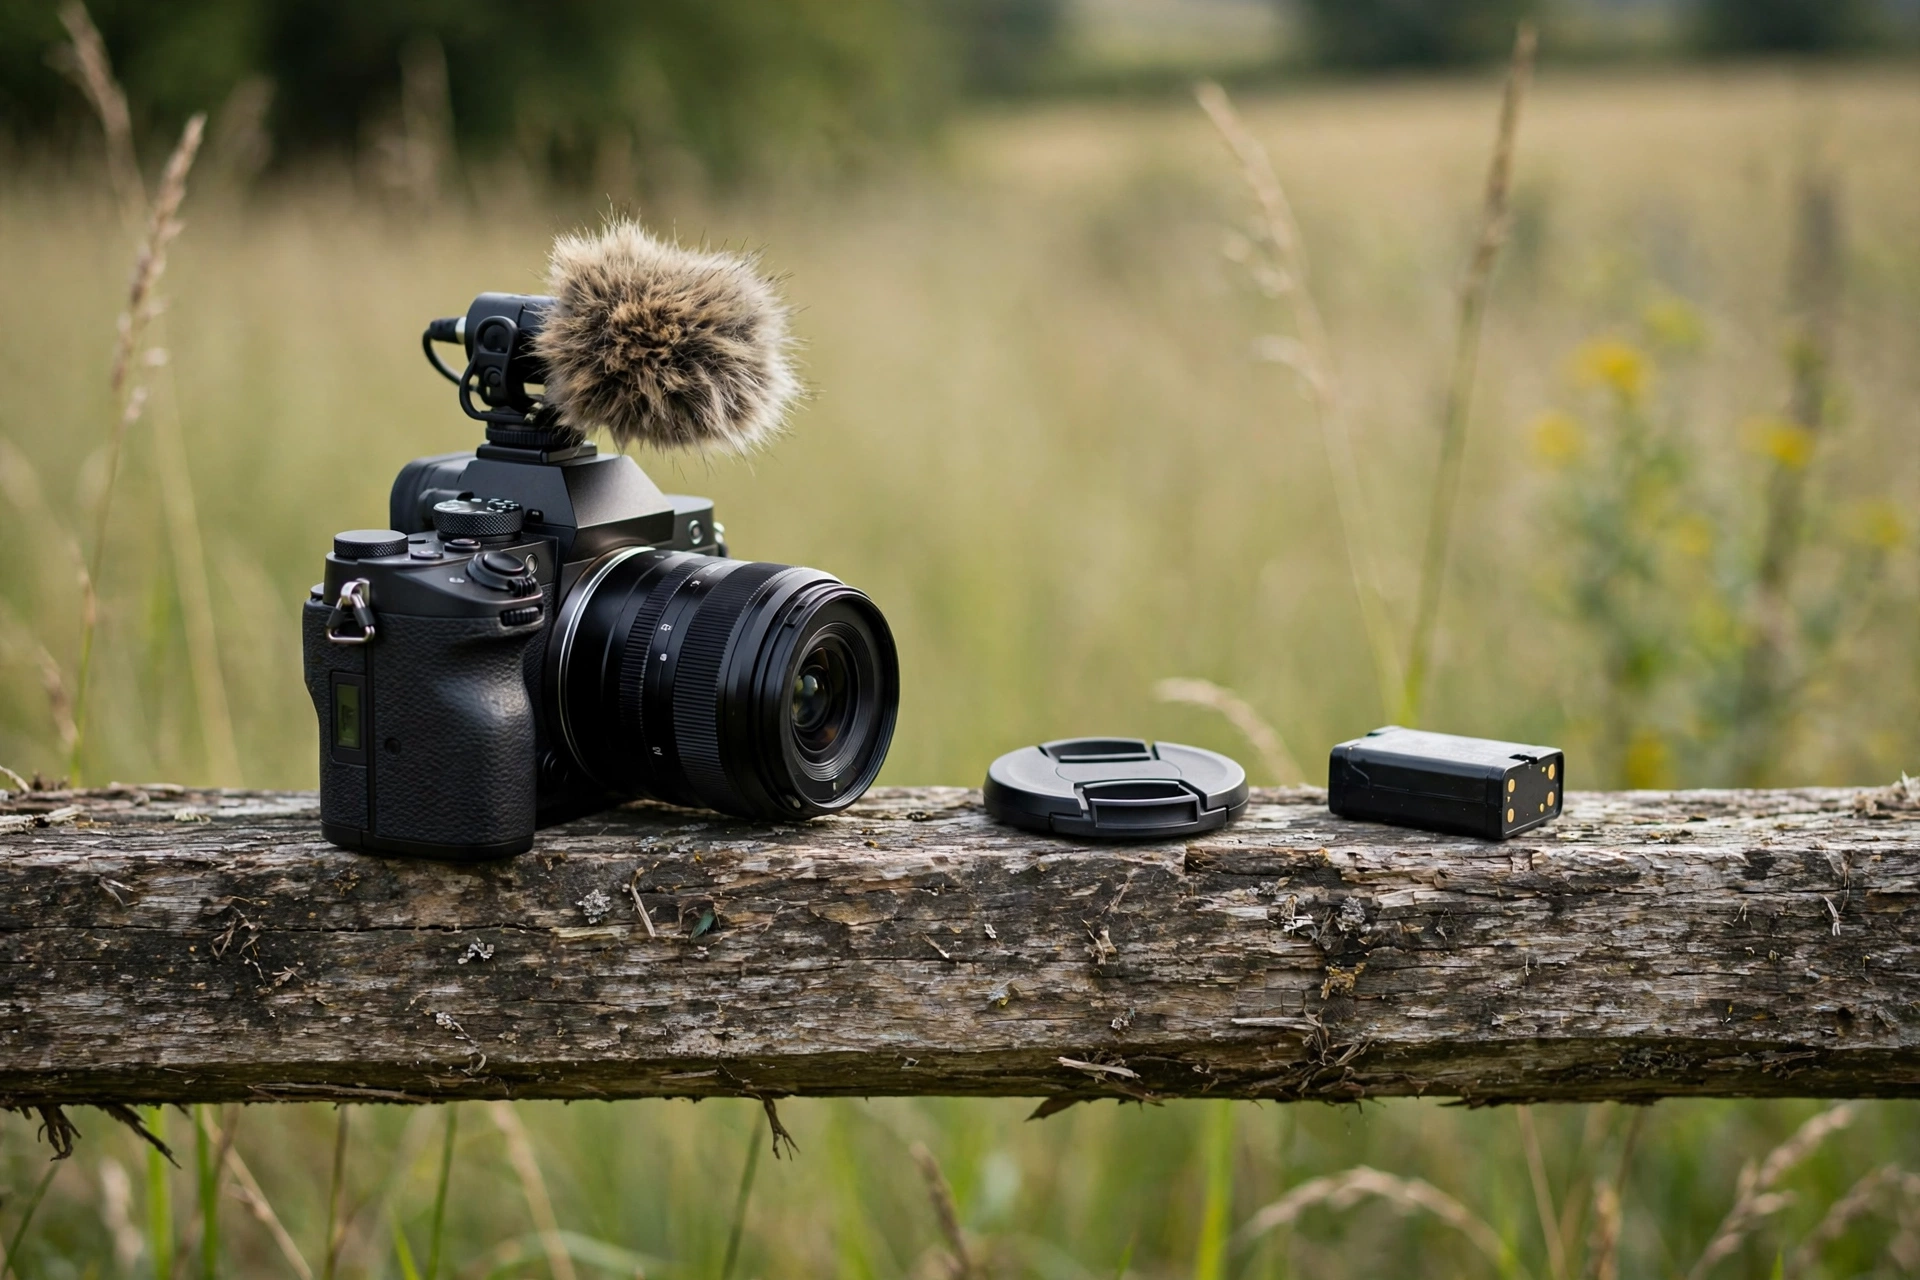
Audio deserves special care in rural places. Wind, farm machinery, water, and traffic on a country road all fight a built in mic, and a noisy track cannot be fixed by a faster connection. A small external mic, close to the speaker and shielded from wind, is worth more rural weight than any extra lens. For a deeper pass on mic placement and wind handling, see the guide to recording better vlog audio.
Resolution is a decision, not a default. A 1080p export is the sensible rural default for most vlogs: it looks clean on most screens, it processes reliably, and it uploads in a fraction of the time of a 4K file. Keep the 4K originals backed up, and save a 4K upload for a strong, unmetered window where the extra detail genuinely serves the video. YouTube’s published encoding guidance recommends MP4 with H.264 video and AAC audio, at around 8 megabits per second for 1080p at 30 frames per second.
Finally, shoot the thumbnail and the title idea on location, while the light and the story are fresh. Rural trips make it tempting to sort thumbnails later, at the upload window, when the connection is already the bottleneck. A few stills and a written title note, captured during the shoot, mean the upload window is spent uploading, not deciding.
Will the upload fit the window? Do the maths first
Divide the file size in megabits by the upload speed in megabits per second to get the upload time in seconds. If that time, doubled for real world speeds, is longer than the window you actually have, shrink the file, split it into parts before you start, publish a short piece first, or move the upload. Never start a file you already know will not fit.
Upload time is the question every other guide skips, and it is the one that decides whether a rural evening ends in a published video or a stalled bar. The maths uses one conversion: 1 gigabyte equals 8,000 megabits. Divide that by the upload speed, and you have the ideal time. Real connections rarely hold their advertised speed, so double the ideal time for planning. The table below gives ideal times, before doubling. Double each figure before you plan around it. A table makes the decision in seconds.
| File size | At 2 Mbps upload | At 5 Mbps upload | At 10 Mbps upload | At 20 Mbps upload |
|---|---|---|---|---|
| 1 GB | About 67 minutes | About 27 minutes | About 13 minutes | About 7 minutes |
| 2 GB | About 2 hours 13 minutes | About 53 minutes | About 27 minutes | About 13 minutes |
| 5 GB | About 5 hours 33 minutes | About 2 hours 13 minutes | About 1 hour 7 minutes | About 33 minutes |
Read the table with the planning rule, not the ideal number. A 2 GB file on a 5 Mbps connection looks like 53 minutes, so plan on about 1 hour 47 minutes, and only start it in a window that long, with the laptop on mains power and set to stay awake. If the window is shorter, you have four honest choices. Export a leaner file, publish a shorter cut first, split the video into parts before you start uploading, or move the upload to a longer window. Starting a file that cannot fit and hoping the connection improves is how rural uploads fail.
When the window is too small for the whole video
Publish a short piece first and queue the long video second. Cut a 60 to 90 second vertical teaser or a single strong moment from the vlog, upload that from the weak connection, and tell viewers the full video follows when the long upload lands. The teaser keeps the channel active on schedule, it costs a fraction of the data of the full file, and it turns a missed window into a planned two step release instead of a silent gap. Do not burn the whole window on a full file that stalls at 80 percent when a teaser plus a queued long file would have served viewers better.
Splitting a video means cutting it into separate parts before any upload starts, for example part one and part two, each exported as its own finished file with its own clear name, then uploading one part per window in order. Split before you start, never in the middle of an upload: once a part is uploading, the rescue rule applies to that exact file, so re-cutting or re-exporting it mid-upload would break any chance of resuming it.
Edit offline, then queue uploads around connectivity windows
Edit fully offline using proxy files, back up the project and the originals, and only connect to upload. Queue one finished file at a time, start it where the signal is strongest, and do not babysit the progress bar.
Offline editing is the rural editor’s superpower, because it removes the connection from the longest job of the day. The method is proxy editing: the editor creates small, light copies of the clips for cutting, while the full quality originals stay safely on a drive. You cut, trim, add titles, and balance audio on the proxies, then the editor swaps back to the originals for the final export. A modest laptop that chokes on 4K originals will usually cut proxies smoothly, and the whole edit can happen in a cabin, a car, or a field shelter with no signal at all. The site’s guide to proxy editing walks through that setup in full.
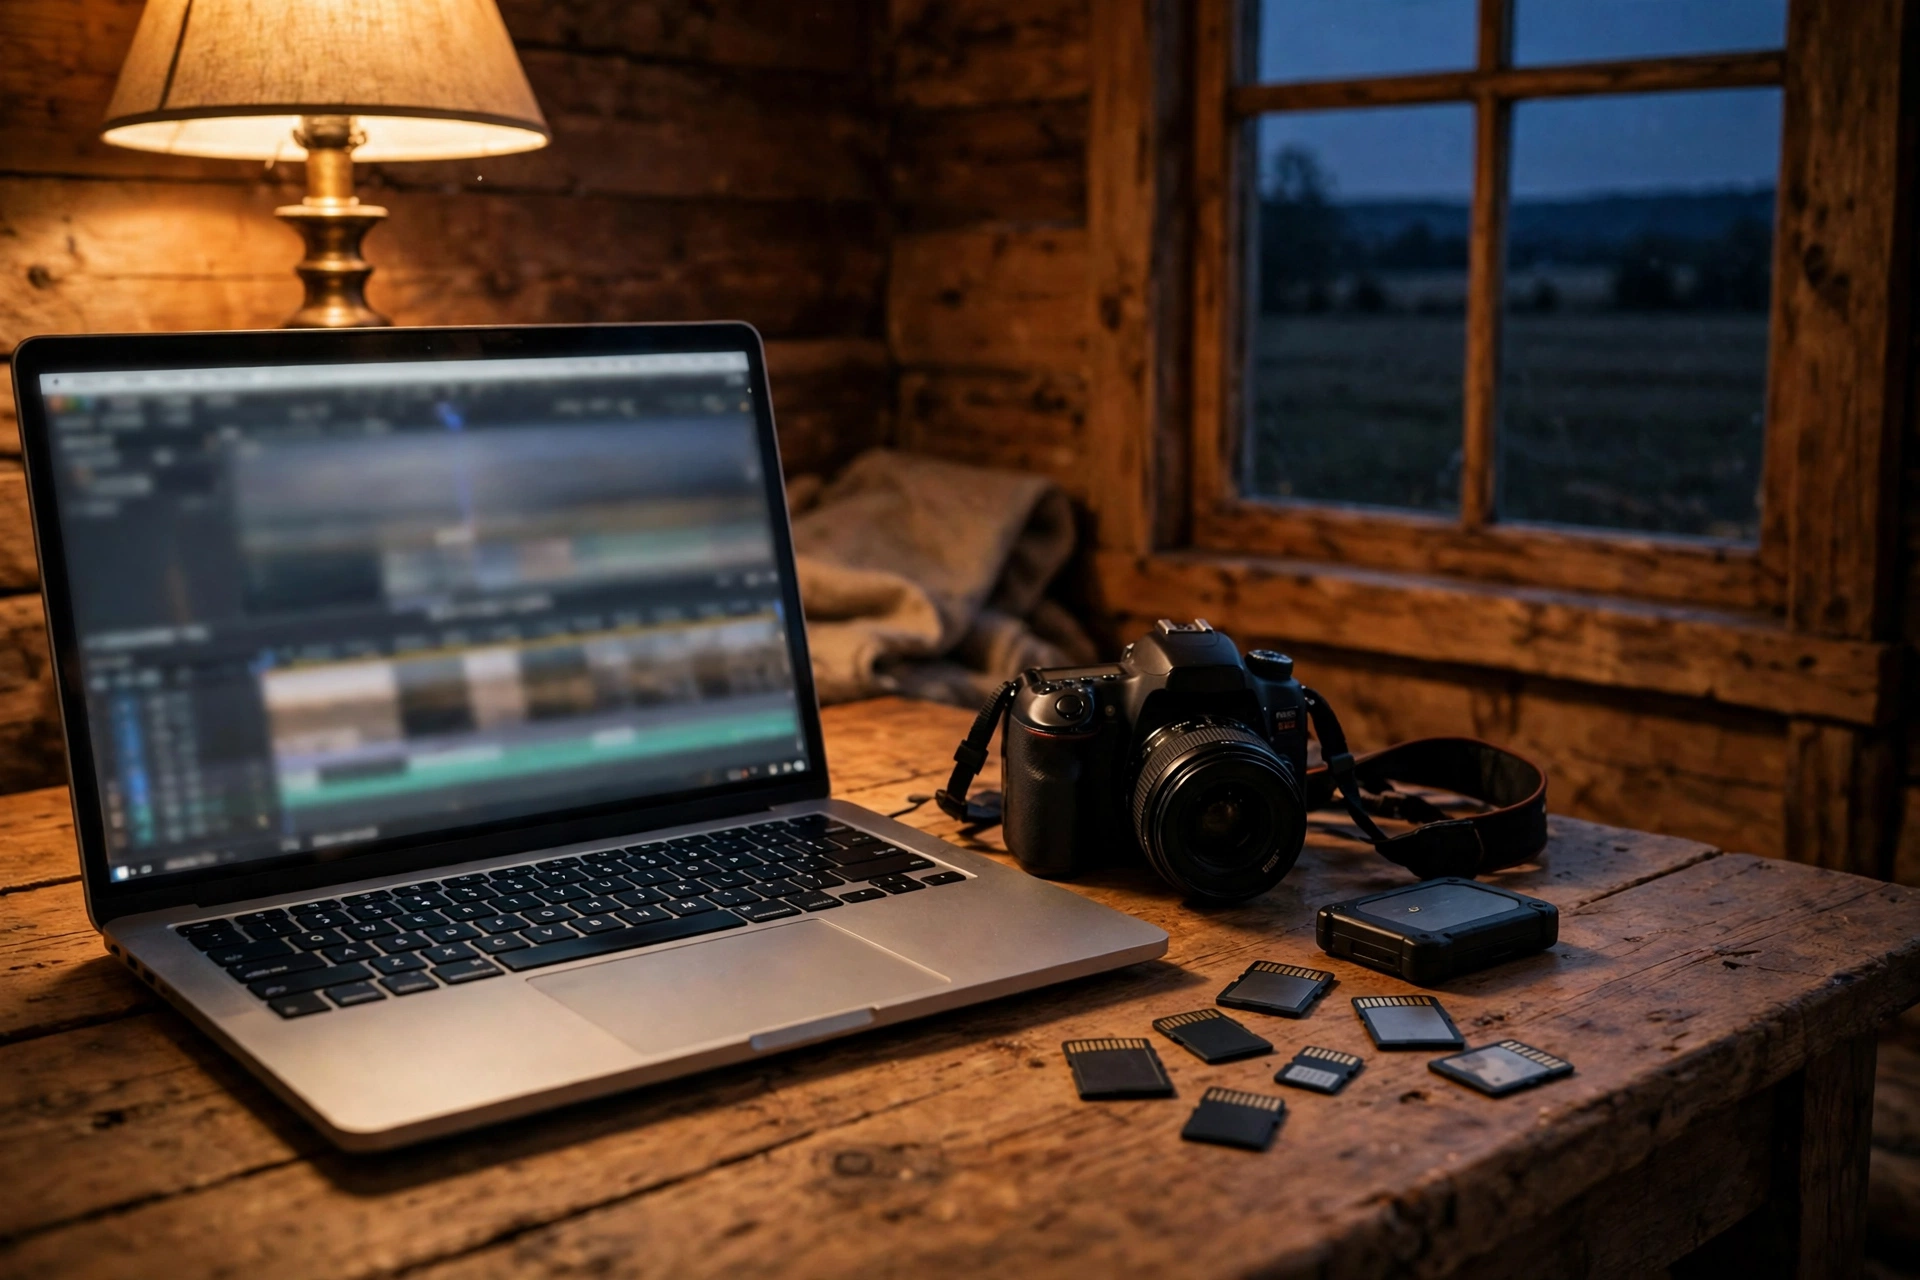
Build the edit in a fixed order so a weak window never catches you half done. First, ingest and back up, before any clip is deleted from a card. Second, cut the story on proxies. Third, fix audio before colour, because viewers forgive a slightly flat image far faster than they forgive muddy sound. Fourth, export the lean upload file and a separate archive master, and name both clearly, with the date and the video title in the filename. A file named “final_final_2” is how rural uploads go wrong. For speed habits that carry over anywhere, see how to edit vlogs faster.
Upload queuing, done properly
An upload queue is a plan, not a hope. It has four parts: one finished file, one chosen window, one device doing the upload, and one fallback. Choose the window by testing, not by clock, put the laptop on mains power where possible, close apps that sync or back up, and start the upload. Then leave it to run while you write the description or plan tomorrow.
If the upload stalls: the rescue sequence
Work this sequence in order, and do not skip to re-exporting. Re-exporting creates a new file, and a new file cannot resume the old upload.
- Wait and check, do not cancel. Give a slow upload a few minutes, check whether the connection dropped or only slowed, and check whether another device, a cloud backup, or a phone update is using the same connection. A bar that looks stuck is often only slow.
- Keep the machine awake and the tab open. A laptop that sleeps, a lid that closes, or a browser tab that closes stops an upload. Set sleep off while plugged in, keep the tab open until the upload itself reads complete, and only then let the machine rest.
- Resume the same file within 24 hours. If the upload did stop, YouTube’s published resume route is to go back to the upload page and select the exact same file again, within 24 hours, and let it carry on from where it stopped. Do not re-export first, do not rename the file, and do not change it, or the resume will not match.
- Upload as private or unlisted first. When a video must go live at a set time, upload it early as private or unlisted, let processing finish, and only then make it public. A slow upload then never becomes a missed launch, and processing time, which shows low quality first, is already done before viewers arrive.
- If the window has gone, stop cleanly. Back up the finished file, note where the upload stopped, and queue it for the next tested window. A missed window is a delay. A rushed re-export is a second problem.
Batching helps here too. Film several short pieces on one trip, edit them offline in a batch, and upload them across several windows, rather than trying to force every video through a single evening connection. The guide to batch filming videos covers the filming side of that habit, and the same logic applies to uploads: one window, one finished file, done well.
The practical rural kit list
Pack for signal, power, storage, and repair, in that order. If an item does not serve one of those four jobs, it stays home, however nice it looks in the bag.
As an Amazon Associate, this site earns from qualifying purchases made through links on this page. The shopping link below is an affiliate link, and buying through it costs you nothing extra.
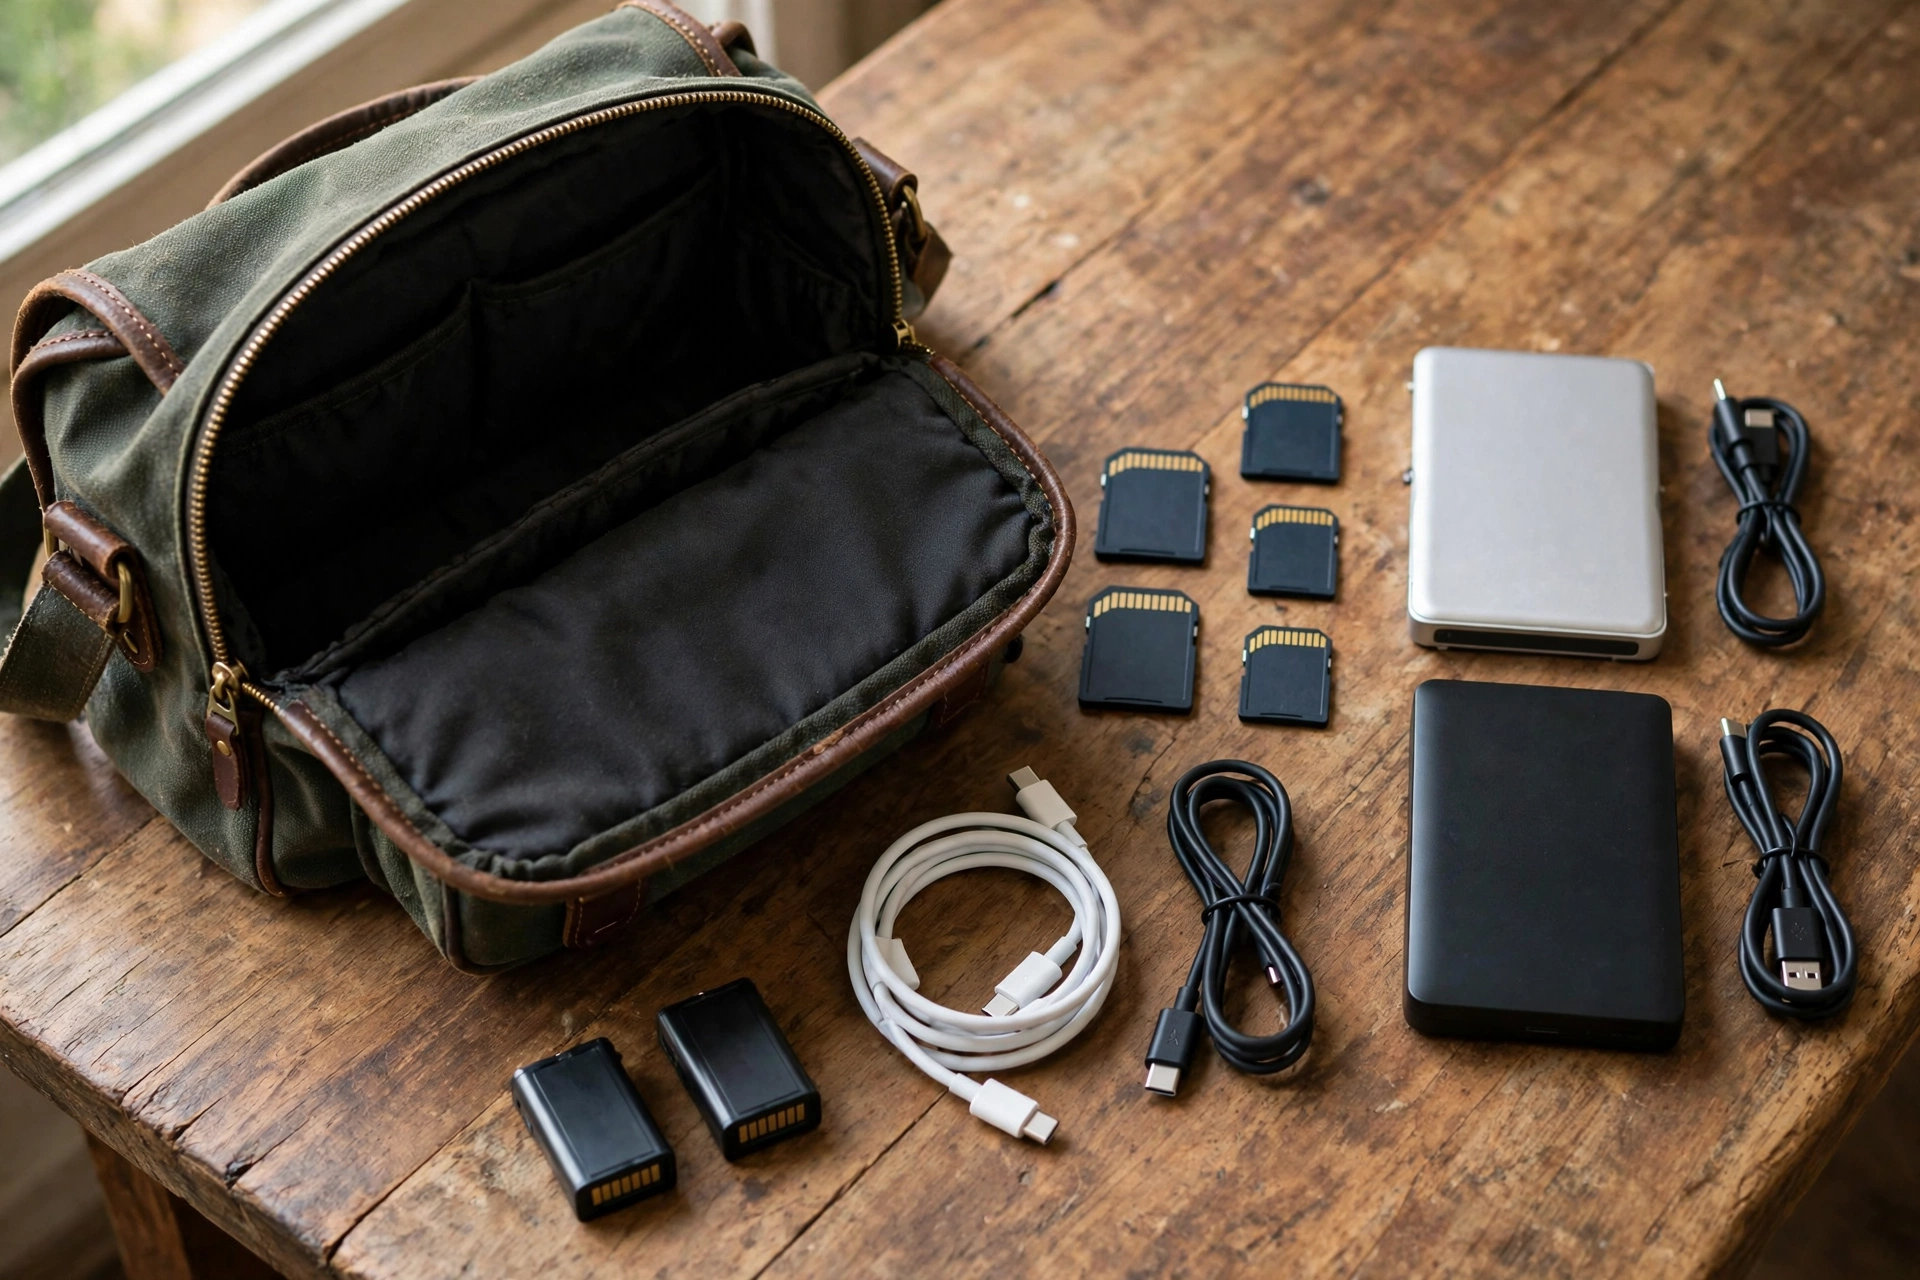
Rural kit fails in predictable ways: a cable that does not fit, a battery for a camera you left at home, a drive with no cable, a solar panel with no way to connect it to the station. Pack by job, test the whole chain at home before the trip, and carry spares only for the links that actually break: cables, cards, and camera batteries.
| Job | Carry | Why it earns its weight |
|---|---|---|
| Signal | Phone, charger, and a note of tested Wi-Fi spots | Hotspot tests and messages without unpacking the heavy kit |
| Signal, heavy jobs | Portable satellite kit, only when the route needs it | Creates a connection where none exists, at a real power and weight cost |
| Power | Portable power station, spare camera batteries, all charging cables | One station, charged in a fixed order, runs the whole evening routine |
| Power, daytime | Folding solar panel matched to the station | Refills the station in the midday sun window |
| Storage | Two separate drives plus spare cards | Same day backup on two drives, before any card is formatted |
| Sound | External mic and wind protection | Rural wind and distance ruin built in audio fastest |
| Repair and weather | Gaffer tape, lens cloth, rain cover, small tool set | Small fixes on location beat a lost day travelling for a spare |
Weight is a real budget, not a packing preference. A satellite kit, a power station, and a solar panel together are a serious load, so the rest of the bag must get lighter to compensate: one camera, one versatile lens, one mic, and no duplicate chargers. Walk the packed bag around the block at home. If it hurts there, it will hurt far more on a rural hillside, and something must come out before the trip, not during it.
Back up the same day, every day. Copy the cards to two drives, spot check that clips play, and only then format a card in camera. The full routine, including folder naming that still makes sense months later, is covered in the guide to backing up video footage, and rural trips are where that routine pays for itself, because there is no reshoot for a lost day in a place you may not visit again.
Small communities: permission, privacy, and manners
Ask before you film people, homes, farms, and workplaces, explain what the footage is for in plain language, and accept a no without argument. Rural goodwill is a shared resource, and one careless vlogger can close a village to the next ten.
Rural filming is close filming. The shopkeeper, the farmer, the family at the next table, and the person walking their dog are not background extras. They are neighbours in a place where everyone knows who filmed what, and where a video can travel back to the village long before the vlogger does. That closeness is also the opportunity: rural vlogs work best when they show real places with real people, honestly and with consent, rather than treating a community as scenery.
Permission is a conversation, not a form waved at a stranger. Say who you are, what the footage is for, where it will appear, and whether faces, names, or a business will be shown. Offer to show the clip before it is published when someone is featured, and keep that promise. For children, ask a parent or guardian, and if there is any doubt, do not film.
Privacy habits matter after the shoot too. Avoid showing house numbers, vehicle plates, school gates, or anything that pinpoints a private home, unless the owner has agreed to be featured. Be careful with location details in titles and descriptions: naming a tiny village, a family farm, or a quiet beauty spot can bring a crowd the place did not ask for. If a location is fragile, busy, or private, describe the area broadly and keep the exact spot out of the video. Good rural vlogging leaves the place as it found it, including its quiet.
A sample three day rural shoot plan
Day one scouts signal and power, day two films the main story, and day three edits offline and uploads inside a tested window. Spreading the jobs across days is what makes the workflow work.
Day one is a scouting day, even if it looks like a filming day. Arrive, test the hotspot at the stay and at each planned location, find the cafe or shared Wi-Fi you will use for uploads, note its hours, and set the solar panel out in the midday window. Film establishing shots and easy material, back up the same evening, and write tomorrow’s power budget from what you actually used, not what you guessed.
Day two is the main shoot day. Start with full camera batteries, charged in the fixed order the night before. Film the story in the best light, keep takes tight, and capture the thumbnail stills and title note on location. Midday, put the solar panel out again while you scout or rest, rather than letting the brightest hours pass unused. In the evening, back up to two drives, start the offline proxy edit, and confirm tomorrow’s upload window with a fresh speed test.
Day three is the finish day. Edit offline in the morning, export the lean 1080p file, and upload it inside the tested window, on mains power where possible. While it uploads, write the description, answer comments from the previous video, and plan the next trip’s signal map from what this trip taught you. If the window fails, the finished file is already backed up, and the upload simply moves to the next tested window. Nothing is lost, because no step depended on a single evening’s luck.
When to move, when to wait, and when to call it a day
Move the upload when tested signal has failed at the location. Wait when power alone is short, or when the signal or the light will improve within a known time. Call it a day when power, safety, or goodwill would be spent by pushing on.
Three checks answer most rural dilemmas. First, signal: have you tested this spot, or are you hoping it will improve? If three tests in the same area all fail, the upload moves with you. Second, power: does the remaining budget cover the next job plus a reserve? If not, the job waits. Third, safety and manners: is the light, the weather, the road, or the welcome getting worse? A vlog is never worth a risky drive or a burned welcome.
Waiting is a skill, not a failure. Waiting an hour for a cafe to quiet down, for cloud to pass, for a station to charge, or for a landowner to return can save a whole day of bad footage and failed uploads.
Rural vlogging questions, answered
Can I vlog where there is no phone signal?
Yes, for filming and editing. A camera, a mic, and a laptop with proxy files need no connection at all. What needs a connection is uploading, publishing, and cloud backup, so plan those jobs for the next tested hotspot, shared Wi-Fi spot, or satellite window, and keep filming and editing offline in between.
Is a portable satellite kit worth carrying for a vlog trip?
It is worth carrying when the route has no usable hotspot or shared Wi-Fi for the uploads you must make on the trip, and when you can give it open sky and a power budget. It is not worth carrying as a default, because it adds weight, setup time, and a steady power draw. Try the lower rungs of the signal ladder first, and let the satellite kit earn its place on trips where nothing else works.
How much power do I need for a day of rural vlogging?
Work it out from your own jobs, not from a generic figure. Add watts multiplied by hours for each job, plus a reserve of about a fifth. As a worked example in this guide, a satellite upload window, a laptop edit, camera battery charges, and a day of phone use total roughly 305 to 315 watt-hours before reserve, roughly 366 to 378 watt-hours with a reserve of about a fifth added. Your total will differ with your laptop, your satellite time, and how much you film, which is why the budget must be written for each trip.
Should I upload in 4K from a rural connection?
Usually no. A clean 1080p export uploads far faster, stalls less, and looks clean on most screens. Keep the 4K originals backed up, and save a 4K upload for a strong, unmetered window where the extra detail genuinely serves the video, such as a landscape-led piece.
What should I do if an upload stalls halfway?
First check whether the connection dropped or only slowed, and give it a few minutes. Then check whether another device or app is using the same connection. If the upload did stop, resume the exact same file within 24 hours, from the upload page, exactly as the rescue sequence in this guide describes. Do not re-export, rename, or edit the file first, or the resume will not match. If the window itself has gone, back up the finished file and queue it for the next tested window, rather than re-exporting in a rush.
How do I edit video without internet?
Use proxy editing. Your editor makes small proxy copies for cutting, while the full quality originals stay on a drive. You cut, title, and balance audio fully offline, and the editor swaps back to the originals for the final export. Download any music, fonts, or graphics before the trip, because an offline edit cannot fetch a missing asset.
Is it rude to film in a small village?
Filming without asking can be, especially when people, homes, or workplaces are identifiable. Ask first, explain where the footage will appear in plain language, accept a no without argument, and avoid pinpointing private homes or fragile spots in titles and descriptions. A village that feels respected will welcome the next vlogger too.
What do I do if I run out of power in the middle of a shoot?
Stop and protect what you have: back up the cards if you can, note where the story stopped, and switch to the phone for essential notes and stills. Then follow the charging order, camera batteries first, and use the next solar window or mains socket before filming again. Running a station to zero to finish one shot risks tomorrow’s whole shoot for today’s last clip.
Can I resume a YouTube upload that stopped?
Yes, if you act within 24 hours and use the exact same file. Go back to the upload page, select the same file again, and let it carry on from where it stopped. Do not re-export, rename, or edit the file first, or the resume will not match the interrupted upload.
Will my laptop keep uploading if it goes to sleep?
No. Sleep stops uploads, downloads, and internet connections, and a closed lid has the same effect on most laptops. Set sleep off while the laptop is plugged in for upload nights. You can let the screen go dark, but the machine itself must stay awake until the upload reads complete.
Keep exploring
Signal and power are only half the rural system. Backups, proxy editing, audio, faster editing, and batch filming are the other half, and each has its own guide below.