
Last updated: October 2026
An action camera rewards a vlogger who plans the shot before picking a mount. Small, tough, and wide, it is brilliant for movement and terrible for lazy framing. This guide covers the craft: mounts by activity, settings by scenario, waterproofing, wind audio, and framing a face the wide lens can flatter.
If you still need to choose a camera, start with our Best Action Camera for Vlogging guide. This article assumes you already have one in hand. It is brand agnostic, and where a setting or limit differs by model, it says to check your own manual rather than guessing a number for you.
In this guide
- Start With the Shot, Not the Mount
- The Mount by Activity Matrix
- Frame Your Face Without the Wide Lens Warp
- Settings by Scenario: Walk, Ride, Surf, and Under Water
- Waterproofing: Ratings and What Breaks Them
- Wind Audio and a Voice That Survives Speed
- Power, Cards, Tethers, and Safety Checks
- A Shoot Day Workflow That Holds Together
- Troubleshooting: Diagnose the Clip That Went Wrong
- Mistakes That Ruin Action Camera Vlogs
- Frequently Asked Questions
Start With the Shot, Not the Mount
Pick the story beat first, then the mount that gives you that angle. A mount chosen before the shot usually gives you a long stretch of the same angle, and that is the fastest way to bore a viewer.
Action camera vlogs fail in a predictable pattern: creators buy every mount, strap the camera to a helmet all day, and come home with hours of road, trail, or wave with no face, no voice, and no change of view. The fix is a shot list with variety: one face to camera piece, one point of view piece, one wide context piece, and one detail piece. Cut between them and a simple day feels like a film. Before you record, ask what the viewer should feel, what angle shows it, and how long the clip needs to be. A ten second helmet shot of a descent can thrill; a ten minute one cannot, because nothing changes. Shoot short, move the camera, and talk in complete thoughts.
Plan sound with picture: a beautiful point of view shot with wind roar and no usable voice is B roll, not a vlog segment. If words matter, plan the voice solution before you press record.
The Mount by Activity Matrix
Use a chest mount for hands free work, a helmet mount for a true point of view, a handlebar or board mount for a fixed vehicle view, and a short grip for face to camera pieces where a grip is practical, with chest or mouth mounts taking over where hands or water rule a grip out. One mount cannot do all four jobs well.
Each mount has a job, a weakness, and a best activity. The table below is the whole system in one place. Read the weakness column as carefully as the job column, because the weakness is what ruins footage when a mount is used for the wrong activity.
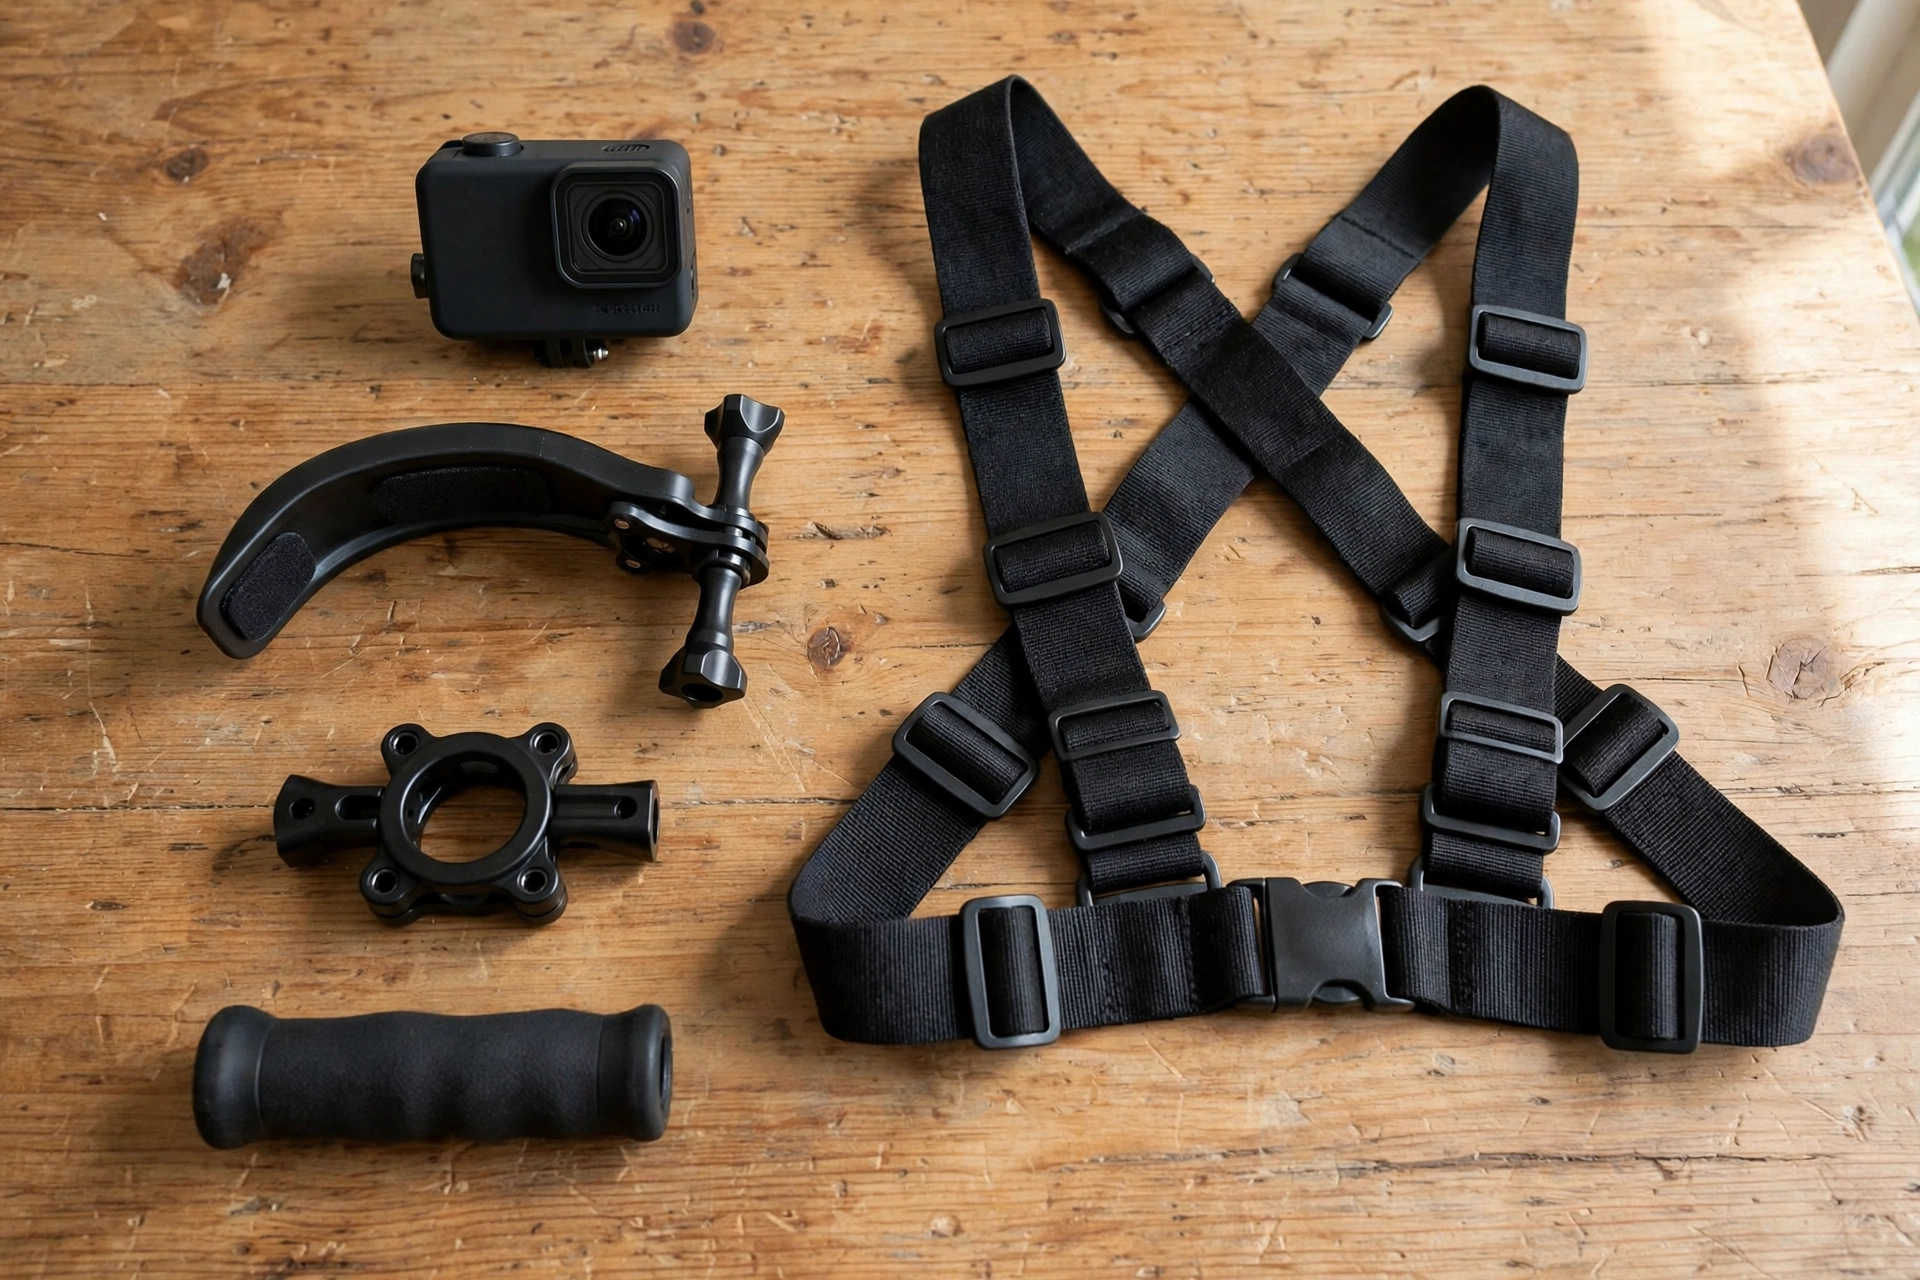
Pictured: action camera (top left), curved helmet mount (centre left), handlebar clamp (lower left), short grip (bottom), and chest harness (right).
| Activity | Best first mount | What it gives you | Watch out for |
|---|---|---|---|
| Walking and talking | Short grip, held out at face height and tilted slightly down | Face, voice, and street or trail behind you | Arm shake on long takes; rest your elbow against your body |
| Cycling on road or trail | Chest mount, then helmet mount for descents | Handlebars and trail in frame, head turns included on helmet shots | Chest framing cuts off the view in steep climbs; helmet shots swing with every head turn |
| Running or hiking | Chest mount | Stable body centred framing, hands free | Bounce at running pace; shorten steps and keep clips short |
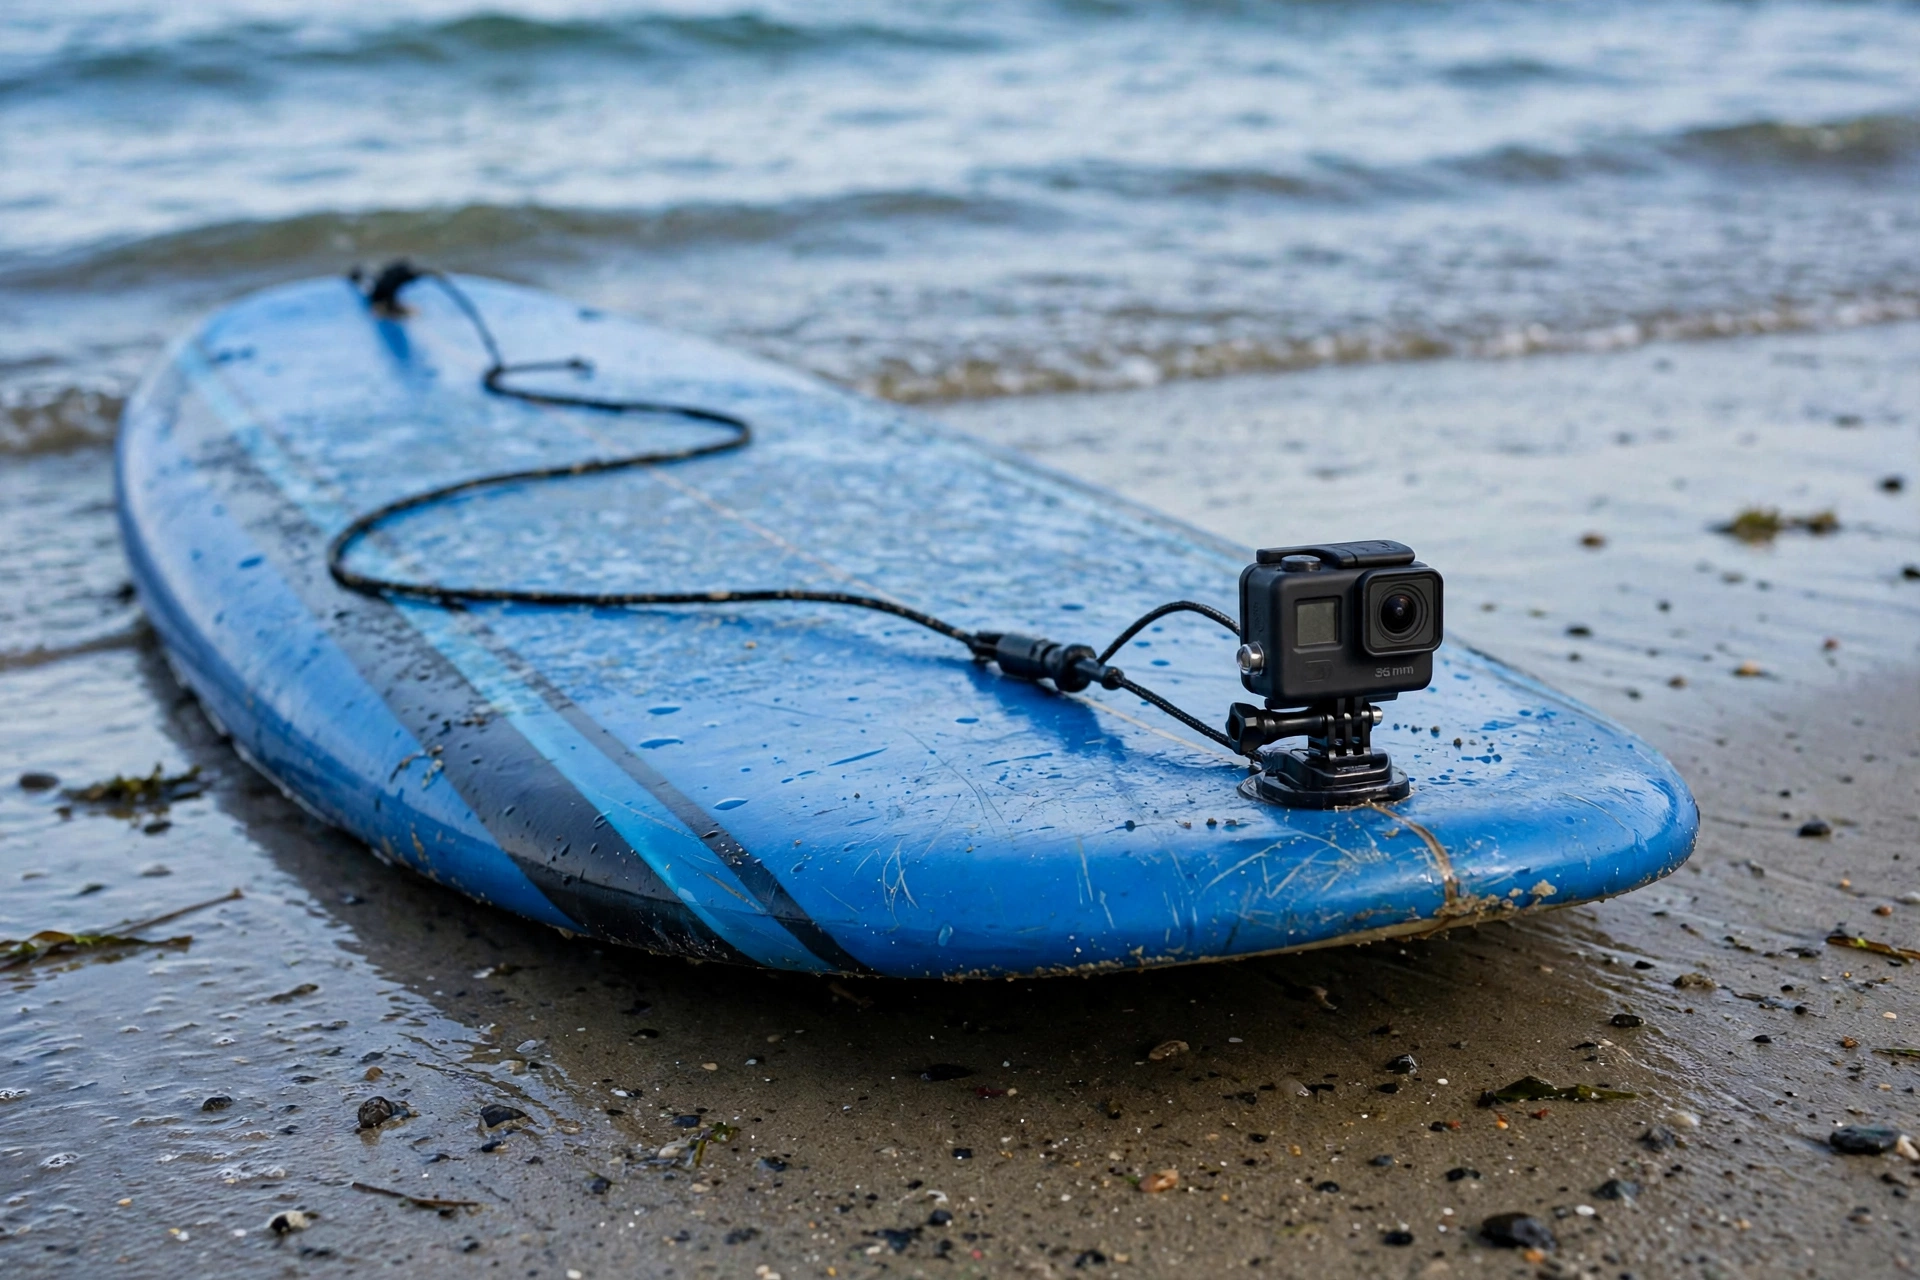
| Surfing or paddle boarding | Board mount near the nose, plus a mouth or chest mount for talking | Board, water, and horizon in one frame | Adhesive mounts need a clean, dry board and curing time; always add a tether |
| Snorkelling or shallow diving | Short grip with a float, or a mask mount | Control in the water, easy self framing | A bare grip sinks if dropped; a float grip is not optional in open water |
| Skiing or snowboarding | Helmet mount, plus a chest mount for lift and lodge talk | True first person view of the slope | Cold shortens battery life; fogging when you stop and start again |
| Driving | Suction or clamp mount inside the vehicle, never a loose handheld shot while driving | Driver view and cabin talk without hands off the controls | Check local rules for mounts and screens; safety comes before any shot |
| Motorcycling | Helmet mount or chest mount, never a handheld shot while riding | Rider view and road ahead without hands off the controls | Check local rules for mounts and screens; safety comes before any shot |
| Climbing or hands on work | Chest mount | Both hands free, work in frame | Straps over a harness need checking so nothing snags |
Four habits matter more than the mount itself. Tighten, then tug test every mount before the activity and again after the first few minutes, because vibration loosens things that felt tight on dry land. Keep the camera close to your body or vehicle: short and stiff beats long and shaky. Adhesive mounts need a clean, dry surface that matches the base, and curing time, usually overnight, before a hard activity. Add a tether for anything over water, at height, or at speed.
Chin, Top, Side, or Chest: Pick the Riding Angle
For riding, the mount position is a decision, not a default. Use this framework and test each position once on a quiet road before a real ride.
| Position | Pick it when | Trade off |
|---|---|---|
| Chin bar, full face helmet | Closest to your own eyes, low wind drag, stable framing | Mount must fit your helmet and not block visor or breathing |
| Top of helmet | Widest view over traffic or a trail, simple fitting | Most wind and vibration, swings with every head turn |
| Side of helmet | Profile angle, or a second angle beside a main camera | Off centre view, so level it carefully |
| Chest | Half shell helmet, or handlebars and arms in frame | Lower view, can cut off distance in steep climbs |
Rule of thumb: chin first for a solo riding vlog, chest first for a half shell helmet, top only when you need height more than stability. Never drill into a helmet to fit a mount, and check that no mount changes visor movement or helmet fit.
Frame Your Face Without the Wide Lens Warp
Keep your face near the centre of the frame, keep the camera at arm’s length or further, and tilt it slightly down rather than up. Faces near the edges of a wide lens stretch; faces close to the lens balloon.
The wide lens captures a whole scene from close up, which is why a room, trail, or beach looks huge. The price is distortion: anything near the frame edge stretches sideways, and anything very close grows large. For face to camera pieces, hold the grip out, lock your elbow against your ribs, and check a test clip: whole head in frame with a little air above it, eyes in the upper third, and background showing place without competing with your face. If your face fills half the frame, step back or use a narrower field of view if offered. It crops the scene but flatters a face, which matters more in a vlog than maximum width.
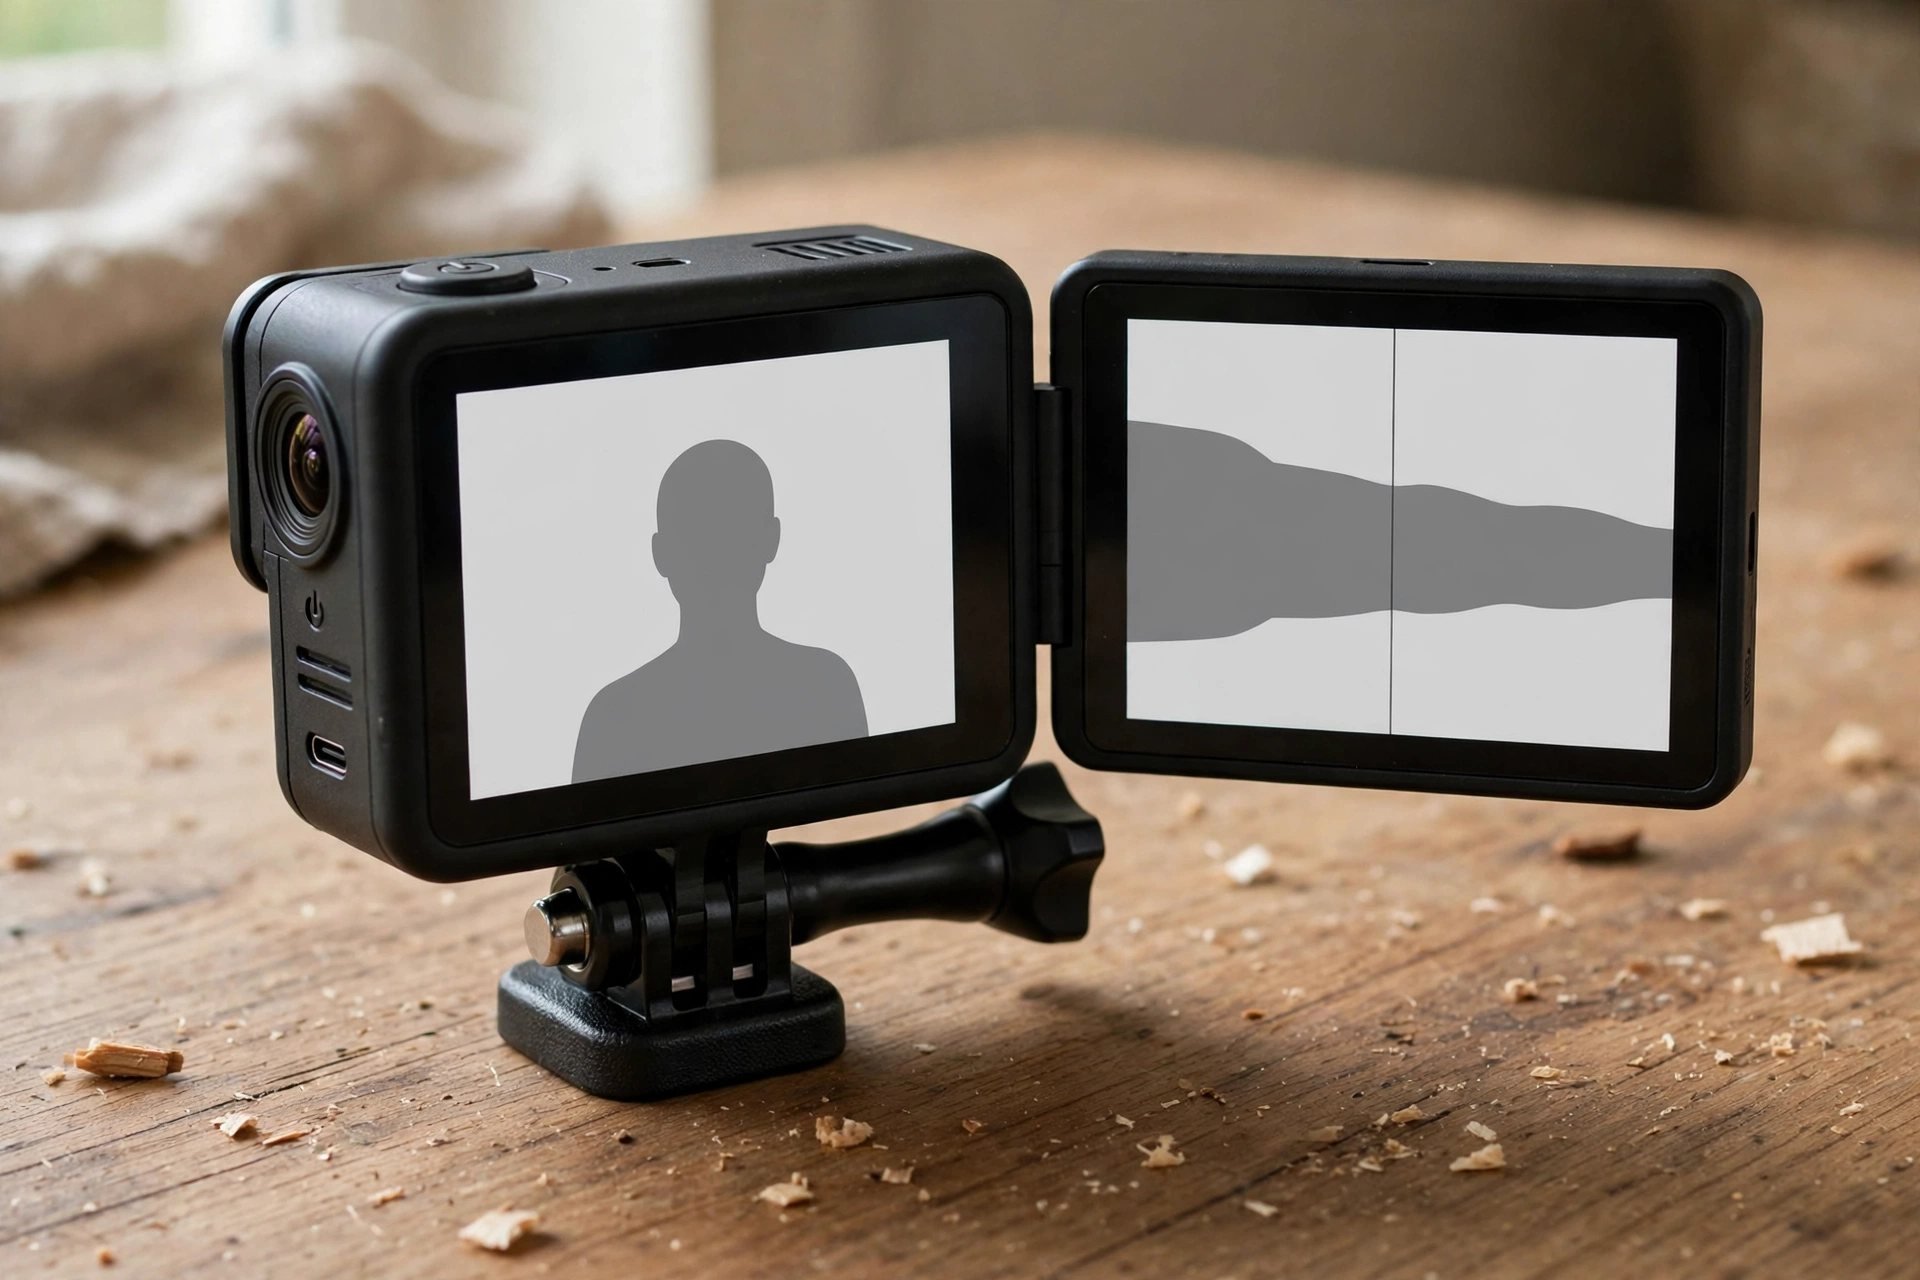
Left: a silhouette centred with headroom above it. Right: the same shape stretched wide near the frame edge, which is what a face at the edge looks like.
Keep the horizon level: level a chest or helmet mount while standing normally, not while looking down at it. Small tilt errors can be fixed in editing; a steep tilt for a whole clip cannot. Learn self framing with test clips at arm’s length, two steps back, and chest height on a surface, and memorise what fits at each distance.
Fix Distortion After Shooting, Without Ruining the Clip
If a talking clip already looks stretched, fix it in this order. First, apply lens correction in your editor, choosing your camera model where offered, and preview on a face: correction crops the edges, so a face near the edge may move out of frame. Apply correction before colour work, keep strength moderate, and if the face still looks wrong, cut the clip shorter or reshoot it. Next time, use a narrower field of view or a linear mode, because in camera correction beats repair.
Settings by Scenario: Walk, Ride, Surf, and Under Water
Match the frame rate to the motion: normal speed for talking, higher frame rates for fast action you may slow down, and lock the exposure for water and snow so bright scenes do not blow out. One setting set for everything fits nothing well.
One recipe for all cameras is misleading: the right settings depend on what is moving, how bright the scene is, and whether the clip will be slowed down. Use this table as a starting point, test in real light, and adjust from what you see.
| Scenario | Starting point | Why it works |
|---|---|---|
| Walk and talk | Normal frame rate, stabilisation on, face priority if offered, which keeps focus and exposure on a face rather than the background | Speech stays natural, steps smooth without the cropped look of the strongest modes |
| Cycling or running | Higher frame rate, stabilisation on, horizon lock only if offered and the shot is steady | Fast motion stays readable, and a key moment can slow down without stutter. Horizon lock works by cropping and levelling the picture, so on rough or steeply tilting shots it can run out of crop room and judder, which is why it suits steady shots best |
| Surf and beach | Normal to higher frame rate, stabilisation on, exposure locked on the scene | Water and sand fool auto exposure; locking it stops pulsing with each wave |
| Under water, shallow | Normal frame rate, stabilisation on, water white balance if offered | Water steals red light with depth; water balance plus a gentle warm correction restores colour |
| Low light, evening streets | Normal frame rate, stabilisation on, accept some noise | High frame rates need more light and turn noisy fast in dim light |
| Slow motion moment | High frame rate for that clip only, then back to normal | A slowed jump or wave landing is a highlight; slowed talking wears thin fast |
In camera stabilisation crops the picture slightly and steadies it by shifting the crop, so the strongest modes look smoother but narrower. For vlogging, a middle stabilisation setting is usually the sweet spot: steady for walking, wide enough for place, and natural for head turns. Use the strongest mode only for rough shots such as a descent, where the extra crop is worth it; for general speed work, stay on the middle setting. Resolution is also a storage decision: the highest setting gives the sharpest picture, the largest files, and the hottest camera. For talking vlogs watched mostly on phones, a mid resolution at a normal frame rate looks clean, edits smoothly, and leaves card room for the whole day. Save the highest setting for hero shots you will slow down or crop. Finally, format the card in the camera before the shoot day after backing up, and shoot a ten second test clip at each new light or activity before committing to a long take.
ND Filters and Shutter on Bright Water and Snow
On a bright surf or snow day, light is so strong that the camera must use a very fast shutter, which makes moving water and snow look choppy instead of flowing. A neutral density (ND) filter darkens the picture without changing its colour, so the camera can use a slower shutter for natural motion blur. A common pairing is a shutter speed roughly twice the frame rate, with the filter strength chosen to reach it. Check that your camera supports screw on or clip on filters before buying, and skip ND filters for everyday talking vlogs, where a clean lens, locked exposure, and good stabilisation matter more.
In menu terms, the table language translates like this. Normal frame rate means the camera everyday rate for ordinary playback, not slow motion. Higher frame rate means a faster rate chosen when a clip may be slowed down. Mid resolution means a middle step below the camera maximum, not its sharpest setting. Middle stabilisation means the standard or high mode in the middle of the menu, not the maximum boost mode, which crops the most.
Waterproofing: Ratings and What Breaks Them
Most current action cameras are waterproof bare only to a modest depth, and only with every door fully closed and sealed. Any add on that opens a door or covers a mic, such as a mic housing or media mod, breaks that waterproofing, even if the camera alone is rated for water.
Waterproof is a rated claim, not a magic property. Ratings are usually given for fresh water, still or gentle, with clean seals and closed doors, for a limited time. Salt, soapy, or hot water, fast moving water, and deep pressure are harder on seals, and a rating does not cover a cracked lens cover, a hair across a seal, or a door not clicked fully shut. Read your own model’s rating before any water shoot, because ratings differ by model and generation. The most common mistake is keeping a mic add on fitted for a water shot. A media mod or similar housing replaces a side door, exposes ports and mics, and is weather resistant at best: it handles rain and spray, not submersion. Manufacturer guidance is plain that such mods are not waterproof and not made for under water use. Take the mod off, refit the original door, check the seal, and shoot water clips with the bare camera. Record voice parts on dry land afterwards and cut them over the water footage.
Seal discipline prevents most floods. Inspect the door seal for sand, hair, salt crust, or a nick. Rinse a sandy camera in fresh water before opening any door. Close each door until it clicks flush, with no gap at either end. After salt water, rinse the closed camera in fresh water, dry it, and only then open it. Never open a door while the camera is wet, and never charge a wet camera. Fogging is the quieter water problem. Fog is moisture condensing when humid air sealed inside meets a colder surface: warm humid air entering a cool housing, or a sun heated housing plunged into cold water, leaves moisture that blooms white on the coldest surface, the lens. Keep the camera near shoot temperature, open housings as little as possible in humid air, and use anti fog inserts if your housing supports them. If fog appears, dry lens and cover and let the camera settle. Stay well inside your model’s depth rating, not at its edge, and for anything beyond a shallow swim or snorkel use a dedicated dive housing rated for the planned depth. A vlog is never worth a flooded camera.
Pre-Water Checklist: Seal, Dry Air, and Fog Proofing
Run this checklist in order, in dry air, before any housing goes near water. Fog keeps coming back when humid air is sealed inside, even with an insert fitted.
- Clean and check (bare camera and housing). Wipe seal and lens port, remove sand, hair, and salt, look for nicks or a bent latch.
- Assemble in dry air (housing only). Close the housing indoors or in air conditioned air, not on a humid beach, with dry hands.
- Add a fresh desiccant (housing only). Use a fresh anti fog insert or silica pack if supported, and replace it when spent.
- Keep it cool and shaded (bare camera and housing). Never leave a sealed camera in direct sun before a swim: a sun heated housing plunged into cold water fogs as its sealed humid air meets the colder surface.
- Power down between takes (housing only). A camera left on heats trapped air inside a sealed housing.
- Test the housing empty if the maker advises it (housing only). Seal the empty housing, hold it under water or under a shower for a few minutes, then open it and check inside for any dampness: a short empty test finds a seal problem before it finds your camera.
After the shoot, rinse the camera while still sealed, dry the outside, then open it in dry air.
Wind Audio and a Voice That Survives Speed
Block wind before it reaches the mic, get the mic closer to your mouth, and slow down or stop for any line the viewer must understand. No software fix rescues a voice that was never recorded cleanly.
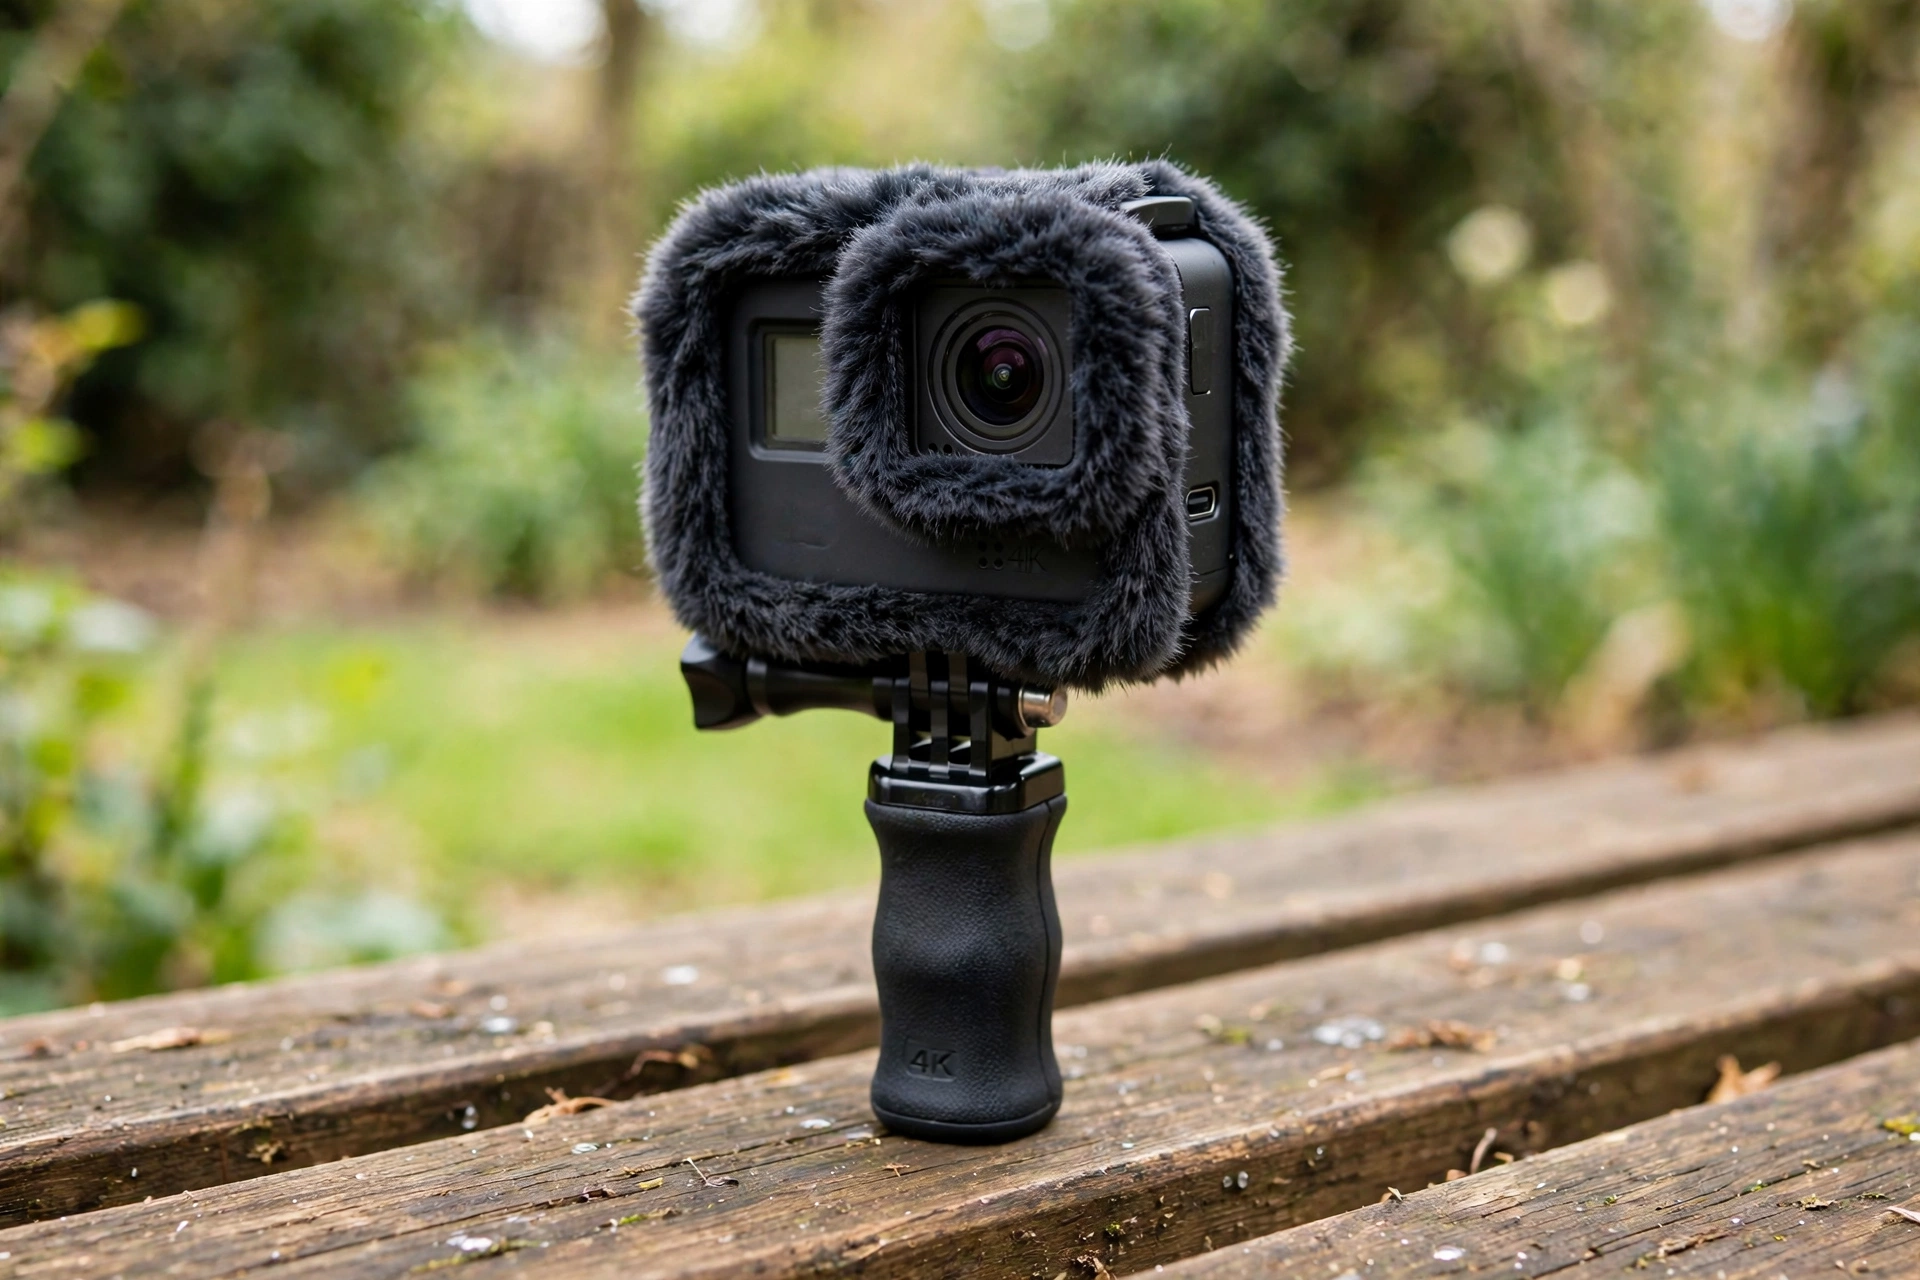
Wind noise is the mic membrane being hit by moving air, and once it clips, the voice under it is gone. Foam and furry covers break the air flow before it hits the mic, and are worth using on every outdoor shoot, because movement creates its own wind. Distance is the second fix: a chest mount mic sits further from your mouth than a grip near your face, and sounds thin and distant. For a key line on a bike, slow down and speak louder and slower than feels natural. For surf or ski, record talking on the beach or at the lift.
A small wireless mic near your mouth gives far cleaner voice at speed, but its receiver or housing may not be waterproof and may need a mod that breaks the camera seal. Use two modes: dry mode with an external mic on land, and bare camera mode for water, with voice added later. In editing, use noise reduction gently: a light pass lowers hiss, a heavy pass makes voices sound underwater. If a clip needs heavy repair, re-record the voice cleanly over the action or cut the clip shorter.
Power, Cards, Tethers, and Safety Checks
Carry a spare battery and a spare card, tether anything that can fall, and do a one minute check before each activity: mount tug, seal check, card space, battery level, and a test clip.
Small cameras mean small batteries and cards. Cold, high frame rates, stabilisation, and a screen left on drain power faster, so a full day on one battery is not realistic. All day shooting is possible with battery swaps or external power, not on a single battery. Carry a spare battery, kept warm in an inside pocket in cold weather because cold saps batteries, and kept shaded in heat, plus a spare card, and swap at a natural break.
Tethers and float grips follow one rule: if the mount fails, something else must catch the camera. Check knots and clips in the one minute check. Never let a camera take your hands off the controls or your eyes off the trail. Mount before you move, and do not adjust a mount mid descent, mid wave, or in traffic. If a shot needs a risky position, skip it. Shade the camera between takes on hot days, since heat can shut it down.
Why a Small Camera Shuts Down When Hot, and How to Stop It
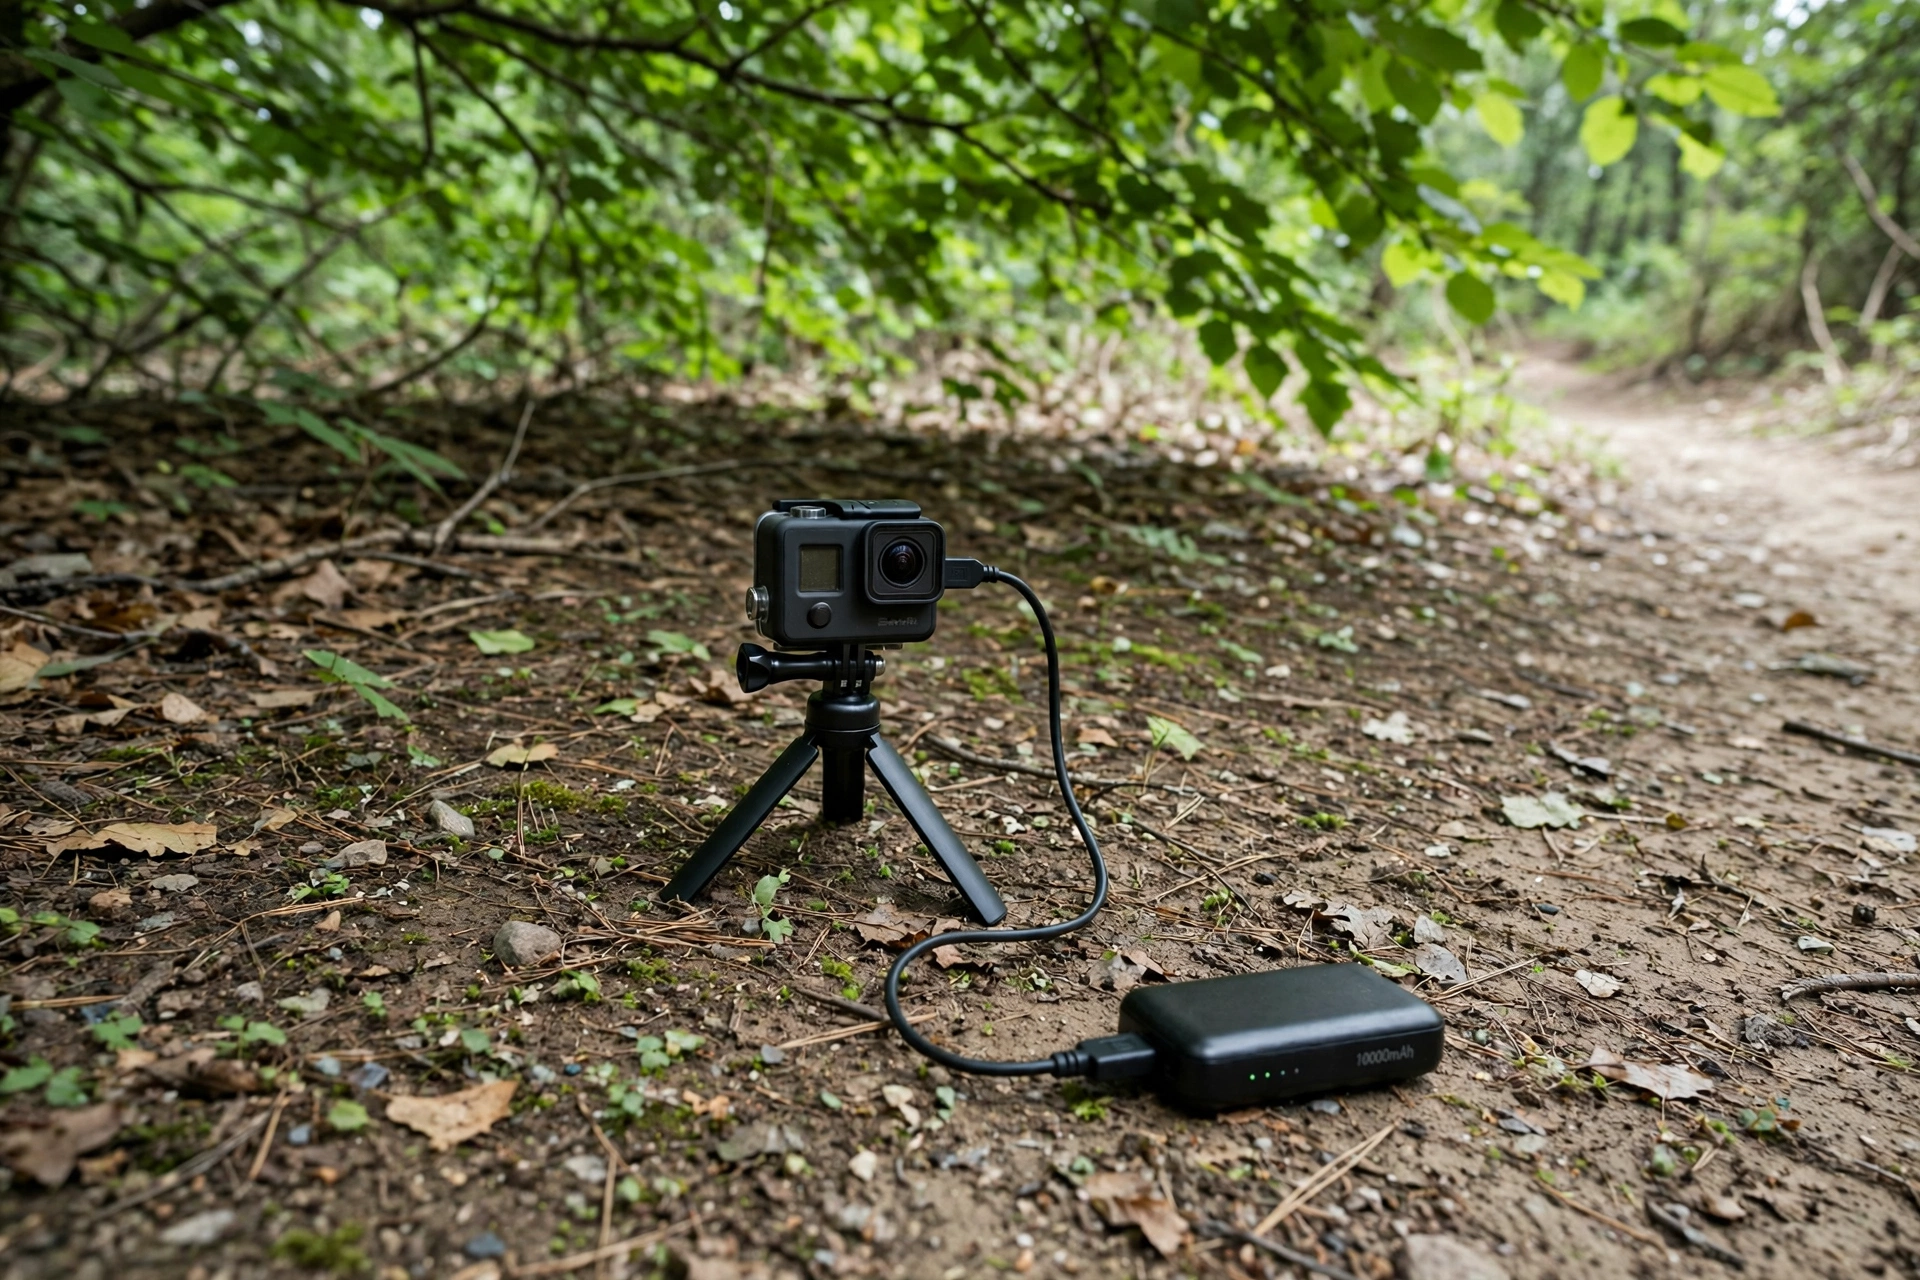
A shutdown that looks like a fault is usually thermal protection doing its job. A small sealed body running high resolution video, stabilisation, and wireless radios generates a lot of heat with nowhere for it to go, and a static camera in sun or inside a housing has no airflow to shed it. That is why the same camera can run for a long session on a bike, with moving air and battery swaps along the way, and still shut down quickly when left static in sun or inside a sealed housing. Battery endurance and heat shutdown are separate limits: swaps and external power solve the first, shade and airflow solve the second. Work through this order: drop one resolution step, turn off wireless, voice control, and GPS features you are not using, record in shorter takes with real pauses, keep the camera shaded and in moving air where possible, and for a static shot, use external USB power without the internal battery if your camera supports that mode, since the battery itself adds heat.
A Shoot Day Workflow That Holds Together
Plan four shot types, shoot short clips in order, check a test clip at each change of light or activity, and back up before you sleep. A simple workflow beats a clever one you abandon by lunch.
Start the night before: charge batteries, format cards after backing up, clean the lens cover, check seals and mounts, and lay out only the mounts you plan to use, plus a cloth, spare battery, spare card, tether, and a dry bag to keep spares and cards dry in rain or on water. On the day, shoot in this order: a wide establishing clip, a face to camera piece in a calm spot with clean audio, action clips in short bursts with a changed angle every few clips, detail clips for texture, and a closing face to camera piece while the day is fresh. Between activities, repeat the one minute check and a test clip. At day end, back up cards to two places if you can and keep cards separate from the camera overnight, so a lost or stolen camera does not take the footage with it.
Worked Example: A 90 Second Bike Vlog, Shot by Shot
Use this plan as a template for any ride. It totals about 90 seconds in the edit, from roughly eight minutes of raw clips, and it uses several angles so no single view overstays its welcome.
| Edit time | Shot | Mount and note |
|---|---|---|
| 0 to 10 seconds | Trailhead and route, no talking | Grip, wide view, let the place speak first |
| 10 to 25 seconds | Face to camera: where you ride, why today matters | Short grip in a calm spot, clean voice |
| 25 to 45 seconds | Climbing and trail detail, natural sound only | Chest mount, short bursts |
| 45 to 65 seconds | Descent, the hero moment | Chin or helmet mount, higher frame rate for slow motion |
| 65 to 80 seconds | Detail: hands, brakes, viewpoint, drink stop | Grip or tripod, slow and steady |
| 80 to 90 seconds | Closing face to camera: one honest takeaway | Short grip, stopped, clean voice |
If a shot fails, cut it and extend or replace another shot to hold the total near 90 seconds. A tight short vlog beats a long one padded with a bad angle.
Troubleshooting: Diagnose the Clip That Went Wrong
Do not reshoot everything when one thing fails. Match the symptom to its most likely cause, fix that one thing, and shoot a short test clip before committing to a long take again.
| Symptom | Most likely cause | Fix first |
|---|---|---|
| Fog inside lens or housing | Humid air sealed inside meeting a colder surface | Dry air assembly, fresh desiccant, shade, power down between takes |
| Voice drowned by wind | Air hitting the mic at speed, or mic too far from mouth | Foam plus furry cover, slow down for the line, or record voice in a calm spot |
| Shaky footage at speed | Long flexible mount, or stabilisation too weak | Short rigid mount, middle stabilisation for general speed work, stepping up to the strongest mode only for a rough descent, shorter clips |
| Face stretched or ballooned | Face near frame edge, or camera too close | Centre the face, step back, narrow the field of view |
| Camera shuts down when hot | High resolution plus radios, with no airflow | Drop a resolution step, turn off unused radios, shorter takes, shade |
| Battery dies early | Cold, high frame rate, screen or wireless left on | Spare battery kept warm in cold weather and shaded in heat, normal rate for talking, turn off unused features |
| Card fills or errors mid day | Highest resolution all day, or card not formatted in camera | Mid resolution for talking, spare card, format in camera after backup |
| Picture pulses at the beach | Auto exposure chasing sky, sand, and waves | Lock exposure on the scene, not the sky |
Mistakes That Ruin Action Camera Vlogs
The same seven errors ruin most action camera vlogs: one angle all day, a face at the stretched edge of the frame, wind drowned voice, a mic mod taken under water, and no tether over water or at height.
- One angle all day. Change mount, distance, or direction every few clips, even if the activity has not changed.
- Face at the frame edge. Centre the face, step back, or narrow the field of view. Distortion is easy to avoid and hard to fix later.
- Talking into speed. Slow down, shield the mic, or record the words in a calm spot and cut them over the action.
- Water with the wrong setup. Remove mic housings before submersion, close doors fully, and stay inside your model’s depth rating.
- No tether. Add a tether or float wherever a drop means loss, especially over water, at height, or at speed.
- Long unbroken takes. Shoot short, speak in complete thoughts, and leave pauses for editing. A tight edit starts with tight shooting.
- Skipping the test clip. Ten seconds at each new light or activity catches wrong settings before they cost a whole session.
As an Amazon Associate I earn from qualifying purchases. If you need mounts to try the matrix above, a search for action camera mounts is a practical starting point for comparing chest, helmet, handlebar, and grip options for your own camera model: action camera mounts on Amazon. Check fit for your camera before ordering, because mount systems differ by model.
Frequently Asked Questions
Can an action camera be my main vlogging camera?
Yes, for active, outdoor, and travel vlogs where movement and toughness matter. It is weaker for sit down talking pieces in low light, where a larger camera with a bigger sensor and a flip screen gives cleaner skin tones and easier framing. Many creators use an action camera as their second camera for action, and a main camera for talking, which plays to both strengths.
Is my action camera waterproof with a mic mod fitted?
No. A mic housing or media mod opens or replaces a door and exposes ports and mics, so it is weather resistant, not waterproof. Remove it, refit the original door, check the seal, and only then take the bare camera under water, inside its own rated depth.
Why does my face look stretched or too big on an action camera?
A wide lens stretches anything near the frame edge and enlarges anything very close to the lens. Keep your face near the centre, hold the camera at arm’s length or further, and use a narrower field of view for talking pieces if your camera offers one.
What settings should I use for cycling or running?
Use a higher frame rate than normal so fast motion stays readable and a key moment can be slowed down, with stabilisation on. Keep talking pieces at a normal frame rate, because high frame rates need more light and can look noisy in shade or evening light.
How do I stop fogging, on the lens or inside a housing?
Fog is moisture condensing when humid air sealed inside meets a colder surface, so stop the moisture getting sealed in. Seal a housing in dry air, not on a humid beach, add a fresh desiccant insert, keep the sealed camera shaded, and power it down between takes so trapped air stays cooler. Keep the camera near the temperature of the shoot, open housings as little as possible in humid air, and use anti fog inserts if your housing supports them. If fog appears, dry the lens and the inside of the cover and let the camera settle before shooting again. Reusing a damp insert, or sealing humid beach air inside, is why fog returns even with an insert fitted.
How do I fix wind noise in my vlogs?
Use a foam cover, add a furry cover at speed, get the mic closer to your mouth, and slow down or stop for lines that must be understood. If a clip is still unusable, re-record the voice in a calm spot and cut it over the action rather than forcing a heavy noise reduction pass.
Do I need ND filters for action camera vlogging?
Not for most talking and travel vlogs. ND filters help in very bright light when you want a slower shutter for natural motion blur, such as a bright surf or snow day. For everyday vlogging, a clean lens, locked exposure, and good stabilisation matter more.
How do I keep my camera from falling off a mount?
Tighten, then tug test every mount, let adhesive mounts cure overnight on a clean dry surface, and add a tether for water, height, or speed. Recheck after the first few minutes of an activity, because vibration loosens mounts that felt tight at the start.
Can I use an action camera under water in the sea?
Yes, bare and inside its rated depth, with seals clean and doors fully closed. Rinse it in fresh water afterwards while still closed, dry it, and only then open it. Salt, sand, and an open door are the usual causes of water damage, not depth alone.
Chin mount or top mount: which is better for riding vlogs?
Chin first for a solo riding vlog: near your line of sight, low wind drag, stable framing. Top mount gives a wider view but catches more wind and vibration. Chest mount suits a half shell helmet, or handlebars and arms in frame.
Why does my action camera shut off when it gets hot?
That is usually thermal protection, not a broken camera. High resolution video, stabilisation, and wireless radios generate heat in a small sealed body, and a static camera in sun or inside a housing has no airflow to shed it. Drop a resolution step, turn off radios you are not using, record in shorter takes, and keep the camera shaded and moving in air.
Keep Exploring
- Best Action Camera for Vlogging
- How to Remove Background Noise From Video
- Best Underwater Cameras for Snorkeling
- How to Script a Vlog
Good action camera vlogging is less about owning every mount and more about choosing the right one for each shot, framing a face the wide lens can flatter, and respecting water, wind, and battery limits. Shoot short, check test clips, tether what can fall.