
Last updated: October 2026
Viewers who love the way your vlogs look will eventually ask how you got the look, and viewers who want your workflow will ask you to teach it. Presets, LUTs and courses answer those questions with products instead of repeated comments. A preset hands over a photo edit. A LUT hands over a video colour look. A course teaches the skill behind both. Sold together, in the right order, they turn one recognisable style into a small product line. This guide covers building each product, licensing it honestly, selling it, and stacking the three into a ladder your viewers can climb.
Key takeaways
- Presets are for photos, LUTs are for video. Mixing them up is the first mistake buyers spot.
- Video LUTs live or die on skin tones and log footage. A look that turns faces orange or green will not survive a vlog.
- Licences are the product, not the small print. Personal, commercial and team use are different promises with different prices.
- Marketplaces bring buyers but keep a share. Your own checkout keeps more of each sale, but only works once you bring the traffic.
- The ladder is free sample, then pack, then course. Each step earns the next one, sold to your own viewers.
On this page
- What you are actually selling
- Start with the look buyers already know
- Which product should you build first
- Build a preset pack that survives other people’s photos
- Build video LUTs for real vlog footage
- Turn repeated questions into a course
- Licences: personal, commercial and team use
- Where to sell: marketplace or your own checkout
- The product ladder: free sample, pack, course
- Before you launch: the pre-launch checklist
- Mistakes, refunds and support
- Selling presets, LUTs and courses, answered
- Keep exploring
What you are actually selling
You are selling three different things: a preset is a saved set of photo editing adjustments, a LUT is a colour map for video, and a course is teaching. Buyers use them differently and need different promises for each one.
A Lightroom preset applies a complete photo look in one click. Desktop presets travel as XMP files. Mobile presets travel as DNG files, image files carrying the edit inside them, ready to be copied onto a phone. A buyer applies your preset to their own photo, then adjusts exposure and white balance to suit their shot. That shapes how you build the product: a preset that bakes in your exposure and white balance will look wrong on almost every photo that is not yours.
A LUT, short for lookup table, maps input colours to output colours, so a video clip graded with a LUT comes out with a consistent look. Video LUTs travel as .cube files and are used in editing software such as Premiere Pro, DaVinci Resolve and Final Cut Pro, or on a phone in apps that accept LUT import. Two LUT jobs must not be confused. A conversion LUT turns flat log footage into a finished, viewable base, and it is applied first, on the uncorrected log clip. A creative LUT adds a look on top of finished footage, and it is applied last, after conversion and after correction, with its strength pulled down to taste. A preset changes a still image. A LUT changes moving footage. A course is neither file: it is a promised outcome, such as grading a vlog from flat log footage to a finished look, taught in order with practice. The buyer pays for the teaching, not for the files alone, even when the course includes your presets and LUTs as teaching material.
| Product | What the buyer gets | File or format | What makes it good |
|---|---|---|---|
| Photo preset pack | A repeatable photo look, in one click | XMP for desktop, DNG for mobile | Works across cameras, light and skin tones |
| Video LUT pack | A repeatable video colour look | .cube files: one conversion LUT per log profile, plus creative LUTs made for finished footage | Protects skin tones and states which footage it fits |
| Course | A skill, taught in order, with practice | Video lessons plus worksheets or example files | One clear outcome, taught with real vlog footage |
These products earn from your existing audience first. A stranger browsing a marketplace has no reason to pick your look over thousands of others, but a viewer who has watched twenty of your vlogs already knows your look and already wants it. Marketplaces do bring browsers, but browsing is not preference: standing out there still needs strong previews, reviews, and a sample, so discovery is possible, not automatic. If you are still building the audience itself, our guide to how to start vlogging comes first, and this guide will wait.
Start with the look buyers already know
Do not invent a look for a product. Sell the look your vlogs already have, aimed at the people who already watch them, and let your comments tell you which version of it buyers want.
The reliable signal is repetition. When the same question arrives under video after video, that question is a product brief. “How do you get those warm evening tones?” is a preset and LUT brief. “How do you grade your travel footage so fast?” is a course brief. “Can I use that look on my phone footage?” is a compatibility brief. Write down the repeated questions for a month before you build a paid product. A small free sample offered to test whether a question keeps repeating is not building the pack: it is how you check demand before you build. A full paid pack built before any viewer asked for the look is the mistake. A product built from them starts with buyers waiting. A product built from a guess starts with a launch to silence.
Next, name the niche narrowly. A generic pack promising a cinematic look for everyone competes with every generic pack ever made. A pack built for a named situation competes with almost nothing: warm travel vlogs shot in harsh sun, cosy indoor talking head videos under mixed household light, or clean daylight looks for city walk and talk footage. Then check the look survives outside your footage. A buyer has a different camera, different light and different skin tones in frame. If your look only works on your golden hour footage, it is not a product yet, it is a personal habit. The testing sections below turn the habit into something strangers can use. Build only from your own edits and your own footage, with previews you shot and have the right to show.
Which product should you build first
Build the product your audience is already asking for, in the order they can try it cheapest: a pack first when viewers ask about your look, a course first only when viewers keep asking you to teach a skill.
Most guides tell you to build everything and let buyers choose. That advice fails first time sellers, because each product needs a different kind of proof. Find the signal you actually have in the table, and it names your first product.
| Signal you already have | Build this first | Why it fits |
|---|---|---|
| Comments ask how you got a look, on photos or video | One preset or LUT pack | Fastest to build and test, and a free sample proves it on the buyer’s own footage |
| Comments ask how you do a whole workflow, step by step | One short course on that workflow | The question is a skill, not a look, so a file alone will disappoint the asker |
| A pack already sells, and buyers ask what comes next | A course that teaches the look in the pack | Buyers already trust the files, so the course starts with believers, not strangers |
| No repeated questions yet, only general praise | Nothing for sale yet: a small free sample to test demand, plus a question | Praise is not demand. Publish, offer a small free sample to test whether a question repeats, and let the repeated question name the paid product |
The default rule is a pack first, in most cases. The workflow question row is the exception that overrides that default: when viewers keep asking you to teach a whole workflow step by step, build the course first, because a file alone will disappoint the asker.
Two rules sit behind the table. First, never build a course to create demand for a pack nobody asked about; courses amplify demand that already exists, they do not invent it. Second, a small, warm audience beats a large, cold one for a first product: viewers who reply to your emails and have watched your recent vlogs will try a sample and tell you honestly what failed. If your signal points to a course, read the pilot method in the course section before recording anything.
Build a preset pack that survives other people’s photos
A preset pack earns its price by working on photos you never shot: different cameras, different light, different skin tones, with exposure and white balance left for the buyer to set.
Start in Lightroom on your desktop. Edit a photo until it carries your look, then save only the settings that make the look. Leave exposure and white balance out of the saved preset. Those two settings swing wildly from photo to photo, and baking them in is the most common reason a bought preset looks broken on arrival. Name each preset plainly, and group the pack around one theme with variations for real conditions: a base look, a deeper shadows version, a warmer version for shade, and a gentler version for indoor light. As a working guide, not a rule, a starter preset pack of around 8 to 12 presets, covering the base look plus variations for the conditions above, gives buyers a toolkit without padding. A pack of near identical files feels padded. A pack where each file answers a different shooting condition feels like a toolkit.
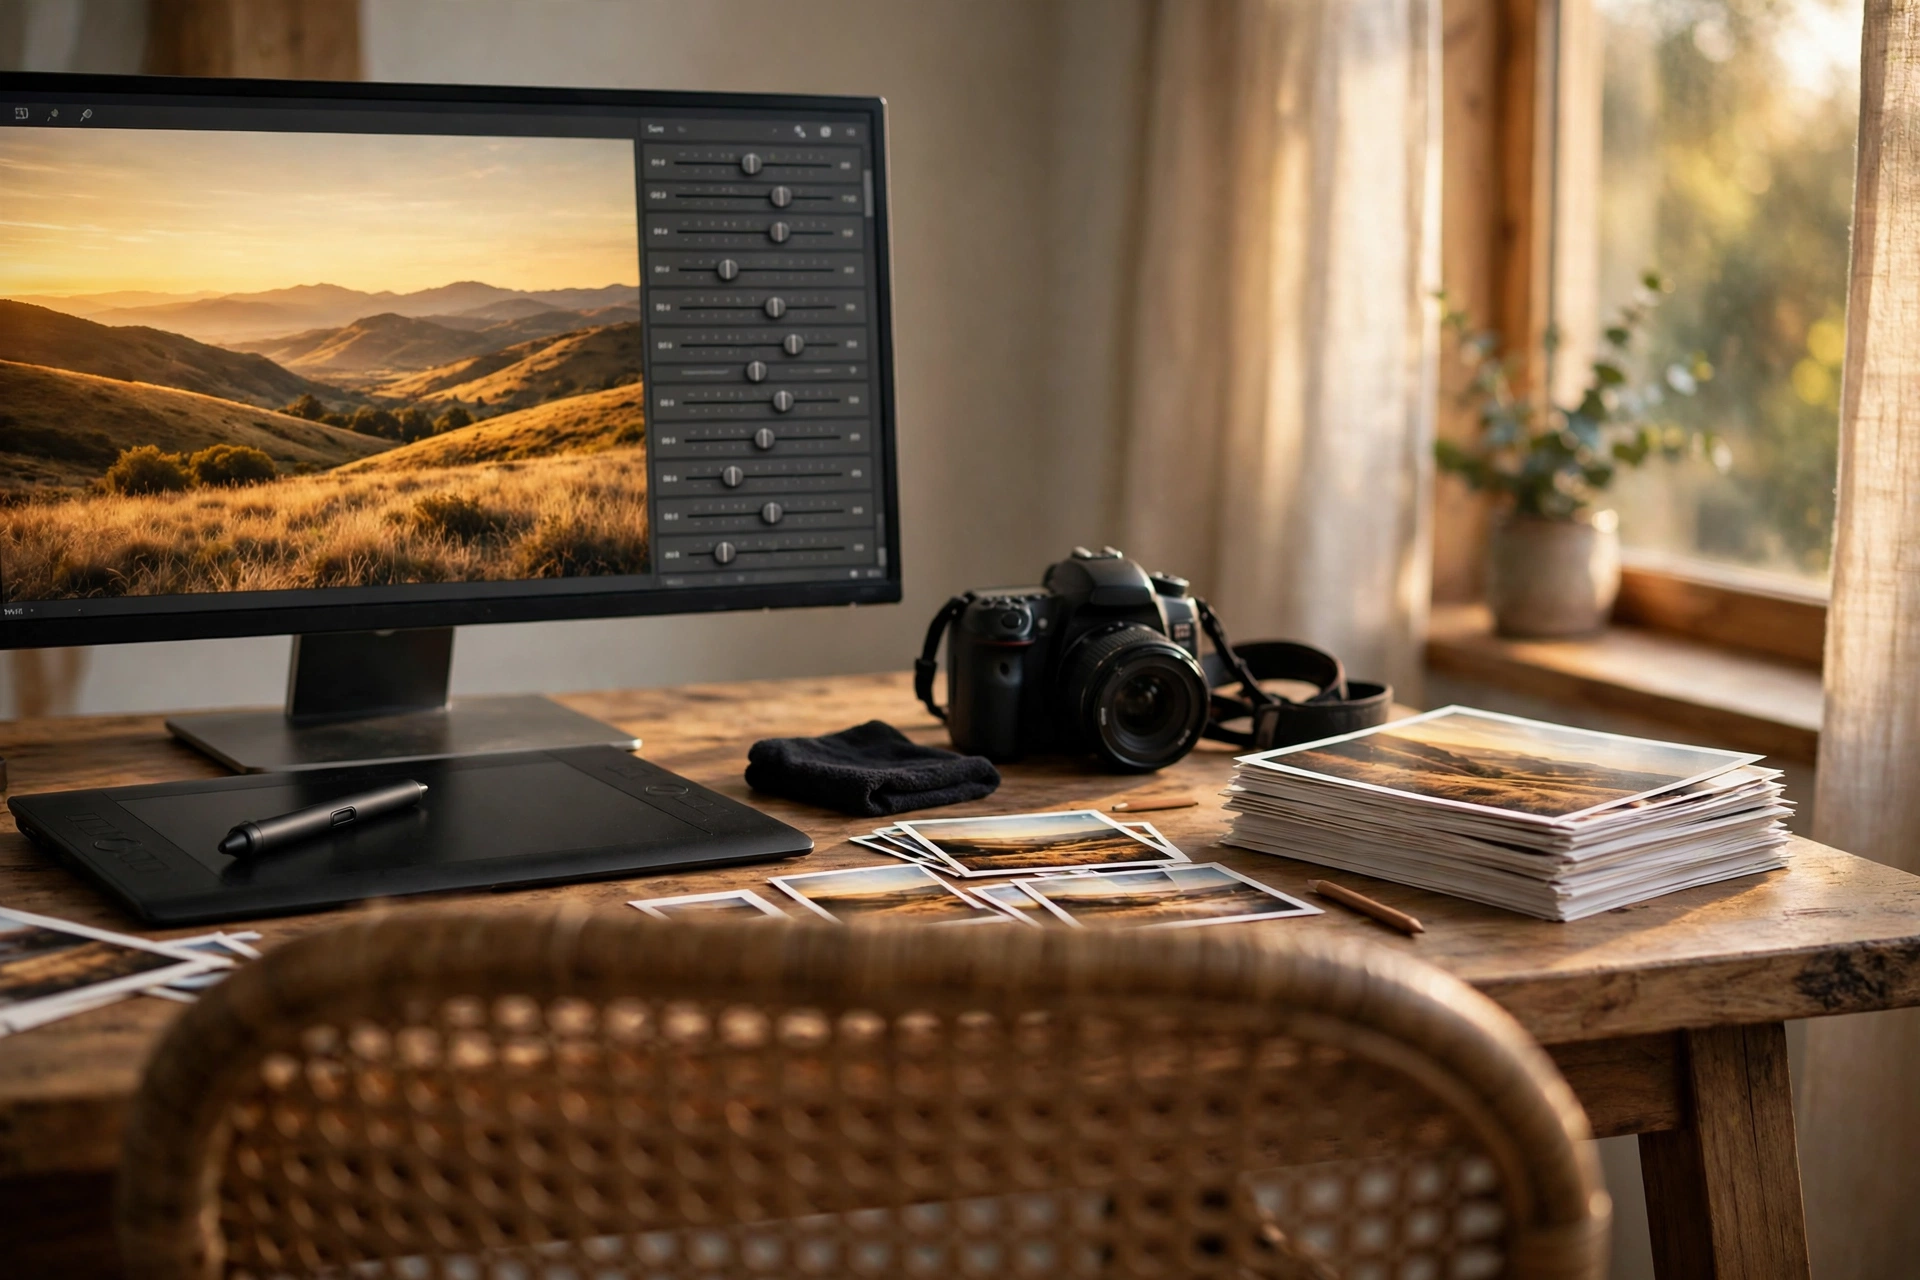
Testing is where the pack is made or lost. Run every preset across a messy range of photos: bright sun, deep shade, overcast days, indoor rooms with warm lamps, portraits with fair skin and portraits with deep skin, phone photos and camera photos. Watch for skin turning orange or green, shadows crushing to pure black, highlights blowing out, or indoor light going muddy. Fix the preset, not the test photo. Buyers judge a pack by its worst result on their photos, not by its best result on yours. Export DNG versions alongside the desktop XMP files for mobile buyers, put both sets in one zip file with a short PDF install guide showing where to click on desktop and on mobile, and add a readme stating which software versions the files fit. For previews, show before and after pairs on real photos in the situations the pack claims to handle, including one difficult case, not only golden hour, and watermark the preview images, never the product files.
Build video LUTs for real vlog footage
A vlog LUT pack must cover two jobs, in one fixed order: a conversion LUT that turns flat log footage into a finished base, then correction, then a creative LUT that adds the look, while keeping the vlogger’s face looking like a face under every light the vlog walks through.
Most vlog cameras offer a flat log profile that holds more highlight and shadow detail for grading, with names that differ by brand, alongside a standard finished profile that already looks contrasty and colourful straight from the camera. A conversion LUT built for one log profile will not behave on another, and a creative LUT made for finished footage will look wrong on flat log footage. So build and label one conversion LUT per log profile: one for each log profile your audience uses, plus a creative LUT made for finished profile footage if you offer one. State the profile on the sales page and in the file name. A buyer who applies the wrong LUT and gets a washed out or oversaturated mess will blame the product, and they will be right to complain, if you never told them which footage it fits.
Skin tones are the test that matters most for a vlogger. A vlog keeps a face on screen for most of its running time, in sun, in shade, under shop lights and under mixed indoor lamps that push skin green or magenta. Test every LUT across skin tones from fair to deep, and across those lights, watching for orange casts, green shadows, grey skin, or faces that lose all texture. Include a gentler variation of your strongest look, because buyers will reach for it on every close talking head shot, and a look at full strength that suits a wide landscape shot is often too much on a face. As a working guide, not a rule, a starter LUT pack of around 5 to 8 LUTs, covering the log profiles your audience uses plus the gentler talking head variation, is enough for a first release. If your look cannot survive a face, it cannot survive a vlog, however good it looks on scenery.
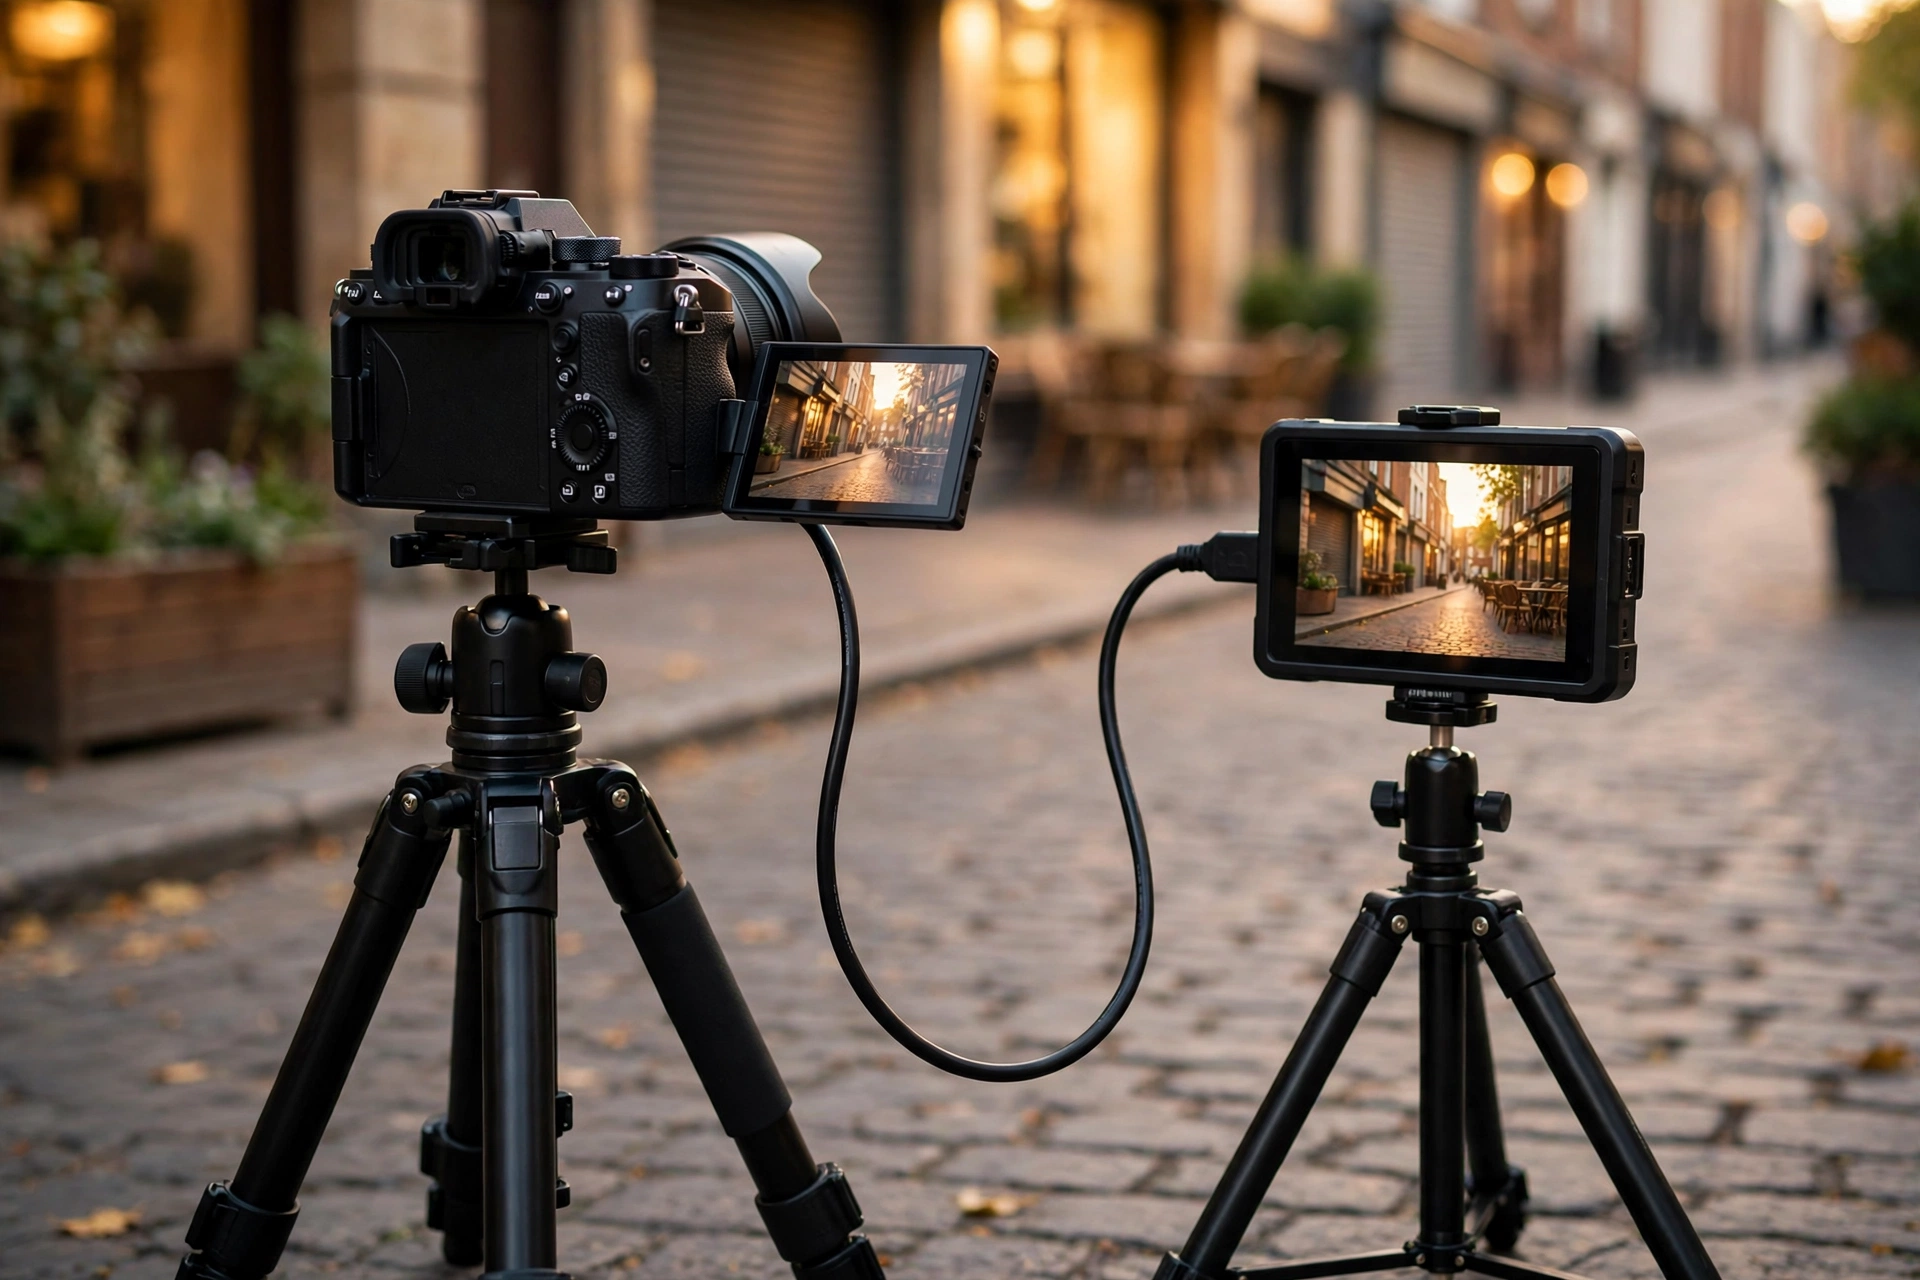
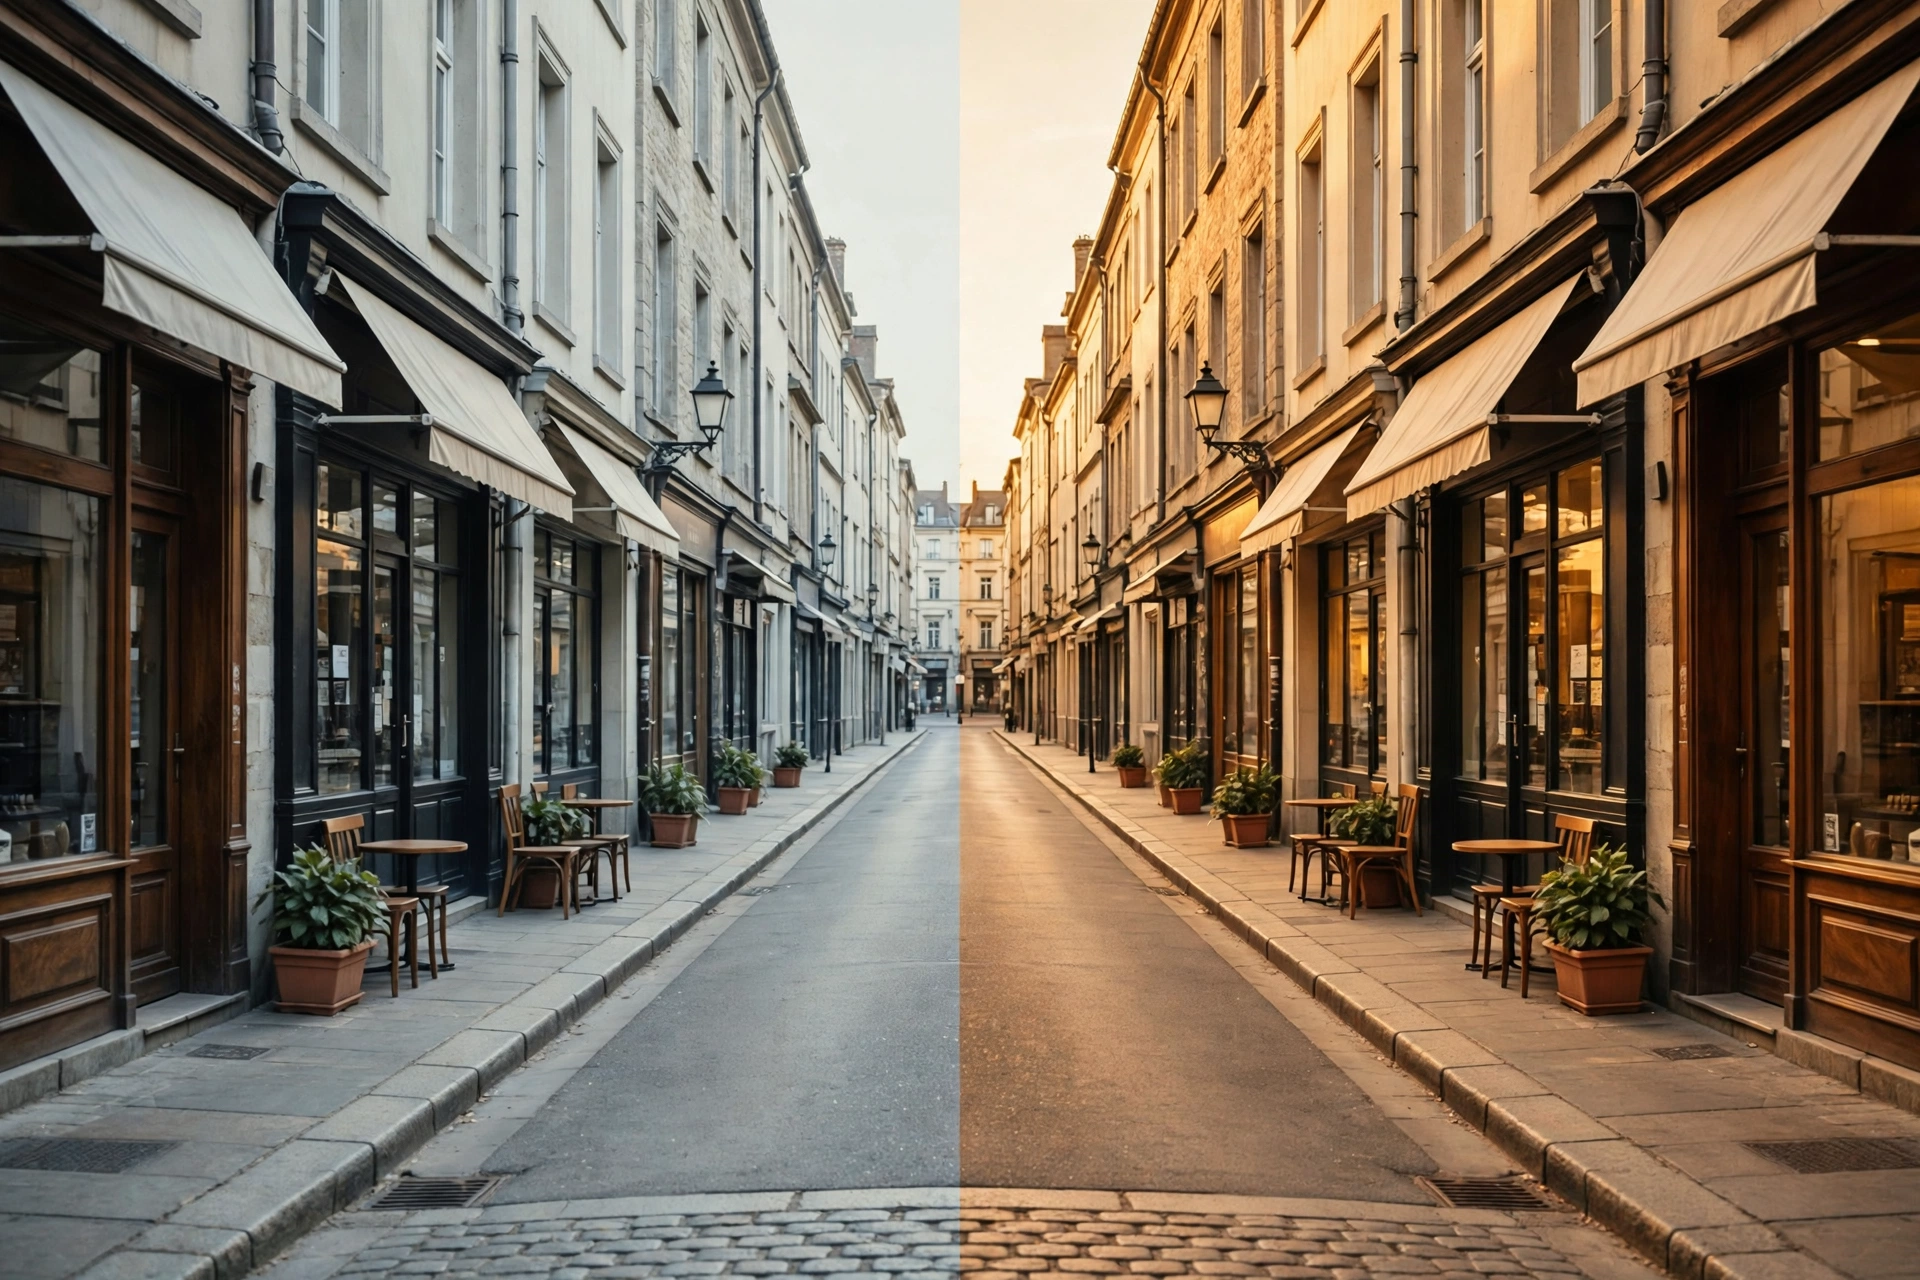
Teach the order of operations in your guide, because the creative LUT is the last step, not the first. The working order is the same every time. First, convert log footage to a finished base with a conversion LUT, or skip conversion if the footage was shot in a finished profile. Next, correct that base: set exposure and white balance for the clip and fix contrast so the image looks natural. Only then apply the creative LUT, pulling its strength down until the look sits naturally rather than shouting. A LUT fixes colour only, not exposure, focus, or sound, and your guide should say so plainly as a scope limit. Warn against stacking: one LUT per clip, adjusted for strength, beats two looks fighting each other. Test a LUT on another brand’s footage rather than assuming it transfers. Package LUTs with a PDF listing each file, the log profile it fits, the software it has been tested in, and the convert, correct, then creative LUT workflow in short steps. Show before and after video clips, not only still frames, because a LUT that shimmers, bands or crushes shadows only shows its faults in motion, and include a talking head clip under ordinary indoor light as well as a scenic clip. If you sell a phone version, say which phone log footage it fits and test it there, because phone log and camera log are not the same starting point. For the grading craft behind all of this, our guide to colour grading for vloggers covers that convert, correct, then creative LUT workflow in full.
When the LUT looks wrong, diagnose it before blaming the file
The most common LUT complaint is also the most misdiagnosed: the look was right in the preview, but on the buyer’s footage it comes out milky and flat, or violently oversaturated with orange skin. In most cases the LUT is not broken. The footage and the LUT disagree about what kind of image they are working with, and the fix depends on which disagreement you have. Work through the table in order, checking one fault at a time.
| What you see | What it usually means | Fix it in this order |
|---|---|---|
| Footage looks flat, milky or washed out after the LUT | A creative LUT made for finished footage was applied to flat log footage that was never converted first | Convert the log footage to a finished look first, then correct exposure and white balance, then apply the creative LUT last |
| Footage looks crushed, contrasty and oversaturated | The footage was already converted once, and a second conversion was applied on top | Check whether your editor already converted the clip automatically, and turn that automatic conversion off before applying your own LUT, so the conversion happens exactly once |
| Skin turns orange or green, while scenery looks fine | White balance was off before the LUT, or mixed lighting is pushing skin in one direction | Turn the LUT off, correct white balance on the bare clip until skin looks natural, then turn the LUT back on at reduced strength |
| The same LUT looks different on two cameras in one vlog | Two cameras interpret colour differently, or one clip was shot in a different profile | Correct each camera’s clips to a common starting point first, then apply the LUT, and adjust strength per camera rather than expecting one strength to fit both |
The double conversion trap in the second row deserves a sentence of its own, because few LUT guides warn about it and it catches experienced editors too. Some editing software converts log footage automatically when it enters the timeline, based on the clip’s own data, without asking. If you then apply a LUT that also converts log to a finished look, the footage gets converted twice, and the result is the crushed, oversaturated version buyers describe as broken. Before you judge any LUT, check your editor’s automatic colour handling for that clip and make sure conversion happens once, in one place, under your control. Sellers should put this check in their LUT guide, because it turns a refund into a five minute fix.
Turn repeated questions into a course
A course that sells is a small, specific skill taught in order, filmed with the setup you already own, and finished by students who can show the result. Start with one outcome, not one subject.
Pick the outcome from the same repeated questions that pointed at your packs. “Teach me your colour grading” is a subject, and it is too big for a first course. “Grade a travel vlog from flat log footage to a finished look in one evening” is an outcome, and a student can tell whether they got there. Outline backwards from that outcome: list the steps a student must actually perform, in order, and make each step one short lesson with one piece of practice. Add a worksheet or checklist per module that the student keeps, because the worksheet is what they reach for on their next real vlog.
Film it with the gear you already use. Face to camera suits presentation and motivation. Screen recording with voiceover suits editing lessons, where the student needs to see every click. Keep each lesson short enough to finish in one sitting, as a working guide around 5 to 15 minutes per lesson, record in a quiet room, check audio before recording a whole module, and keep one finished example vlog filmed on camera, graded in editing, start to finish, as the centrepiece. As a working guide, not a rule, a first course of around 2 to 4 hours of lessons in total, built from short lessons in order, is long enough to teach one outcome without sprawling into a subject.
Hosting is a choice between simple and full featured, and simple wins for a first course. The simplest working setup is a payment page linked to private video delivery and an email that sends access after payment. It costs little and suits a short course with no community. A full course platform adds lesson progress, quizzes, student accounts and a discussion area, and it charges for that, usually as a monthly plan, whether students arrive or not. Choose the platform only when you need what it adds. Test the course as a live pilot with a small founding group from your own audience, as described in the pilot subsection below, fix the stuck points, cut the skipped parts, and only then record the finished course and launch it to your pack buyers and your email list first. Price by the outcome and the support you will give, not by the hour count, and state plainly what support is included and for how long.
Sell the course before you finish recording it
The most expensive way to launch a course is to record the whole thing in private and discover afterwards that nobody wanted it. The cheaper way is to sell backwards. Write the outcome, draft a short syllabus of three or four modules, and offer it to a small founding group from your own audience before you record the full course. Teach that group live, week by week, and let their stuck points rewrite your lessons. The founding group gets a lower entry point and direct access to you. You get proof of demand, real student results, and testimonials that describe an outcome, before the recorded course ever goes on sale.
Two habits make the pilot method work. First, warm the audience up for two to four weeks before enrolment opens: share the problem the course solves, teach one free piece of it, run a short question session, and ask readers what blocks them most. An audience that has thought about the problem for weeks will recognise the course as the answer. Second, change only one thing per launch. The email sequence is the selling method from the first launch itself, not an improvement saved for later: deliver the sample, answer the install questions, show results, then offer the pack. A later launch refines that sequence, for example by improving one step of it, and you will know what caused any change in results.
Licences: personal, commercial and team use
Every preset and LUT sale needs a licence in plain words: who may use the files, on what kind of work, on how many seats, and what nobody may do with the files themselves.
Most sellers offer three tiers, and naming them clearly prevents most arguments. A personal licence covers the buyer’s own non-monetised content only: their own channel, their own social posts, their own portfolio, with no earnings from that content. A commercial licence, sometimes called a creator licence, covers any monetised work, including a monetised own channel, and work made for paying clients, still for one person on their own machines. The line is earnings, not ownership: if the content earns money, it needs at least a commercial licence. A team or studio licence covers a named number of seats, so a small production team can share the pack legally without passing one copy around the office. Each tier costs more than the one below it, because each tier lets the buyer earn more from your work.
What the tiers share matters as much as what separates them. In every tier, the buyer may use the look in finished photos and videos they make with the files, and may keep using files they bought even if you later release a new version. Whether finished work may be paid or monetised work depends on the tier: the personal tier covers non-monetised own content only, while the commercial and team tiers cover monetised and client work as described above. Sharing inside the licence is allowed: a team licence lets the named seats use the same pack. Sharing outside the licence is never allowed: in no tier may the buyer resell, give away, share outside the licensed seats, or upload the preset or LUT files themselves, include them in another pack, or claim them as their own work. Finished photos and videos made with your look belong to the buyer. The files that make the look stay yours. Writing those two sentences, in those words, on the sales page and in the readme, clears up the confusion behind most licence disputes. Also state what happens on a refund: the licence ends when the money goes back, and the buyer must delete the files, and whether updates are included and for how long. This guide is not legal advice, and for a pack aimed at studios or agencies, a short review by a local professional is money well spent before launch, not after a dispute.
Where to sell: marketplace or your own checkout
Marketplaces hand you browsing buyers and take a share of each sale. Your own checkout keeps more of each sale and the buyer list, but you must bring every buyer yourself. Most vloggers do well starting with one, then adding the other. The platform names below are examples to start your comparison, not a recommendation of any one of them. Judge each one by the choice criteria in this section, and check its current terms and fee page on the day you choose it.
A marketplace is a shop full of people already looking for presets and LUTs. That built in traffic is its whole advantage, and it matters most when you have no audience yet or when your audience is small. But that traffic is browsing, not preference: a stranger still has no reason to pick your look over thousands of others unless your previews, reviews, and sample win them over, so marketplace discovery is possible, not automatic. The costs are real: the marketplace takes a share of each sale, sometimes with listing or payment layers on top, it shows your competitors beside your product, and the buyer belongs to the marketplace, not to you, so you usually cannot email that buyer about your next pack. Rules also change, and an account can be limited over a rule you never saw, so read the seller terms for any marketplace you join. As examples only, marketplaces where preset and LUT sellers list include Etsy, Creative Market, and FilterGrade.
Your own checkout reverses the trade. You keep far more of each sale, you control the product page, the branding and the price, and every buyer lands on your own email list for the next launch. The cost is traffic: nobody browses your checkout by accident, so every sale must come from your videos, your descriptions, your email list or your social posts. As examples only, own checkout tools for digital products include Sellfy and Gumroad. Own checkout tools differ in how they charge, with some taking a share of each sale, some charging a flat monthly plan with no per sale share, and some charging only a small plan fee while payment processing takes its own cut. Payment processing is separate from the platform share on every route, so compare the full stack, not one headline number. Course platforms follow the same logic: some add discovery, most charge a monthly plan, and some take a share of course revenue as well. As examples only, course platforms include Teachable, Thinkific, and Podia.

| Route | Where buyers come from | What you keep | What you give up |
|---|---|---|---|
| Marketplace | People browsing the marketplace | Less of each sale, after the marketplace share | Control over the page, and direct access to the buyer |
| Own checkout | Your videos, descriptions and email list | More of each sale, plus the buyer list | Built in traffic, and you handle the marketing alone |
| Course platform | Your audience, plus platform discovery in some cases | Depends on the plan, after platform and payment cuts | Simplicity, and sometimes a share of course revenue |
If viewers already ask for your look, sell from your own checkout and link it under the videos where the look is visible, because those buyers are yours already and the marketplace share buys you nothing. If you have no such audience yet, a marketplace listing can earn first sales and first reviews while you build the channel, and you can move repeat buyers to your own checkout later. Either way, check the current terms and fee page of any platform on the day you choose it, because fee pages change often. Delivery should be automatic on every route: the buyer pays, the system sends a download link or course access by email at once. Test the whole path yourself before launch, on a phone and on a desktop: buy, download, install the preset, apply the LUT, open the first course lesson.
The product ladder: free sample, pack, course
Sell in steps that earn trust: a free sample proves the look on the buyer’s own footage, the full pack sells the complete look, and the course teaches the skill behind it to the buyers who want more.
The first rung is a free sample, and it should be genuinely useful, not a teaser that frustrates. Two or three files from the pack, the base look plus one variation for a two file sample, or the base look plus two variations for a three file sample, plus the install guide, is enough for a viewer to try the look on their own photos or footage and judge it honestly. Offer it in exchange for an email address, with a clear note about what emails will follow, because the sample list is what makes the later rungs work. A viewer who tries the sample and likes it has already done the hard part of the sale: they have seen your look on their own work.
The second rung is the full pack, sold where the look is visible. Link it under the videos that use the look, mention it briefly when the look is on screen, and show before and after clips in the video itself rather than reading a sales pitch. The email sequence does the patient work: deliver the sample, answer the install questions people actually ask, show a few before and after results from real footage, and only then offer the full pack, with the licence tiers explained. The third rung is the course, sold to pack buyers first. They already own the look and already trust the files, and inside the course the packs become teaching material, so the course feels like a natural next step rather than a second purchase of the same thing. A bundle of pack plus course can sit at the top for new buyers who want both at once, but keep the separate rungs available. Launch rung by rung, not all at once: the sample when a video using the look goes live, the pack after the sample list has tried it, the course after the pack has buyers.
Put together, a realistic first run looks like this. The month of collecting repeated questions and the two to four weeks of warming the audience are the runway before the first sale, not extra delays stacked on top of it. The first sample can go out within weeks of the look appearing in your videos. The first pack sale typically follows a few weeks after the sample list has tried it. The course follows after the pack has buyers. These are typical timings, not guarantees, and a pilot taught live week by week adds its own weeks before the recorded course goes on sale.
Before you launch: the pre-launch checklist
Run every product through the same checklist before it goes on sale. A launch that passes the list earns few support messages. A launch that skips it earns them all at once.
- Test matrix passed: every preset tested on bright sun, shade, overcast and indoor light, on fair and deep skin, and on phone photos versus camera photos; every LUT tested on each log profile it claims, on two cameras where possible, on skin tones from fair to deep, in sun, shade, shop and mixed indoor light, and on a talking head clip under ordinary indoor light.
- Files named and organised: file names state the pack, the look and the variation, with no stray test files inside. A preset pack zip holds desktop files, mobile files and the install PDF in separate folders. A LUT pack holds the .cube set plus a readme listing each file and the profile it fits. A course holds its lesson files and resources, such as worksheets, organised by module.
- Compatibility stated honestly: the sales page lists the software versions, log profiles and phone formats the product fits, and names what it does not fit, instead of claiming it works everywhere.
- Licence and refund text written: the tier terms, the no resale and no sharing outside the licence rule, what happens on a refund, and whether updates are included, all appear before checkout, not after it.
- Delivery tested end to end: a test purchase on a phone and on a desktop, followed by a real download, a real preset install, a real LUT application and a real first course lesson opened.
- Previews prove the hard cases: before and after examples include one difficult case, such as mixed indoor light or a face in shade, not only golden hour, and each preview is labelled with the file used.
- Support ready: a short troubleshooting page covers the common failures (preset not appearing after import, LUT washed out or oversaturated, mobile DNG import missed) so buyers get an answer before they ask for a refund.
Worked example, to show the list in use: a travel vlogger whose viewers keep asking about warm evening tones builds one pack, not three products at once. The pack holds a base look with shade, indoor and gentler portrait variations, in desktop and mobile files. The sales page names the light it fits, shows a portrait preview under indoor light alongside a landscape preview, and states the personal and commercial tiers. Sellers may offer two tiers only: a team tier is optional, not required. The free sample carries the base look and one variation. Only after the pack has buyers and their questions does the vlogger outline a short course teaching the grading workflow behind the pack, and sell it to pack buyers first.
Mistakes, refunds and support
Most preset and course failures are not creative failures. They are promise failures: the wrong footage, the wrong expectation, or no help when installation goes wrong.
The mistakes worth naming are the ones sellers repeat. Building a full paid pack before any viewer asked for the look. A small free sample to test demand does not count as that mistake. Testing only on perfect light and then meeting buyers who shoot indoors. Promising a result, such as a guaranteed look or guaranteed sales for the buyer, that no file can guarantee. Copying another seller’s settings or preview images. Launching a pack, a LUT set and a course on the same day, so none of them gets a proper launch. Pricing by counting files instead of by the outcome for the buyer and the support included. And hiding the licence, the compatibility list or the refund terms until after checkout, which turns ordinary questions into disputes.
Refunds need a policy written before the first sale, in plain words, on the sales page. Digital files cannot be returned the way a physical product can, since a buyer could keep the files after a refund, so a refund policy must state plainly that the licence ends on refund and the buyer must delete the files. Many sellers offer refunds only within a short window, or only when the files provably do not work as described, and say so before purchase. Whatever you choose, apply it consistently, and treat a buyer who cannot install the product as a support case first, because most of those buyers wanted the product to work. Keep a short troubleshooting page for the common cases: the preset does not appear after import, the LUT looks washed out because it was applied to the wrong profile, the mobile DNG import steps were missed.
Piracy deserves an honest paragraph. Preset and LUT files carry no effective lock: once a buyer downloads them, they can be copied and passed on, and no technical trick changes that. Protection is therefore practical, not technical. Sell through a checkout that gates downloads behind payment, watermark your preview images, write clear licence terms, and keep making products for an audience that wants to support you. Watermarking the product files themselves, or punishing honest buyers with awkward delivery, costs more goodwill than it saves in lost sales. Keep the line alive after launch too: fold buyer questions into the readme and the sales page, release a small update when a new camera profile becomes common among your viewers, and retire a preset that keeps failing on real photos instead of defending it. For the wider picture of how digital products sit among the other ways a vlog earns, our guide to how to make money vlogging places them alongside ads, affiliates, sponsorships and services, in the order most channels can realistically build them. And if the kit behind your look still needs work, our guide to vlogging equipment for beginners covers the camera, audio and light setup that any look depends on before grading begins.
Selling presets, LUTs and courses, answered
Straight answers to the questions creators ask before their first product, including the ones that decide whether a pack or a course should come first.
Do I need a big audience to sell presets and LUTs?
No, but you need the right audience. A small group of viewers who already love your look and ask how you got it will buy far more reliably than a large audience that watches casually. A marketplace can add discovery while your audience grows.
What is the difference between a preset and a LUT?
A preset is a saved set of photo editing adjustments, used in Lightroom on still images, delivered as XMP files for desktop or DNG files for mobile. A LUT is a colour map for video, delivered as a .cube file and applied in video editing software. They are not interchangeable.
Can I sell LUTs for phone footage?
Yes, if you build and test them for phone footage specifically. Phone log footage starts from a different place than camera log footage, so a LUT made for a camera profile will not behave the same on a phone clip. Label the phone version separately and test it on phone clips in daylight, shade and indoor light.
Do buyers need the same camera as me?
Not for presets, which work across cameras once exposure and white balance are left out, though results still vary by camera and light. For LUTs, the log profile matters more than the camera brand: a buyer needs footage in a profile your LUT was built for.
Should I sell on a marketplace or through my own checkout?
If viewers already ask for your look, your own checkout usually wins, because you keep more of each sale and you keep the buyer list. If you have no such audience yet, a marketplace can bring first sales and first reviews while you build the channel. Check the current fee and terms page of any platform on the day you choose it, because those pages change.
Can buyers use my presets for client work?
Only if their licence allows it. A personal licence normally covers the buyer’s own non-monetised content only, while a commercial or creator licence covers any monetised work, including a monetised own channel, and work made for paying clients, for one user. A team licence extends that to a named number of seats. The finished photos and videos belong to the buyer, but the files themselves must never be resold, shared outside the licensed seats, or given away.
How do I stop people sharing my files for free?
You cannot lock preset and LUT files technically, so do not promise that you can. What works is practical: sell through a checkout that gates downloads behind payment, watermark your preview images, write clear licence terms, and look after your buyers so they recommend you.
Why does my LUT look washed out or oversaturated?
Almost always, the footage and the LUT disagree about the starting point. A washed out, milky result usually means a creative LUT made for finished footage was applied to flat log footage that was never converted first: convert the log footage to a finished look, correct exposure and white balance, then apply the creative LUT last. A crushed, oversaturated result usually means the footage was converted twice, because your editor already converted it automatically and your LUT converted it again: turn the automatic conversion off so conversion happens exactly once.
Can I launch a course to a small list?
Yes, if the list is warm and the course is specific. A small group of viewers who reply to your emails, watch your recent vlogs and share the exact problem your course solves will buy more reliably than a large, cold audience. Sell the syllabus to a small founding group first, teach it live week by week, and let their results and questions shape the recorded course. Warm the audience up for a few weeks before enrolment opens, and change only one thing per launch so you know what worked.
What should my first product be, a pack or a course?
A pack, in most cases. A preset or LUT pack is faster to build, faster to test, and easier for a viewer to try through a free sample. A course needs a proven audience question, a tested outline and weeks of filming, and it sells best to people who already bought the pack and want the skill behind it. The exception is the workflow question: when viewers keep asking you to teach a whole workflow step by step, the course comes first, because a file alone will disappoint the asker.
Keep exploring
Products sell best on a channel with a clear look, steady uploads and an audience that trusts the creator behind them. These guides build the audience, the talking head footage, and the editing speed behind that trust.