
Last updated: October 2026
A Reel is not a short version of your vlog. It is a different job: stop a stranger mid-scroll, prove in seconds that your vlog is worth their time, and give them a clear next step. Vloggers who treat Reels as chopped-up leftovers get chopped-up results. Vloggers who build Reels on purpose, one strong moment, one clear promise, one route back to the full vlog, turn a platform built for strangers into a steady source of new viewers.
Key takeaways
- Reels reach strangers first. Watch time, sends per reach, and likes per reach decide how far a Reel travels, so judge a Reel by non-follower reach, not by likes alone.
- Cut for one moment, not for the whole vlog. Pick the payoff, the mistake, or the reveal, re-cut the hook for a cold viewer, and write captions a muted viewer can follow.
- Series beat one-off clips. Linked Reels from one vlog series keep a new viewer watching your work instead of scrolling on to someone else.
- Keep a clean master file. Export once from your editor, then adapt the caption, hook, and audio per platform. Never upload a file carrying another app watermark.
- The funnel is follow, then Story, then vlog. Captions do not carry clickable links, so the route to YouTube runs through your profile and Stories, not through a link in a caption.
On this page
- How Reels actually grow a vlog channel
- Cutting a vlog into Reels: which moment, and how to re-cut it
- Building a Reels series from a vlog series
- The camera-shot Reels workflow: no phone required
- Collab posts: growing with another vlogger
- Turning Reel viewers into YouTube viewers
- The same clip on TikTok and Shorts without the originality penalty
- Music, captions, covers, and safe zones
- Reading Insights and fixing a stalled Reel
- A weekly Reels routine for a busy vlogger
- Instagram Reels questions vloggers actually ask
How Reels actually grow a vlog channel
Reels grow a vlog channel by reaching people who do not follow you yet. Instagram first shows a Reel to a small test group, then widens distribution only when those viewers watch through, send it on, or save it. A Reel that only your followers see has not done the growth job.
A brand clip can stand alone. A vlog Reel has a second job: it must make a stranger care about a longer story they have not seen. If the Reel only entertains for 20 seconds and never names the vlog, the place, or the problem it solves, it can rack up views and still send nobody to your channel.
The ranking signals worth learning are the ones Instagram itself has named. Watch time and completion come first: the share of the Reel people actually watch, with the opening seconds carrying the most weight. Sends per reach come next: how often viewers share the Reel in a direct message, divided by how many people saw it. Likes per reach still count, but they weigh less for non-follower reach than sends do. Saves matter differently: a saved Reel signals lasting value, so it can keep surfacing long after the first push. Originality sits underneath all of it: watermarked, low-resolution, or reposted material is made less visible in recommendations, and accounts that mostly post other people’s content can lose recommendation eligibility altogether.
Length is a retention decision, not a format rule. Reels up to 3 minutes stay eligible for recommendation to non-followers, but a 3-minute Reel with weak retention will lose to a 25-second Reel people finish and replay. For growth, start at 15 to 30 seconds for a single moment and stretch to 30 to 60 seconds only when the story genuinely needs it. Topic clarity is a ranking input too: Instagram reads captions, on-screen text, spoken words, and alt text to work out who should see a Reel. A Reel whose caption, spoken hook, and on-screen text all say “Lisbon street food walk” in plain words will be routed far better than one that only says “a morning in Lisbon.”
Judge each Reel on four numbers in Insights, in this order: non-follower share of reach, average watch time and completion, sends per reach, and profile visits plus follows. Views alone flatter you. A Reel with modest views but a high non-follower share and a stream of profile visits is doing the growth job.
Cutting a vlog into Reels: which moment, and how to re-cut it
Pick one self-contained moment from the vlog, not the best 30 seconds of the whole edit. The right moment has its own hook, its own payoff, and a reason to watch the full vlog next. Then re-cut it for a cold viewer who has never seen you, your channel, or the trip.
Watch the finished vlog with a stranger’s eyes and mark moments, not scenes. A moment qualifies when it passes three tests. It makes sense without the five minutes before it. It ends on a payoff, a reveal, a mistake fixed, or a decision made. And it leaves one honest question unanswered, the kind the full vlog answers. A sunrise you finally caught after three failed mornings passes all three. A pretty montage of a city, with no problem and no payoff, passes none of them, however good it looks.
Five moment types work again and again for vloggers. The mistake: the shot that went wrong and the fix that saved it. The reveal: before and after, packed bag versus finished setup, first look at a place. The decision: two options, a quick verdict, and the reasoning in one line. The process in miniature: one technique, shown start to finish in under a minute. And the question answered: a viewer question, answered on camera in the place where it happened. If a moment fits none of these, it is probably atmosphere, and atmosphere belongs inside the vlog, not as a standalone Reel.
Re-cutting matters more than picking. A vlog opening assumes patience: titles, travel, setup, then the point. A Reel opening has about 3 seconds before the swipe. So move this moment’s payoff to the front: open on the result, the failed take, or the question, in the first frame and the first line of on-screen text, then show how you got there. That is the payoff of one moment, not the full payoff of the vlog, which the funnel section holds back. Cut dead air ruthlessly, and keep one idea per Reel. If you catch yourself explaining two tips, you have two Reels, and the second one will perform better for being its own clip.
Write the Reel with on-screen captions, because many viewers watch muted at first. Burn captions into the video or use Instagram’s caption tools, then read the Reel back with the sound off before you post it. If the story still lands, the captions work. Keep on-screen text inside the safe centre of the frame, away from the top header, the bottom caption block, and the right-hand button column, and keep it short: one short line at a time. End with a next step the profile can keep: “full vlog linked in my profile” works only when the link is actually there and the vlog is actually live.
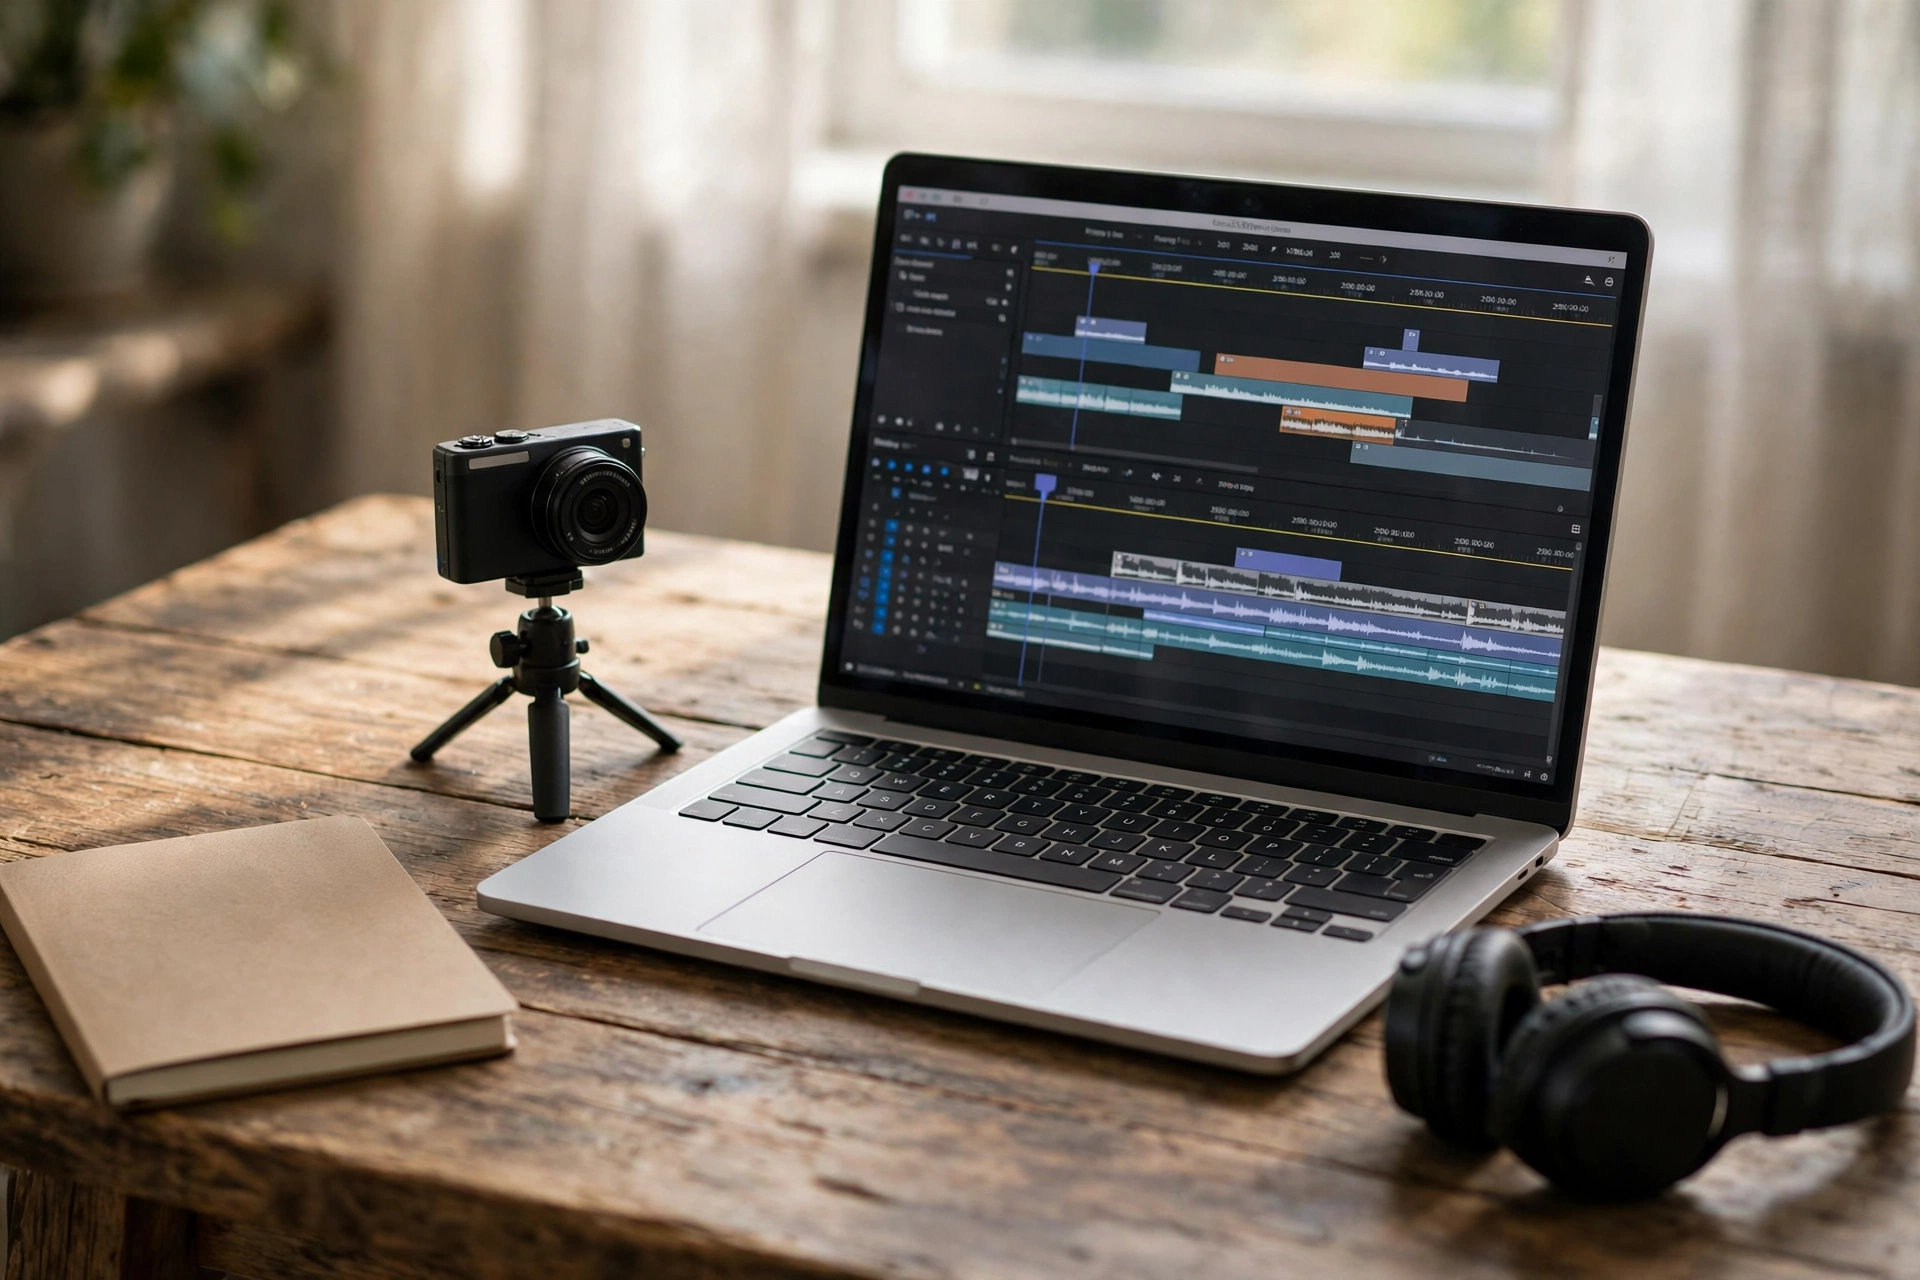
For the wider craft of turning one vlog into several formats, see our guide to repurposing video content. For the hook and retention skills behind the first seconds, see our guide to YouTube hooks and retention editing.
Building a Reels series from a vlog series
Turn a vlog series into a Reels series by giving it one name, one repeatable format, and one linked chain of episodes. A series converts a single good Reel into a reason to follow, because the viewer knows what comes next and where to find it.
A one-off Reel asks a stranger to judge you on 25 seconds. A series asks them to judge a pattern, which is a much easier yes. The pattern needs three fixed parts. A name that says the topic and the place or problem. A format that repeats: same opening line shape, same length band, same closing line. And a numbering habit viewers can follow, with each Reel naming its episode and pointing to the next one.
Build the series from the vlog series, not beside it. If the vlog series follows one trip, one build, or one learning curve, each Reel takes one leg of that journey. Reel one is the problem or the arrival. Middle Reels are one lesson, one place, or one mistake each. The last Reel is the result and the invitation to watch the full series. This order matters: a series posted out of order reads as random clips, and random clips do not earn follows the way a visible arc does.
Link the episodes so Instagram can chain them. Use Instagram’s Reel linking where it is available in your account, so the next episode queues after the one a viewer just finished. Where linking is not available, do the same job by hand: name the next episode in the caption, pin the series through a highlight or a pinned Reel, and keep the naming identical across episodes. Keep each episode self-contained even inside the chain: a viewer who lands on episode three cold should still enjoy it, then want episodes one and two, not need them to understand it. A series also fixes the hardest part of Reels for a vlogger, what to post next: when the vlog series gives you five episodes, the Reels calendar writes itself.

The camera-shot Reels workflow: no phone required
You do not need to shoot on a phone to make a Reel. Shoot on your vlogging camera, then build a vertical cut from that footage in the edit. The quality gain is real, but only if you plan the vertical frame while you shoot, not after you get home.
The trap is shooting a wide horizontal frame with the subject drifting to the edges, then cropping a thin vertical slice that cuts off faces, hands, and context. Avoid it with three habits on shoot day. First, frame with the vertical crop in mind: keep the subject near the centre of the horizontal frame, with headroom above and space below, so a 9:16 slice still holds the whole story. Second, shoot in 4K when your camera allows it, because a vertical crop throws away much of the frame and 4K leaves enough resolution for a clean 1080 by 1920 export. Third, grab dedicated vertical moments too: turn the camera upright for a talking-head update, a detail shot, or a reaction, so at least part of every vlog day exists natively vertical and needs no crop at all.
In the edit, work from a clean master, not from a file downloaded from another app. Create a 1080 by 1920 vertical sequence, drop in the horizontal footage, and reframe shot by shot: track the speaker, keep faces inside the safe centre, and keyframe the position when the subject moves. Auto-reframe tools can do a first pass, but check every cut by eye, because an auto crop will happily centre on a passing stranger while your face slides out of frame. Add captions in the vertical sequence, so the text sits where Reels viewers actually see it.
Audio deserves the same care as picture. A camera mic, a lav, or a shotgun recorded cleanly at shoot time beats any phone audio pasted over a crop, and it keeps your voice consistent between the Reel and the full vlog. Keep music low under speech, and never assume a viewer hears the first line: the caption carries the hook until the sound comes on. Export one clean vertical master at 1080 by 1920, then adapt that master per platform instead of re-exporting from a compressed upload.

For the format rules behind this workflow, including vertical framing and safe zones in full, see our vertical video guide for vloggers.
Collab posts: growing with another vlogger
A collab post is one Reel with two authors: it appears on both profiles, and likes, comments, and shares count on the same post. Used well, it puts your work in front of a second vlogger’s audience without asking that audience to find you first.
Start with fit, not follower count. The best collab partner is a vlogger whose viewers would plausibly enjoy your vlogs too: same niche, neighbouring niche, or same place, with a similar tone. A travel vlogger pairing with a food vlogger in the same city makes sense to both audiences. Two vloggers with nothing in common except a wish for reach will confuse both audiences, and confused viewers do not follow.
Agree the working details before anyone films. Who posts the Reel and invites the other as collaborator, and who accepts before it goes live. What the caption says, including whose link or series the Reel points to. Who replies to comments, and how fast. Whether either of you may also post your own cut of the same footage, and if so, how different that cut must be, so the two posts do not read as duplicates. And what happens if one of you wants the post taken down. Collab posts fail most often on unspoken expectations, not on editing.
Film for two audiences at once. Each vlogger should be identifiable in the opening seconds, the topic should be clear without knowing either channel, and the Reel should give both audiences a reason to visit the other profile: a shared challenge, a place both of you filmed, a skill swap, or an honest comparison of two approaches to the same shoot. End with one shared next step, not two competing ones. Then judge the collab on profile visits and follows in the days after the post, not just the like count on the day itself. If a collab brings views but no profile visits, the Reel entertained the partner’s audience without introducing you.

Turning Reel viewers into YouTube viewers
Do not expect a Reel to send viewers straight to YouTube. Captions do not carry clickable links, and a stranger mid-scroll rarely leaves Instagram for a long video. The funnel that works is slower and more honest: Reel to follow, follow to Story, Story to vlog.
That three-step shape changes what each Reel should do. The Reel’s job is the follow, not the click. It earns the follow by proving, in under a minute, that your vlogs cover a topic this viewer cares about, in a voice they enjoy. The profile’s job is the second step: a clear bio naming the niche, a pinned Reel or two showing the series, and a link that actually leads to the newest vlog or the series playlist. The Story’s job is the click: a link sticker on the day the vlog goes live, with a clip that teases the one question the vlog answers, not a repost of the whole Reel.
Teasers beat full clips for this funnel. If the Reel already shows the vlog’s whole payoff, the viewer has no reason to watch the vlog. Show the problem, the failed attempt, or the first half of the reveal in the Reel, and name the full version plainly: the full walk, the full setup, the full day, linked from the profile. When the vlog is the answer to a question the Reel raised, the click feels like finishing something, not like being sold something.
Measure the funnel in stages, because a single number hides where it breaks. If Reels get reach but few follows, the hook or the niche clarity is weak. If follows rise but Story link taps stay flat, the profile or the Story teaser is weak, or the vlog link is stale. If link taps rise but YouTube watch time from Instagram stays low, the vlog opening does not match the Reel’s promise. Fix the stage that breaks, not the whole funnel at once. And never send Reel viewers to a link that leads somewhere unrelated, or promise a video that is not live yet: a single dead end teaches a new follower not to tap your links again.
The same clip on TikTok and Shorts without the originality penalty
Posting your own clip on TikTok, Reels, and Shorts is not penalised. Posting a watermarked download, an identical caption everywhere, or someone else’s clip with a border added is what gets suppressed. The fix is a clean master file plus a short per-platform adaptation for each version.
The fear around cross-posting is larger than the rule. No platform has published a penalty for your own idea appearing on several networks. What platforms do target is unoriginal material: reposts of other people’s work, near-duplicates, and visible signs of recycling such as another app’s watermark. Instagram names watermarked, low-resolution, and mostly-text Reels among those made less visible, and it has extended its originality rules from Reels to photos and carousels. Adding a border, a caption, or a speed change to someone else’s clip does not make it original. Filming it yourself, with your own take on top, does.
Keep one clean master and adapt from it. Export the vertical cut from your editor at 1080 by 1920, with no platform watermark and no burned-in app interface. From that master, make three versions. For Reels, write a longer caption with a clear first line naming the topic, a small set of niche hashtags, and a call to action that fits Instagram, such as following for the next episode. For TikTok, shorten the caption sharply and lead with the hook in the first second. For Shorts, write a keyword-rich title and a short description, because YouTube search reads titles in a way Reels captions do not. The underlying footage can be the same; the edit must not be: re-cut the hook, caption, and audio for each platform.
| Version | Change this | Why it matters |
|---|---|---|
| Instagram Reel | Clean master, topic-first caption, niche hashtags, original or in-app audio | Instagram reads captions, on-screen text, and spoken words to route the Reel, and it suppresses watermarked files |
| TikTok | Short caption, hook in the first second, TikTok-native audio where it fits | TikTok viewers decide faster, and TikTok indexes audio and captions for its own search |
| YouTube Short | Keyword-rich title, short description, link to the related long vlog where one exists | Shorts discovery leans on search, and a blank or pasted caption leaves YouTube nothing to index |
Music is the hidden trap in this workflow. A track picked inside Instagram’s library is licensed for Instagram, not for TikTok, YouTube, or your website, and the same limit applies in reverse. If the same clip must travel, use your own voiceover as the spine, or a track you hold rights to use on every platform where the clip will appear, and check the licence for each platform. When in doubt, add music inside each app, so each version stays inside that app’s licence. For the music rules behind vlogs in general, see our guide to getting music for vlogs without copyright strikes.
Two habits protect the account itself. First, never upload the same file twice to Instagram: Instagram filters duplicates on its own network, so a second copy competes with the first and helps neither. If a Reel deserves a second life, re-cut it with a new hook or a new angle. Second, keep the share of reposted material on your account low. An account that mostly posts other people’s clips, even with credit, risks losing recommendation eligibility, which removes the non-follower reach that growth depends on, while followers keep seeing the posts as normal. That quiet split, normal for followers, invisible to strangers, is why an account can feel fine while its growth has stopped.
Music, captions, covers, and safe zones
Music, captions, and covers are not decoration on a Reel. Music decides whether the clip travels legally, captions decide whether a muted viewer understands it, and the cover decides whether a profile visitor taps it.
Choose audio by job, not by trend chart. Trending audio can help a trend-format Reel, because viewers browsing that sound can land on yours. But a trending sound forced onto a teaching Reel or a quiet travel moment will feel wrong, and viewers read that mismatch in a second. Original audio builds something trending audio cannot: an audio page tied to your voice that other creators can reuse, which routes their viewers back to you. For most vlog Reels, the strongest choice is your own voiceover as the spine, with music low underneath, so the Reel still works muted through captions and still carries your voice when sound is on.
Business and creator accounts do not see the same music catalogues, and licences change, so check what your account can actually use on the day you post rather than trusting a screenshot from another creator. If a track disappears or a Reel arrives muted, that is usually a licence limit, not a hidden ban, and swapping the audio for a cleared track or your own voiceover is the fix. Keep a short list of cleared tracks you reuse across a series, so the series sounds like one show instead of a new radio station every episode.
Write the post caption in three layers. The first line names the topic in searchable words, because Instagram search reads post captions. The next lines add the context a stranger needs: where, what changed, and what the full vlog covers. The last line gives one action: follow for the next episode, save this for your trip, or send it to someone planning the same shoot. Hashtags have shrunk from a discovery engine to a categorisation signal: a small set of specific tags that name your niche helps Instagram route the Reel, while a long block of broad tags adds little. Three to five specific tags beat thirty generic ones.
Design for the frame Instagram actually shows. A 1080 by 1920 Reel is covered at the top by the account header, at the bottom by the caption and audio label, and down the right side by the like, comment, and share buttons. Meta’s guidance leaves roughly the top 14 percent and the bottom 35 percent of the frame clear of key text, which leaves a safe centre roughly 980 pixels tall in the middle of the frame. Keep hooks, faces, and calls to action inside that centre. Then check two more crops: the feed preview, which shows only a 4:5 slice of the vertical frame, and the profile grid, which crops the cover to a square. Pick a cover frame with the subject centred, and add a short title only if it still reads at square size. Fill in alt text on every Reel too: one honest sentence saying what is in the clip and what happens in it.
Reading Insights and fixing a stalled Reel
Do not judge a Reel by its view count. Judge it by where the viewers came from, how long they stayed, and what they did next. Each weak number points at a different fix, and fixing the wrong one wastes the next Reel too.
Start with the split that matters most: followers versus non-followers. If almost all views come from followers, the Reel never passed its first test with strangers. The usual causes are a hook that only makes sense to people who already know you, a topic buried in a vague caption, or a format Instagram already sees from you every week. The fix is a colder opening: name the place, the problem, or the payoff in the first line, spoken and on screen, before any greeting or setup.
| What Insights shows | Likely cause | Fix on the next Reel |
|---|---|---|
| Low watch time, early drop-off | Hook promises more than the opening delivers, or the opening is setup, not story | Open on the payoff, cut the first 5 seconds of setup, re-test the hook as a Trial Reel |
| Good watch time, few sends | Useful but not shareable: no moment a viewer would send to a friend | Add one sendable beat: a surprising fact, a relatable mistake, or a checklist worth passing on |
| Good sends, few saves | Entertaining but not worth returning to | Add a saveable element: steps, a packing list, a settings recap, or a route summary |
| Reach but few profile visits or follows | Viewer enjoyed the clip but cannot tell what your channel is about | Name the niche in the Reel and the bio, pin the series, end with the next episode |
| Strong with followers, flat with strangers | Topic unclear to Instagram, or the clip reads as a repost | Rewrite the caption topic-first, check for watermarks, use a clean master file |
Trial Reels turn this diagnosis into a test instead of a guess. A Trial Reel goes first to non-followers only, so you can read cold-audience numbers before your followers ever see it. Trial Reels are available to public professional accounts, with creators commonly reporting a 1,000 follower threshold for the toggle to appear, and Insights arrive roughly a day after posting. Use them for the two decisions that matter most: which hook wins, and whether a new format deserves a place on your main grid. Post two versions of the same Reel as trials, with different openings and the same body, read watch time and sends after a day, then share only the winner with everyone. Do not re-upload the winner as a fresh post, because a fresh upload throws away the views and signals the trial already earned.
After every Reel, write down one sentence about what the numbers said and one change for the next Reel. After ten Reels, that log is a personal playbook no generic guide can give you, because it describes your audience, your niche, and your footage, not someone else’s.

A weekly Reels routine for a busy vlogger
Two to four strong Reels a week, cut from work you already filmed, beat daily low-effort clips. Build the routine around the vlog edit, not beside it, so Reels cost an extra hour, not an extra filming day.
Run the routine in one weekly batch. On edit day, while the vlog is still open in your editor, mark three moments that pass the tests from the cutting section: one mistake, one reveal, and one question answered. Cut all three as vertical Reels in the same session, while the footage, the captions, and the music choices are still fresh. Write each caption topic-first, pick each cover from a centred frame, and export clean masters before you close the project. A Reel that still needs a caption, a cover, and an export on posting day is a Reel that never gets posted.
Space the three Reels across the week rather than posting them together, and keep one slot free for a reactive Reel: a comment answered on camera, a behind-the-scenes moment from the current shoot, or a quick update from the road. The planned Reels carry the series forward. The reactive Reel keeps the account feeling alive between episodes, and it often earns the most sends, because it answers a real person rather than a calendar.
- Mark moments during the vlog edit. Three moments per vlog, each with its own hook and payoff, marked before the vlog is finished.
- Cut vertical in the same session. Reframe, caption, and export clean masters while the project is still open.
- Write captions topic-first. First line names the topic, middle lines add context, last line gives one action.
- Link the series. Each Reel names the next episode, and the profile link points at the series playlist, so older Reels still send viewers to the right place.
- Test the risky one as a Trial Reel. New format, new hook, or new topic goes to non-followers first.
- Post, then read Insights the next day. One sentence on what worked, one change for the next Reel, logged before the next batch.
- Check the funnel monthly. Reach to follows to Story taps to vlog views, and fix only the stage that breaks.
Expect the first month to feel slow. Reels reward a clear niche and a repeatable format, and both take several episodes to read. A vlogger who posts three strong Reels a week for a month, reads Insights honestly, and keeps the series going will know more about their Instagram audience than any guide can tell them, including this one. That knowledge is the strategy.
Instagram Reels questions vloggers actually ask
Quick answers to the questions vloggers ask most before building Reels into their week, including the ones generic guides answer vaguely.
Can I post the same video on TikTok, Instagram Reels, and YouTube Shorts?
Yes, when it is your own clip, exported clean from your editor, with a caption and title adapted for each platform. What hurts reach is uploading a file carrying another app’s watermark, pasting an identical caption everywhere, or reposting someone else’s clip. Keep one clean master, then change the caption, hook timing, and audio handling per platform.
How long should a Reel be for a vlogger?
For growth, start at 15 to 30 seconds for a single moment, and stretch to 30 to 60 seconds only when the story needs it. Reels up to 3 minutes stay eligible for recommendation to non-followers, but a long Reel with weak retention will lose to a short Reel people finish and replay. Match length to retention, not to the maximum the app allows.
Do hashtags still matter on Reels?
Less than they used to, and differently. Hashtags now work mainly as a categorisation signal that helps Instagram route your Reel to the right topic, not as a discovery engine on their own. Put the topic in plain words in your caption, on-screen text, and spoken hook first, and treat hashtags as the backup signal. A small set of specific tags beats a long block of broad ones.
Why do my Reels only reach people who already follow me?
Usually one of three causes: a hook that only makes sense to existing followers, a caption that never names the topic plainly, or a clip that reads as recycled, such as a watermarked download. Check Insights for the follower versus non-follower split, rewrite the opening to name the place or problem in the first seconds, and make sure you uploaded a clean master file. Trial Reels can test the fix on strangers before your followers see it.
What is a Trial Reel, and who can use it?
A Trial Reel is shown first to non-followers only, so you can test a hook or a new format without it appearing on your main grid or in your followers’ feeds. Insights arrive roughly a day after posting, and you can then share the winner with everyone or leave the loser as a trial. Trial Reels are available to public professional accounts, with creators commonly reporting a 1,000 follower threshold for the toggle to appear. Availability can vary by account, app version, and region.
Can a Reel link directly to my YouTube video?
Not from the caption, because Reel captions do not carry clickable links. The working route is Reel to follow, follow to Story, Story to vlog: a Story link sticker on the day the vlog goes live, with the profile link pointing at the newest vlog. Tease the question in the Reel and answer it in the vlog, rather than showing the whole payoff in the Reel and hoping viewers click anyway.
Do I need to film on my phone to make good Reels?
No. Film on your vlogging camera, frame with the vertical crop in mind, shoot in 4K when you can, and build a 1080 by 1920 vertical cut in the edit. Grab a few native vertical shots on shoot day too, so part of every vlog day needs no crop at all. Camera-shot Reels keep your audio and picture consistent with the full vlog.
How does a collab post work?
One creator posts the Reel and invites the other as a collaborator. Once the collaborator accepts, the same Reel appears on both profiles, and engagement counts on that single post. Agree before filming who posts, what the caption says, who replies to comments, and whether either of you may also post your own cut. A collab without that agreement is where most collab friction starts.
Can I use Instagram library music on TikTok or YouTube too?
No, not on the strength of the Instagram licence alone. Music picked inside Instagram’s library is licensed for Instagram, and the same limit applies in reverse to tracks picked inside other apps. For a clip that must travel, use your own voiceover as the spine, or a track you hold rights to use on every platform where the clip will appear, and check the licence for each platform.
How many Reels should a vlogger post each week?
Two to four strong Reels a week is a realistic growth pace for a vlogger who also films long vlogs. That pace leaves room to cut Reels from the vlog edit instead of filming extra days. Daily posting only helps when quality stays high.
This guide is research-based: we compared published guidance and creator resources.