
Last updated: November 2026
A tech review is a promise: what you show is what the product really does, and what you say is what you really think. Viewers come to a review to make a buying decision, so every filming choice is also a trust choice. This guide shows how to film tech reviews that hold up, from the disclosure you say before anything else, through repeatable real-world tests, to screens that look true on camera.
In this guide
- Honesty first: disclosure before the first frame
- A structure viewers can follow
- The desk setup: two cameras and one honest light
- Real-world tests, run the same way every time
- Filming screens that look true
- Filming a camera review is a special case
- Color you can defend
- Audio: your voice first, the product second
- The edit that keeps a review honest
- Your first tech review, start to finish
Honesty first: disclosure before the first frame
Disclosure is the first filming decision because it shapes everything after it. Before you plan a single shot, write down the exact relationship: bought yourself, loaned for review, gifted to keep, or paid sponsorship. Each one gets disclosed differently, and each one changes what viewers should weigh. A product you bought yourself carries no obligation to anyone. A loaned product carries a return date and sometimes an embargo date. A gifted product carries the same honesty duty as a paid one, because the viewer cannot tell the difference between a gift and a payment from the video alone. A paid sponsorship carries the heaviest duty of all, and it must be labeled as paid, plainly, not hinted at.
The working rule from advertising guidance is simple: the disclosure must be clear and conspicuous, and it must match the format. For video that means spoken and written, not one or the other. Say it in your own voice at the start, put it on screen in readable text at the same time, and repeat it in writing in the description where it can be found without clicking for more. Keep the on-screen text up long enough to read twice, and put the written disclosure at the very top of the description, before any links, timestamps, or discount codes. Vague tags do not carry this weight. A lone word like thanks, which never says what was given, or a short tag like sp, short for sponsored post, tells the viewer nothing about what changed hands. Say what happened in plain words: the maker sent this product for review, or this video is sponsored by the maker, or I bought this myself. Our guide to sponsorship and disclosure covers the placement and wording in more depth.
Sample terms deserve the same plain treatment. Read them before you agree, not after you film. Three questions settle most deals. First, do you keep the product or send it back, and by when? A return date decides how long you can test, and a review filmed in a rush because the courier comes tomorrow will show it. Second, is there an embargo, and what does it cover? An embargo properly covers only timing, the date before which you must not publish. It does not cover your verdict, your score, or which findings you may mention. Third, does anyone get to approve the video before publication? A factual check, where the maker corrects a wrong specification, is normal. Approval of your opinion is not, and a deal that demands it is a deal to refuse. If the maker did see the review before publication, say so in the same disclosure, in plain words: the maker saw it to check facts only and did not approve the verdict. If the maker saw it and you changed nothing, say that too, so the viewer knows exactly what the early look covered.
The hard case is the sponsor who dislikes the verdict. It happens to every reviewer who stays honest long enough, and the answer has to be decided before the money arrives, not after. If a sponsor paid for a review and the product disappoints, you publish the honest verdict anyway. Changing a verdict to protect a fee destroys the channel faster than losing one sponsor, because viewers who catch one softened verdict stop believing the next ten. The practical options are narrow and honest: publish as filmed and keep the fee, the verdict unchanged, or return the fee and publish anyway. And for the next deal, settle the verdict rule before you sign: no verdict approval, no exceptions, so the conflict never arises in the first place. What you never do is soften the finding and keep the fee quiet. Negative findings belong in the open, in their own section, not buried in the last minute where only loyal viewers find them. A flaw named in its own section reads as confidence. A flaw discovered by viewers in the comments reads as concealment.
One more line never moves. Never present someone else’s footage, photos, or test results as your own. Manufacturer sample footage, press photos, and benchmark numbers from other reviewers all have their place, clearly labeled as theirs. Your footage is the footage you filmed. That single rule is what separates a review from an advertisement wearing a review’s clothes.
A structure viewers can follow
A strong structure follows the order viewers expect, and there is no reason to reinvent it. Open with the conclusion or the tension: the claim the product makes and whether it holds up. Then establish what the product is and who it is for, briefly, with the product on screen. Then demonstrate it doing its main job. A camera review shows what the camera shoots. A laptop review shows the machine working under a real task. A microphone review lets the viewer hear the microphone. Demonstration beats description every time, because viewers trust what they see working more than what they hear claimed.
After the demo, walk through three to five features that genuinely change the buying decision, and skip the rest of the marketing list. Every feature you cover gets a close-up that proves it: a port shown, not listed; a hinge moved, not described; a menu navigated, not summarized. Then compare against the obvious alternative, with specific differences rather than a general claim that one is better. Then name the flaws, always, even in a positive review. Two or three specific weaknesses are what make the praise believable. Then the verdict, with no fence-sitting: buy if you are one kind of buyer, skip if you are another. Viewers came for an opinion, and a review that ends without one has wasted their time.
Length follows complexity. A simple product earns a short review. A complex product, a camera or a laptop, earns a longer one, because the tests take time to show. As a working guide, most full tech reviews land between 8 and 15 minutes: enough room to demo, test, and judge, short enough that every minute has to earn its place. If a section does not help the viewer decide, cut it, however good the footage looks.
The desk setup: two cameras and one honest light
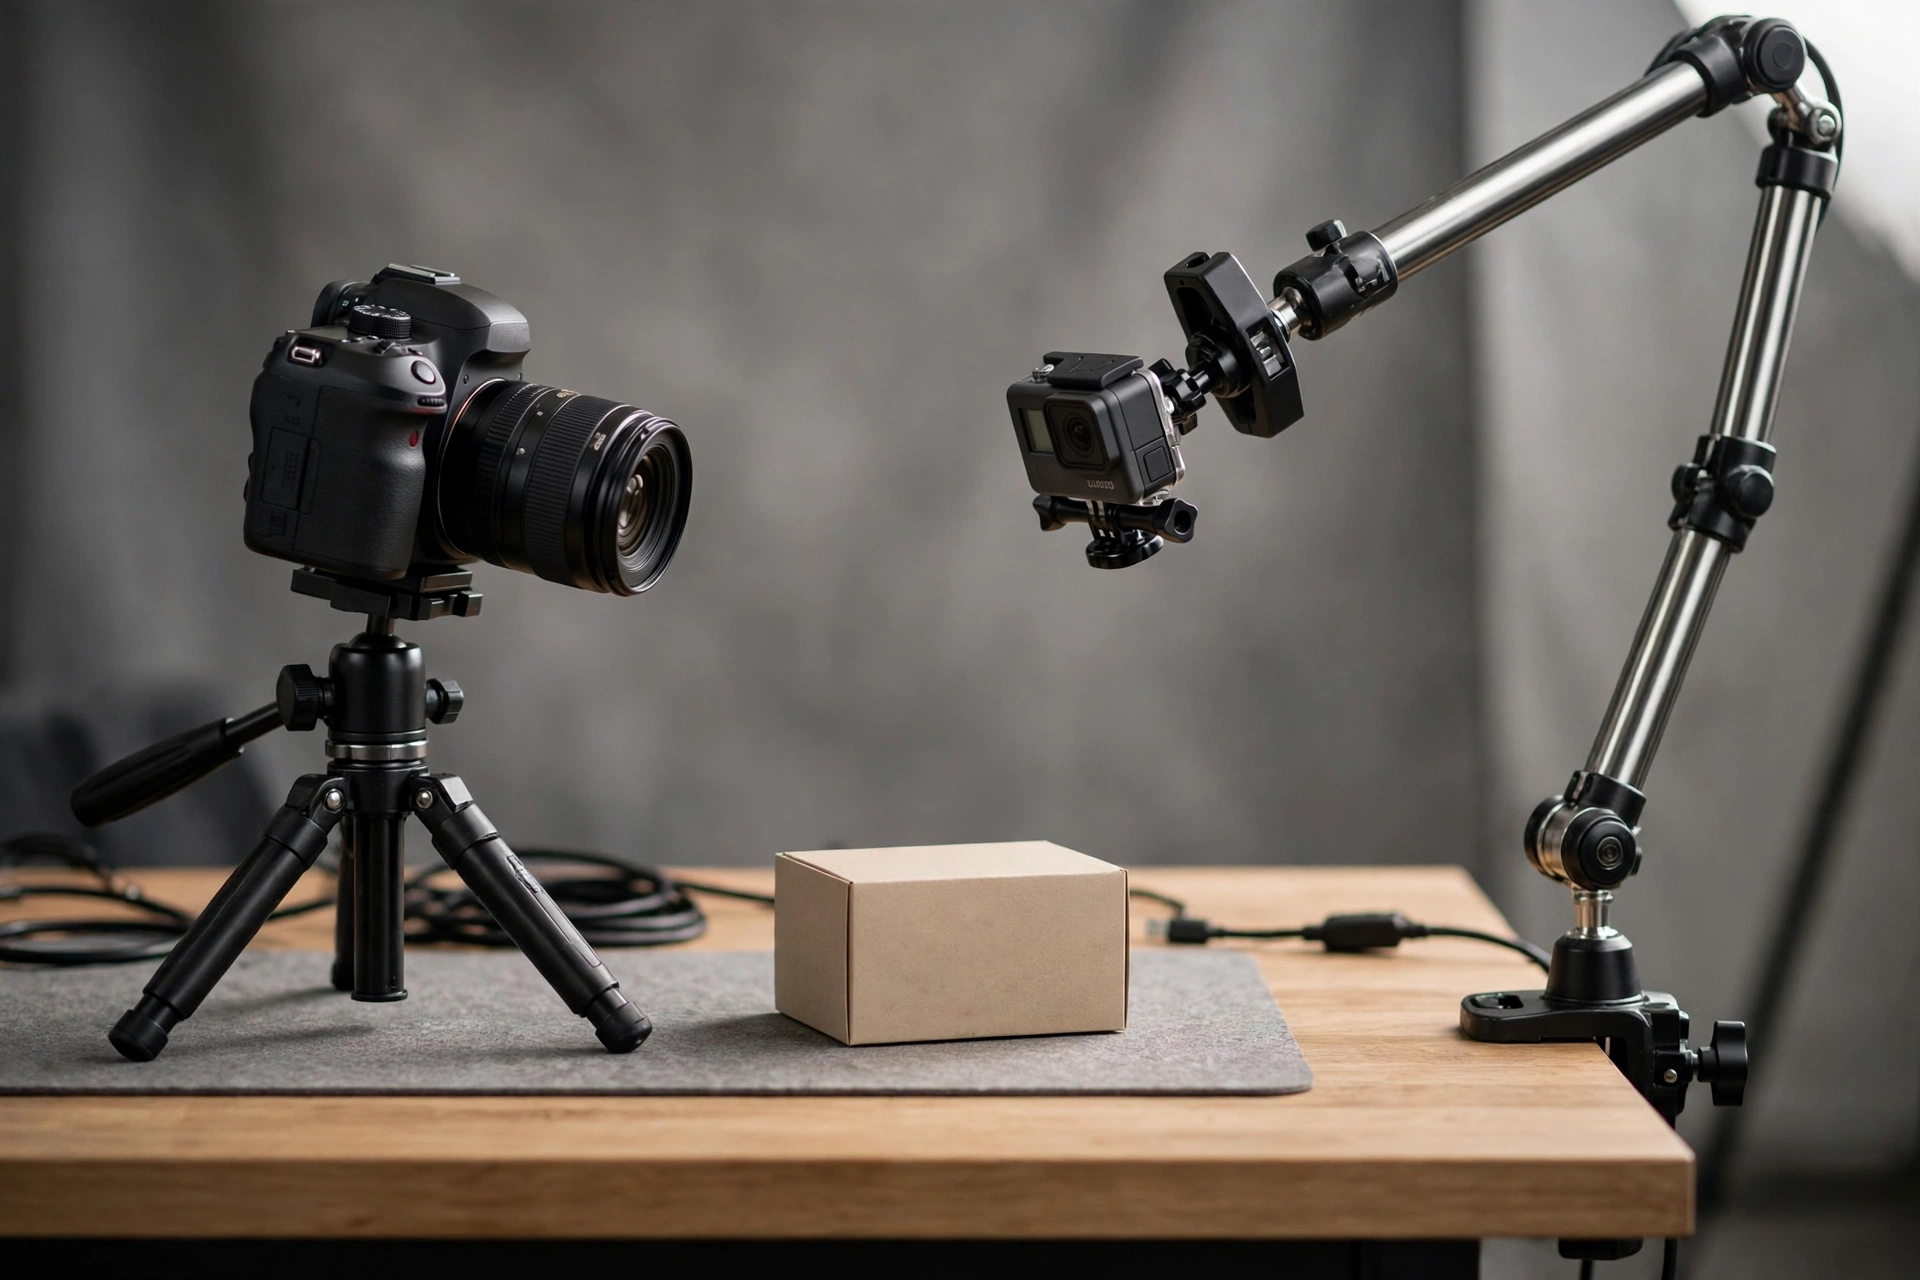
One camera forces a choice between showing yourself and showing the product in detail, and a review needs both at once. The standard setup is two cameras. Camera A sits on a tripod, framing you talking, locked off and left alone. Camera B covers the product: close-ups, cutaways, and B-roll. Camera B does not need to match Camera A’s sensor. It needs usable close-ups, and a phone on a solid mount or a second small camera often serves that job well. An optional third angle, an overhead camera on a desk arm or a tripod with a horizontal column, covers unboxings and hands-on work from above without a tripod leg in your working space. Mark the arm positions with tape so you can return to them exactly after a break.
Sync is a discipline, not a hope. Set every camera to the same frame rate before you record, record audio on every camera even if you only use one track in the edit, and clap once on camera at the start of each take. The clap gives the edit a visible and audible sync point, and the scratch audio on each camera gives the editing software something to match. Film three to five times more B-roll than you will use, and hold each static product shot for a full ten seconds or more. Short, nervous shots cannot be cut cleanly, and a shot you held too long can always be trimmed.
Lighting for a product is not the same job as lighting a face, and the two need separate treatment. Give the product its own light, aimed at the product area from a different angle than your face light, so the product separates visually from you instead of sitting in your shadow. Side lighting reveals texture and build quality in a way front lighting flattens, so bring the product light in from the side for materials, finishes, and edges. Shiny products, phones, metal, glossy plastic, throw lights straight back at the lens. Fix that with diffusion to soften the light, a polarizing filter to cut glare, or simply by angling the product so the reflection falls outside the camera’s view. Match color temperature across all your lights, usually daylight around 5600K, or grade them to match in the edit. Mixed temperatures are the fastest way to make one product look warm in one shot and cold in the next. Our guides to lighting your face and camera settings cover the face-light method and the exposure settings behind this setup.
For close-ups, a macro lens gets within centimetres of ports, buttons, and textures, and a close-focus prime (most 50mm lenses focus to around 45 centimetres) covers most product detail without specialist glass. A kit lens at its long end works for mid-close shots. Whatever lens you use, focus with peaking switched on and check the shot at full magnification before you commit to a take. A soft close-up of a port is worse than no close-up, because it asks the viewer to trust a detail they cannot see. The shot list that covers most reviews is short: the reveal, an exterior overview from several angles, key features in detail, a size comparison against a familiar object, the product in use, the result it produces, and one clean hero shot for the opening and the thumbnail.
Real-world tests, run the same way every time
Most guides stop at telling you to use the product before filming, without giving you a test system: a small set of repeatable scenes you run for every product in a category, so that this review can be compared with your last one and your next one. Build that system before you need it, and write it down. A written system survives busy weeks. A remembered system drifts, and drift is how one review’s battery test quietly becomes easier than another’s.
Start with the tests every tech category shares. Battery: same screen brightness, same task, same network state, timed from full to a stated endpoint, with the conditions spoken on camera. A battery figure without conditions is marketing, not a result. Low light: the same room, the same lamp, the same subject, filmed at the same distance, so the viewer can see the noise and the color shift rather than hearing about them. Audio samples: the same sentence, at the same distance, in the same room, recorded on the product’s own microphones and on your reference microphone back to back. The comparison is the content. Viewers do not need a laboratory. They need the same scene, twice, so their eyes and ears can judge.
Camera reviews need their own tests, because a camera is judged by its footage, not its spec sheet. Walk the same route with stabilization on and off, so the viewer sees what it actually steadies. Track the same moving subject, a person walking toward the lens, so autofocus behavior is visible instead of asserted. Film the same face in the same light for skin tones, and pan across a detailed scene at the same speed for rolling shutter. Show the menus and settings you changed, because a test filmed on different settings is not a comparison. State the picture profile and the frame rate with the footage, every time, so a viewer who knows what to look for can check your work.
Two rules protect the whole system. First, never cherry-pick. If a test fails, that failure is part of the review, and cutting it out turns the system into advertising. The failed test is often the most valuable minute in the video, because it is the minute no marketing material will ever show. Second, separate what you measured from what you felt. Say the battery lasted a stated time under stated conditions, and separately say whether that felt like enough for your day. Numbers without conditions mislead. Feelings without numbers cannot be checked. A review that keeps the two apart earns trust twice.
Filming screens that look true
A filmed screen goes wrong for a physical reason, not because your camera is broken. A monitor refreshes its image dozens or hundreds of times per second, row by row, top to bottom. A camera reads its sensor row by row in the same direction. When those two cycles drift out of step, the camera catches the screen mid-refresh, and the recording shows horizontal bands, rolling lines, or a pulsing flicker that comes and goes as the cycles drift in and out of phase. Understanding that mechanism tells you exactly which controls matter.
The first fix is shutter speed. Match the monitor’s refresh rate, not your country’s mains frequency: for a 60Hz monitor, try 1/60 or 1/120 of a second, speeds that divide evenly into the refresh cycle. For a 50Hz monitor, the matching speeds are 1/50 or 1/100. If your camera offers a fine shutter or synchro-scan control, nudge it in tiny steps until the band stops moving, then lock it. The second fix is refresh rate itself: set the monitor to a fixed rate, 60Hz or 120Hz, and switch off variable refresh features, which change the rate moment by moment and defeat every other setting. The same rule covers faster monitors: a 144Hz monitor pairs with 1/144 or 1/72 where your camera offers fine shutter control, and a 240Hz monitor with 1/240 or 1/120. Where the camera cannot match the rate, capture the screen instead of filming it. The third fix is to lock everything else: manual exposure, manual white balance, fixed ISO. Anything left on automatic will hunt during the take and look like flicker even when the timing is right. Test with a short clip and inspect it at full size before the real take. A band invisible on a small preview is obvious on a large screen.
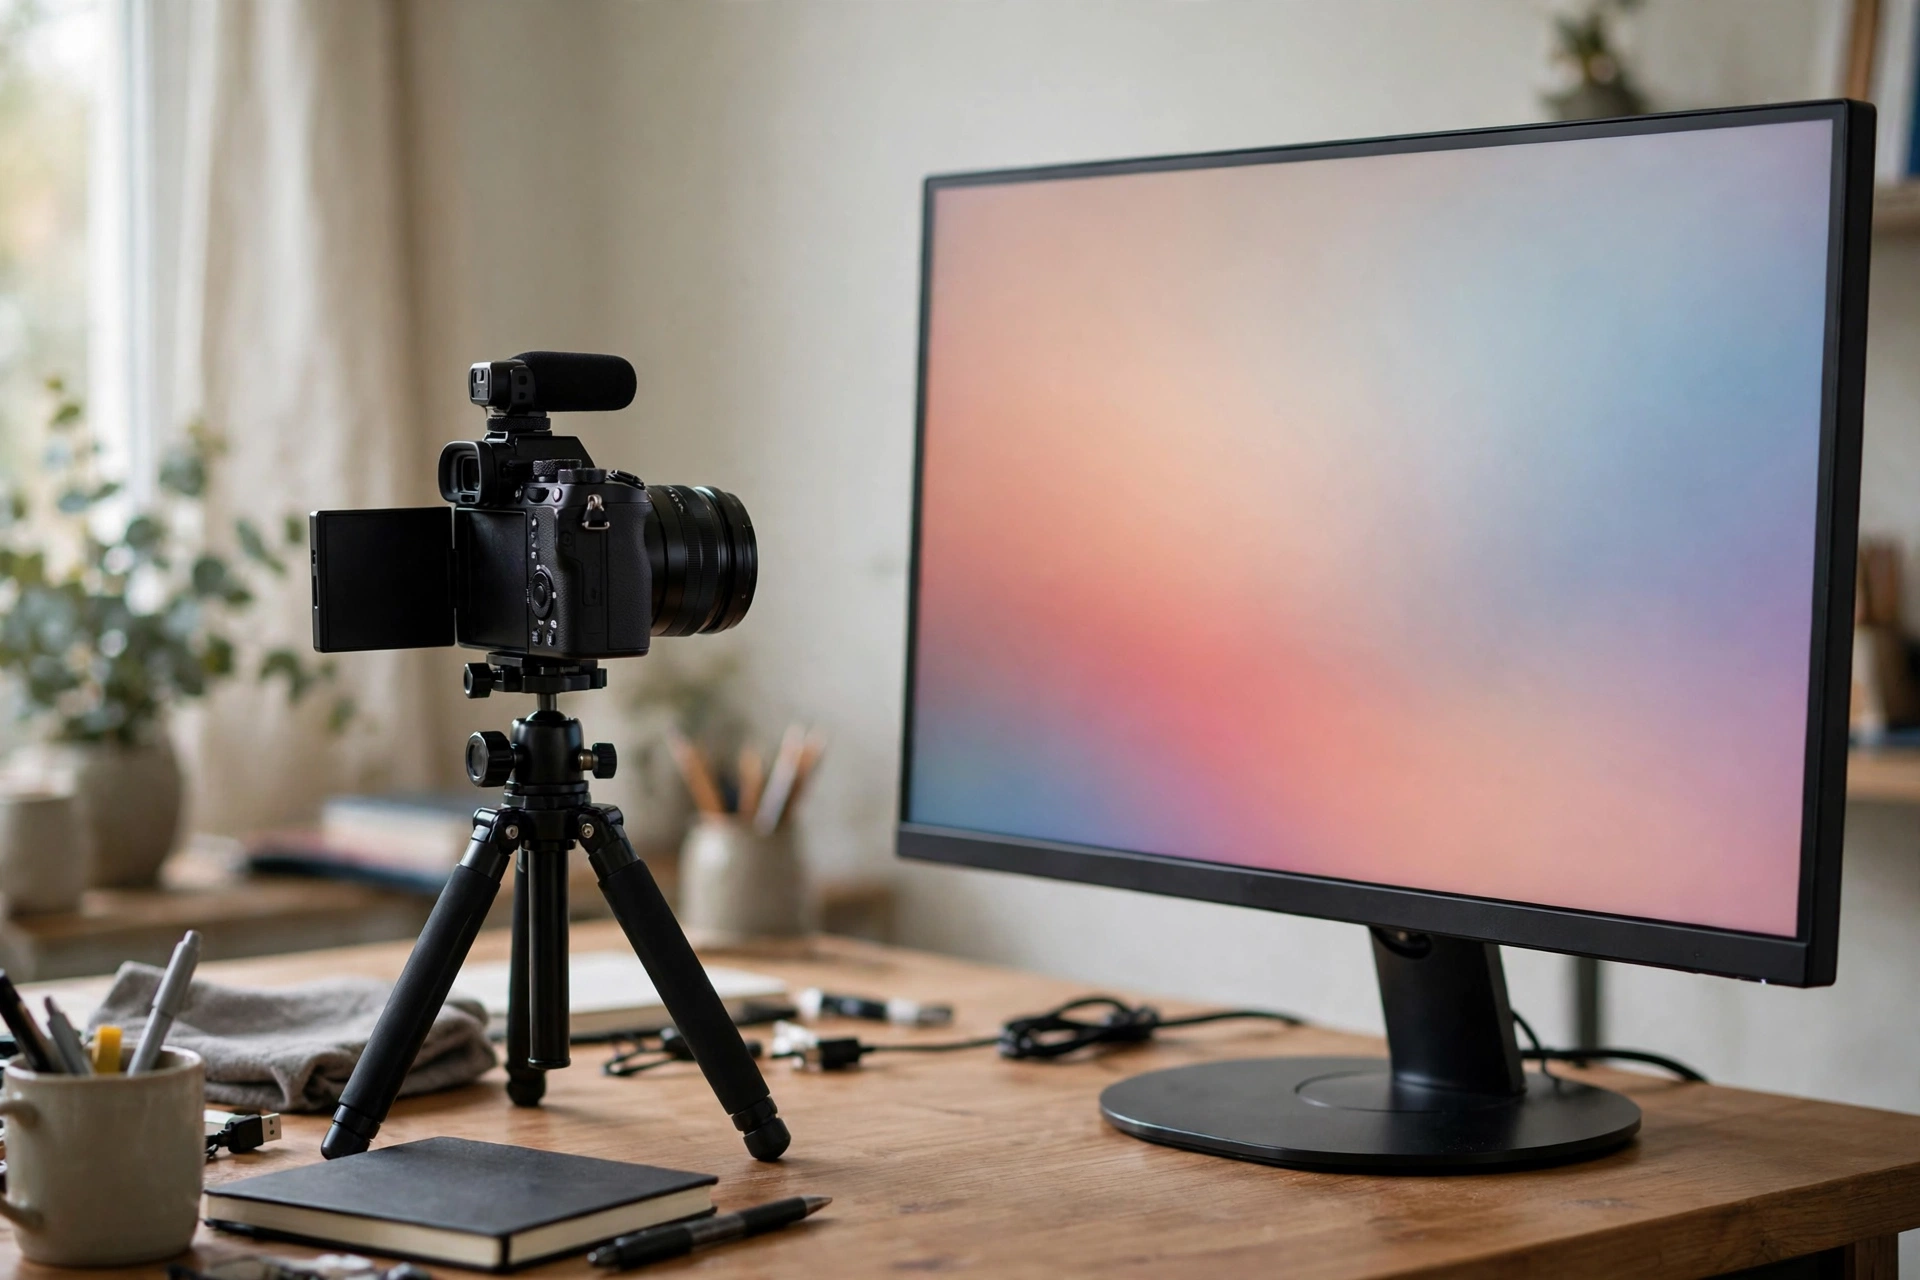
Flicker is only the first screen problem. The second is moire, the rippling interference pattern that appears when two fine grids, the screen’s pixels and the camera sensor’s pixels, sit at nearly the same size and angle. Moire moves oddly across the frame and survives settings that fix flicker. Change the angle slightly, move the camera a little closer or further away, and the pattern usually weakens or disappears. Avoid strong sharpening on screen footage, which emphasizes both moire and residual flicker. The third problem is OLED dimming. Many OLED screens dim by pulsing the light on and off very fast, and at low brightness the dark gaps between pulses are wide enough for the camera to catch. Raising the screen brightness toward full narrows those gaps and usually calms the banding. The fourth is HDR. A screen showing HDR content tone-maps brightness in ways a camera cannot follow, so filmed HDR often looks washed out or clipped. For a filmed shot, switch the device out of HDR mode, or capture the screen digitally instead.
Capture is the honest escape hatch, and knowing when to use it is part of the craft. A capture card or screen recording tool takes the digital signal directly, so refresh timing, moire, and dimming never enter the picture. Use capture when the viewer needs to read the interface: software walkthroughs, menu tours, settings pages. Film the screen with a camera when the viewer needs to see the device in your hands: holding a phone, reacting to a laptop, showing scale. When a video mixes the two, do not pass capture off as filmed footage. If the distinction matters to what the viewer is judging, say so in the voiceover. Mixing silently is a small dishonesty that teaches viewers to distrust the rest. For the flicker basics in other contexts, our guide to fixing flicker, banding, and grain covers the same timing fixes for lights and rooms.
Filming a camera review is a special case
Reviewing a camera means filming an object whose whole job is filming, and that creates traps no other category has. The first trap is the menu. Walking a viewer through menus by filming the camera’s rear screen invites glare, reflections, and a screen too small to read. Where the camera offers a clean output over HDMI, capture the menu feed directly and cut it in as the menu view, while the filmed shot shows your hand on the controls. The viewer then sees both what you pressed and what changed, which is exactly what a menu tour needs. Where no clean output exists, film the rear screen straight on, close, with the room darkened enough that reflections drop out, and hold each menu page long enough to read.
The second trap is sample footage. A camera review lives or dies on the footage the camera itself shot, and viewers rightly judge it frame by frame. Show your own footage, filmed by the camera under review, in the conditions you state: daylight, low light, walking, tracking. Never present the manufacturer’s sample reels as your test results. If you use a manufacturer clip for comparison, label it on screen as theirs, in the same size text as your other labels, and keep it brief. A viewer who discovers a sample was not yours will assume nothing else in the review was either.
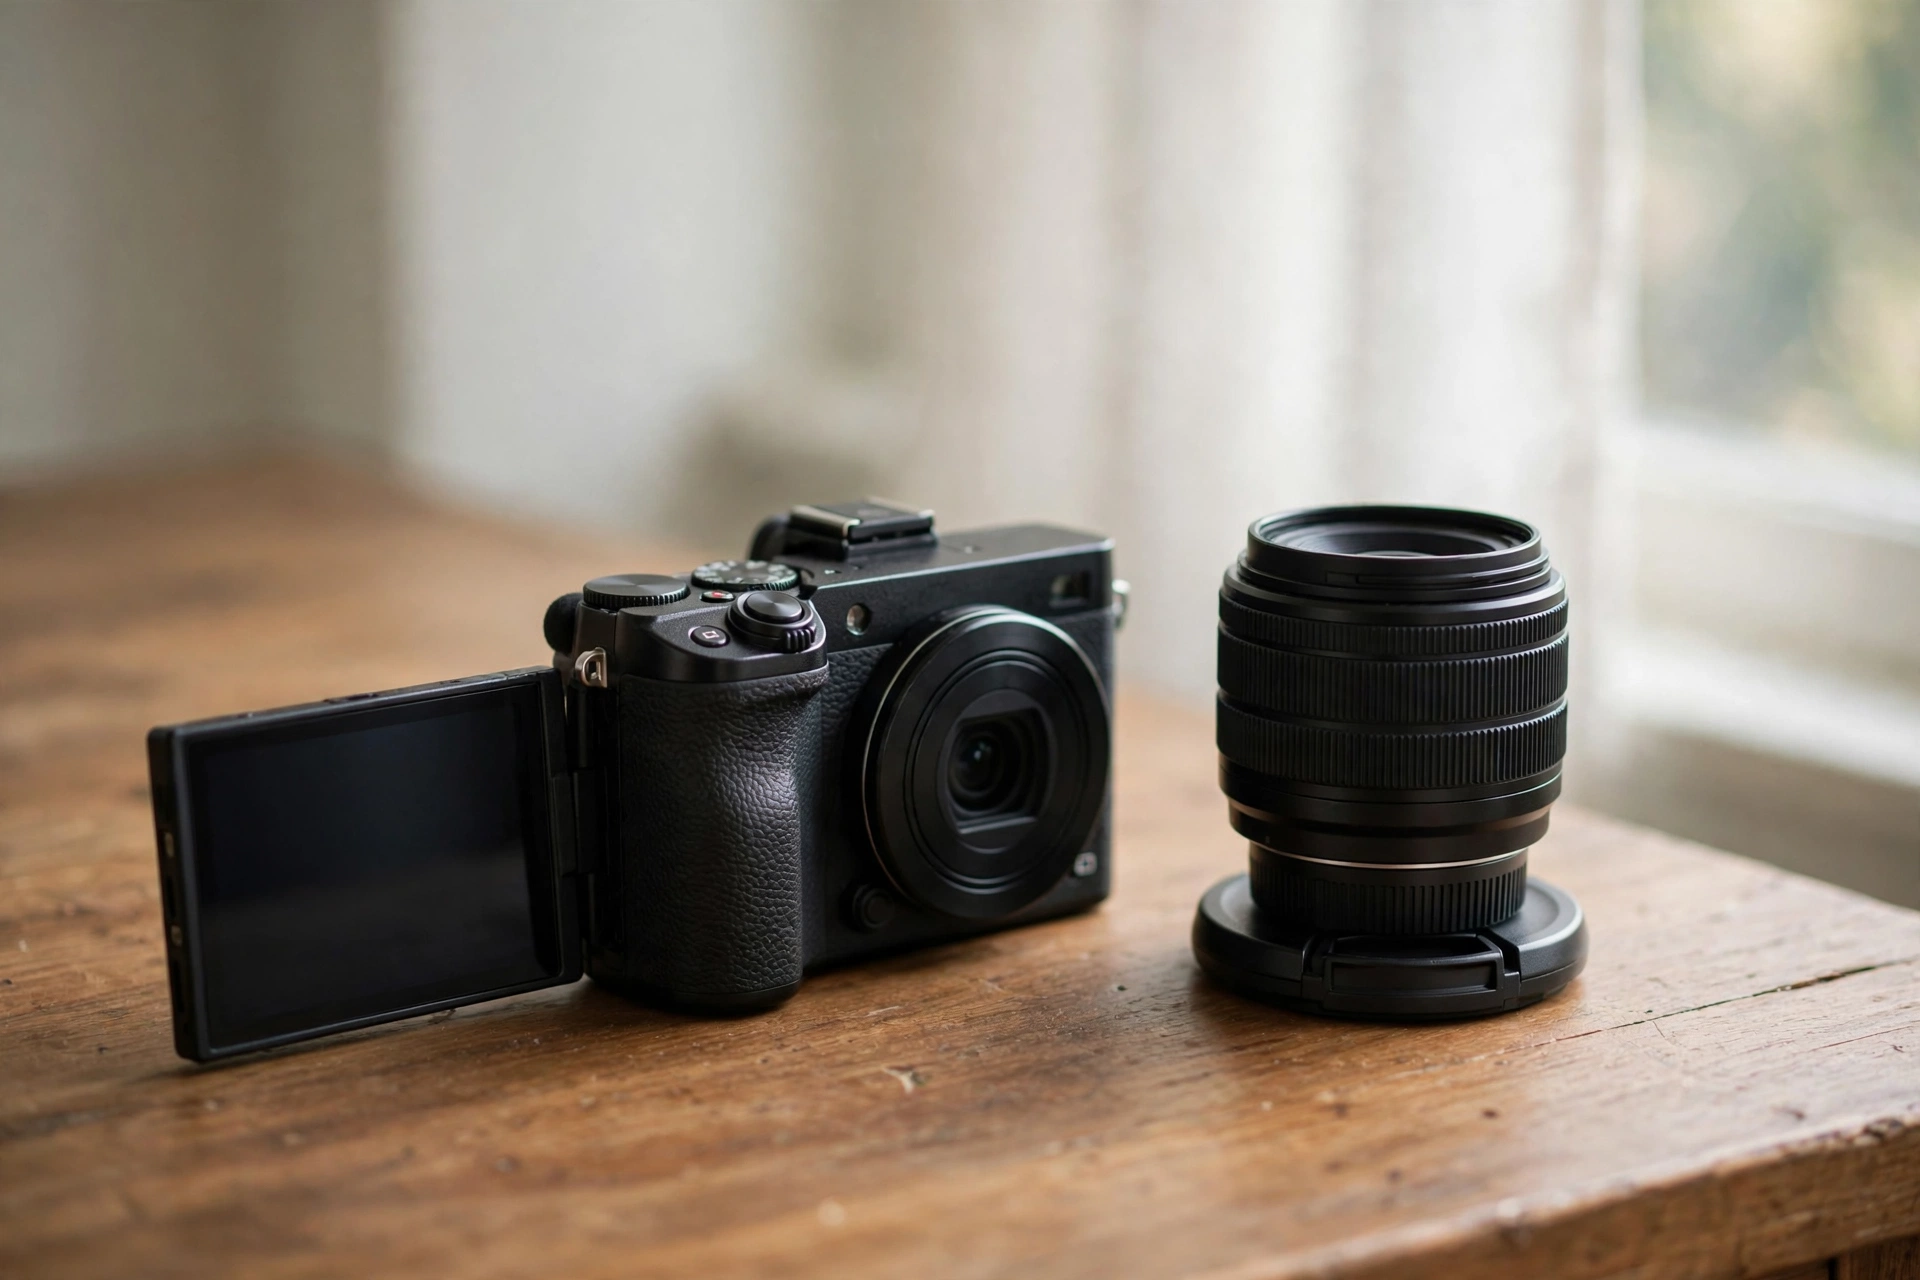
The third trap is the flip screen itself. It is how you frame yourself while filming, and in a camera review it is also part of the product on show. Film it straight on for the articulation demo, hinge moving, screen turning, and check for glare from your key light before you commit. If glare appears, angle the camera under review slightly, only as far as needed to clear it, or move the light slightly, and keep the straight-on framing as the default. Show the eye autofocus working by letting it find and hold an eye while you lean in and out, rather than claiming it works. Show stabilization by walking a set route, not by standing still and describing it. The pattern holds across the whole review: every claim gets a shot that proves it, and every test and sample shot carries the settings it was filmed with.
Lens swaps deserve one practical note. Change lenses with the camera powered down and the body pointed slightly down, so dust has less chance to settle on the sensor, and film the swap as B-roll rather than as a talking segment. The swap shot tells the viewer the system is real and used, not displayed. Keep a blower in the kit and use it before sensor-visible shots. Dust on the sensor shows up in bright, even areas of the frame, exactly where a review’s clean product shots live.
Color you can defend
Color honesty starts before you press record. Set white balance manually from a gray card or a neutral surface in the same light as the product, and lock it for each lighting setup. Automatic white balance drifts between takes as the product or your hands enter the frame, and drift makes one product look warm in one shot and cold in the next. If you move from window light to lamp light, re-set it for the new light and lock that. The gray card shot takes ten seconds and saves an edit full of mismatched angles. Our guides to white balance and color grading walk through the manual method and the grading pass in full.
In the edit, grade to one neutral reference and apply it to every angle. Pick a reference shot where the product, your skin, and a neutral surface all appear, grade that shot until all three look like they do in the room, then match the rest of the timeline to it. Resist the urge to add saturation for beauty. A preset that deepens a phone’s blue or warms a laptop’s silver has changed the product, and viewers comparing your footage with the product in a shop will notice. Compare your rendered colors against the product in your hand, not against the manufacturer’s marketing photos, which are graded for selling. If a color still looks wrong after a neutral grade, say so on camera. A finish that photographs inconsistently is itself a finding.
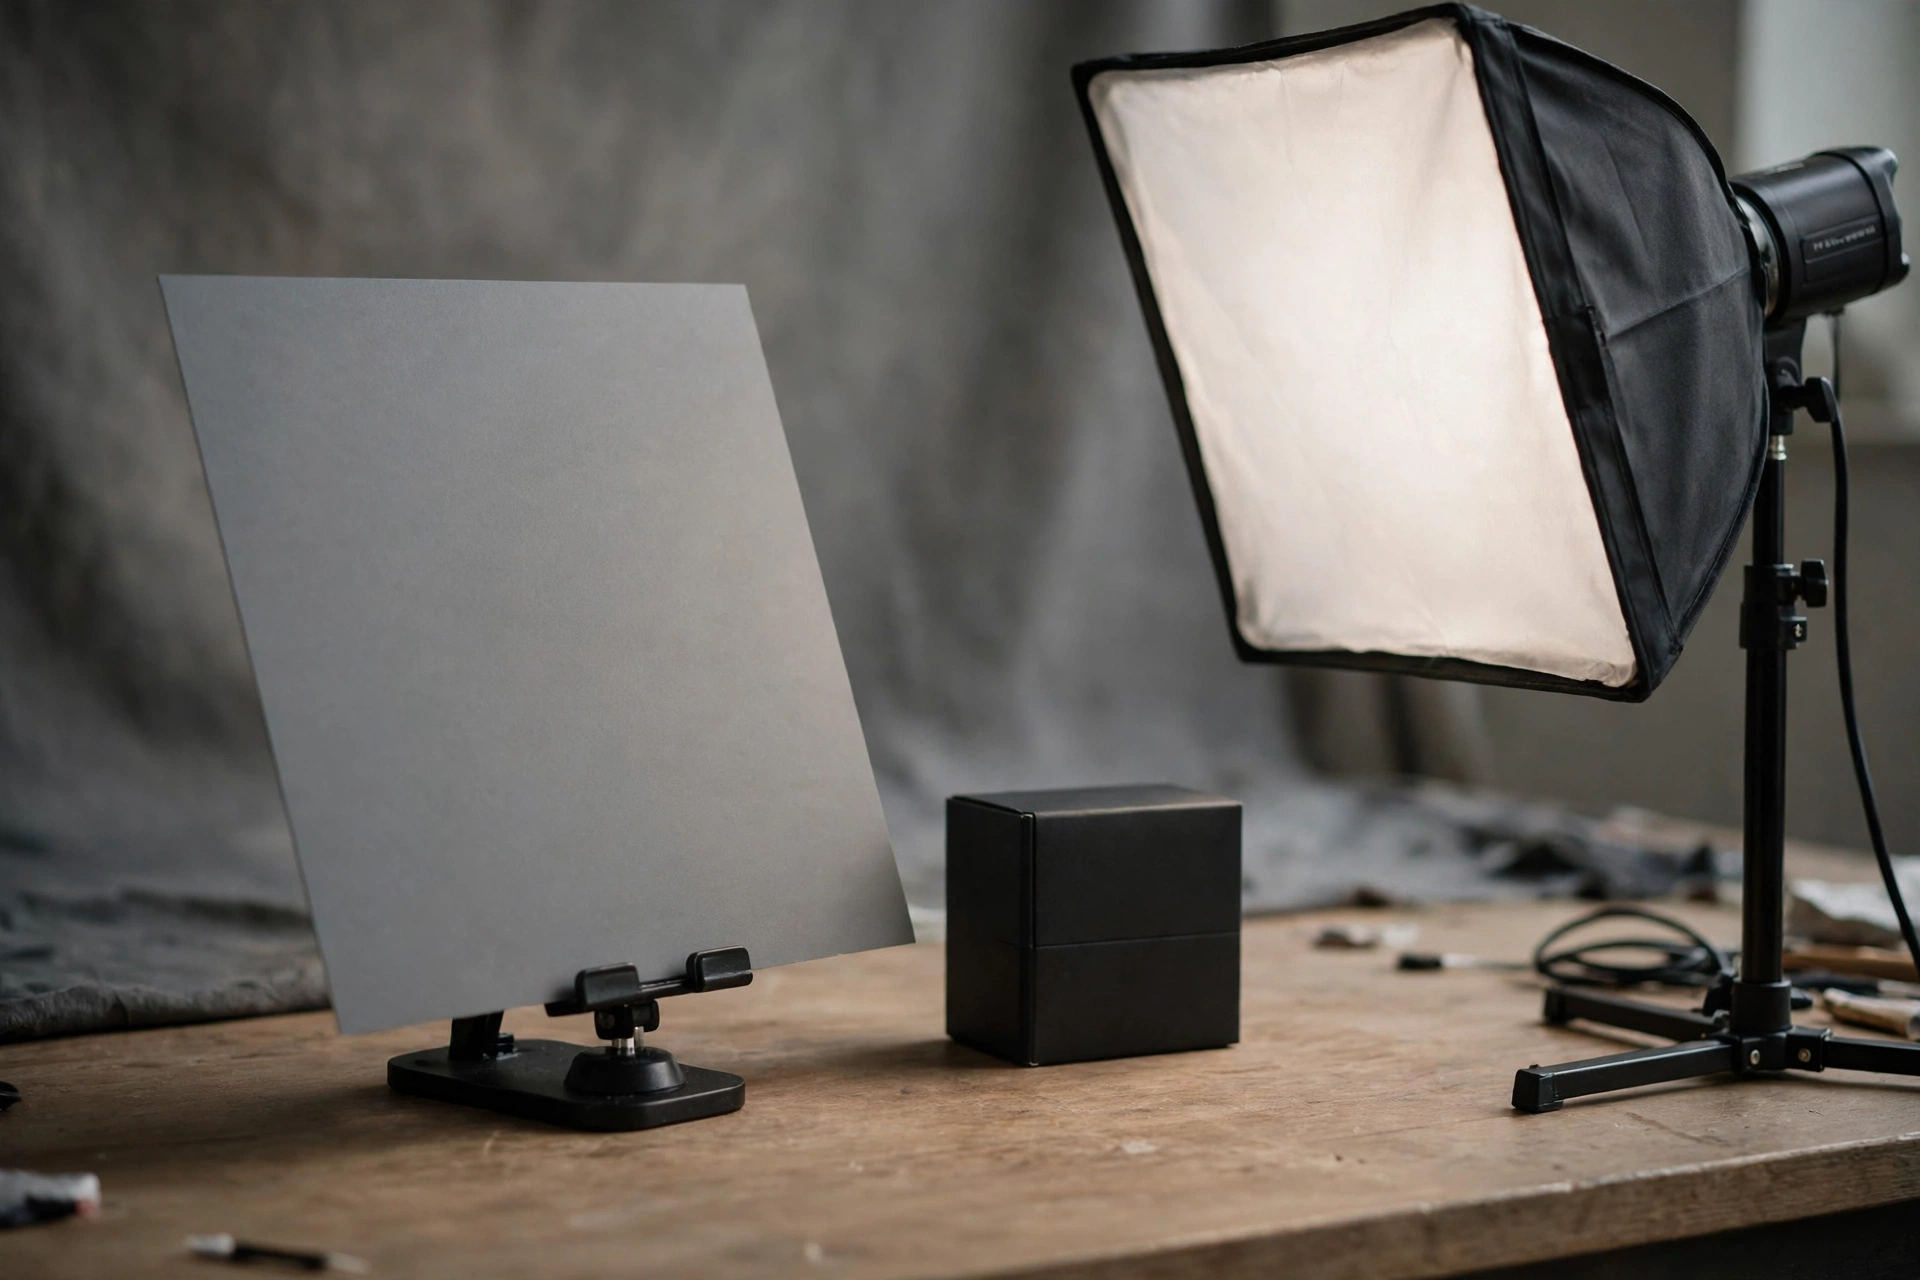
Two checks catch most color errors before publication. First, the skin check: if your skin looks gray, orange, or green in any shot, the grade is wrong for that shot, whatever the product looks like. Skin is the reference every viewer knows by heart. Second, the whites check: packaging, paper, and white surfaces should read as neutral whites, not blue or yellow, in every angle. Fix white balance and exposure before reaching for creative grading. A neutral grade is not a boring grade. It is the grade that lets the product speak for itself, which is the entire job of a review.
Audio: your voice first, the product second
Voice is the spine of a review. A viewer will watch a slightly soft picture, but an uneven voice, loud in one section and buried in the next, makes a review feel amateur in seconds. Record your voice on a dedicated microphone, a boom microphone just out of frame or a lavalier, and set its level once, while speaking at your normal review volume, then leave it alone. Record room tone, thirty seconds of the silent room, at the start of every session. That tone track lets the edit fill gaps without a jarring cut to digital silence. Our guide to recording better vlog audio covers microphone placement and gain in more depth.
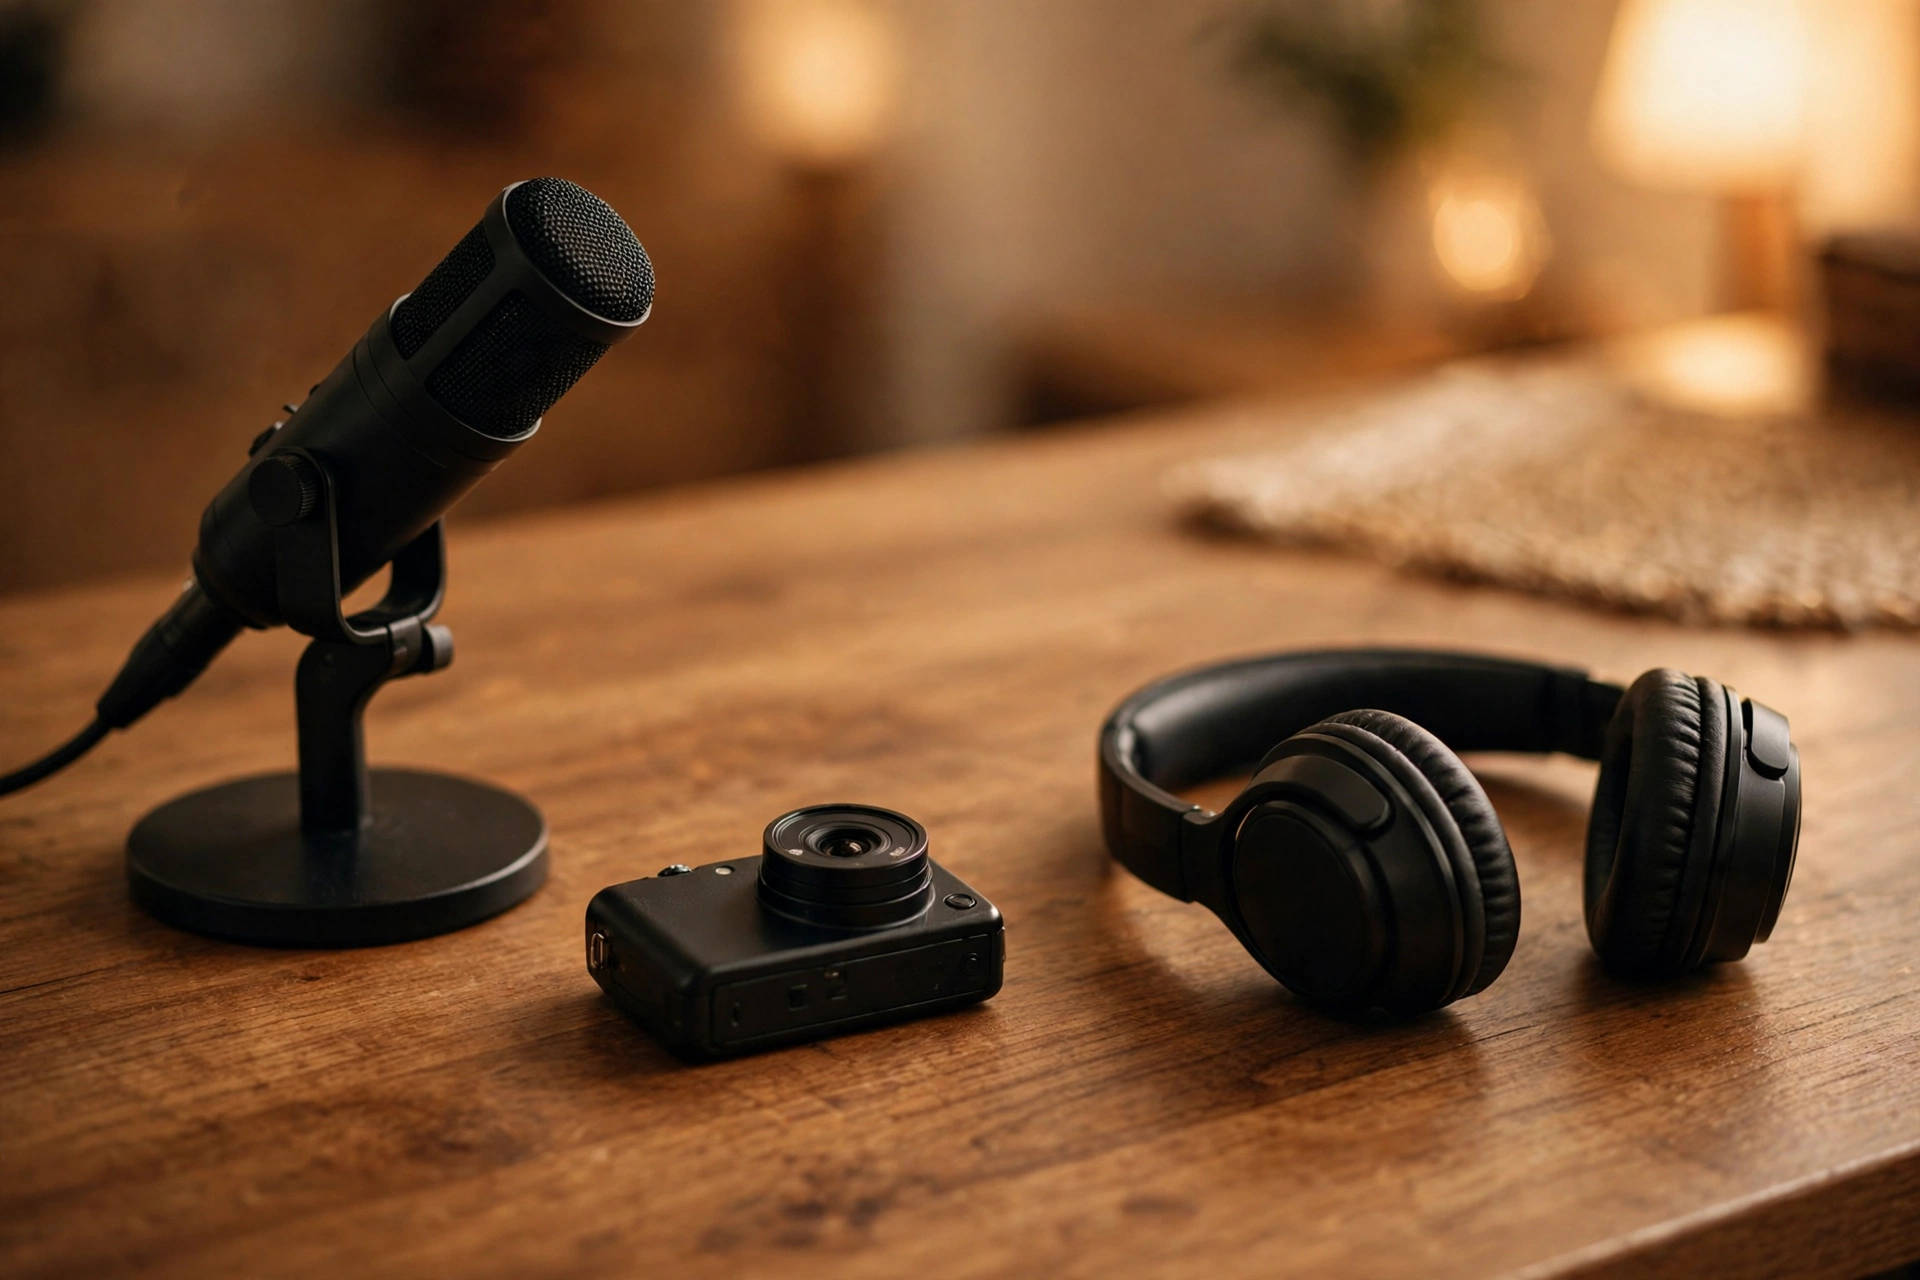
Product sounds are the second track, and they matter more in tech reviews than in any other kind. A camera’s shutter, a keyboard’s keys, a laptop’s fan under load, a hinge’s movement: these are sounds the viewer is judging, so capture them cleanly, close, and separately from your voice. Record them as dedicated takes, not as accidents inside talking takes. Hold the product close to a microphone, perform the sound once cleanly, and label the take. In the edit, bring product sounds up under B-roll at their natural level, not as decoration. A shutter sound laid over the wrong camera movement is a small lie the audience hears even when they cannot name it.
Device fan noise deserves an honest note of its own. Laptops and consoles under load make noise, and a review that films only silent idle moments hides a real ownership experience. Run the demanding task on camera, let the viewer hear the fan, and say how loud it sounded in the room in plain terms. Do not strip fan noise out of a load test in the edit. The same rule covers coil whine, drive noise, and any sound a buyer would hear in the first week. A review that reports the noises as well as the silence is a review a buyer can trust.
The edit that keeps a review honest
Editing is where honesty is most easily lost, because every cut is a choice about what the viewer never sees. The rule is simple: cut for pace and clarity, never to remove a weakness. If a test failed, the failure stays in, even if it breaks the rhythm of a clean section. If a feature disappointed, the disappointment stays in, at the length it deserves, not as a half-second aside. If a comparison favors the competitor, the comparison stays in. Viewers do not expect a review to be a list of complaints. They expect it to be complete, and completeness is what they check when they watch a second review of the same product.
Numbers on screen are part of the same discipline. Whenever you state a measured result, a battery time, a weight, a noise level in plain terms, put it on screen in text at the same time, with the conditions beside it. On-screen numbers let a viewer pause, check, and compare, which is exactly what a buying decision needs. Chapters help the same way: mark the demo, the tests, the flaws, and the verdict, so a viewer who only cares about one question can find it without scrubbing. A review that hides its structure is a review that fears its own conclusions.

B-roll earns its place the same way. Roughly a third of a finished review as B-roll, product detail, in-use footage, comparison shots, and scale shots, keeps a talking-head review from going dry without letting the pictures do the arguing. Film the B-roll after the main take, from a shot list written during the test phase, so every B-roll shot answers a question the voiceover raises. A beauty shot with no argument behind it is decoration. A detail shot that proves a sentence is evidence. The edit should make it obvious which one each shot is.
One final edit check catches the most common dishonesty in tech reviews: the before-and-after that is not one. If you show a product improving something, show the same scene, the same light, and the same settings before and after, or say plainly that the two shots are not comparable. A low-light comparison filmed on different nights, or a stabilization comparison filmed on different routes, proves nothing however good it looks. Comparability is the reviewer’s job, and the edit is where it is either honoured or faked.
Your first tech review, start to finish
Start a week before filming, not the night before. Read the deal terms first, because they decide what you can accept and what you must refuse, then write the disclosure in full sentences before filming. Then use the product normally for several days and keep notes: what surprised you, what annoyed you, what you kept reaching for, what you stopped using. Those notes are the review. Three to five genuine findings beat twenty spec-sheet points, because findings are what viewers cannot get from the manufacturer’s page.
Plan the test scenes from the notes. For each finding, write one scene that proves it: the battery task, the low-light room, the audio sentence, the walking route, the screen shot. Write the screen plan alongside: which screens get filmed with a camera, which get captured, and what shutter speed and refresh rate each filmed screen needs. Write the shot list for B-roll from the same notes. A plan written before filming is what stops a review from becoming a ramble around a desk.
Film in an order that protects the light and your energy. Product detail first, while the light is set and the product is clean. Demo second, while you are fresh. Tests third, because they take the longest and benefit from a settled setup. Talking head fourth, because by then you know what you think and can say it plainly. B-roll last, from the shot list, with the main take already in the can. Between sections, check battery, card space, and the last take’s sound. A session that ends because a card filled is a session that should have checked an hour earlier.
Finish with an honesty pass before you export. Read the disclosure again and check it matches the deal exactly. Watch the failed tests and confirm none were cut. Check every on-screen number against its conditions. Check that no footage is presented as yours when it is not. Check that the verdict matches the findings, not the hope you started with. That pass takes twenty minutes and it is the difference between a video about a product and a review of one. Publishing is part of the workflow: put the description disclosure at the very top, add chapters for the demo, tests, flaws, and verdict, and check the on-screen disclosure reads clearly before going live. The creators who last in tech are not the ones with the most cameras. They are the ones whose viewers learn, review after review, that what they show is what they found.
Do I need to disclose a free review sample?
Yes, every time, at the start. Say out loud and on screen that the maker sent the product for review, and repeat it in writing in the description. A free product changes what the viewer should weigh, whether you were paid or not, and a disclosure at the end or buried in hashtags does not count.
Can a sponsor stop me publishing a negative review?
An embargo properly covers only timing, not your verdict. Never sign a deal that gives anyone approval over your opinion or the right to remove findings. If a sponsor dislikes an honest verdict, publish it anyway and keep the fee, the verdict unchanged, or return the fee and publish anyway. Softening a finding to protect a fee costs the channel more than any single sponsor is worth.
How do I film a screen without flicker?
Match shutter speed to the monitor’s refresh rate: 1/60 or 1/120 of a second for a 60Hz monitor, 1/50 or 1/100 for a 50Hz monitor. Match the monitor’s rate, not your country’s mains frequency. Lock exposure, white balance, and ISO to manual, switch off variable refresh, and test a short clip at full size before the real take. If banding survives, capture the screen digitally instead.
What causes moire when filming a screen?
Moire is interference between two fine grids: the screen’s pixels and the camera sensor’s pixels. Change the camera angle slightly or move a little closer or further away, and the pattern usually weakens. Avoid strong sharpening on screen footage, which emphasizes it. If it persists, capture the screen rather than filming it.
Should I film a screen or capture it?
Capture it when the viewer needs to read the interface, such as software walkthroughs and menu tours. Film it when the viewer needs to see the device in your hands, such as holding a phone or showing scale. When a video mixes the two, never pass capture off as filmed footage; if the distinction matters to the judgement, say so in the voiceover.
How do I test battery life fairly?
Fix the conditions and state them with the result: same screen brightness, same task, same network state, timed from full to a stated endpoint. A battery figure without conditions cannot be compared with anything, including your own next review. Run the same task for every product in a category so results stay comparable.
What is the best setup for filming tech reviews?
Two cameras as the core, one locked off on you and one for the product, with an overhead angle as an optional third for hands-on work, a separate light for the product, and a dedicated voice microphone. One camera can start a channel, but the two-camera setup is what lets you show yourself and the product in detail at the same time.
How do I keep product colors honest?
Set white balance manually from a gray card or a neutral surface in the same light as the product, lock it for each lighting setup, re-setting it if you change lights, grade every angle to one neutral reference, and compare the result against the product in your hand. If your skin or the whites look wrong in any shot, the grade is wrong for that shot.
Can I use the manufacturer’s sample footage in my review?
Only labeled clearly as theirs, on screen, in the same size text as your other labels, and kept brief. Never present manufacturer footage as footage you filmed or as your test results. A viewer who discovers one unlabelled sample will doubt everything else in the review.
How long should a tech review be?
As long as the product’s complexity demands, and no longer. Most full tech reviews land between 8 and 15 minutes: enough room to demo, test, and judge, short enough that every minute has to earn its place. A simple product earns a short review; a camera or a laptop earns a longer one because the tests take time to show.
This guide is research-based: we compared published guidance and creator resources.
Keep exploring
- Video Composition and Shot Types for Vloggers in 2026
- How to Edit Vlogs Faster in 2026
- How to Record Better Audio for Vlogs in 2026
- How to Light Your Face for Videos: Indoor Lighting Setups for Vloggers in 2026
- How to Script a Vlog in 2026 (Without Sounding Scripted)
- Best Vlogging Camera Under $200 in 2026