
Last updated: October 2026
Most vloggers blame their camera for a dull, tired-looking face on video. Nine times out of ten, the camera is innocent. The real problem is where the light is coming from: a ceiling bulb straight overhead, a bright window behind you instead of in front of you, or a warm lamp fighting cold daylight until your skin turns two colours at once. Face lighting is the cheapest upgrade in all of vlogging because, indoors in the daytime, you mostly need to rearrange light you already have. This guide sticks to technique: window positioning, the key/fill/background pattern, ring light and softbox placement, and matching colour temperatures. Get those right and the setup you already own starts to look deliberate instead of accidental.
Key takeaways
- Face the window, never film with it behind you. A window in front of you and slightly to one side is the softest, most flattering light in your home. It costs nothing, too.
- One good key light does most of the work. Place your main light about 45 degrees to the side and just above eye level, close enough to be soft, and your face gains shape instead of looking flat.
- Fill is about gentleness, not brightness. A dimmer second light, a white wall, or a reflector on the shadow side lifts harsh shadows without wiping out the modelling on your face.
- Match your colour temperatures. Daylight and lamp light are different colours. Pick one family, set your white balance to it, and turn off or block anything that disagrees.
- Test before you talk. Record two minutes of test footage first, checking skin tone, eye catchlights, and background brightness. It catches every common lighting mistake while it is still free to fix.
On this page
- Start with the window: the best light you already own
- Place your key light: the 45-degree rule
- Soften the shadows: fill light without flattening your face
- Give the background its own light, and some distance
- Using a ring light without the donut look
- Diffusion: why bigger and closer looks softer
- Match your colour temperatures first
- Mixed light: the orange-and-blue problem
- Lighting a face that wears glasses
- The two-minute test recording
- Face-lighting questions, answered
- Keep exploring
Start with the window: the best light you already own
Sit facing the window, with it in front of you and slightly off to one side. Never behind you. That single move gives you large, soft, even light across your whole face, and it is the foundation every other setup in this guide builds on.
A window is, in lighting terms, a giant softbox that someone else maintains for free. Because the source is so large compared with your face, light wraps gently around your features instead of drilling one hard shadow under your nose. During the day, a north-facing window is the steady option if you have one, because it never gets direct sun. Any window works, though, as long as you manage how the light lands.
Position matters more than the window itself. Sit an arm’s length or two from the glass. Close enough that the light stays strong, far enough that it isn’t blasting one side of your face white. Turn your chair about 30 to 45 degrees to the window rather than square-on. Square-on window light is clean but a little flat, like a passport photo; the slight angle adds gentle modelling, so one cheek is a touch brighter than the other and your face has shape on camera.
Two window mistakes undo all of this. The first is filming with the window behind you because the view looks nice: your camera exposes for the bright glass, your face drops into shadow, and no setting rescues it gracefully. Turn around. The second is direct sun patching across your face through the glass, a hard-edged block of light that shifts while you film. A sheer curtain, a voile, or even a plain white shower curtain hung over the window turns that harsh patch into soft, usable light in about a minute.
Clouds are your friends here, incidentally. An overcast day is a whole sky of diffusion, and it is the easiest filming weather a vlogger gets. Bright sun is the diva: workable, but only once you have softened it. If you are setting up your very first filming corner, our guide to how to start vlogging covers where a permanent little setup like this fits into a beginner workflow.
Place your key light: the 45-degree rule
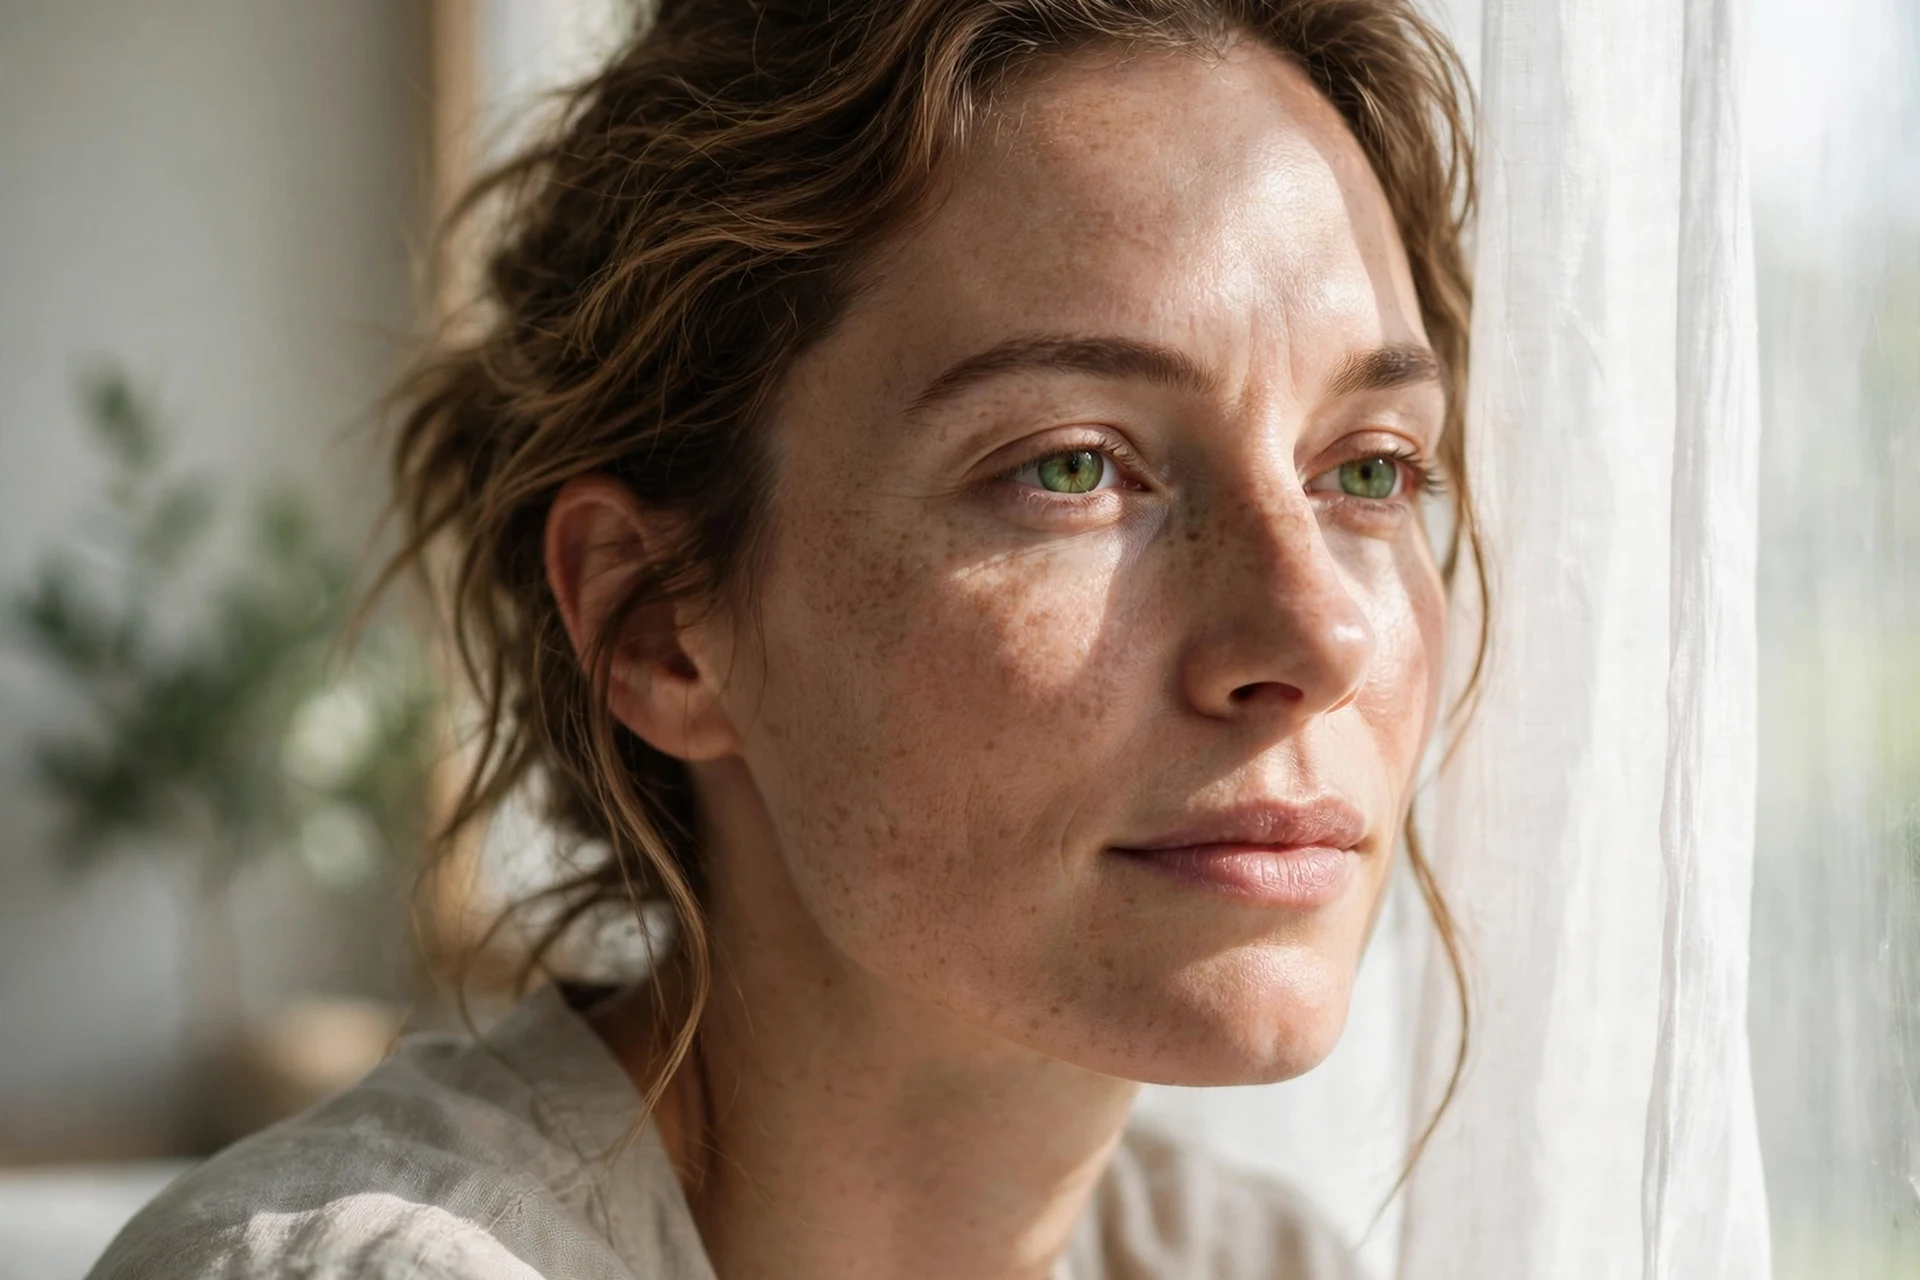
Your key light is the main light shaping your face. Put it about 45 degrees to one side of the camera, slightly above your eye level, angled gently down. Keep it close enough to stay soft and you’ve got the pattern most professional talking-head videos are built on.
When window light isn’t enough (a dull day, a room with small windows, filming away from the glass), a dedicated key light takes over the job. This is the core technique of lighting for vloggers, and it’s pleasingly simple: one main light, placed with intent. The 45-degree position works because it lights one side of your face more than the other, which is what gives a face dimension on a flat screen. Light placed dead-centre, straight from the camera, erases shadows entirely and with them, all sense of shape.
Height does quiet, important work too. Slightly above eye level, tilted down, mimics where light naturally comes from, keeps shadows falling in familiar places, and puts a small reflection, a catchlight, in the upper part of your eyes. That catchlight is the difference between eyes that look alive and eyes that look like dark sockets. If your key light sits below your face, you get the torch-under-the-chin horror effect; too high, and your eye sockets shadow out. Just above the eyes is the sweet spot, and it takes ten seconds to find.
Distance controls softness. The closer a light is to your face (without creeping into frame), the larger it appears relative to you, and the softer its shadows become. This is why a modest light pulled in close usually beats a powerful light parked across the room. Bring it in until it is just out of shot, then set brightness: your face should be clearly the brightest thing in the frame, without any patch of skin blowing out to pure white.
This 45-degree pattern has a name you will meet in photography tutorials: loop lighting, after the small loop-shaped shadow the nose casts on the cheek. Push the key further around to the side and a touch higher, and the pattern shifts toward Rembrandt lighting, where the modelling deepens and only a small triangle of light survives on the shadow-side cheek. You do not need the vocabulary to use either pattern, but knowing the names helps the day a tutorial tells you to “switch to Rembrandt” mid-setup and expects you to know what moved.
One key light, well placed, is a complete setup for most sit-down videos. Everything after this point, fill and background light included, is refinement. If you are filming a classic talking-head piece, the framing and eye-line advice in our talking-head filming guide pairs directly with this key-light pattern; the two setups are usually built at the same desk, at the same time.
Soften the shadows: fill light without flattening your face
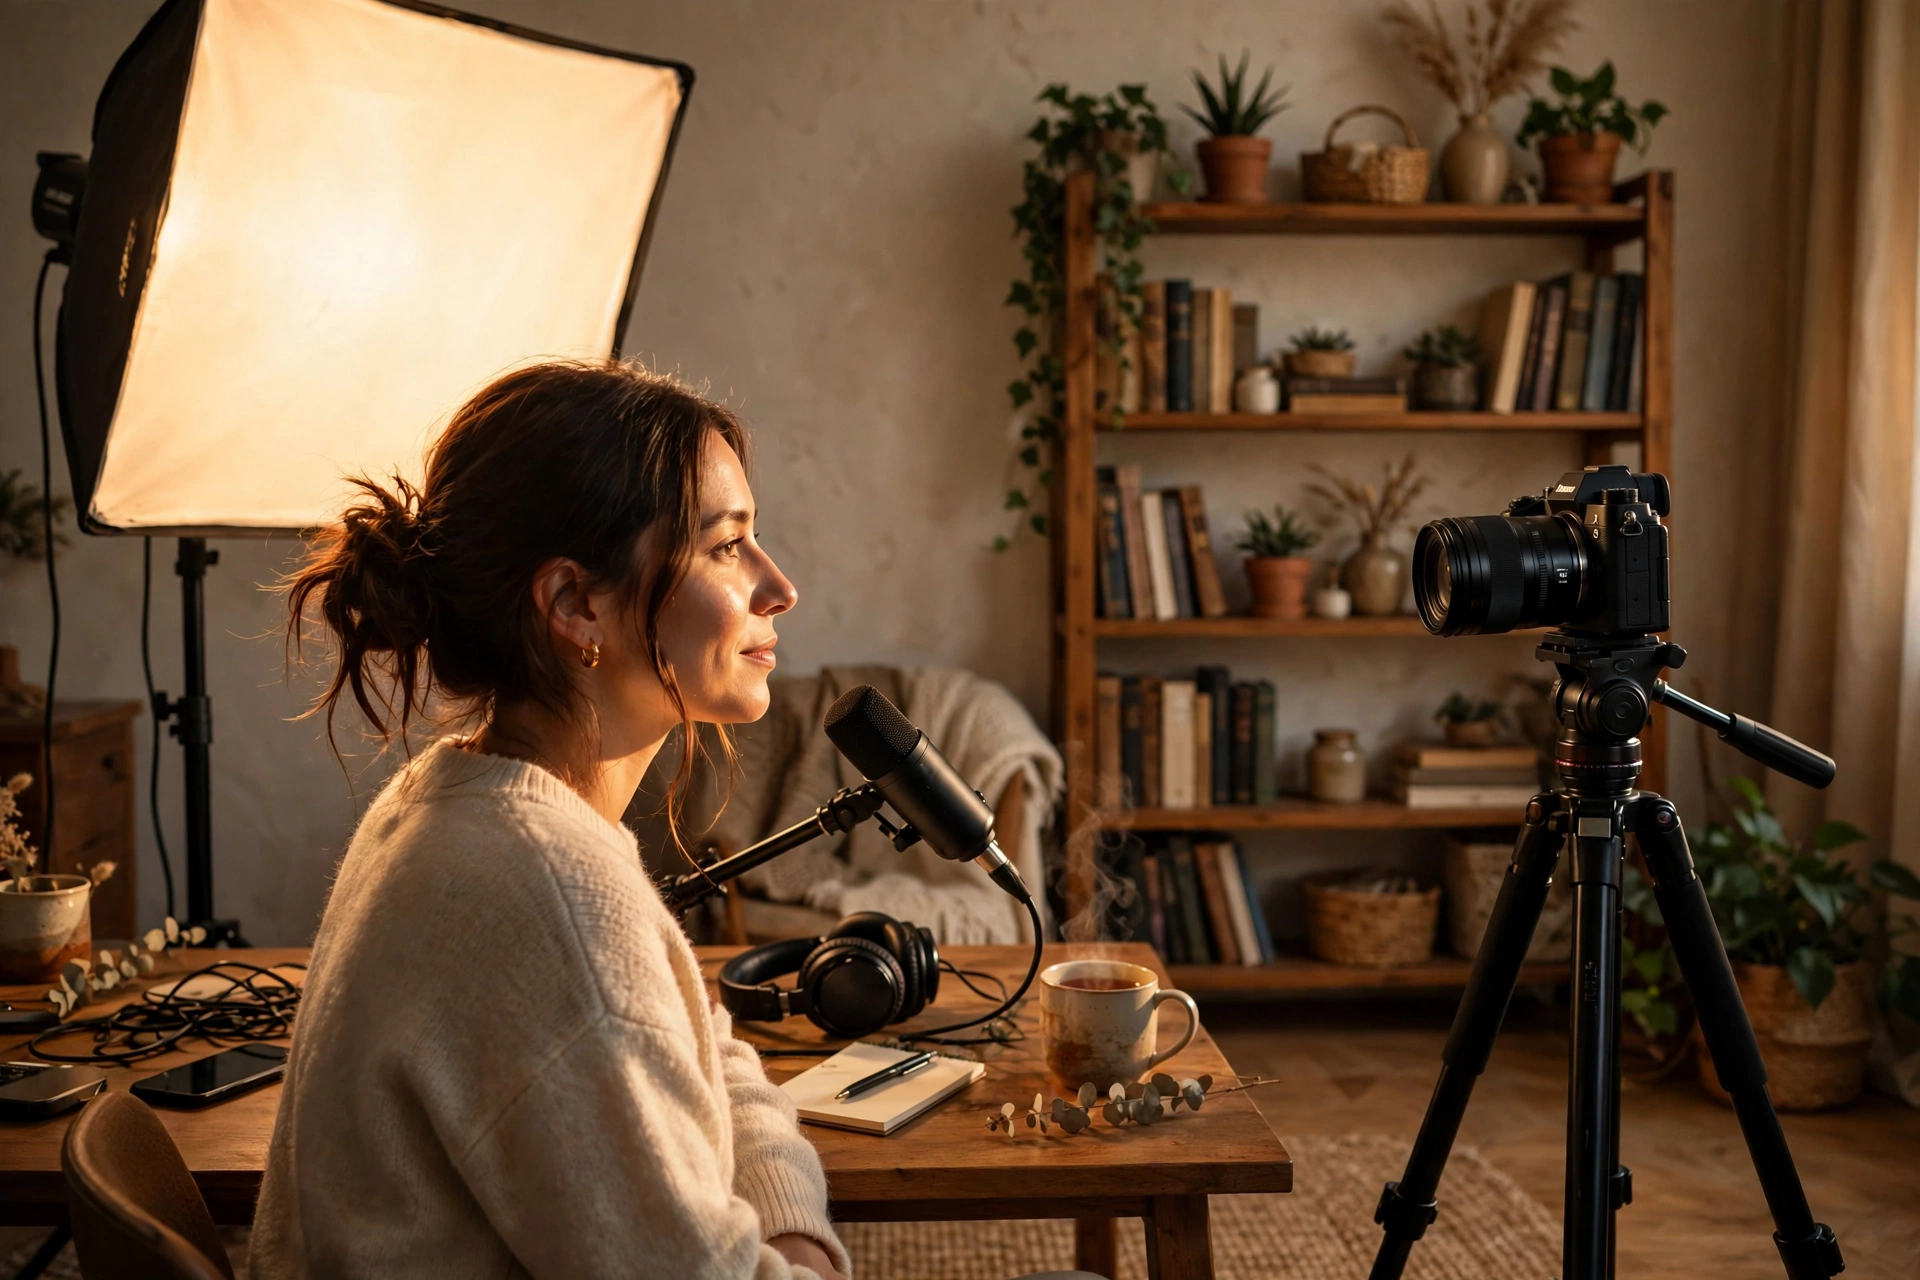
Fill light is a weaker light on the opposite side of your key that softens the shadows the key creates. Keep it noticeably dimmer than the key. Around half the strength is a good starting point. Your face keeps its shape that way, but loses the harsh, deep shadows.
Key light alone can look dramatic: one bright cheek, one side of the face falling away into shade. That’s a fine look for a film-noir monologue and a tiring one for a friendly vlog. Fill exists to raise those shadows just enough that both eyes stay readable and the shadow side keeps detail, without levelling the two sides into flatness. The ratio is the whole game. If fill matches the key in brightness, you’re back to passport-photo flatness, only now with two lights to blame.
You often already own a fill light without knowing it. A white or pale wall opposite your key bounces light straight back onto the shadow side of your face. So does a white bedsheet, a foam board, or a simple reflector propped on a chair. Bounce fill is naturally soft and weak, which is exactly what fill is supposed to be, and it cannot introduce a second colour of light because it is recycling the key’s own light. On a bright day, window light as the key and a pale wall as the fill is a genuinely complete two-light setup.
If you use a second lamp or panel as fill, run it dim. Start near half the key’s brightness and adjust by eye on your preview screen. Move it farther away rather than fighting with settings if it is a fixed-output light; distance dims and softens at the same time. And keep fill roughly at camera height, straight-ish onto the shadow side. It’s a supporting actor: the moment it starts casting obvious shadows of its own, it’s overacting.
One more fill trick matters in small, pale rooms: sometimes the room itself is doing the filling, and there is too much of it. White walls bounce the key straight back at you until every shadow fills itself in, and faces go flat no matter where the key sits. The fix is called negative fill. Hang a dark sheet, a black foam board, or even a dark blanket just out of frame on the shadow side, where it soaks up the bounce instead of returning it, and the shadow side is allowed to stay shadowed. It feels backwards, adding darkness to solve a lighting problem, but in a bright little box of a room it is often the only way to get your modelling back.
Give the background its own light, and some distance
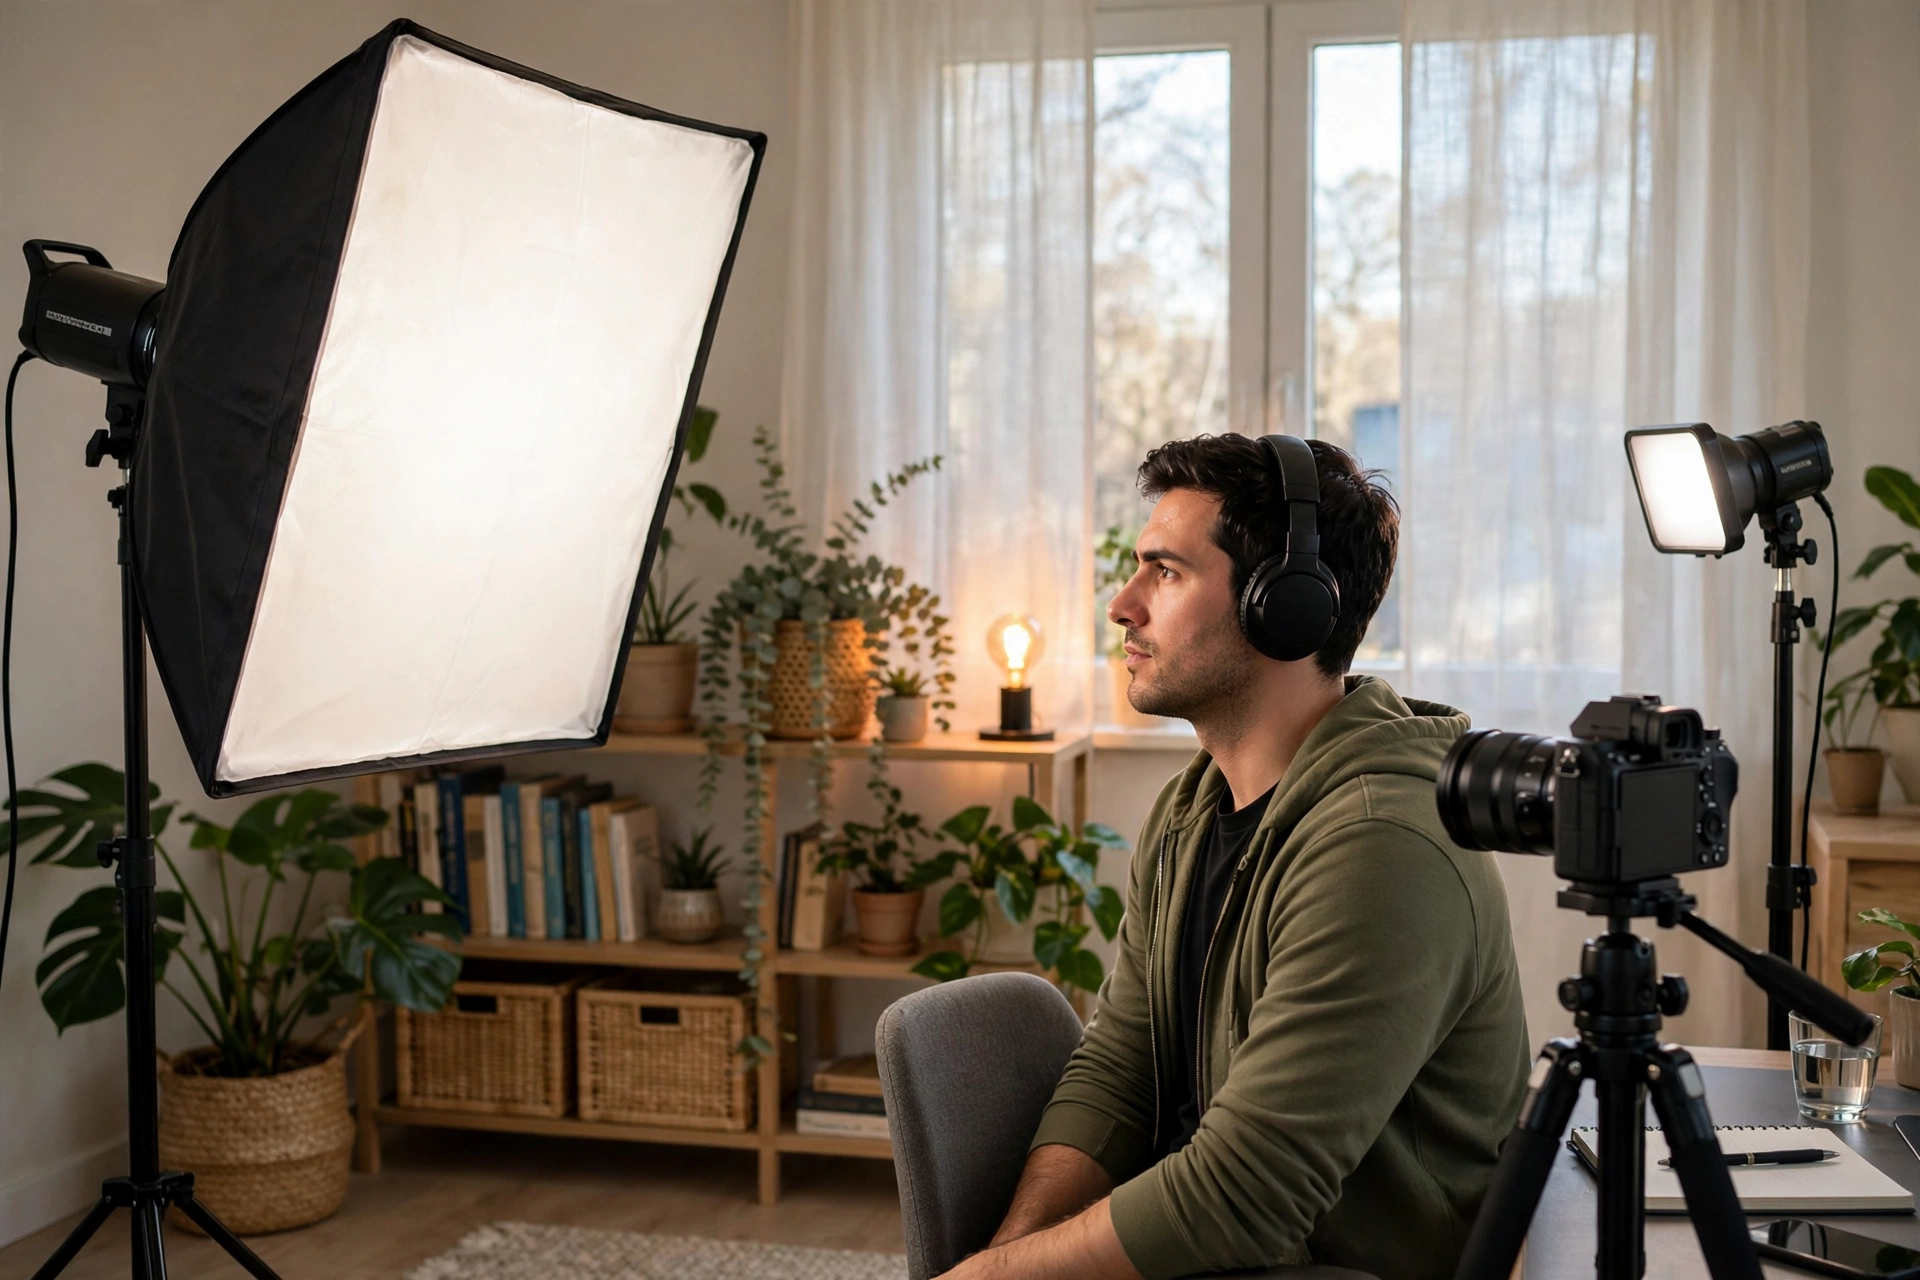
Light your background separately from your face, and sit as far from it as the room allows. A small lamp or practical light behind you adds depth and separates you from the wall, so the frame reads as a place instead of a mugshot against plaster.
Faces are judged against what sits behind them. Sit a foot from a bare wall and your key light will stamp your shadow onto it, huge and distracting, while the wall itself competes with your face for brightness. Pull your chair a metre or more into the room and two things improve at once: your shadow falls out of frame or softens away, and the background drops into a gentle blur and dimness that pushes attention forward to you.
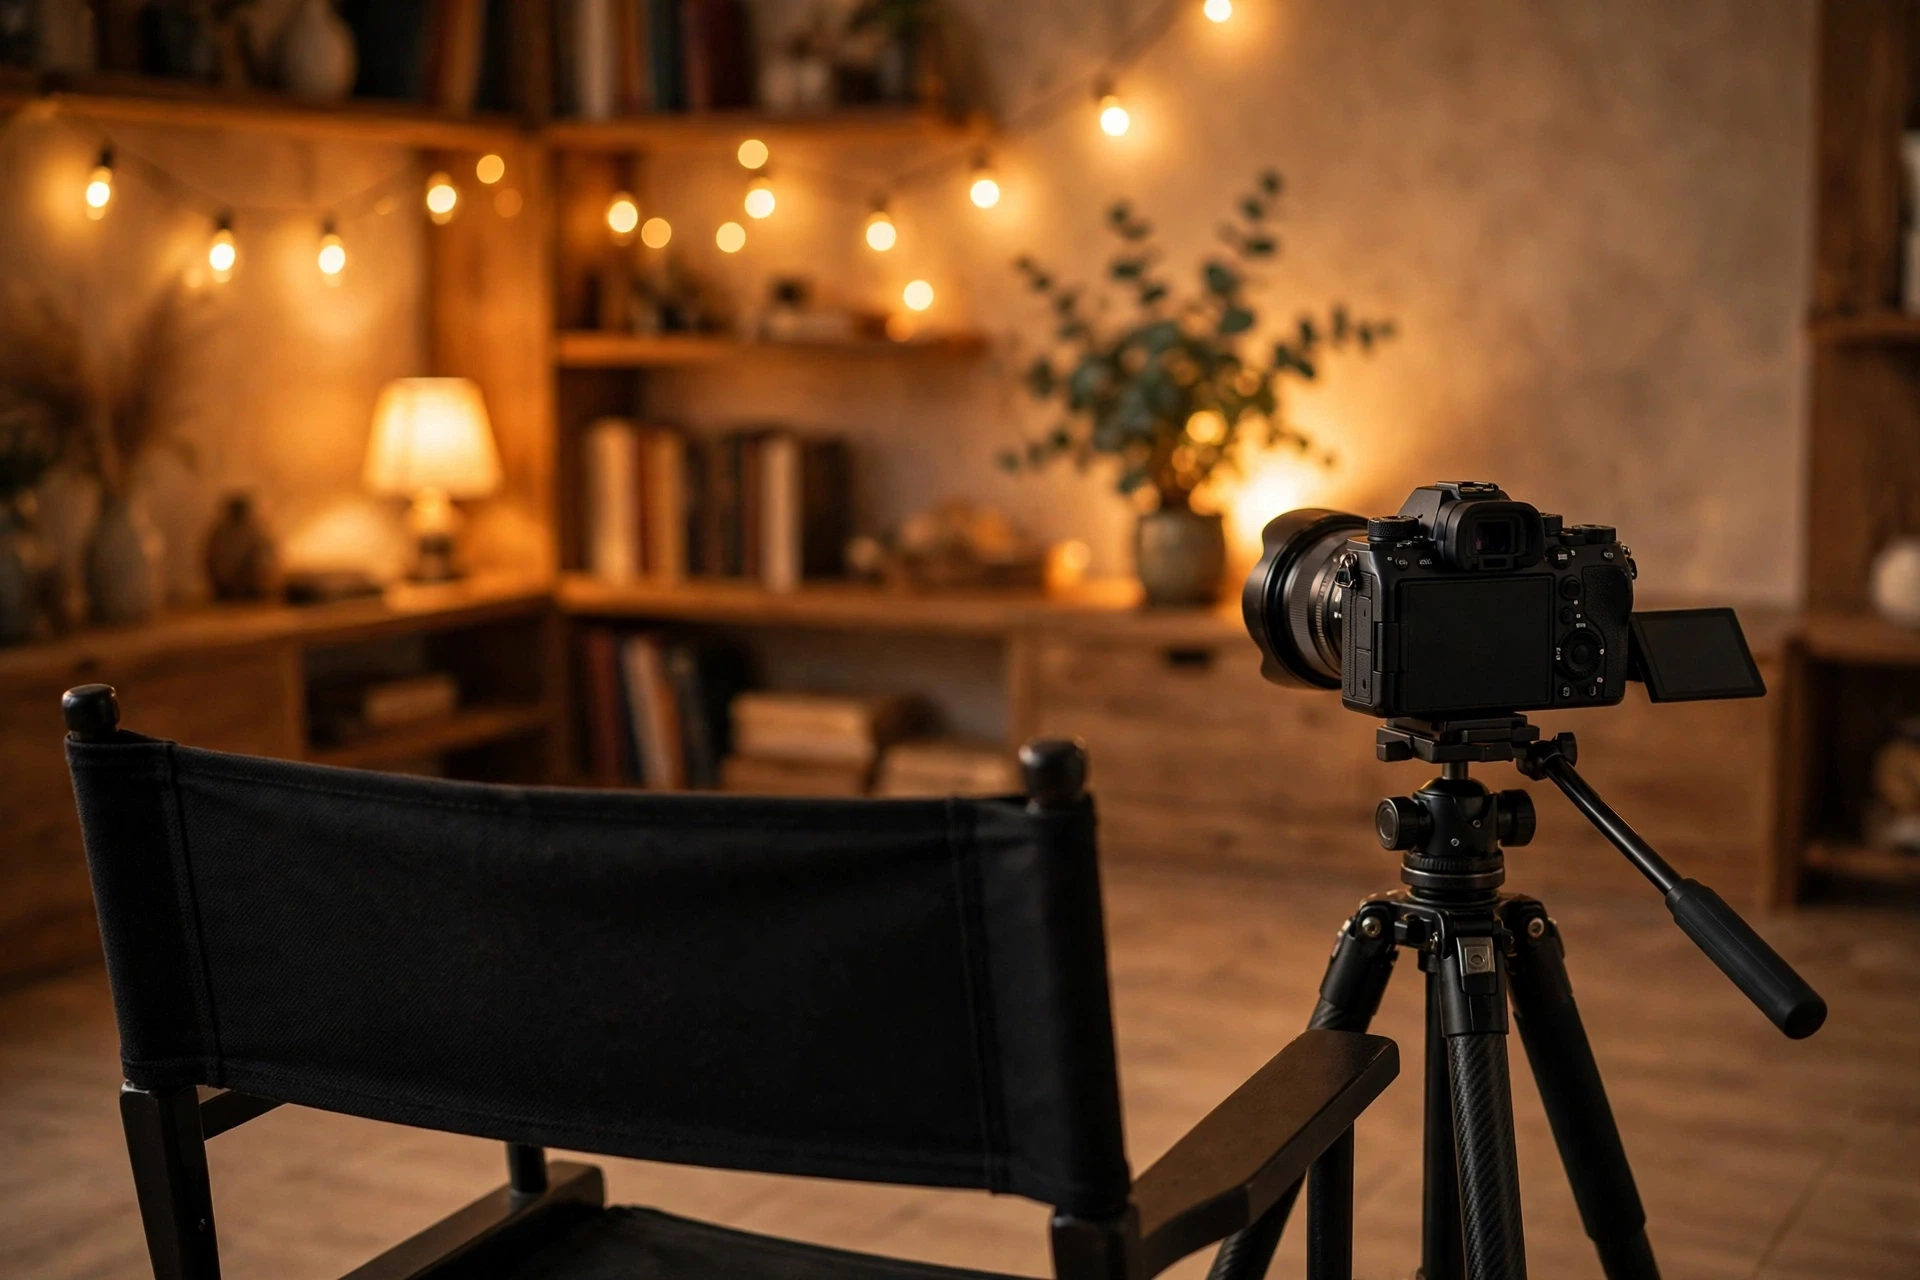
Then give that background one point of interest of its own. A small table lamp switched on in shot, a warm practical bulb on a shelf, a strip of light along a bookcase. Anything modest that says “this room continues behind me.” Keep it dimmer than your face. The hierarchy should always be: face brightest, background present but quieter. A background as bright as your face splits the viewer’s attention; a pitch-black background makes you look like a floating head in a void, which is a look that only works for dramatic monologues.
This is also where a small rim or hair light earns its place if you have dark hair against a dark backdrop: a low light aimed at the back of your head and shoulders from behind paints a thin bright edge that separates you from the darkness. It is the third point of the classic three-point pattern (key, fill, back), and while it is the most optional of the three, it is the one that most often makes a setup look “cinematic” to viewers who cannot name why.
The same arrangement serves double duty if you ever broadcast live, since a lit background and a metre of separation are exactly what a streaming frame wants too, which is why our guide to livestreaming on YouTube assumes a face setup very much like this one.
Using a ring light without the donut look
Put the ring light directly in front of you, with the camera shooting through its centre, at about arm’s length, then turn it down. A ring at sensible brightness gives even, shadowless face light; a ring cranked to full power gives you flat skin and two glowing donuts for eyes.
Ring lights earned their popularity honestly: they are the one setup that is almost impossible to position badly, because the camera sits in the middle of the light and your face is lit evenly from every direction at once. Shadows vanish, skin looks smooth, and for beauty, makeup, and close-up chat videos that flatness is the point. Vertical creators lean on them heavily for the same reason: the even light survives the tight crop of Shorts and Reels, a workflow our vertical video guide covers in full.
The trade-offs are built into the shape. Even light from all sides means no modelling. Your face loses the gentle shadow that gives it dimension, which reads as “flat” or oddly airbrushed on longer videos. And the catchlights are rings: two bright circles reflected in your eyes that some viewers find charming and others find distracting. You manage both issues the same way: restraint, and a bit of distance. Run the ring at the lowest brightness that still lifts your face above the background, and sit far enough back that the reflection shrinks and the light wraps less aggressively.
Two adjustments take a ring setup from default to deliberate. First, raise it slightly and tilt it down a touch rather than leaving it dead level; a small downward angle restores a hint of shadow under the cheekbones. Second, if your ring has adjustable colour, set it before you set anything else in the room. It’s now your key light, and everything else, including your camera’s white balance, should be matched to it (more on that in the colour temperature section below).
Ring or softbox? For close-up, front-facing, beauty-style work, the ring is simpler and forgiving. For most other talking-head vlogging, a softbox at 45 degrees gives your face more shape and looks less “studio product.” Neither is a wrong answer. Placing either of them with intent is the right one.
Diffusion: why bigger and closer looks softer
Softness comes from the size of the light as your face sees it. A softbox, a diffuser sheet, or a sheer curtain makes the source bigger, and bigger means softer shadows and kinder skin. Diffuse your key light first. It does more for faces than any other single adjustment.
Here’s the one piece of lighting physics worth memorising: shadows are hard when the light source is small, and soft when it is large. The sun is enormous but so far away that, from your face’s point of view, it is a tiny disc, which is why direct sunlight carves such harsh shadows. A softbox works by doing the opposite: a bulb or panel fires into a fabric box and the whole front panel becomes the source, a big glowing rectangle a step or two from your face. Up close, that is a huge source, and huge sources wrap light around the nose, soften the edge of every shadow, and stop pores and blemishes from being spotlit.
Diffusion is the same trick in cheaper clothes. A shower curtain in front of a window, a diffusion sheet clipped over a panel, a white umbrella, even a plain white bedsheet hung between the light and you. All of them spread a small, harsh source into a larger, gentler one. You lose some brightness in the exchange, which is why diffusion pairs with proximity: move the diffused light closer to recover the strength while keeping the softness. That pairing (big, close, diffused) is the entire secret behind most “how does her skin look like that?” vlogging setups.
One caution: diffusion softens direction too. Push it too far, with a massive source square-on to your face, and you drift back toward flatness. Keep the softbox at that 45-degree key position, let its size do the softening, and let its angle do the shaping. If you are choosing the actual hardware to hang these techniques on, that buying decision lives in our best lights for vlogging guide. This page deliberately stays on placement and technique, because good placement beats expensive gear in the wrong spot every time.
The squint test
Here’s a ten-second check that tells you if your light is too harsh. Look at your preview and squint slightly: squinting strips away detail and shows you only the broad areas of light and dark. If you see one glaring white patch and one black hole, your light is too hard or too one-sided. If you see a bright face, gentle shading on one side, and a background a step dimmer, you’re lit. Stop adjusting and press record.
Match your colour temperatures first
Every light has a colour, measured in Kelvin: warm lamps sit around 2700-3200K, daylight around 5500-6500K. Pick one colour for the whole setup, set your lights to that number, and set your camera’s white balance to match. Mixed colours are the main reason skin looks wrong on video.
Your eyes are brilliant at ignoring light colour. A white shirt looks white to you under a yellow lamp and under blue daylight alike. Cameras are not. They record the colour that is actually there, and they correct for exactly one colour of light at a time, using the white balance setting. Whatever light your white balance is set for will look neutral; every other light in the room will show its true colour as a cast (orange, blue, or green), usually across your face.
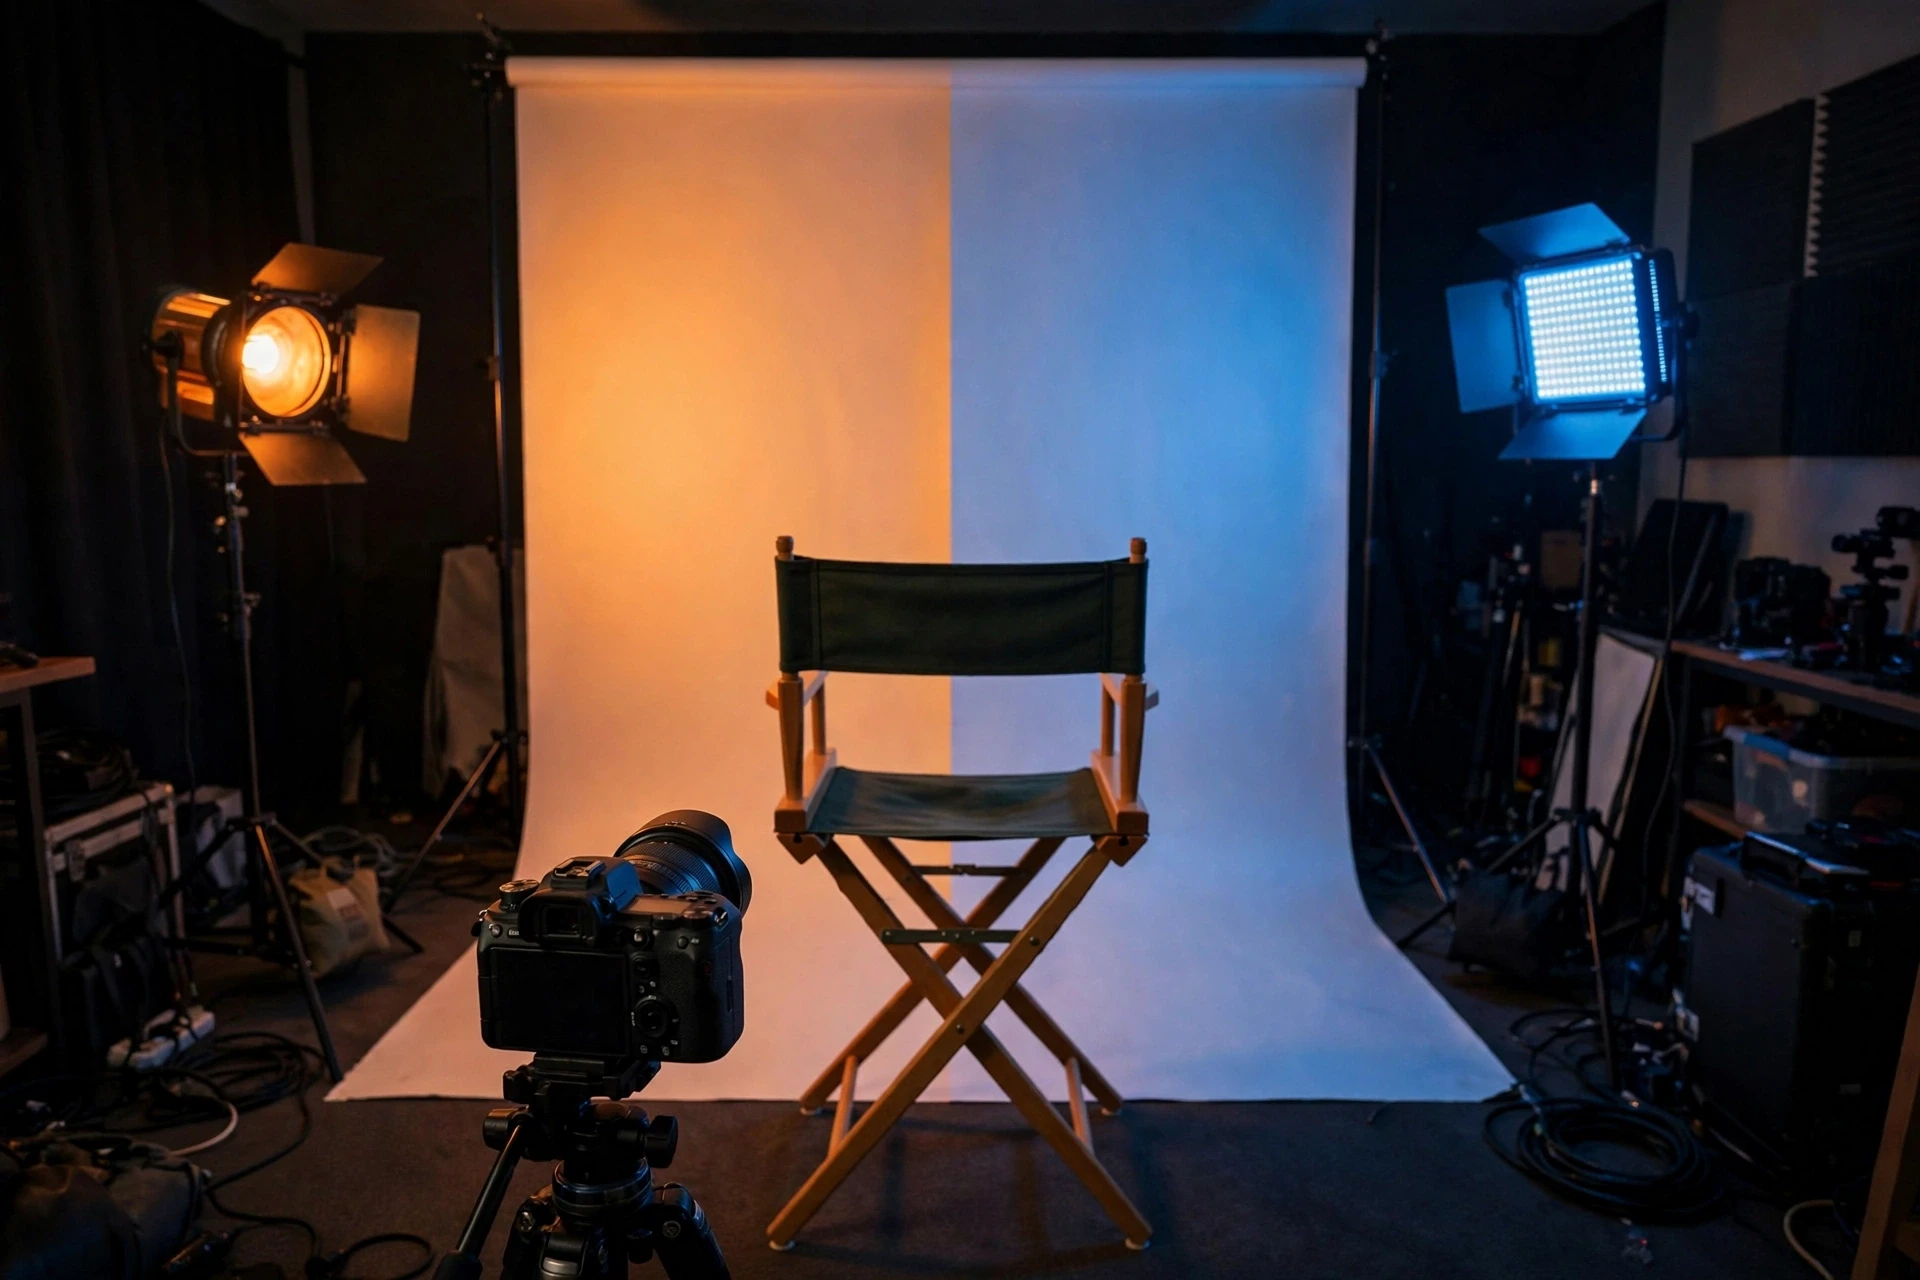
| Light source | Typical colour temperature | How it looks on camera |
|---|---|---|
| Warm household bulb / Edison lamp | 2700-3000K | Cozy orange-yellow. Fine alone, clashes with daylight |
| “Warm white” LED panel at low setting | 3200-4000K | Soft amber, a middle ground that matches neither camp |
| Daylight-balanced LED / softbox | 5000-5600K | Neutral white, designed to match window light |
| Daytime window light (shade / overcast) | 5600-6500K | Clean daylight, slightly cool in open shade |
The daytime strategy that keeps life simple: let daylight win. Film while the window is your main source, set any panels or softboxes you add to their daylight setting (around 5500K), switch warm household lamps near the frame off, and set white balance to daylight or to that same Kelvin number if your camera allows it. Now every light in the shot agrees, and skin tones come out the colour skin actually is.
If your camera only offers auto white balance, be aware of its one bad habit: it re-decides constantly. Lean sideways out of the key light, hold up a colourful product, or let a cloud pass, and auto white balance can shift visibly mid-sentence, changing your skin tone as you watch. Locking white balance manually, even to a preset like “daylight”, keeps your face the same colour from the first word to the last, and it is why phones, which love auto-everything, sometimes drift: the shooting advice in our phones for vlogging guide includes locking exposure and white balance before filming for exactly this reason.
Mixed light: the orange-and-blue problem
Mixed light is what happens when two different colours of light hit your face at once. The classic case: blue daylight from a window on one side, an orange room lamp on the other. No white balance setting can fix both at once. The fix is to eliminate one of them, not to correct for it.
You have seen this face, even if you have never named it. One cheek glows a healthy tangerine, the other looks faintly seasick blue, and the creator looks like they are lit by a sunset and a fridge simultaneously. It happens in ordinary rooms because ordinary rooms mix sources by default: daylight through the window, a warm ceiling light overhead, a cool-white kitchen LED spilling in from the hall. Each is innocent alone. Together, on skin, they are a mess, because white balance can only crown one of them neutral and must leave the others as casts.
The working fixes are all subtraction, not correction:
- Turn the offender off. Filming in daytime? The warm ceiling light and the hallway lamp near your setup go off. Your key is daylight; let it rule alone.
- Block the offender instead. A door closed against the cool hallway spill, or curtains drawn over a window when you would rather your warm lamp be the key. Either way, one colour survives and the clash dies.
- Convert the offender. If a lamp must stay on in shot (a background practical, say), accept it as a deliberate warm accent in the background only, and keep it off your face by positioning and distance. Warm glow behind you, daylight on you: that reads as cosy. Both on your skin reads as a mistake.
- Do not try to edit your way out. Colour casts from mixed light sit on different parts of the same face, so a global correction in editing just moves the problem around. One cheek fixed, the other worse. Tools in any free editing software can polish exposure and contrast, but the two-minute fix at the light switch beats an hour of masking every single time.
Everything in this section is about daytime and indoor filming, where you have light to spare and the job is controlling it. Shooting after dark, when the problem flips to not having enough light at all, is a different discipline. Our low-light photography tips cover that side properly, and the two guides are designed to be read as a pair.
Lighting a face that wears glasses
Glasses glare is an angle problem, not a brightness problem. Raise your key light and swing it further to the side until its reflection bounces off the lenses away from the camera, then check the fix while moving your head, never sitting statue-still.
A spectacle lens is a small mirror aimed at whatever sits in front of it. Park your key light in the reflection zone and the camera stops seeing your eye and starts seeing the light itself, bounced straight back: a bright white shape floating where the eye should be. This is why dimming rarely rescues a glaring setup. A dimmer light just gives you a dimmer reflection in the same place. Moving the light changes where the reflection goes, and that is the actual fix.
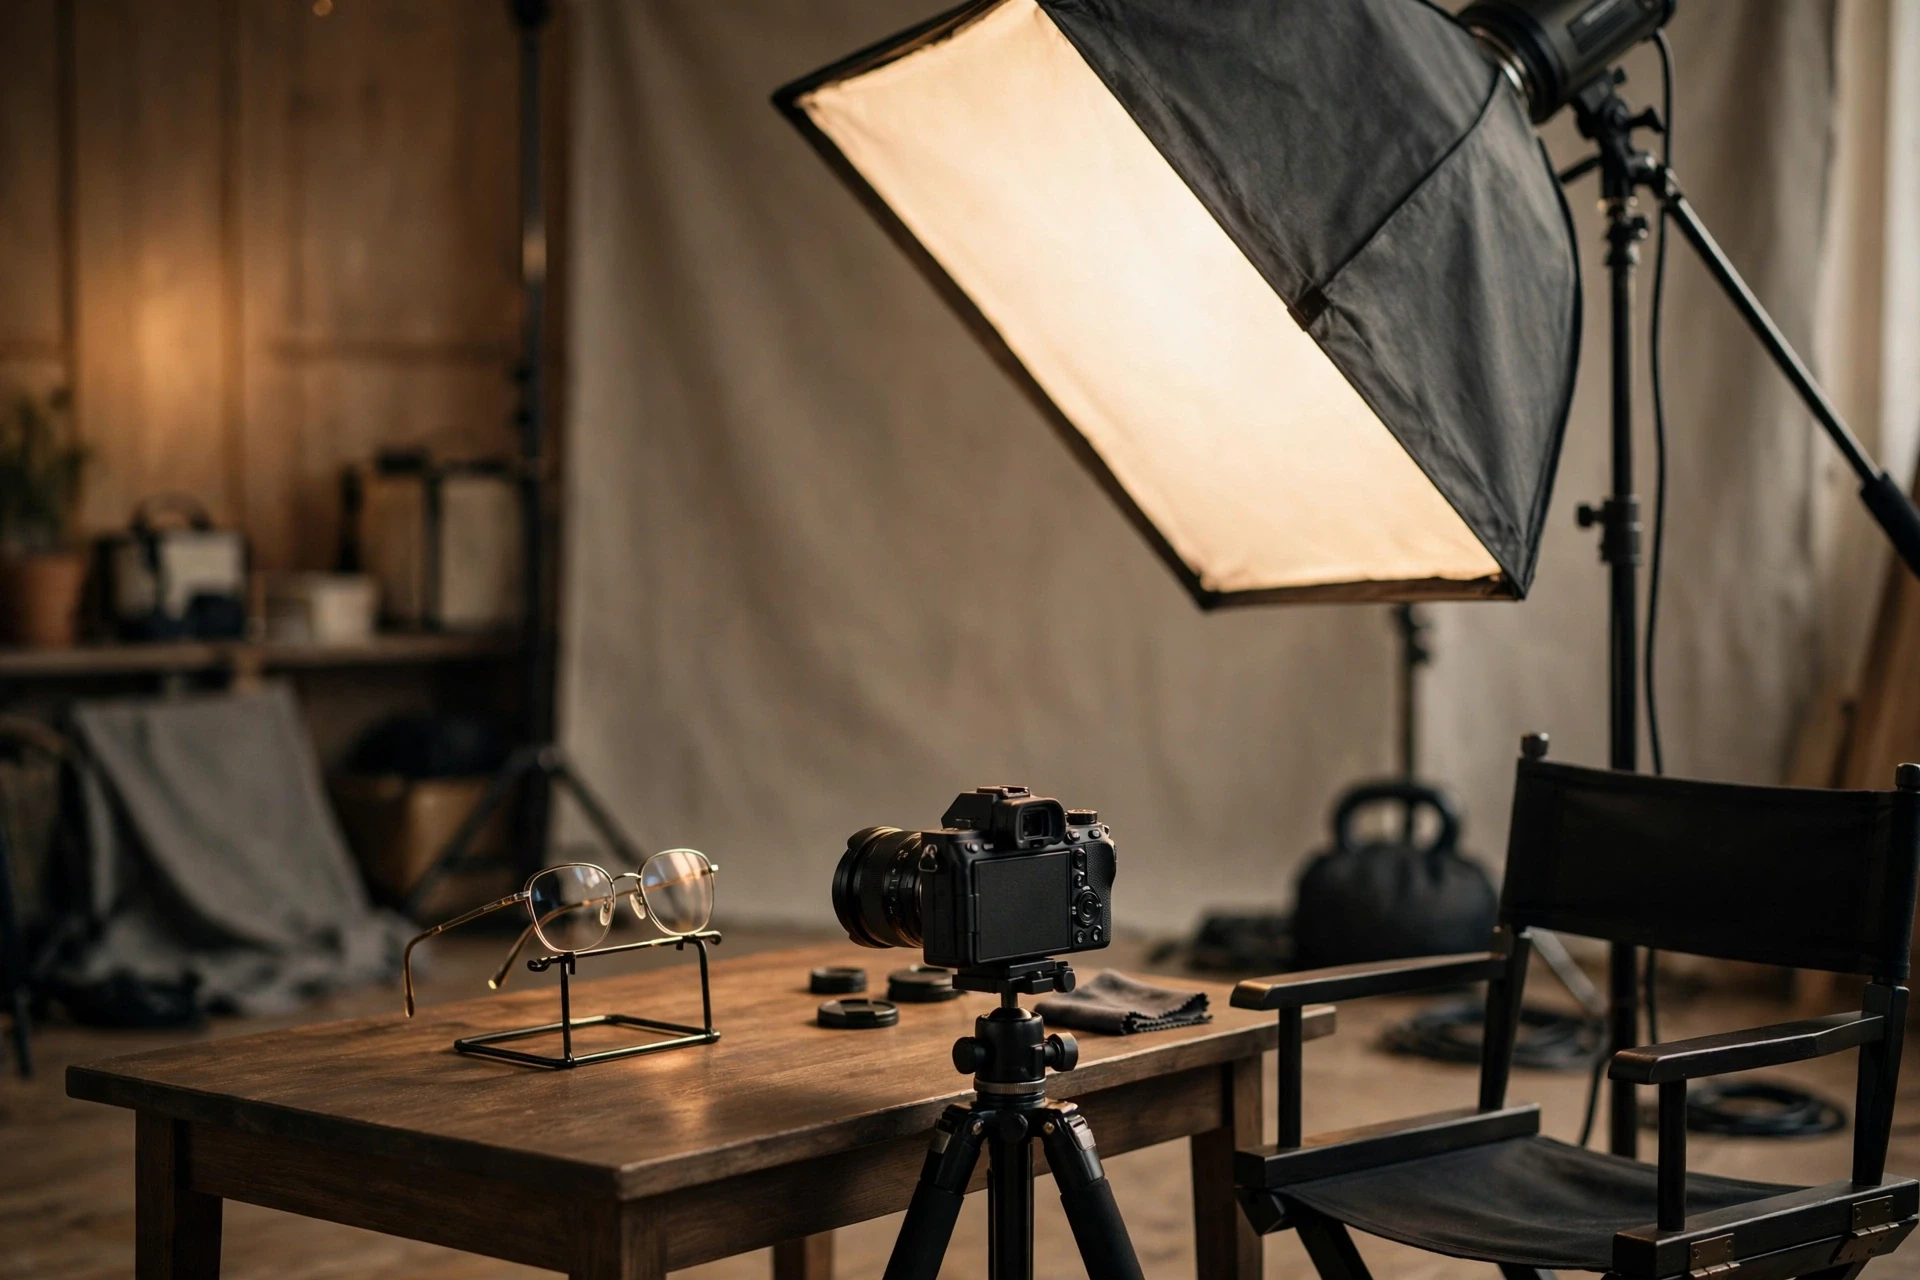
Work through it in order. First, raise the key a little higher and tilt it down more steeply, so the reflection drops below the lens line. Second, swing the key wider, out to the full 45-degree position or just past it, so whatever still reflects fires off to the side of the camera instead of into it. Third, if a faint ghost survives, tilt the glasses themselves: lift the arms slightly where they meet your ears so the lenses tip a few degrees downward. Nobody can see the tilt on camera, and it sends the reflection harmlessly toward the floor. A bigger, softer source helps quietly too, because a broad reflection is spread thin and faint, where a small hard source gives you one dense white blob per lens.
Ring lights are the hardest case of all, because the entire ring reflects, two complete circles sitting on your eyes. Some viewers wear that look happily, but if the circles bother you, glasses are the strongest argument for the angled softbox instead: same softness, and the reflection leaves with the angle. Whatever setup you land on, judge it the way the test recording below demands, with your head moving naturally. A reflection that is gone while you sit still has a habit of returning the moment you glance down at your notes.
The two-minute test recording
Before every real take, record twenty seconds of yourself talking, then watch it back on the biggest screen you have. You are checking five things: skin colour, catchlights in your eyes, shadow harshness, background brightness, and whether anything flickers or shifts as you move.
Lighting mistakes are nearly free before the take and annoyingly permanent after it, so build the check into your routine. Talk to the camera for a few seconds, move your head side to side the way you naturally will, hold up a hand near your face, and play it back. Here’s the fault-finding version of that playback:
| What you see | Likely cause | Fix |
|---|---|---|
| One side orange, one side blue | Mixed light sources | Turn off or block one colour; match the rest (see above) |
| Dark rings under the eyes | Light too high, or bare ceiling light | Lower the key toward just above eye level; soften it |
| Face looks flat and wide | Light square-on from the camera | Move the key to 45 degrees; dim the fill or ring |
| Bright window, dark face | Window behind you | Turn around and face the window |
| Skin colour drifts mid-clip | Auto white balance hunting | Lock white balance to daylight or a fixed Kelvin value |
| Shadow of your head on the wall | Sitting too close to the background | Move a metre or more into the room |
| Bright shapes floating in your glasses | Key light sitting in the lenses’ reflection angle | Raise the key, swing it wider, or tip the frames down a touch |
| Rolling bands or a pulsing brightness | A dimmed LED fighting the camera, or a shutter speed at odds with the mains | Run the light at full power and dim it with distance instead, and test a different shutter speed |
The head-movement part is not optional. Lighting that flatters a statue can fall apart on a person. Lean in and you enter a brighter pool of light; lean back and your fill vanishes. You film a moving face, so test with one. If your skin tone holds its colour and your eyes keep their catchlights through a few natural gestures, the setup is honest.
This routine pays for itself fastest if you film in batches, because one verified setup carries across every video recorded that day. That’s the workflow logic behind batch filming your videos. Mark your light stands’ positions with a strip of tape on the floor while you are at it. Tomorrow’s setup then takes two minutes to rebuild exactly, and your face looks consistent from video to video, which quietly makes a channel look professional before a word is spoken.
Face-lighting questions, answered
Quick answers to the questions vloggers ask most about lighting their face for indoor, daytime videos.
Where should I sit in relation to a window when filming?
Face the window, sitting an arm’s length or two back from the glass, with your chair turned about 30 to 45 degrees so the light falls across your face slightly from one side. Never sit with the window behind you, because the camera exposes for the bright glass and your face falls into shadow. If direct sun patches through, hang a sheer curtain over the window to soften it.
How far away should my key light be from my face?
As close as you can get it without it creeping into frame. Usually that’s just out of shot, roughly an arm’s length to a metre away. A light appears larger, and therefore softer, the closer it is to you. A modest light pulled in close will flatter your face more than a powerful light parked across the room.
Why does one side of my face look orange and the other blue?
That’s mixed light: two colours of light hitting your face at once, typically a warm room lamp on one side and cool daylight from a window on the other. White balance can only neutralise one colour at a time, so the other shows up as a cast. Turn off or block one source, or move it so it only lights your background, and the two-tone face disappears.
Is a ring light or a softbox better for lighting your face?
It depends on the video. A ring light gives even, shadowless light that suits beauty, makeup, and close-up chat videos, at the cost of some facial dimension and ring-shaped catchlights in your eyes. A softbox at 45 degrees keeps gentle modelling on your face and suits most talking-head vlogging better. Placement and brightness control matter more than which one you pick.
What colour temperature should I set my lights to for daytime filming?
Around 5500K, the daylight setting on most adjustable lights. That matches window light, so your artificial and natural sources agree instead of fighting. Set your camera’s white balance to daylight or to the same Kelvin figure, and switch warm household lamps near the frame off, since their 2700-3000K glow will read orange against everything else.
How do I stop harsh shadows under my eyes and chin?
The usual cause is a light that’s too high or too hard. A bare ceiling bulb is the classic offender. Lower your key light to just above eye level, diffuse it with a softbox or curtain so the source is larger, and add gentle fill from the opposite side to lift what shadow remains. Check the result with a short test recording, moving your head as you normally would.
Why does my face look flat even though the room is bright?
Brightness is not the same as shape. A face lit evenly from the front (by a ring at full power, a light beside the camera, or bright overheads) has no shadows left to give it dimension, so it reads as flat and wide. Move your main light to about 45 degrees to one side, keep any fill noticeably dimmer than it, and the gentle shading that returns is what makes a face look three-dimensional on screen.
Should the background be brighter or darker than my face?
Darker. A step or two dimmer, but not black. Your face should be the brightest thing in the frame so the viewer’s eye lands on you first. Sit a metre or more away from the wall behind you, and give the background its own small, quiet light, like a table lamp in shot, so the room reads as a real place without competing with you.
Can I light my face well with just a window and no extra lights?
Yes. For daytime sit-down videos, a good window is a complete lighting setup. Sit facing it at a slight angle, soften direct sun with a sheer curtain, and let a pale wall opposite bounce a little light back as natural fill. Turn off warm room lamps so the daylight stays the only colour in play. Your limits are the weather and the hour, not the quality of the light itself.
Why does my skin tone change colour during a single video?
Almost always, auto white balance. On auto, your camera keeps re-deciding what “white” is as you move, gesture, or as clouds shift the daylight, and your skin tone shifts with each decision. Lock white balance manually to daylight or a fixed Kelvin value before filming and your face stays the same colour from the first sentence to the last.
Keep exploring
Lighting is one half of looking good on camera. The guides below cover the gear behind this technique, the camera settings that sit alongside it, and the after-dark version of the same problem.