
Last updated: November 2026
ASMR lives or dies on sound, but a vlogger’s ASMR video still has to look like a video. The camera and the microphone are two separate tools doing two separate jobs, and the craft is joining them so the viewer never notices the join. This guide covers that join: a binaural rig that sounds like a real head, sync that holds across a full hour, whisper levels that stay clean, framing that calms rather than distracts, and a series format that fits inside a normal vlogging channel.
In this guide
- The system, not the microphone
- The binaural rig: two ears, one head shadow
- Sync that holds for a full hour
- Whisper loudness without hiss or clipping
- Framing the picture: slow, close, and calm
- The quiet room is part of the rig
- The gentle edit: crossfades, not cuts
- ASMR as a series inside a vlogging channel
- First session: checklist and fixes
- Questions vloggers ask about ASMR
The system, not the microphone
Most ASMR guides stop at microphone choice, and most of them repeat the same short list: a sensitive stereo or binaural microphone, a quiet room, and gentle sounds. All of that is true, and none of it is the hard part for a vlogger. A vlogger already owns a camera that shoots good video, and the question is how to pair it with sound good enough for headphones without turning every session into a technical struggle.
The system has four parts, and each one gets a section in this guide. First, the rig: two matched microphones spaced like human ears, with something solid between them, so the recording carries real left and right information. Second, sync: a method that keeps the recorder and the camera aligned from the first minute to the sixtieth. Third, levels: gain set for whispers, not for normal speech, so quiet sounds stay clean and loud sounds never clip. Fourth, the picture: framing and light that support relaxation instead of fighting it.
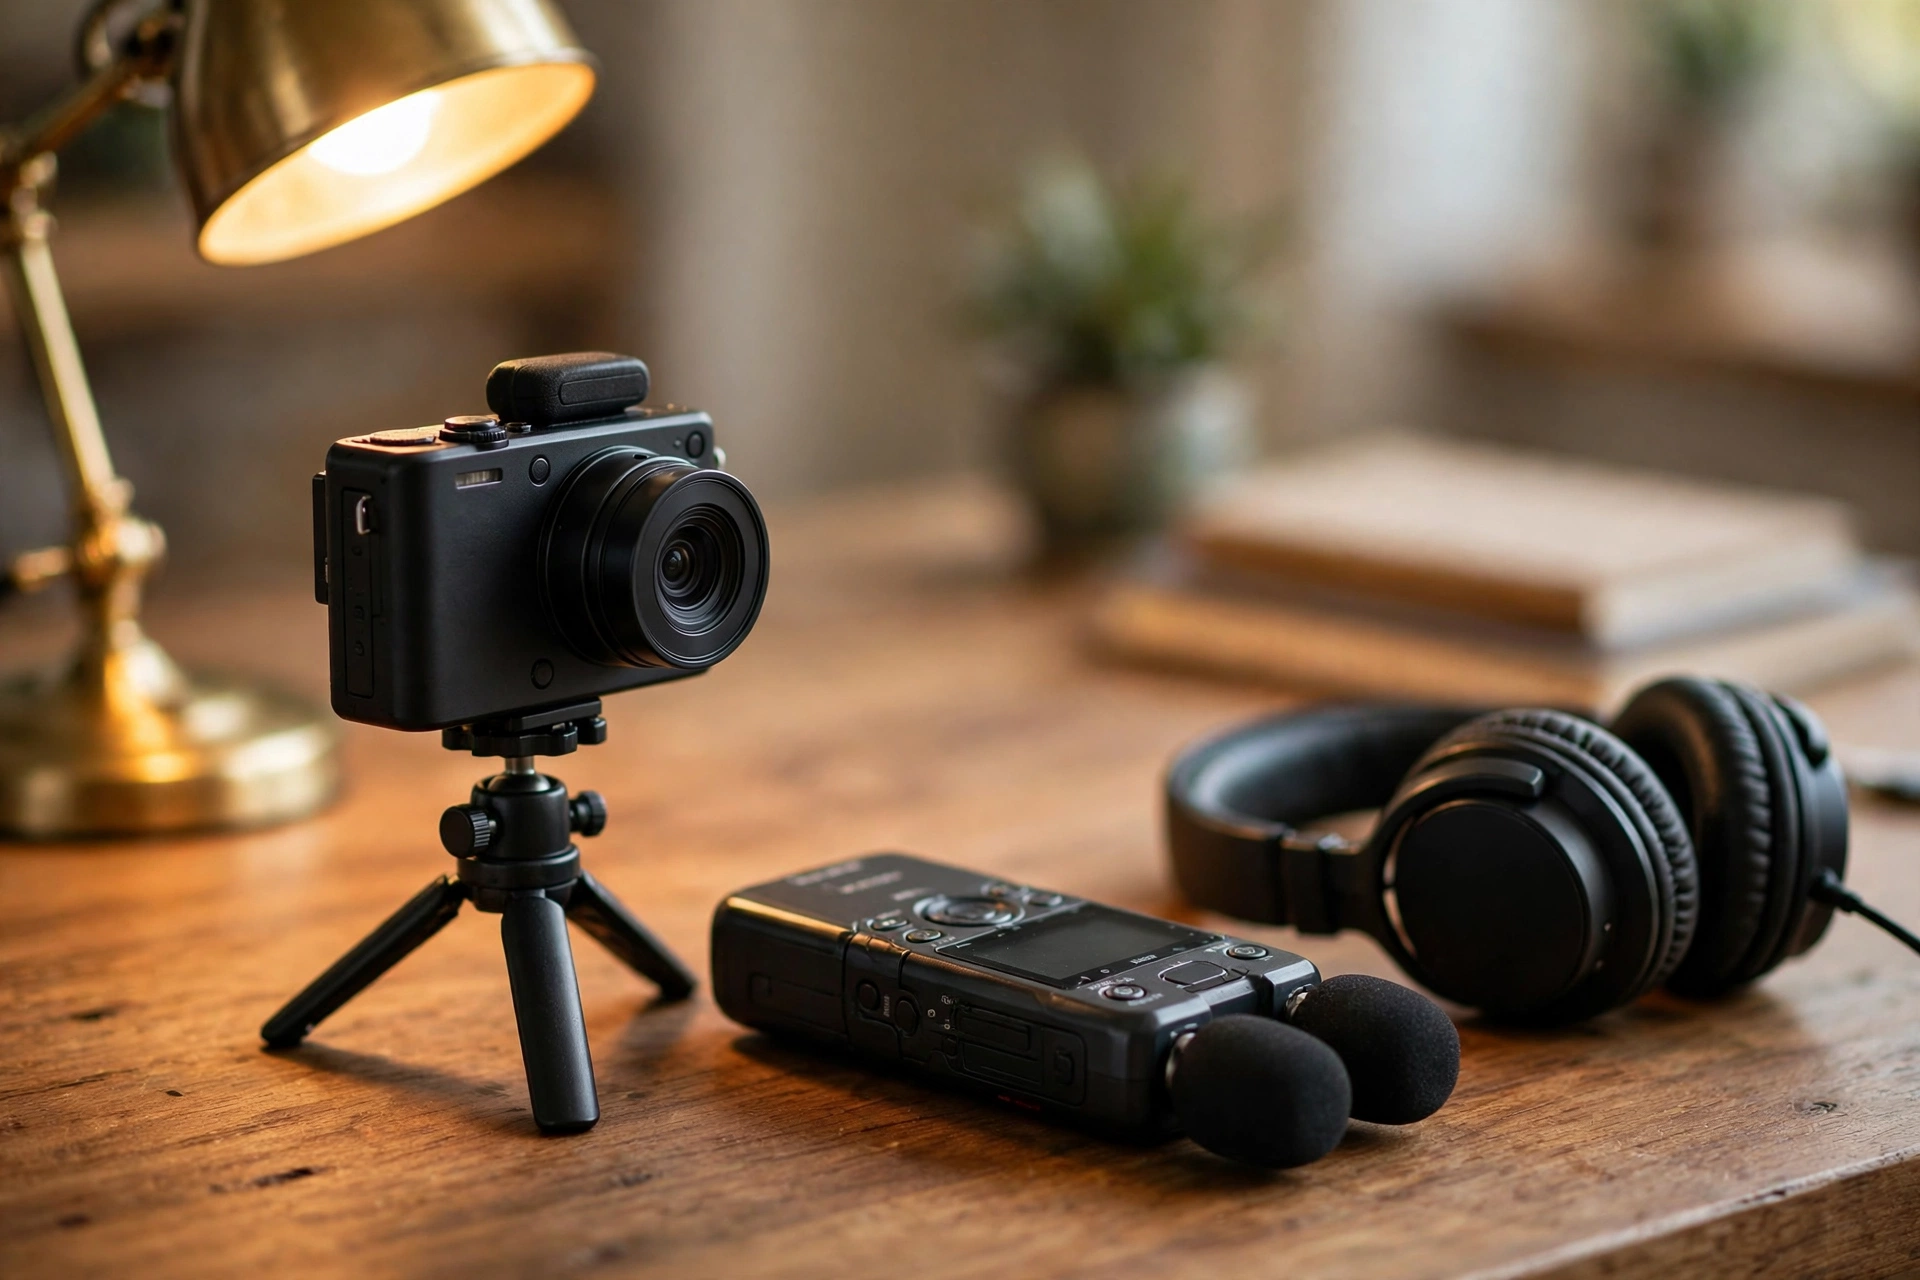
One choice shapes everything else. Record the sound on an external recorder, not into the camera, whenever the session runs longer than a few minutes. Camera preamps are built for speech at normal volume, and they add hiss exactly where ASMR is quietest. A handheld recorder or a small audio interface gives cleaner gain, a visible meter, and a file that can be edited on its own. The camera still records its own scratch audio, and that scratch track is what makes sync possible, as the sync section explains.
Keep the chain short. Camera on a tripod, recorder on the desk or on its own small stand, microphones on a bar or a dummy head form, headphones for monitoring. Every extra device in the chain is another battery to die, another cable to rustle, and another setting to forget. The rest of this guide assumes that short chain and shows how to run it well.
The binaural rig: two ears, one head shadow
Human hearing locates sound from two small differences: a sound from the right reaches the right ear a fraction sooner and a fraction louder than it reaches the left ear. The brain reads those two differences as direction and distance. A binaural rig recreates them by placing one microphone where each ear would be, so a tap on the right side of the desk genuinely arrives in the right ear first.
Three details decide whether the effect works. The first is spacing. The standard figure across binaural guides is 7 inches, about 18 centimetres, which is the average distance between human ears. Wider spacing stretches the stereo picture until it sounds unnatural; narrower spacing collapses it until left and right barely differ. Measure it once with a ruler and mark the bar, because guessing it by eye every session is how the spacing quietly drifts.
The second detail is the object between the microphones. A bare pair of microphones on a bar records stereo, but it misses the head shadow: the way a real head blocks and filters sound traveling from one side to the other. A dense block between the capsules, a dummy head form, or even a solid foam baffle restores part of that filtering, and listeners hear the difference as a more solid sense of place. The object does not need to look like a head. It needs to be dense, roughly head sized, and fixed so it cannot wobble mid session.
The third detail is matching. The two microphones should be a matched pair with the same pattern, ideally omnidirectional (the microphone patterns guide explains what each pattern hears), and set to identical gain. Two different microphones, or one channel hotter than the other, tilt the whole stereo picture to one side, and no edit fully repairs that tilt. Check the match with a test sound placed dead center: it should sit dead center in the headphones, not drift left or right.
Pan the two channels hard left and hard right in the edit, and test the result on headphones, not speakers. Binaural recordings can sound thin or strange on speakers because speakers mix both channels in the room air before they reach the ears. Headphones keep the channels separate, which is the whole point. If a recording sounds wrong on speakers but right on headphones, the recording is fine and the speakers are the wrong test.
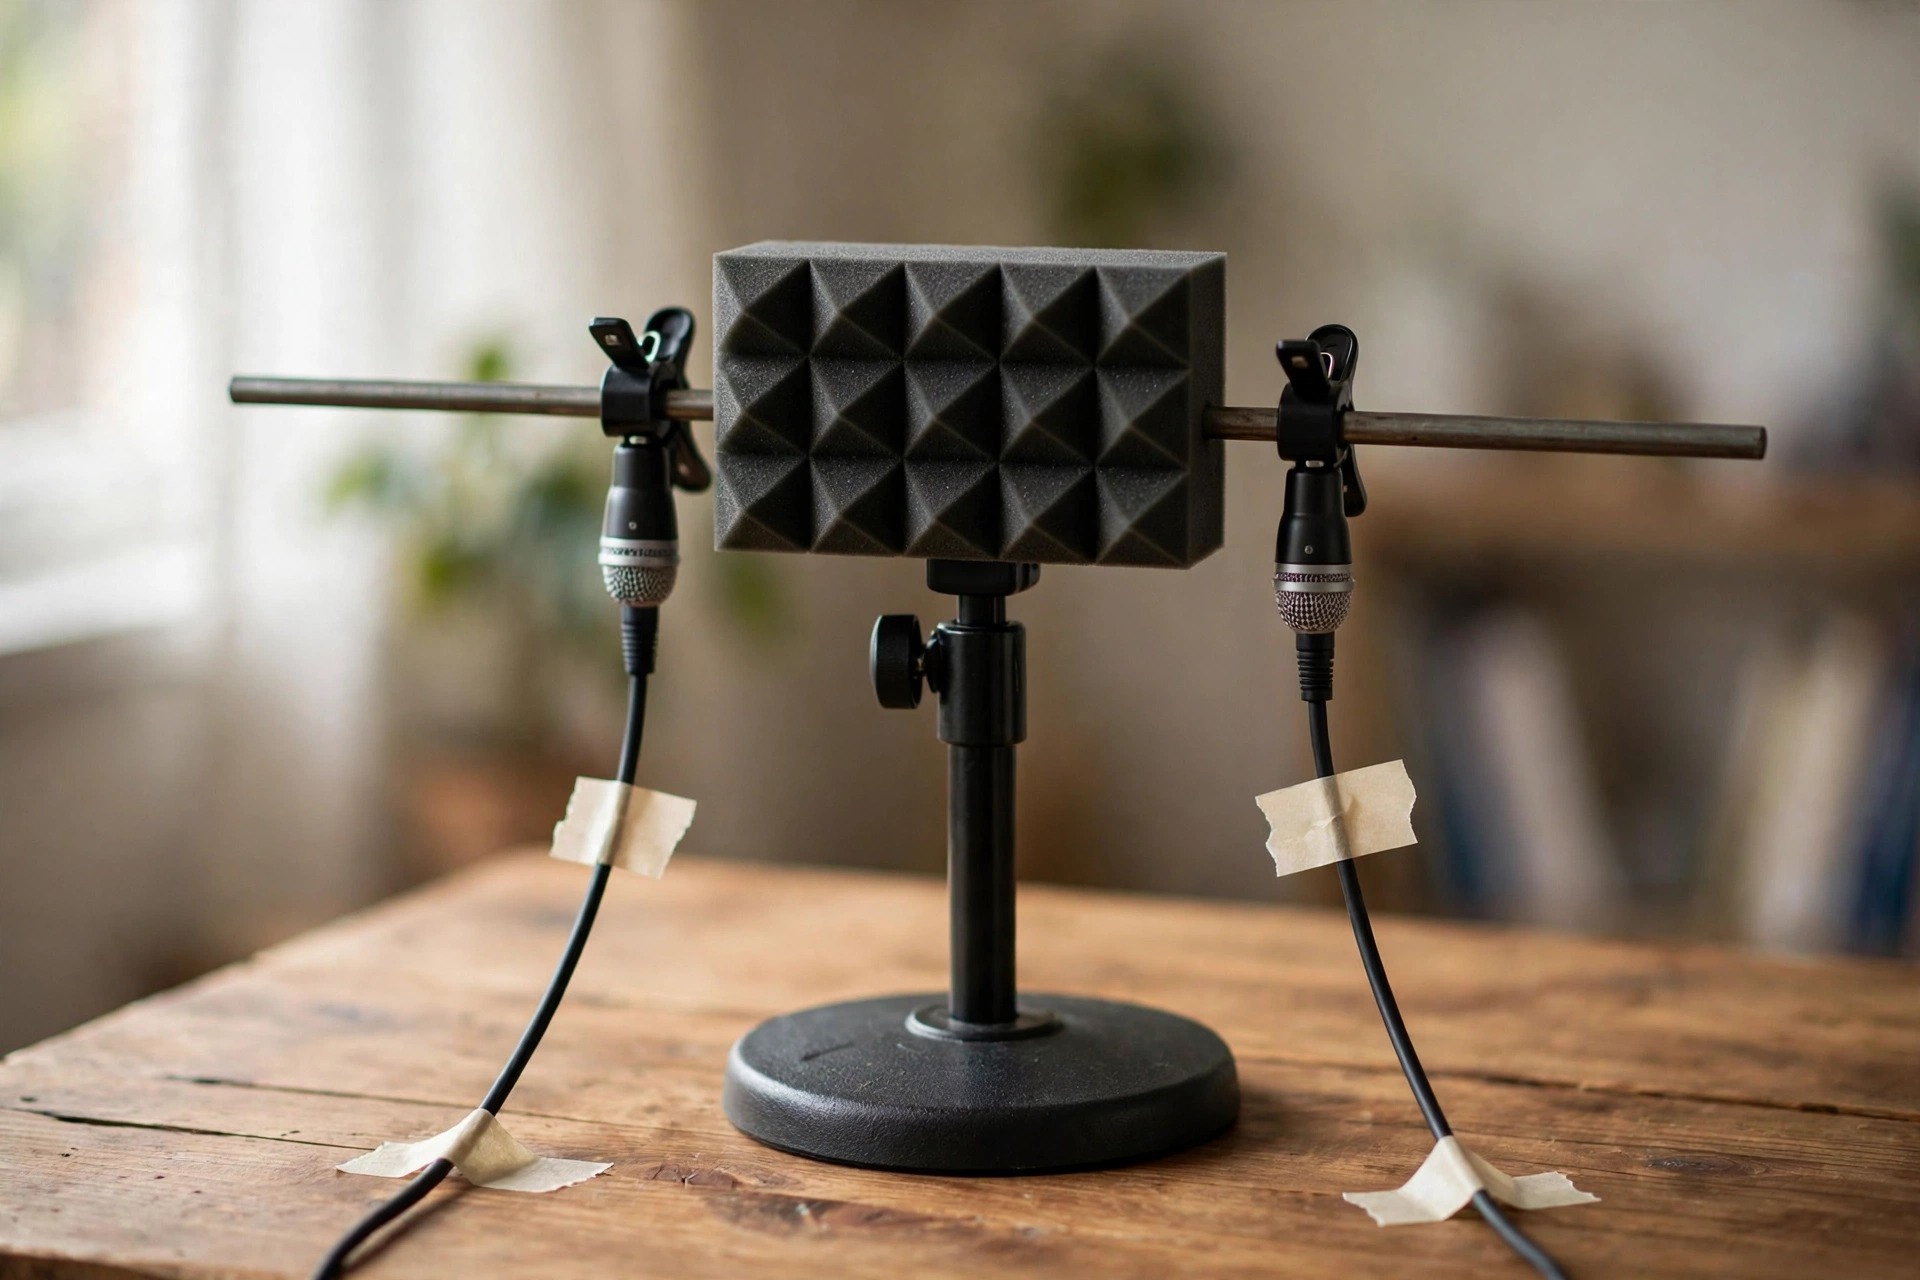
For vloggers who already own wireless microphones, the same rig logic applies in a simpler form. A pair of small lavaliers clipped to a bar at ear spacing, kept at equal gain, gives a usable stereo picture for tapping and whisper work, and the wireless microphone guide covers the hardware side. The binaural rig is the upgrade when the stereo picture itself is the content, as it is for ear to ear whispers and sounds that travel around the listener.
| Rig choice | Best for | Watch out for |
|---|---|---|
| Binaural pair on a bar or dummy form | Ear to ear whispers, sounds that move around the listener | Needs matched gain and a fixed head shadow object |
| Matched stereo pair, no head object | Table sounds, tapping, crinkle, brushing | Flatter stereo picture than true binaural |
| Single sensitive microphone | Simple whisper videos, starting out | No stereo movement at all; sounds sit in the middle |
Sync that holds for a full hour
Sync drift is the problem that only appears when it is too late to fix on set. Two devices keep time with two separate clocks, and those clocks run at slightly different speeds. Over a few minutes the difference is invisible. Over a 20 to 60 minute ASMR video, which is the length range successful ASMR videos commonly run, the recorder audio can end up a fraction of a second ahead of or behind the picture. A fraction of a second is enough for a tap to land visibly late, and for a whisper to feel wrong even when the viewer cannot say why.
The fix starts before recording. Set the recorder to 48 kHz, which is the standard sample rate for video audio, and set the editing project to 48 kHz too. Most vlogging cameras already record at 48 kHz and offer no sample rate setting to change. A 44.1 kHz file played back at 48 kHz without resampling runs about 8.7 percent fast with raised pitch, which is a setup error, not slow drift: if a file arrives at 44.1 kHz, let the editor resample it to 48 kHz instead of treating it as drift. Check the recorder setting every session, because recorders reset it more often than owners expect.
Then slate every take twice. Clap once in frame at the start, where both the camera microphone and the recorder hear it, and clap once at the end before stopping either device. The start clap lines the tracks up. The end clap measures the drift: if the two end claps line up, the take held sync. If they do not, the gap between them is the exact amount of drift, and the fix is to stretch or squeeze the recorder audio by the gap divided by the take length, using the editor’s pitch-preserving time-stretch rather than a speed change, so the end claps meet. Recheck both claps after stretching. Stretching by a fraction of a percent does not change the tone of a voice in any way a listener would notice, and it is the standard repair described in sync guides for long recordings.
There is a simpler prevention that many ASMR creators prefer: cut the session into takes of 15 minutes or less instead of recording one unbroken hour. Shorter takes drift less, edit faster, and survive a ruined take without losing the whole session. The cost is a slate clap at each join, which the gentle edit section shows how to hide. For a 60 minute video, four 15 minute takes with clean joins beat one 60 minute take with a drift repair, and the viewer hears no difference.
Keep the camera scratch audio in the edit until sync is locked. It is tempting to delete it the moment the recorder track is in place, but the scratch track is the reference that proves sync. Mute it in the final mix, since running both tracks loud together causes phase problems, but keep it on the timeline, muted, until export. If sync slips late in the edit, the reference is still there to recheck against. The same separate-recording workflow sits behind voiceover work, where the voice is captured clean and laid over picture afterwards.
| Symptom in the edit | Likely cause | Fix |
|---|---|---|
| Taps land late by the end of a long take | Clock drift between camera and recorder | Stretch recorder audio to the end clap, or split future sessions into shorter takes |
| Everything is off by the same small amount | Start clap misread, not drift | Realign to the start clap spike, then recheck the end clap |
| Audio runs fast with raised pitch | 44.1 kHz file played at 48 kHz without resampling | Set the recorder and the project to 48 kHz and resample the file |
| Sync is right but sound is thin | Camera scratch track left loud in the mix | Mute the scratch track and mix the recorder track alone |
Whisper loudness without hiss or clipping
Whisper recording breaks the gain habit most vloggers learn for normal speech. For speech, gain is set so the loudest word stays below clipping. For ASMR, the loudest sound is rarely the problem. The problem is the quietest sound sitting so close to the noise floor that raising it later raises the hiss with it. Set gain for the whisper, then check that the loudest tap in the session still stays below zero. If it does not, move the loud sound further from the microphone instead of turning the gain down, because turning the gain down buries the whisper again.
Run a level test before every session, and run it with the actual sounds, not with test speech at normal volume. Whisper the quietest line, tap the loudest object, and watch the meter for both. The working target across gain staging guides is for the quietest whisper to peak between minus 12 and minus 6 dB, with minus 12 as the safe side for sessions that include sudden taps, while the loudest tap stays below zero. A whisper that peaks at minus 30 dB will need so much lift in the edit that the room hiss comes with it. A tap that hits zero is clipped, and clipping cannot be repaired in any content. In ASMR there is no loud mix to mask it, so it stays audible.
Proximity does more work than gain. A whisper six inches from the microphone needs far less gain than the same whisper at two feet, and less gain means less hiss. That is also why pop control matters more in ASMR than in normal vlogging: close whispers push breath straight into the capsule, and a foam cover or a small pop screen spreads that air before it hits. Keep the screen close to the microphone, not close to the mouth, so it filters air without filtering the sound itself.
Resist heavy cleanup in the edit. Noise reduction tools are built for speech, and at the levels ASMR needs they eat the quiet detail along with the noise. Guides that test these tools on very quiet material warn that heavy reduction thins the sound and eats quiet detail, so use only a light touch: a few dB, or the lowest setting that helps, and stop as soon as thinning or artefacts appear. Record the room right, and the edit needs almost nothing: a gentle level balance, a fade, and silence where silence belongs.
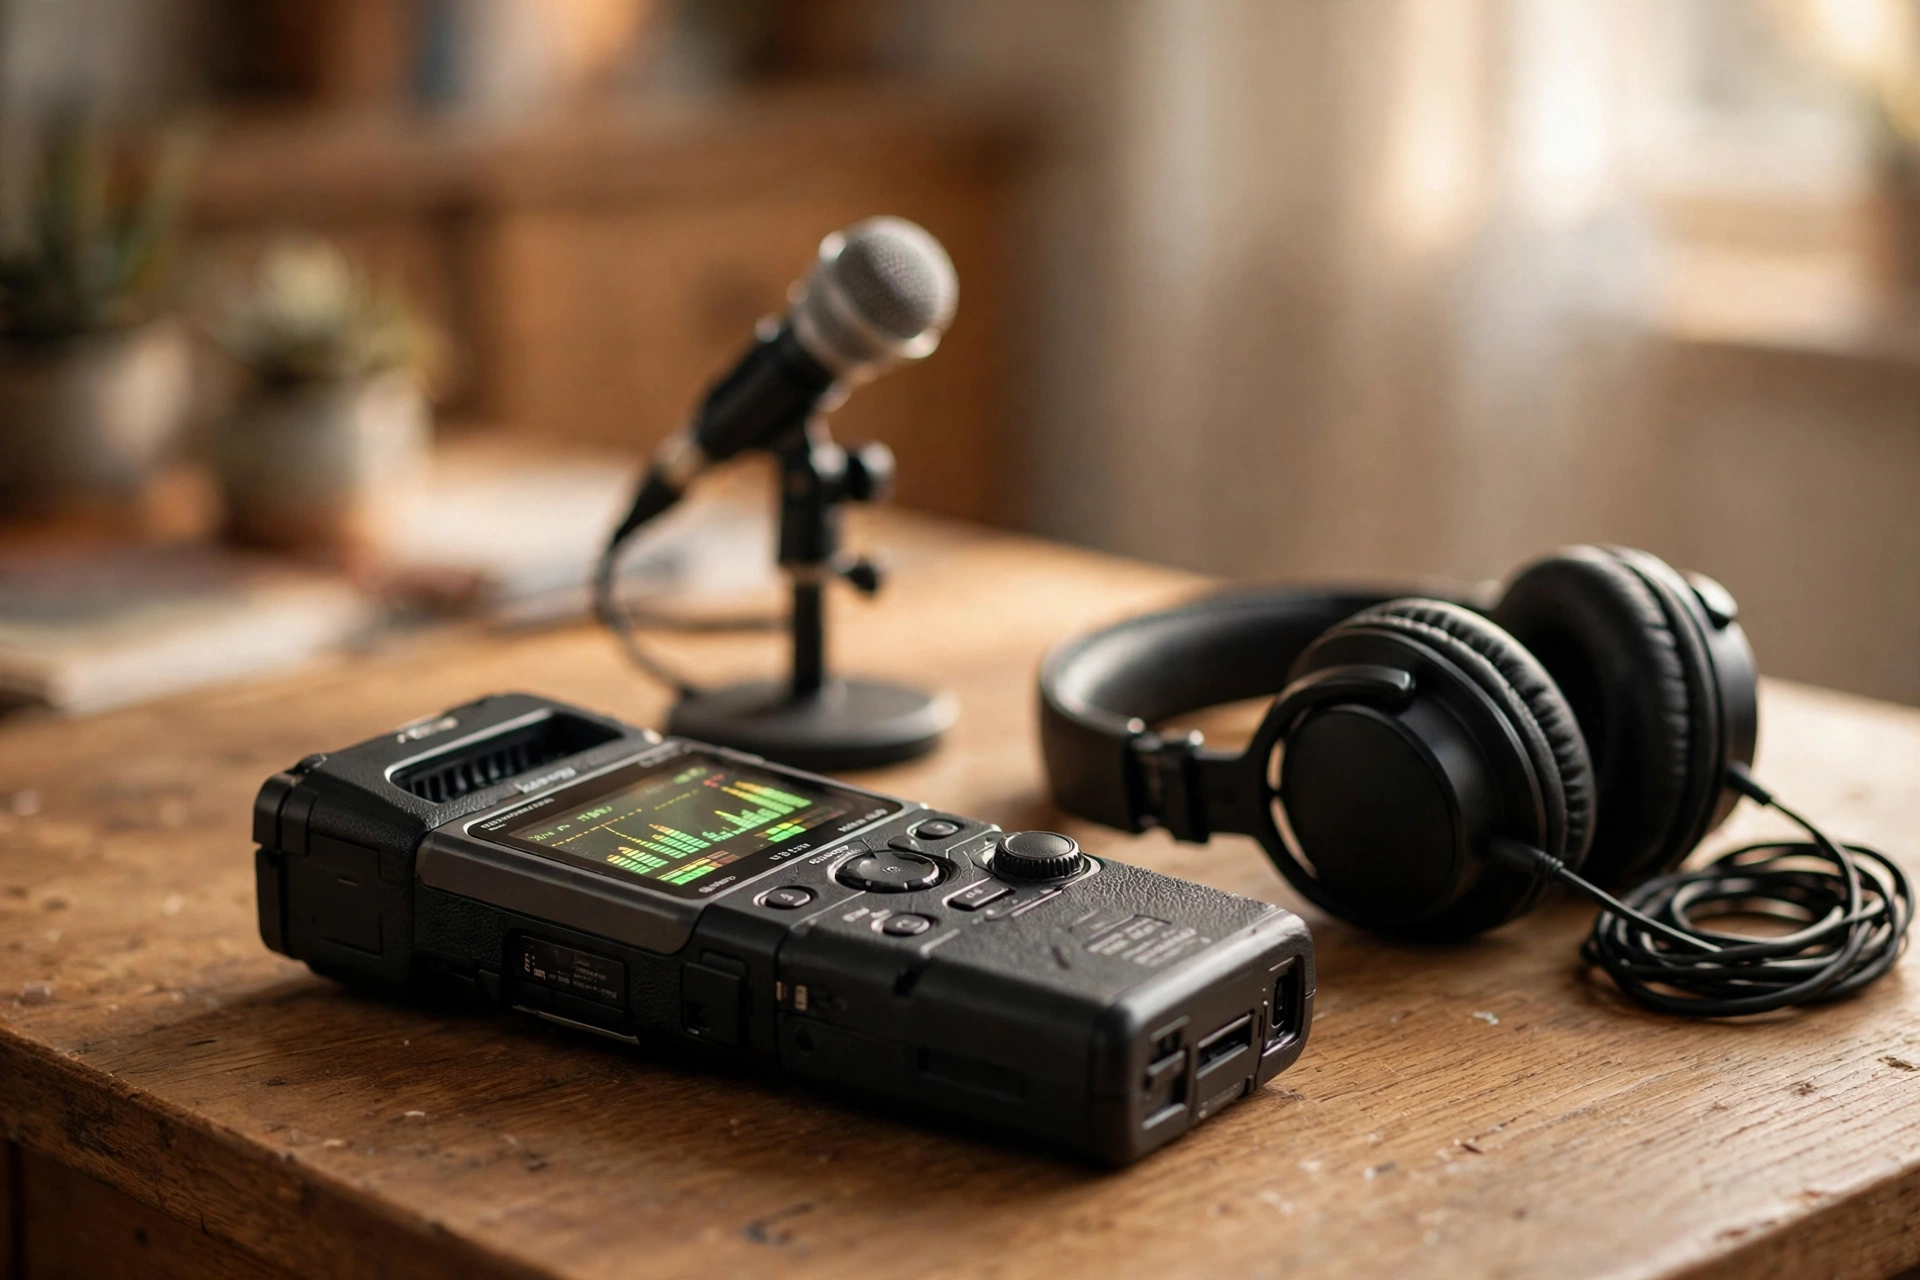
Monitor on closed back headphones through the whole session, not on speakers and not on the recorder meter alone. Headphones reveal the breath, the cable rustle, and the fridge hum that meters hide, and they reveal them while there is still time to fix them. If a sound is wrong in the headphones, it will be wrong in the viewer’s headphones too, only louder in the sense that the viewer has nothing else to listen to. The better audio guide covers monitoring habits and room treatment in more depth.
Framing the picture: slow, close, and calm
ASMR framing is the opposite of vlog framing. A vlog frame is busy by design: the creator moves, the background changes, the camera follows. An ASMR frame should barely move at all. Lock the camera on a tripod, frame the hands and the sound source, and leave the shot alone. Every pan, zoom, or refocus is a small interruption, and interruptions are exactly what the viewer came to escape.
Closeness is the main visual tool. A tight shot of hands working slowly, a close view of the object being tapped or brushed, and a shallow depth of field that softens the background all tell the viewer where to look without any movement. Slow hands matter as much as slow sound: fast or jerky hand movements break the calm even when the audio is perfect, and guides that study visual ASMR list gentle hand tracing, slow page turning, and unhurried object handling as the movements that work.
Light the scene warm and soft, and keep it constant. A dimmable warm LED panel or a soft lamp through a curtain gives the drowsy look viewers associate with ASMR, and it avoids the harsh shadows and overexposure that read as tension. Do not change the light mid session. A light that brightens or shifts color temperature halfway through a video is a visual jolt, and on auto exposure the camera will also change exposure itself, which the edit then has to hide. Lock manual exposure for the session so the picture stays constant.
Decide what to do with the rig before recording, because both choices work and a half choice does not. Either keep the microphones out of shot, framed below or behind the sound source, so the picture is only hands and objects; or style the rig in, centered and tidy, so it reads as part of the scene. What fails is a microphone stand creeping into the edge of frame, a cable crossing the shot, or a shock mount wobbling every time the desk is touched. Tape cables to the desk, weigh the stand, and check the frame edges on the flip screen before the first take.
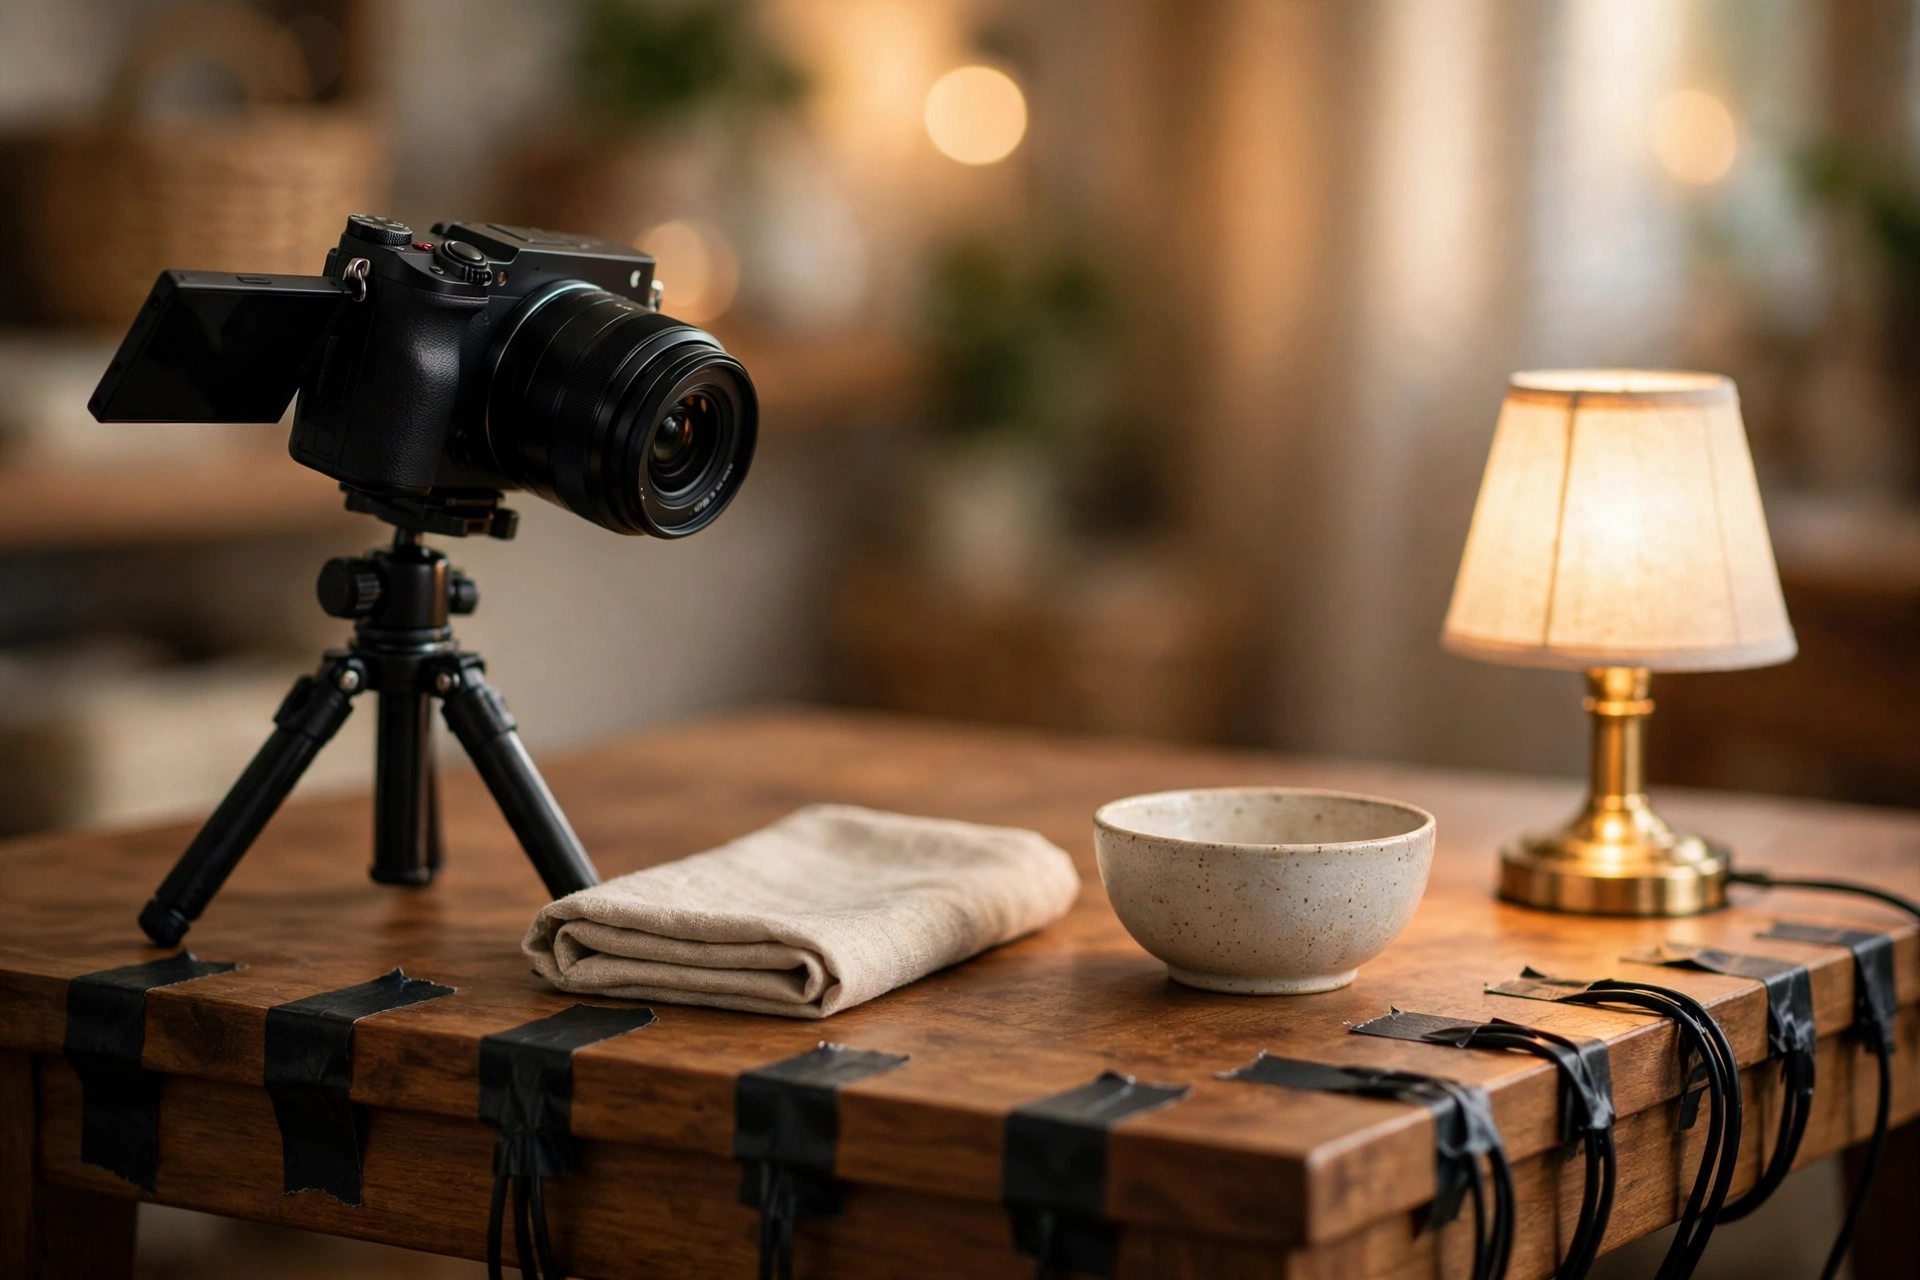
Tripod noise deserves its own check. A camera that creeps, a ball head that settles, or a desk that transmits every touch will put handling noise straight into a recording that has nowhere to hide it. Set the tripod, frame the shot, and then leave the camera alone for the whole take. If the shot must change, change it between takes, never during one.
The quiet room is part of the rig
ASMR microphones hear everything, which is the point and the problem. A fridge hum that a vlog microphone ignores becomes a drone under a whisper track. Traffic, a ticking clock, a computer fan, and the buzz of a light dimmer all sit in exactly the frequency range where quiet sounds live. The recording chain cannot separate them later, so the room has to be fixed first.
Run a noise audit before the first real session. Sit in the room with headphones on and the recorder running, and list every sound you hear over two minutes: appliances, pipes, street noise, the heating system, the chair, your own breathing. Switch off what can be switched off, move what can be moved, and note what cannot be fixed, so sessions can be planned around it. Many creators record late at night for exactly this reason: the street and the building are at their quietest, and the recording gets the room at its best.
Softening the room matters as much as silencing it. Bare walls bounce sound back into the microphones as echo, and echo smears the precise little sounds ASMR depends on. Blankets, curtains, rugs, and foam panels absorb those reflections, and a small room, once treated with blankets, curtains, rugs, and panels, can sound deader than a big empty room because reflections die faster. An untreated closet will sound boxy, not better, so treatment is what makes the small room work. The treatment does not need to look like a studio. It needs to make the room sound dead when you clap once and listen for the tail.
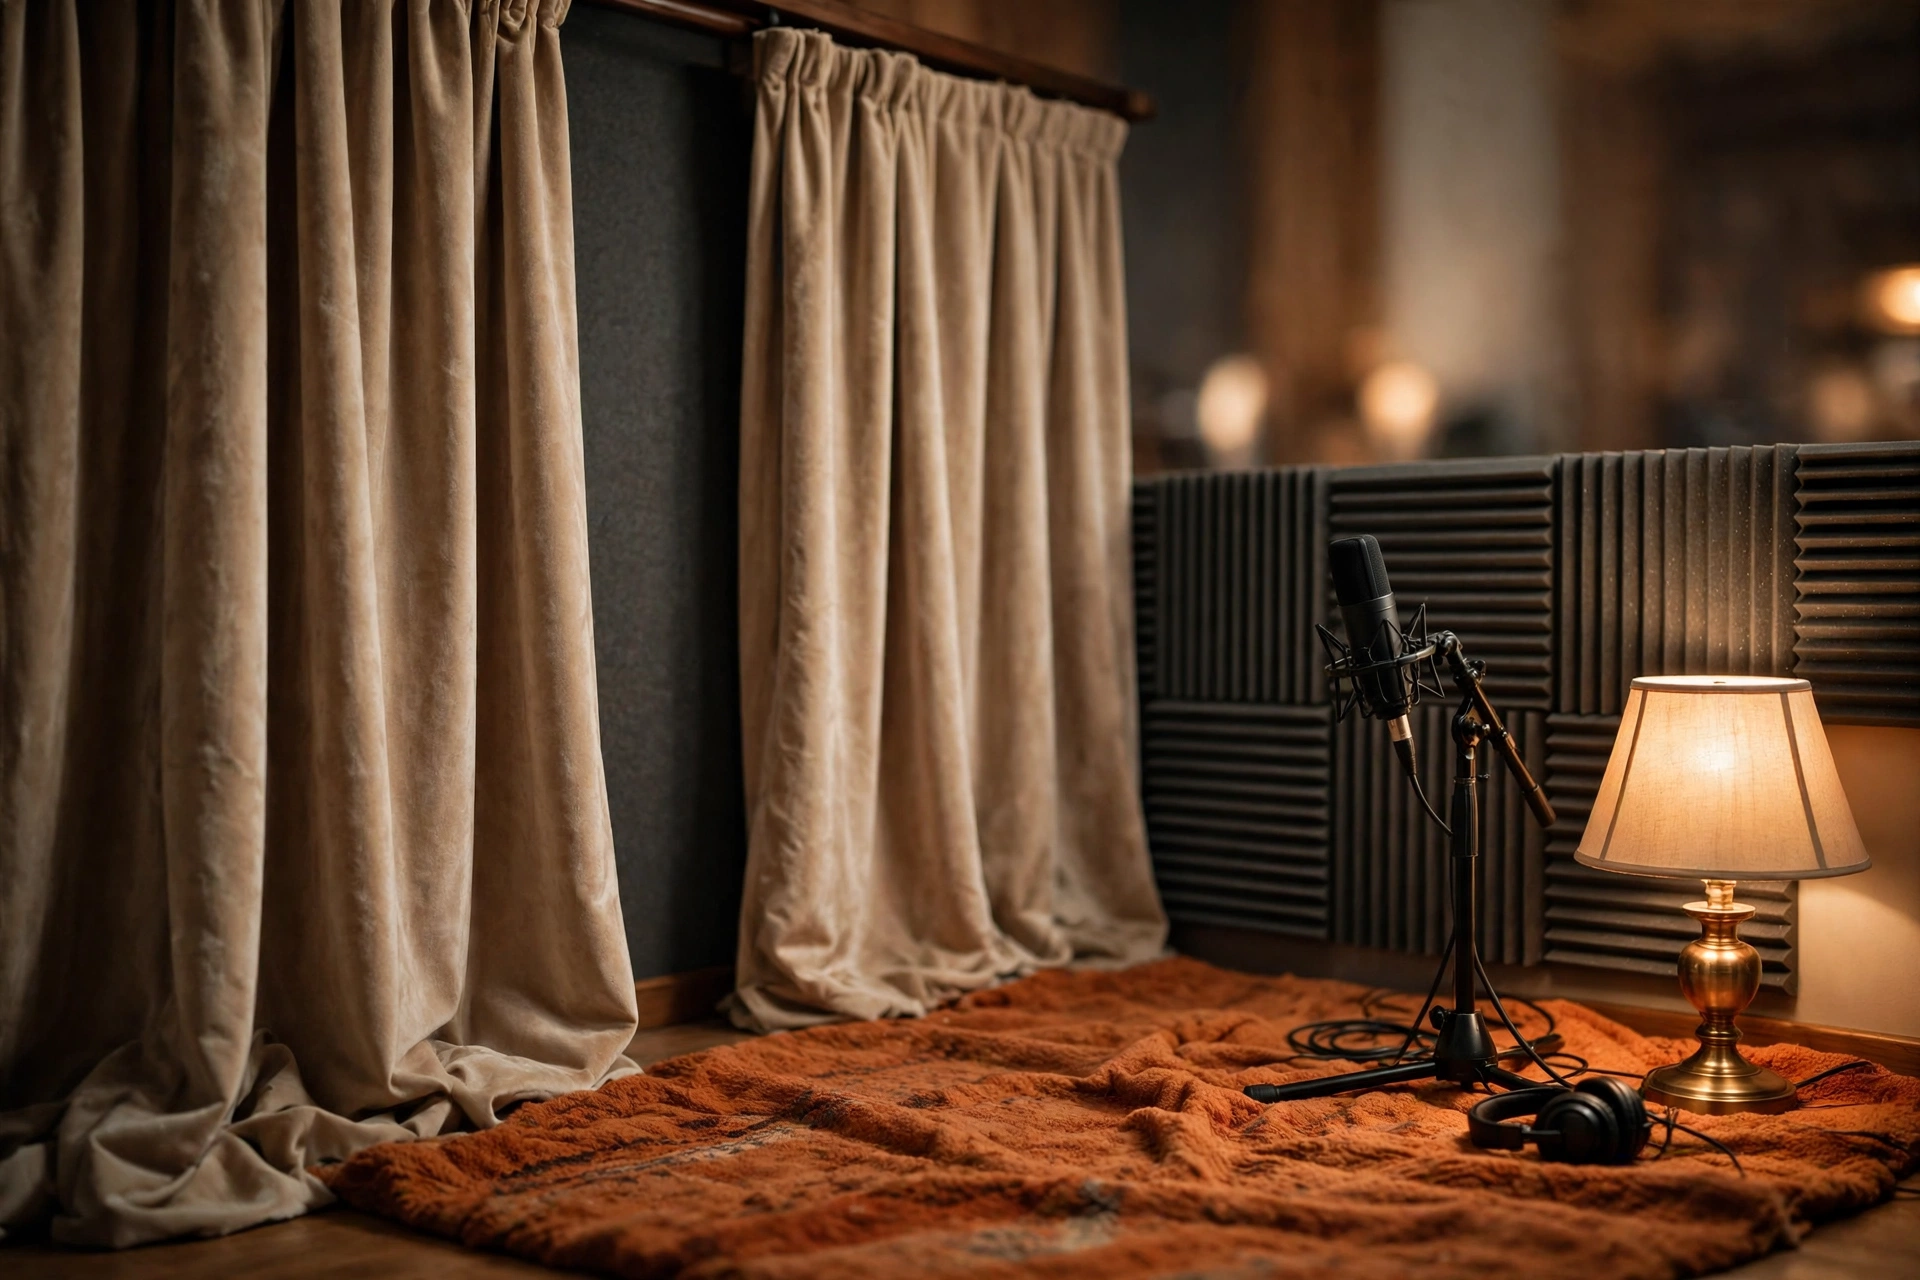
Record thirty seconds of room tone at the start of every session: the room, empty, with everything set exactly as it will be during recording. Room tone is the baseline the edit uses to judge whether a noise is part of the take or an intruder, and it is the filler that patches small gaps without a jarring silence. A session without room tone is a session where every tiny edit sounds like a cut.
The gentle edit: crossfades, not cuts
Normal video editing rewards pace: cuts, transitions, and energy. ASMR editing rewards the opposite. A hard cut between two takes is a small shock, and a viewer wearing headphones feels it as a physical jolt. Crossfades of a second or more let one take dissolve into the next, and the listener stays inside the sound instead of being pulled out of it. The same rule covers scene changes: fade the picture gently, never whip between angles. For sessions cut into short takes, cut each slate clap out before the first wanted sound and crossfade over the join, so the listener never hears the slate.
Keep processing light. Balance the levels so the quietest whisper and the loudest tap sit in the same comfortable range across the whole video, and then stop. Heavy compression flattens the dynamics that make ASMR feel alive, and heavy noise reduction thins the sound, as the levels section warned. If a take needs heavy repair, it is usually faster to re-record the take than to rescue it, and the re-recorded take will sound better than the repaired one.
Level consistency across the video matters more than loudness. A viewer who sets a comfortable volume at the start should never have to reach for the volume control again. Check the whole timeline on headphones at one fixed volume, and fix any section that jumps out or sinks away. Normalizing the finished file to a single peak is not the same job: peak normalizing matches the loudest moments, while ASMR needs the quiet moments matched, which is a listening job, not a button press.
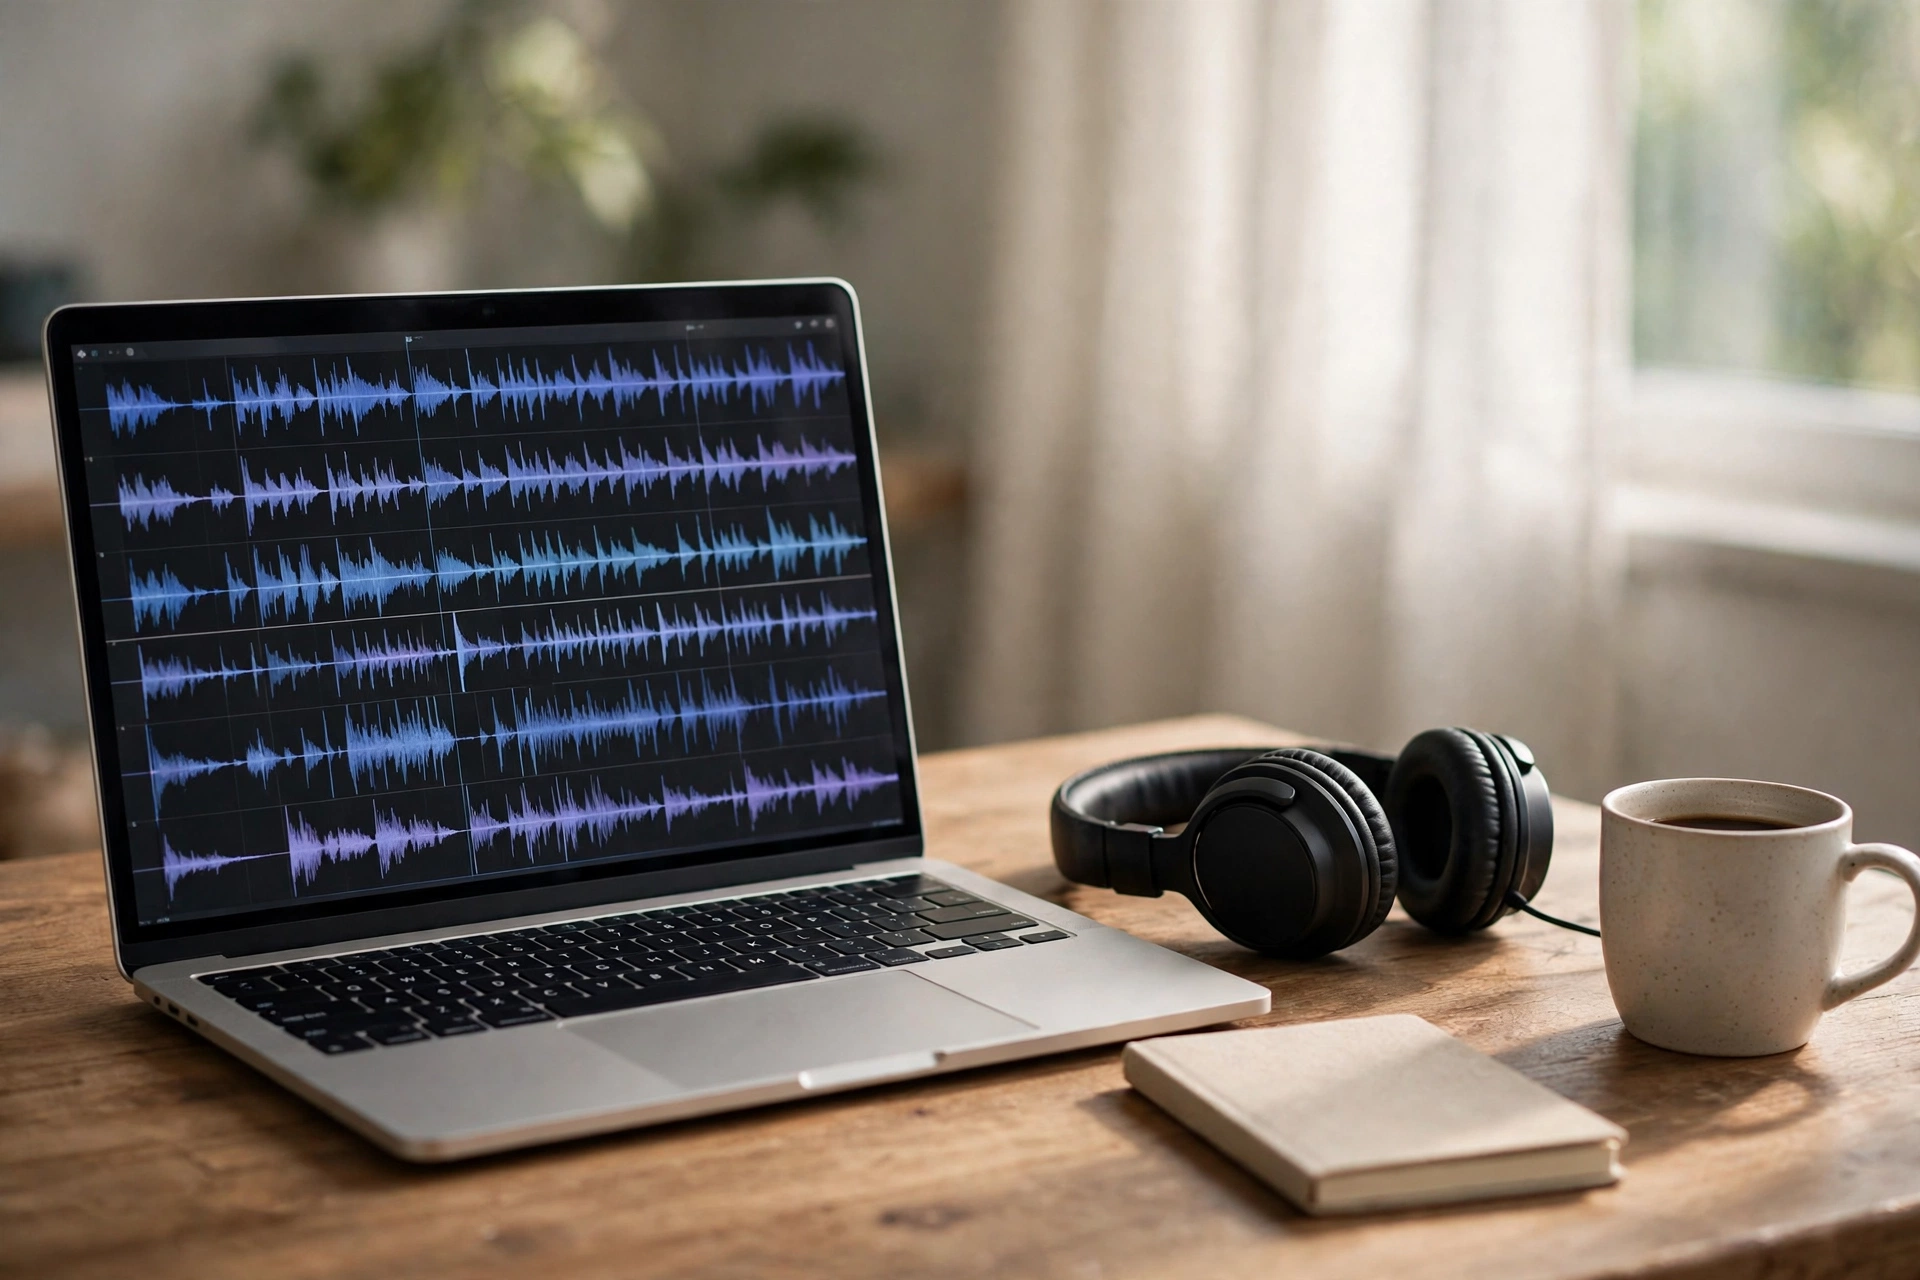
For long videos, add chapter markers at natural breaks: a change of trigger, a new section of the session, a pause point. Chapters let a viewer return to a favorite sound without scrubbing through an hour of audio, and they turn a long video from a single commitment into a set of small ones. Markers cost nothing to add and change nothing about the sound, which is exactly the kind of edit ASMR rewards.
ASMR as a series inside a vlogging channel
ASMR fits a vlogging channel better as a series than as a one off experiment, because the audience behavior is different. Vlog viewers come for the creator and the story. ASMR viewers come for the sound and the calm, and many of them watch the same video repeatedly to fall asleep. A single ASMR video on a vlog channel looks like a detour. A named series in a regular slot looks like a second room in the same house, and viewers learn which room they want on a given night.
Pick a slot and keep it. Once a week, on the same day, at a length the creator can sustain: 20 to 30 minutes is a realistic starting length, with longer videos earned once the workflow is smooth. A slot does three jobs at once. It sets viewer expectation, so nobody wonders why a quiet video appeared. It sets the creator’s workload, because one ASMR session a week is a system and daily ASMR is a burnout risk. And it gives the series a back catalog fast enough that new viewers can binge it, which is how ASMR channels grow: a viewer who finds one good sleep video wants ten more just like it.
Name the series after the sound, not after the creator’s mood. A name that says what the video is, such as a desk sounds series or a whisper and tapping series, helps a new viewer decide in seconds, and it helps search match the video to people looking for that sound. Keep the naming identical across episodes, including the numbering, so the series reads as one body of work instead of a set of unrelated uploads.
Bridge the two audiences in the vlog itself, once, plainly. A short vlog segment that shows the ASMR setup, or a vlog that ends by pointing to the new series, tells existing subscribers what the series is and who it is for, without asking them to change what they watch. After that introduction, let the series stand on its own: ASMR viewers who arrived for the sound do not need vlog references inside a relaxation video, and vlog viewers who skip the series lose nothing from the main channel.
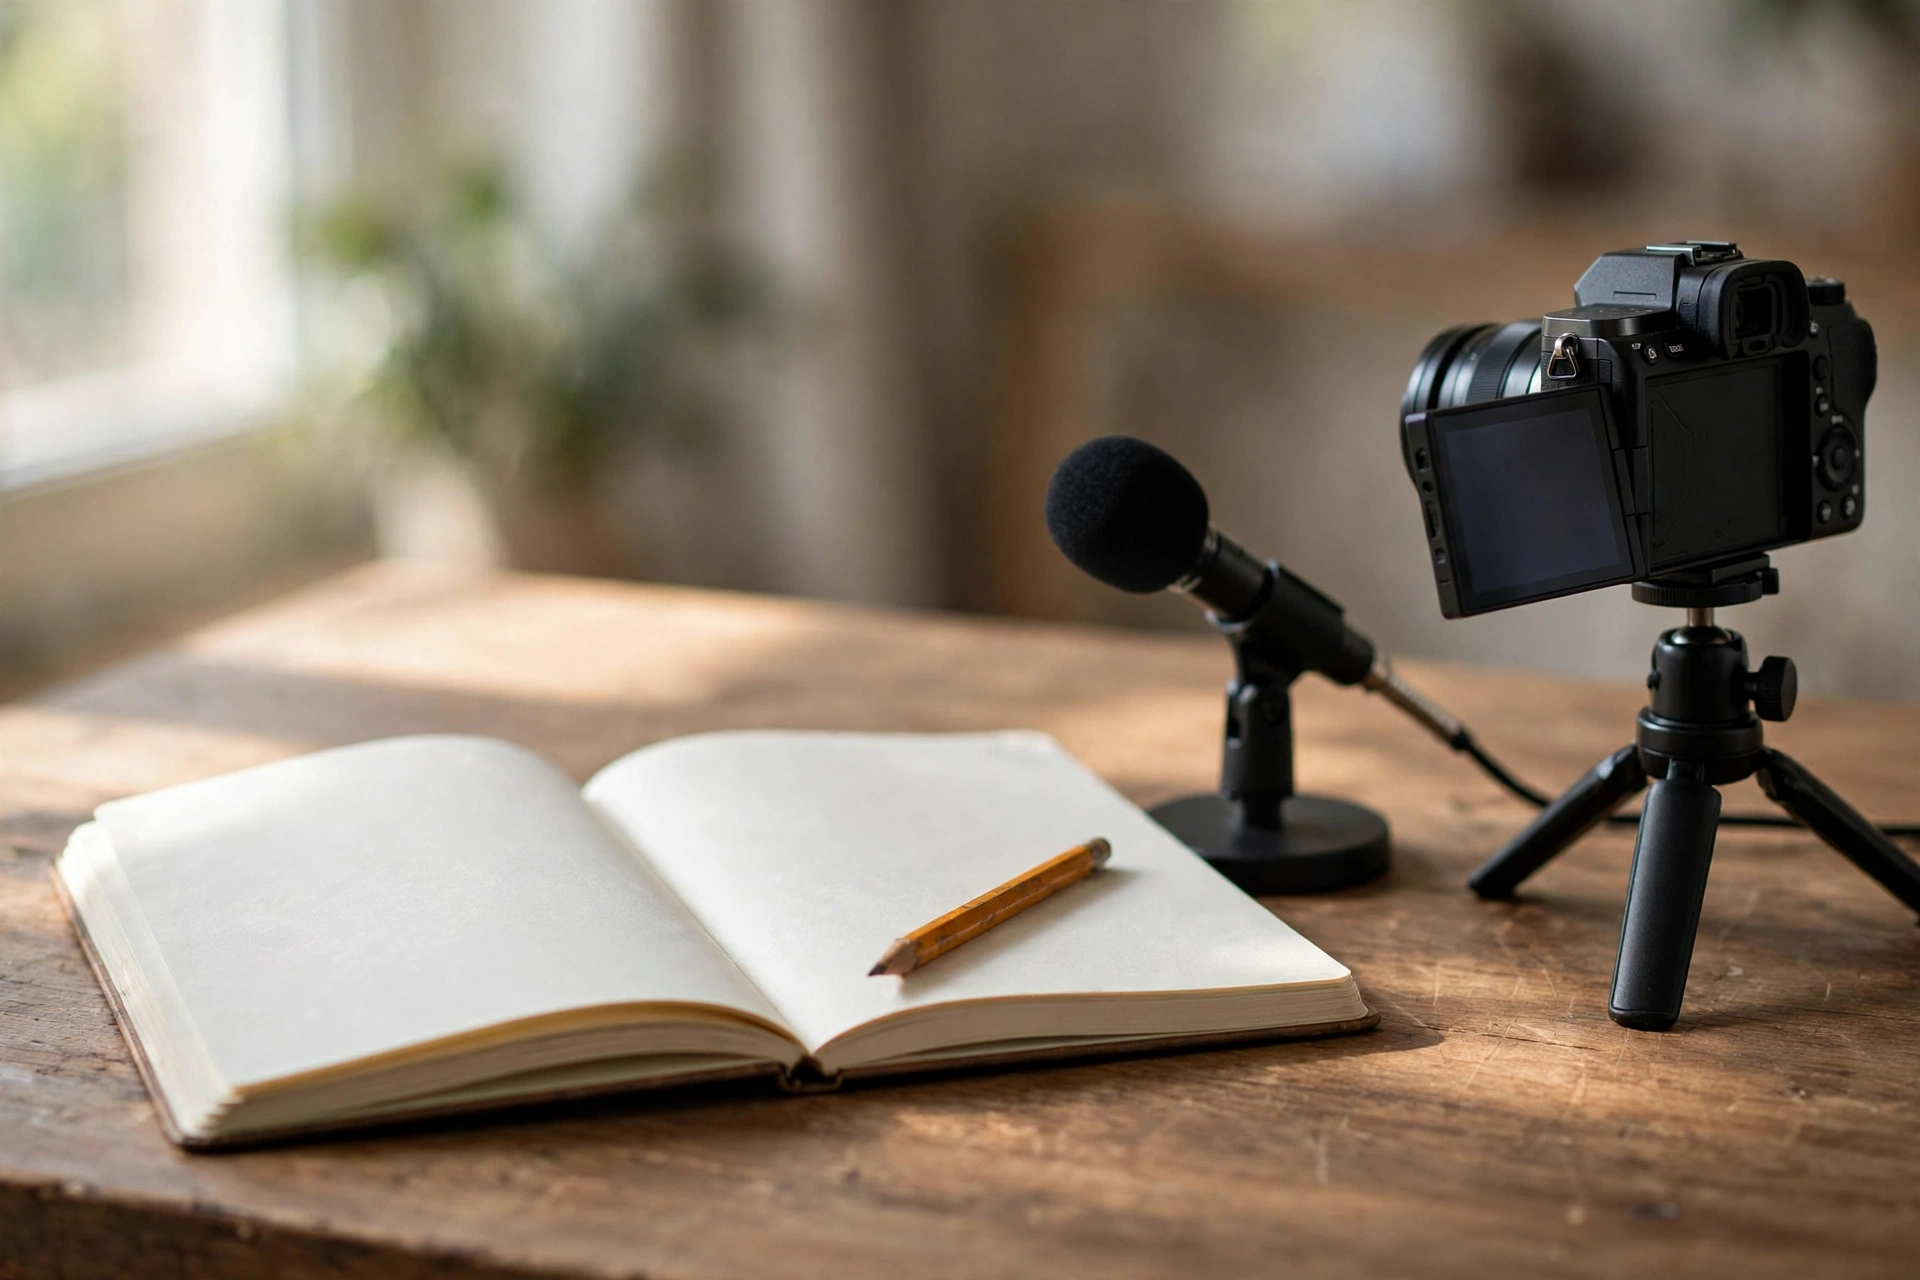
Repurpose carefully. Short clips cut from a long ASMR session work well as previews, provided the clip keeps the full sound of one trigger instead of a montage of many. A 60 second tapping clip that sounds complete will bring viewers to the full video. A fast montage of ten triggers in 60 seconds teaches the viewer that the channel is loud, which is the opposite of the series promise. One trigger, one clip, one link to the full session.
First session: checklist and fixes
Set the room: appliances off, windows closed, soft furnishings in place, recording hour chosen, fridge back on immediately after the session. Set the rig: microphones at ear spacing with the head object fixed, gains matched, cables taped down. Set the devices: 48 kHz on camera and recorder, fresh batteries or mains power on both, scratch audio on. Set the picture: tripod locked, frame checked on the flip screen, light warm and constant, rig styled in or out of shot by decision, not by accident.
Record the test: thirty seconds of room tone, a start clap, two minutes of the quietest and loudest sounds in the planned session, an end clap. Play the test back on headphones and check five things: sync at both claps, whisper above the hiss, taps below clipping, stereo centered on a center sound, and no handling noise from the desk or the tripod. Fix whatever fails, then record the real session with the same settings, untouched.
| Problem on the test | Fix before the real session |
|---|---|
| Whisper sits in hiss | Move closer to the microphone or raise gain, and recheck the loudest tap stays below zero |
| Taps clip | Move the loud object further from the microphone, not the gain down |
| Stereo leans to one side | Match the two channel gains and recheck with a center sound |
| End clap drifted | Stretch recorder audio to the end clap, then plan shorter takes next time |
| Desk thumps on every move | Put the stand on a foam pad or its own floor stand so desk touches do not reach the microphone, and tape the cables down |
| Room hum under everything | Find the appliance and switch it off, then record fresh room tone |
Judge the first session by the system, not by the video. If sync held, levels stayed clean, and the edit needed only crossfades, the system works, and the next session will be better because the setup is already proven. If the video itself feels slow or the trigger choice feels wrong, that is a creative note for the next episode, not a technical failure, and it is fixed by choosing different sounds next time, not by rebuilding the rig.
Questions vloggers ask about ASMR
The questions vloggers ask most about ASMR, answered short.
Do I need an expensive microphone to start ASMR?
No. A sensitive microphone in a quiet room, set at the right gain, beats an expensive microphone in a noisy room. Start with the most sensitive microphone available, learn the gain and sync system in this guide, and upgrade the microphone only when a specific limit appears, such as hiss that survives correct gain or a stereo picture that a single microphone cannot give.
Can I use my vlogging camera’s built-in microphone?
For a short test, yes, and for a real ASMR video, no. Built-in camera microphones sit far from the sound, pick up handling and focus noise, and run through preamps that hiss at whisper levels. They are useful as the scratch track that makes sync possible, but the published sound should come from an external recorder and a dedicated microphone.
Why does my audio drift out of sync on long videos?
Because the camera and the recorder keep time with separate clocks that run at slightly different speeds, and the gap grows with the length of the take. Check that both devices run at 48 kHz, slate with a clap at the start and the end of each take, and stretch the recorder audio to the end clap or split sessions into takes of 15 minutes or less.
How far apart should binaural microphones be?
About 18 centimetres, or 7 inches, which is the average distance between human ears, with a dense object between them and identical gain on both channels. Wider spacing stretches the stereo picture unnaturally, narrower spacing collapses it, and mismatched gain tilts the whole picture to one side.
How loud should a whisper be in the recording?
Set gain so the quietest whisper peaks between minus 12 and minus 6 dB, and check that the loudest tap in the same session still stays below zero. If the whisper is quieter than that, raising it later raises the hiss with it. If a tap clips, move the loud object further from the microphone rather than turning the gain down.
Why does my ASMR sound thin on speakers but right on headphones?
Because binaural recordings are made for headphones. Speakers mix both channels in the room air before they reach the ears, which collapses the stereo picture the rig worked to create. Test ASMR on closed back headphones, and judge the recording there. A recording that sounds right on headphones is right, even if it sounds thin on speakers.
How long should an ASMR video be?
Most successful ASMR videos run 20 to 60 minutes, because viewers use them to relax or fall asleep. Start at 20 to 30 minutes while the workflow is new, and grow longer once sync, levels, and editing are routine. Length only helps when the sound stays clean across the whole video, which is why the sync and level systems in this guide come first.
Should the microphone be visible in the video?
Either choice works, provided it is a decision. Keep the rig out of shot for a picture of only hands and objects, or style it in, centered and tidy, so it reads as part of the scene. What fails is a stand creeping into the edge of frame or a cable crossing the shot, so check the frame edges on the flip screen before recording.
Can I add ASMR to a vlogging channel without confusing subscribers?
Yes, as a named series in a fixed slot, introduced once in a vlog and then left to stand on its own. Subscribers who want the vlogs lose nothing, because the main channel does not change, and viewers who arrive for the sound get a back catalog that grows every week. The series format is what keeps the two audiences from tripping over each other.
What ruins an ASMR video most often?
Room noise, clipping, and drift, in that order. Room noise comes from recording in an untreated room with appliances running. Clipping comes from gain set for speech instead of whispers, or a loud tap too close to the microphone. Drift comes from long takes without an end clap. All three are prevented by the checklist in this guide, and none of them can be fully repaired in the edit.
This guide is research-based: we compared published guidance and creator resources.
Keep exploring
- How to Record Better Audio for Vlogs in 2026
- Best Wireless Microphones for Vlogging in 2026
- How to Fix Bad Audio in the Edit in 2026: Noise, Echo, Wind and Loudness
- How to Edit Vlogs Faster in 2026
- How to Film Yourself: Talking-Head Tips for Vloggers in 2026
- Video Composition and Shot Types for Vloggers in 2026