

Last updated: October 2026
Sooner or later, every vlogger hits the same wall. The footage looks flat. The background won’t blur. Skin looks a bit orange, a bit grey, just off. And the menu might as well be in another language. You probably don’t need a new camera. You need five settings. Learn them once and they decide roughly 90% of how your video looks. Below are the plain-English explanations and the exact numbers to use for talking heads, walk-and-talks, and most things in between.
The 5 settings to learn first
- Frame rate first, then shutter speed. Use 24fps if you want a cinematic feel, 30fps for standard YouTube, and 60fps for slow motion. Then set the shutter to about double the frame rate (1/50 for 24fps, 1/60 for 30fps).
- Aperture for background blur. At f/1.8 to f/2.8 the background behind a talking head melts away. At f/5.6 to f/8 a walk-and-talk scene stays readable.
- ISO, kept low. Most current cameras stay clean through ISO 3200, and grain gets obvious past 6400. Add light first. Crank ISO last.
- White balance matched to the light. Get this wrong and skin picks up an orange or blue tint. Get it right and colours look like colours.
- Face/eye autofocus, turned on. If you film alone, this is what keeps you sharp when there’s nobody behind the camera to check.
What’s in this guide
- Aperture: How the F-Number Controls Background Blur
- Shutter Speed: The 180-Degree Rule That Makes Motion Look Right
- ISO: How High You Can Push It Before Noise Ruins the Shot
- 24 vs 30 vs 60fps: Which Frame Rate Should Vloggers Use?
- White Balance: Why Your Footage Looks Orange or Blue
- Autofocus Modes: Getting Face and Eye Detection to Work for Solo Vloggers
- Picture Profiles and Log: Why Beginners Should Skip Them (for Now)
- Copy-Paste Starter Settings: Talking Head Indoors, Walk-and-Talk Outdoors
- Frequently Asked Questions
Aperture: How the F-Number Controls Background Blur
Aperture (the f-number) controls two things: how much light reaches the sensor and how blurry your background looks. Go low, around f/1.8, for strong blur behind a talking head. Go higher, around f/5.6, if you want the background sharper on a walk-and-talk.
The f-number works backwards. That’s what trips most people up at first. A smaller number means a wider opening, so more light gets in and the background blurs more. f/1.8 is wide open. f/16 is nearly closed. When someone says “shoot wide open,” they just mean turn the f-number down as low as your lens will go.
At your desk, f/1.8 to f/2.8 gives the classic look. You stay sharp, the room behind you softens into colour. Outdoors on a walk-and-talk, f/5.6 to f/8 usually works better. You want the street and the shop fronts to be recognisable, after all. A wide-open aperture outdoors also makes focus drift every time you take a step.
One honest caveat. Your lens sets the limit. A kit lens typically bottoms out around f/3.5 to f/5.6, and that only gives mild blur. The creamy separation you see on big channels comes from a fast prime lens (f/1.8 or f/1.4). It’s not a setting you can conjure out of any glass. If blur matters to your style, that’s the upgrade to plan for, and our vlogging cameras under $200 guide is built around exactly that pairing.
The bright-daylight problem (and the ND filter fix)
Wide aperture plus sunshine equals blown-out footage. Your shutter speed is already locked to the frame rate (more on that below), and ISO can’t drop below its minimum, so something else has to cut the light. That’s a variable ND filter. It screws onto the front of the lens and works like sunglasses for your camera, so you can hold f/1.8 on a bright sidewalk without blowing out the highlights. If you plan to shoot talking heads outdoors, it’s one of the cheapest accessories that actually changes your footage.
Shutter Speed: The 180-Degree Rule That Makes Motion Look Right
Set your shutter speed to roughly double your frame rate: 1/50s for 24fps, 1/60s for 30fps, 1/120s for 60fps. That’s the 180-degree shutter rule. Follow it and motion looks smooth and natural, not choppy or smeared.
Each frame captures motion over a tiny slice of time. Make that slice too long and movement smears. Your hand leaves a blur trail when you gesture. Make it too short and motion turns jittery, that choppy look you get in action scenes shot at high shutter speeds. Doubling the frame rate sits in the middle: just enough blur per frame for movement to read as smooth.
The numbers to memorize are simple:
- 24fps → 1/50s (or 1/48s if your camera offers it)
- 30fps → 1/60s
- 60fps → 1/120s
Two quirks catch people out. First, the rule bends under artificial light. If indoor footage flickers or strobes, nudge the shutter to match your local power frequency, usually 1/50s in most of the world and 1/60s in North America. Second, bright sun tempts you to crank the shutter to 1/1000s to fix exposure. Don’t. Use an ND filter or a narrower aperture instead, and leave the shutter parked at double the frame rate.
ISO: How High You Can Push It Before Noise Ruins the Shot
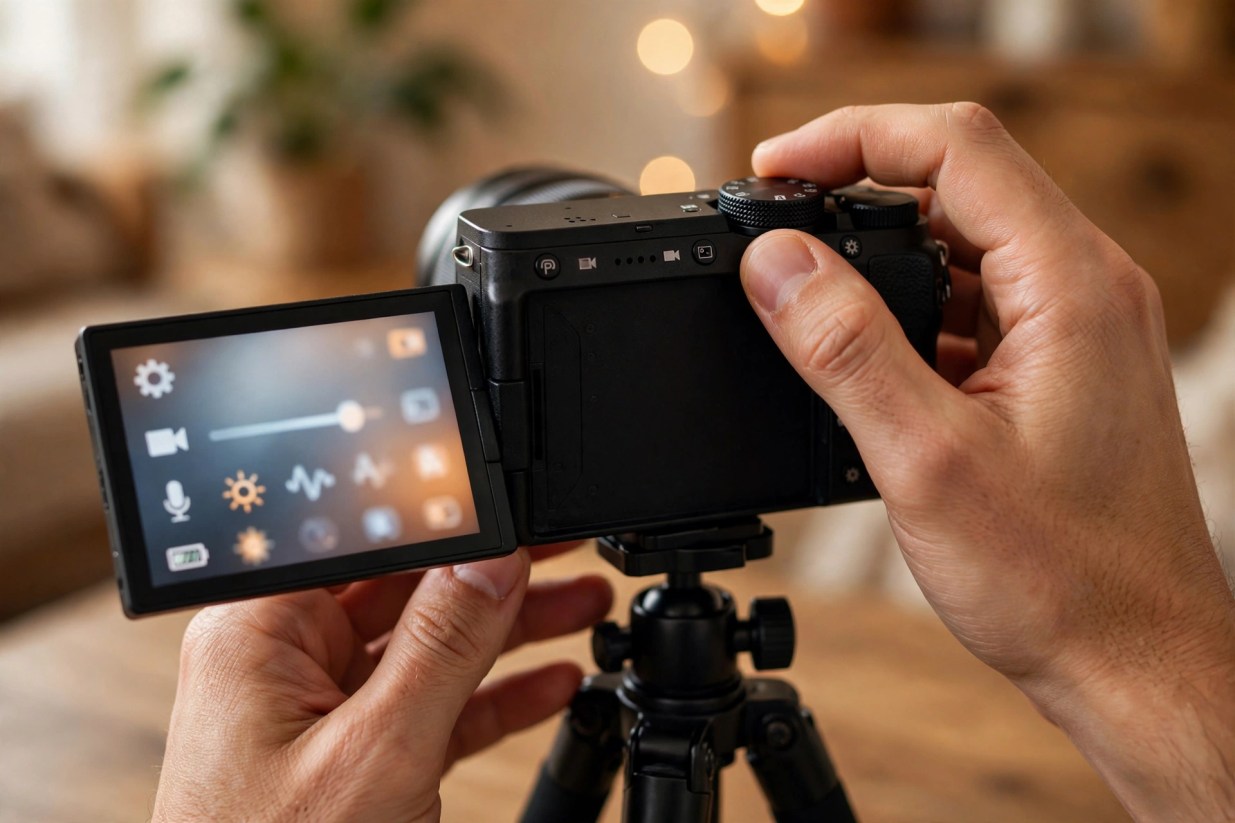
ISO is the sensor’s sensitivity to light: raise it when it’s dark, keep it as low as you can everywhere else. On most current cameras, footage stays clean through ISO 3200. Past 6400, grain gets obvious.
Think of ISO like turning up the volume. At ISO 100 the signal is clean. At ISO 12800 you’ve cranked the gain so hard you can hear the hiss, except here the hiss is grain: speckles crawling over the shadows that scream “shot in the dark.” Every camera has a point where the noise becomes too much. Knowing where yours sits is worth more than almost any other bit of settings knowledge.
Start low. Add light first. A window helps. So does a cheap LED panel, or simply moving closer to a lamp. All of those beat raising ISO. When you do have to raise it, most modern cameras handle ISO 800 to 3200 gracefully. At 6400 noise starts showing on mid-range bodies. Anything beyond that is emergency territory, fine for a dim restaurant, not a look you’d choose.
Auto ISO, with a ceiling
You don’t have to ride ISO by hand, either. Most cameras offer auto ISO. Use it with a maximum limit set in the menu, say ISO 3200 or 6400 depending on your camera. The camera floats ISO as the light changes but never climbs into the ugly zone. For run-and-gun vlogging, walking from sunlight into a shop and back out again, auto ISO with a cap is a professional choice. Not a beginner crutch.
24 vs 30 vs 60fps: Which Frame Rate Should Vloggers Use?
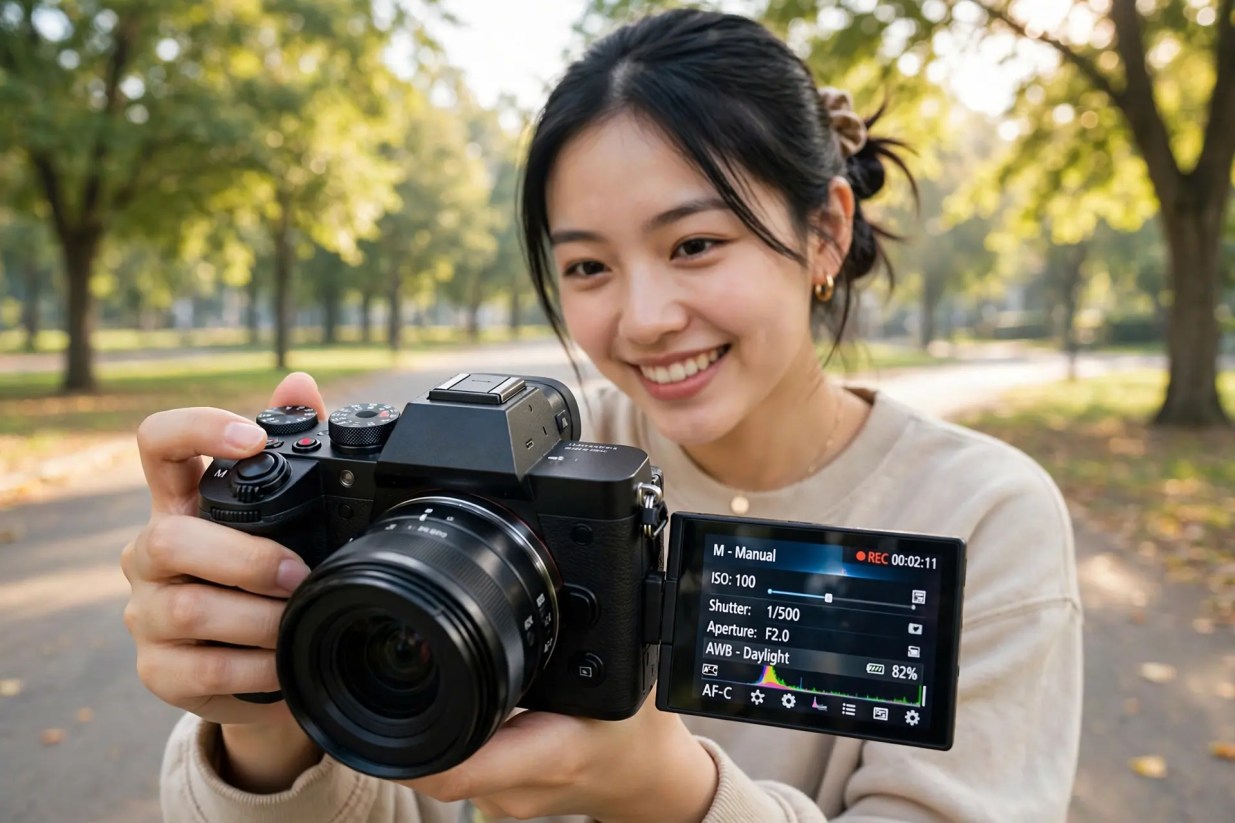
24fps looks cinematic, 30fps looks clean and standard, 60fps is for smooth slow motion. Pick based on what the video is, not on “bigger is better”. A higher frame rate isn’t automatically higher quality.
Frame rate is a creative choice. Each option has a job. Film has run at 24fps for a century, so viewers read it as cinematic. 30fps is the default language of YouTube, news and screens in general, a touch smoother and more “real.” 60fps captures twice the motion data, which makes it perfect for slow motion. Play it back at 30fps and you get half-speed slow-mo with no stutter.
| Frame rate | Best for | Motion feel | File size & notes |
|---|---|---|---|
| 24fps | Cinematic talking heads, travel films, B-roll with a film look | Slightly dreamy, classic motion blur | Smallest files; pair with 1/50s shutter |
| 30fps | Standard YouTube vlogs, tutorials, product demos | Clean and natural, the “video” look | Moderate; pair with 1/60s shutter |
| 60fps | Slow motion, sports, action, anything you might slow down in editing | Very smooth, slightly “live TV” at full speed | Largest files; pair with 1/120s shutter; smooth half-speed slow-mo when slowed to 30fps |
Don’t shoot everything at 60fps “just in case.” That’s the mistake. The files are bigger, low-light performance is worse because the shutter is open for half as long per frame, and full-speed 60fps can make a casual vlog look oddly like live television. Shoot 60fps for specific clips if you want the option. Keep the main footage at 30fps. And don’t mix frame rates on the same timeline unless you know how your editor handles it, or motion can stutter where the rates meet.
White Balance: Why Your Footage Looks Orange or Blue
White balance tells the camera what “white” looks like under your lights. Get it wrong and everything shifts. Indoor footage goes orange under warm bulbs, shade goes blue. Match the setting to the light source and colours land naturally.
Your eyes adjust to lighting on their own. Cameras have to be told. A white wall under a warm lamp really is bathed in orange light, and the camera will record it that way unless white balance compensates. That’s the whole job: neutralise the colour of the light so skin tones look like skin.
The presets in your menu map to real situations:
- Daylight / Sunny: outdoors in direct sun
- Cloudy / Shade: overcast days and open shade (slightly warmer, to compensate for blue skylight)
- Tungsten / Incandescent: old warm household bulbs
- Fluorescent: offices and some kitchens
- Custom / Kelvin: dial in the exact color temperature when you want precision
Outdoors, auto white balance is usually fine. Daylight is consistent. Indoors is trickier. Mixed lighting, warm lamps plus cool window light, confuses auto mode, and it can drift mid-clip as you move around the room. That drift looks amateur. For sit-down talking heads, pick the preset for your dominant light once and leave it there. Want it exact? Hold a white sheet of paper where your face will be and use the custom white balance function. Ten seconds. It’s the difference between “why do I look jaundiced” and “my skin looks like me.”
Autofocus Modes: Getting Face and Eye Detection to Work for Solo Vloggers
For solo vlogging, use continuous autofocus with face or eye detection turned on. The camera locks onto your face and holds focus as you move. That’s the whole point when there’s nobody behind the camera to pull focus for you.
Two decisions hide in the autofocus menu. First, the mode. Single AF locks focus once and holds it, fine for a still photo, useless for a moving vlogger. Continuous AF (AF-C on Sony, AI Servo on Canon, AF-C on Nikon and Fujifilm) keeps refocusing as you move. For video of yourself, continuous is non-negotiable.
Second, the area: where the camera is allowed to look. Wide-area AF with face/eye detection is the vlogger’s setting. The camera scans the frame, finds your face, and on most current cameras finds your eyes specifically. It holds a focus box on them as you walk, gesture and turn your head. This feature made solo vlogging practical, and on today’s best budget vlogging cameras it’s genuinely reliable.
When autofocus betrays you (and the fixes)
- It focuses on the background instead of you. Switch the AF area from wide to a smaller zone centred on your face, or tap to focus on the flip screen and tell it exactly what matters.
- It hunts when you hold up a product. A new object appears close to the lens and the camera jumps to it. Some cameras have a product-showcase AF mode that prioritises whatever enters the foreground. If yours doesn’t, tap the product on the screen, or switch to manual focus just for the demo.
- It pulses in low light. Continuous AF needs contrast to work, and dim rooms starve it. It breathes in and out. Adding light to your face is the real fix. Cranking focus sensitivity in the menu is a distant second.
Test before anything important. Record thirty seconds of yourself walking toward the camera and away from it, then watch it back on a big screen. If focus holds, you’re set. If it drifts, adjust the AF area or tracking sensitivity now. Not during the video you actually care about.
Picture Profiles and Log: Why Beginners Should Skip Them (for Now)
Skip log and flat picture profiles until you actually enjoy color grading. They record a washed-out, grey image that only looks good after editing. Straight out of camera, they look worse than the standard profile.
Log profiles (S-Log, C-Log, V-Log and their cousins) exist for one reason. They preserve more detail in the brightest highlights and the darkest shadows, so colourists have more to work with. The trade-off? Footage looks flat and lifeless until you apply a LUT or grade it. If you’re not grading, you’ve taken on extra work for a worse result.
There’s a second catch most tutorials gloss over. Log only makes sense in 10-bit. In 8-bit, which is what most affordable cameras record, stretching that flat image in the grade can cause banding, those ugly stepped gradients across skies and walls. So the profile that promises “more cinematic footage” can make your footage worse on a budget camera. Literally worse.
Use the standard or natural picture profile instead. Keep contrast and sharpness near their defaults. If the standard look feels a bit punchy, drop contrast by one notch. Don’t jump to log. The day you catch yourself thinking “I wish I had more room to push the colors,” that’s the day log is for you. Until then it’s a distraction from the five settings that actually matter.
Copy-Paste Starter Settings: Talking Head Indoors, Walk-and-Talk Outdoors
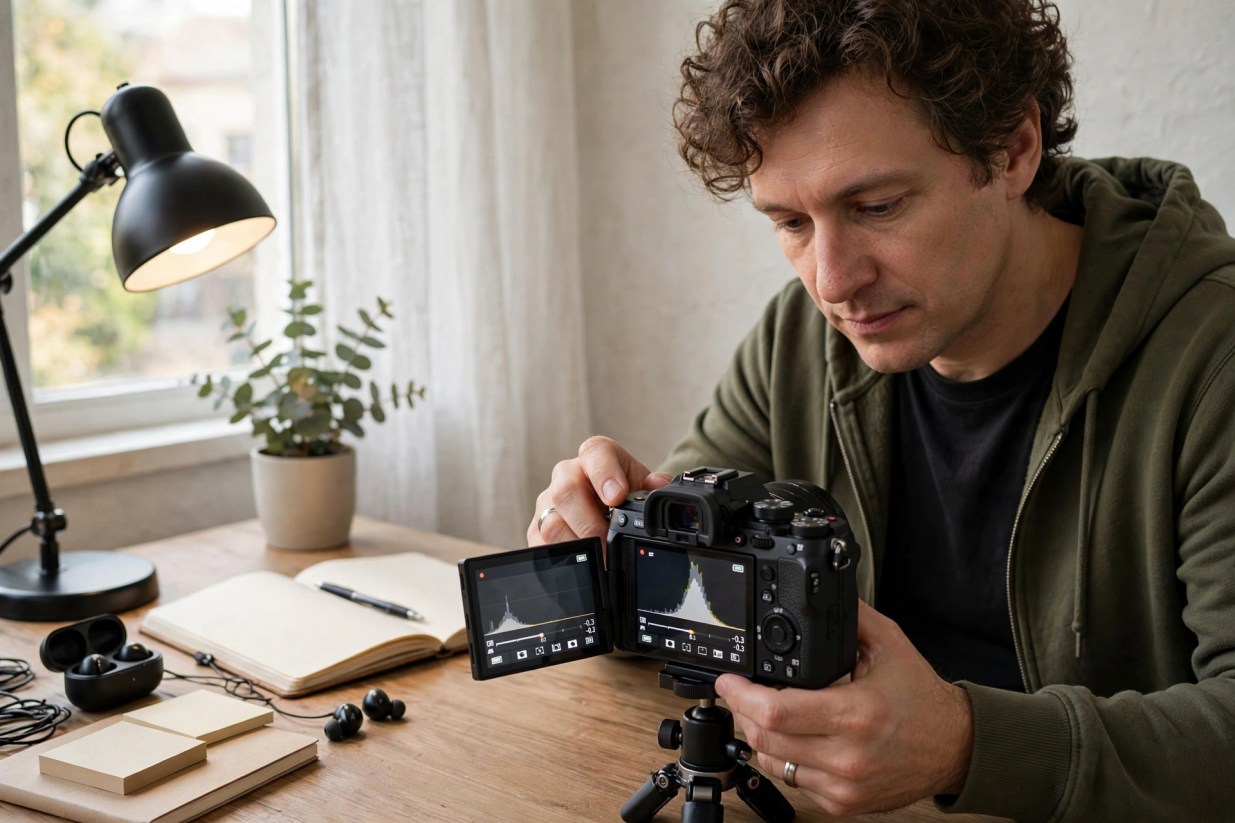
Two recipes cover 90% of vlogging. Indoors: 24 or 30fps, shutter at double the frame rate, aperture f/1.8 to f/2.8, ISO as low as possible, indoor white balance, face AF on. Outdoors: 30fps, 1/60s, f/4 to f/5.6, ISO 100, daylight white balance, face AF on.
Don’t try to learn every setting at once. Set these, shoot a few videos, then start experimenting one dial at a time. Here are the two starting points, written out in full:
Indoor talking head (desk, bedroom studio)
- Mode: manual video mode (M on the dial)
- Frame rate: 24fps for cinematic, 30fps for standard YouTube
- Shutter speed: 1/50s (24fps) or 1/60s (30fps)
- Aperture: f/1.8 to f/2.8, or the widest your lens allows
- ISO: lowest possible, ideally 100 to 800 with a window or lamp on your face
- White balance: tungsten preset for warm bulbs, or custom against a white card
- Focus: continuous AF with face/eye detection on
Outdoor walk-and-talk (street, park, travel)
- Frame rate: 30fps (cinematic 24fps also works if the motion is slow)
- Shutter speed: 1/60s, locked
- Aperture: f/4 to f/5.6 so the background stays recognizable and focus stays forgiving
- ISO: 100, the minimum
- White balance: daylight preset
- Focus: continuous AF with face/eye detection on
- Exposure safety: if the image is too bright, add a variable ND filter rather than raising the shutter speed
- Stabilization: on (in-body, in-lens, or electronic, whichever your camera offers)
Once these feel like second nature, change exactly one thing per shoot. One week, play with aperture and watch the background blur change. Next week, white balance. That’s how settings stop being a menu and start being instincts. Still choosing the camera itself? Our vlogging cameras under $200 all handle these settings well, and the how to start vlogging guide picks up where settings leave off.
Frequently Asked Questions
Should I shoot vlogs in manual mode or auto?
Learn manual, but don’t be a purist about it. Manual mode gives you full control over shutter speed, aperture and ISO, and that’s how you get consistent, professional-looking footage. Still, auto ISO with a maximum cap, auto white balance outdoors and continuous autofocus are smart assists. Working vloggers use them daily. The goal is deliberate control over the settings that shape your look, not manual everything for its own sake.
What’s the best aperture for vlogging?
There’s no single best aperture. It depends on the shot. Use f/1.8 to f/2.8 for talking heads when you want creamy background blur, and f/5.6 to f/8 for walk-and-talks where the background should stay readable and focus needs to be forgiving. Remember, your lens sets the floor. A kit lens may only open to f/3.5 or f/5.6, which limits how much blur you can get.
What shutter speed should I use for video?
Follow the 180-degree rule: set shutter speed to roughly double your frame rate. That’s 1/50s for 24fps, 1/60s for 30fps and 1/120s for 60fps. Motion will look natural. Only break the rule to kill flicker under artificial lights (match 1/50s or 1/60s to your region). Fix exposure with aperture, ISO or an ND filter instead of the shutter.
Is 24fps or 30fps better for YouTube vlogging?
Both work. Most viewers can’t tell the difference. 30fps is the safe default for YouTube: clean, standard, slightly smoother for motion. Choose 24fps if you want a more cinematic feel for travel or story-driven vlogs. Pick one per project and stick with it, rather than mixing frame rates on the same timeline.
What ISO is too high for video?
It depends on your camera. As a general guide, ISO 100 to 3200 is clean on most current cameras, 6400 is where grain starts showing, and anything above that is emergency-only territory. To find your camera’s limit, shoot a test clip at each ISO step and watch it on a large screen. When in doubt, add light instead of raising ISO.
Should beginners shoot in log?
No. Log profiles record a flat, washed-out image that only looks good after color grading, and on 8-bit cameras grading log can cause banding in skies and shadows. Use the standard or natural picture profile until you genuinely enjoy grading. You’ll get better-looking footage, with less work.
Why does my footage look orange indoors and blue in shade?
That’s white balance. Indoor bulbs cast warm orange light and open shade is lit by blue skylight. If the camera’s white balance doesn’t compensate, the tint shows up in your footage. Set the preset to match your light source (tungsten indoors, shade outdoors), or take a custom reading off a white card where you’ll be sitting.
How do I keep myself in focus while vlogging alone?
Use continuous autofocus with face or eye detection enabled. The camera tracks your face as you move, which is exactly what a solo vlogger needs. If it keeps grabbing the background, narrow the AF area or tap your face on the flip screen to lock priority. And always test first: a 30-second clip, watched back on a big screen, before an important shoot.
Do these camera settings matter if I vlog on a phone?
Yes, though you control fewer of them directly. Most phones shoot 30fps with automatic exposure, but pro video apps let you lock shutter speed, ISO and white balance manually. That fixes the two biggest phone problems: exposure pumping as you move, and colour shifts mid-clip. The concepts covered here, especially frame rate choice and white balance, apply directly. Our mobile vlogging kit guide covers the gear side.
Why is my outdoor footage overexposed even at ISO 100?
Because your shutter speed is locked to the frame rate and your aperture is wide open for background blur, there’s nowhere left for the excess light to go. The fix is a variable ND filter on the lens. It darkens the scene like sunglasses for your camera. It’s the standard solution, not a hack, and it lets you hold f/1.8 in bright sun without touching the shutter speed.