Last updated: October 2026
Twitch looks like a gaming platform from the outside, and most beginner guides treat it that way. For a vlogger, that framing wastes the platform’s real strength. Twitch is where an audience watches you work, talk, and travel in real time, and where a regular live slot turns casual viewers of your recorded vlogs into people who show up and chat. This guide shows you how to stream on Twitch for beginners, starting from the vlogging camera you already own, with formats built around vlog life rather than gameplay.
Key takeaways
- Start from your vlogging camera, not a webcam. A camera with a clean HDMI feed, run through a capture device into OBS Studio, gives your stream the same look as your vlogs.
- Build the stream around a vlog format. A live Q and A, an edit-with-me session, a travel-day stream, or a behind-the-scenes look all give viewers a reason to stay that a blank gaming screen never will.
- Keep the first settings modest. A stable 720p stream with clear audio beats a stuttering 1080p stream every time, and you can raise quality once the setup proves itself.
- Never buy viewers or use viewer bots. Fake viewers break Twitch rules, risk your channel, and teach you nothing about what real viewers want.
- Save every stream twice. Twitch keeps past broadcasts for a limited window, so download the recording and cut clips from it the same week, before the source disappears. That is the two copies: the downloaded recording and the clips cut from it.
On this page
- What Twitch gives a vlogger that recorded video cannot
- Setting up your vlogging camera for Twitch
- OBS scenes and settings for a first stream
- IRL and Just Chatting formats that fit a vlog channel
- Choosing a category that is not a game
- Bringing your vlog audience to Twitch
- Streaming from your phone: mobile IRL done properly
- Twitch vs YouTube Live: which home for your live show
- Turning one stream into clips and Shorts
- Growing to Affiliate honestly, without bots
- Chat, moderation, and staying safe live
- Your first month on Twitch, week by week
- Twitch questions vloggers actually ask
What Twitch gives a vlogger that recorded video cannot
Twitch gives a vlogger a live room, not just a video page. Viewers ask questions as you answer them, vote on what happens next, and come back at the same time each week because the stream itself is the appointment.
A recorded vlog is a finished product. You film it, edit it, publish it, and then read comments hours or days later. A Twitch stream reverses that order. The audience is present while the thing happens, and their reactions shape it. That difference matters more for vloggers than for gamers, because a vlogger’s main asset is not a high score. It is a personality, a place, and a process that viewers already care about from the recorded videos. Live streaming lets those viewers sit in on the process instead of only seeing the polished result.
Three things happen live that cannot happen in a recorded vlog. First, questions get answered in the moment, which builds trust faster than any comment reply thread. Second, small decisions become shared moments: viewers pick the thumbnail or settle a gear debate in chat while you are still on camera. Third, regularity builds habit. A stream at the same time each week becomes part of a viewer’s routine in a way that an irregular upload schedule rarely does.
Setting up your vlogging camera for Twitch
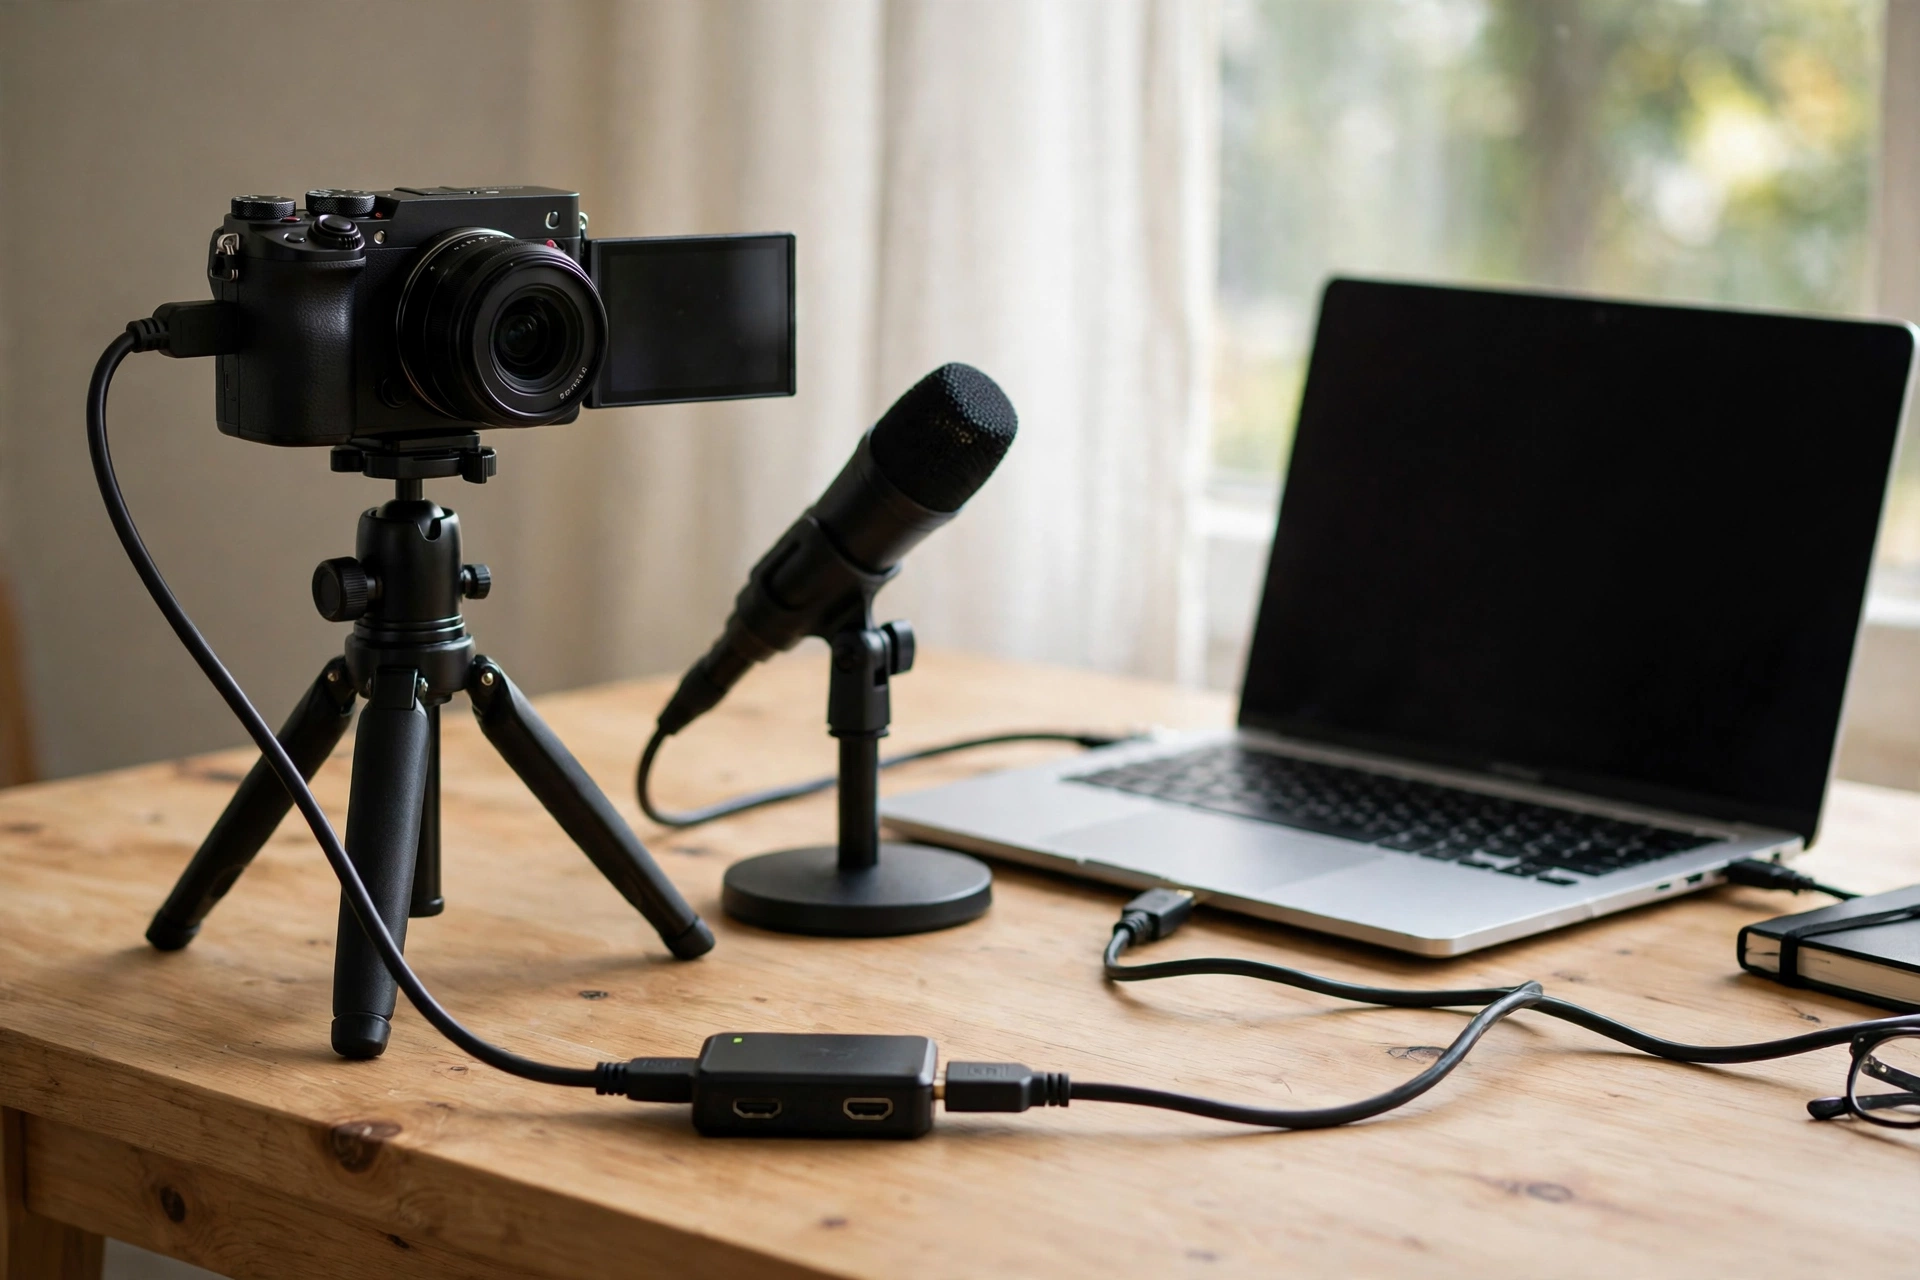
Connect your vlogging camera to your computer with an HDMI cable and a capture device, turn on a clean HDMI feed so no menus appear on screen, and set face autofocus with a locked exposure before you go live.
Most beginner guides start with a webcam. A vlogger should start with the camera already in the bag, because that camera is the reason the recorded vlogs look good, and viewers notice the drop in quality when a stream suddenly looks like a video call. The chain has four links: camera, HDMI cable, capture device, and streaming software. Each link is simple on its own, and the whole chain takes under an hour to test once.
Start with the HDMI feed. Most vlogging cameras can send their live view out over HDMI, but the factory setting often includes menus, icons, and focus boxes on top of the picture. Look in your camera’s menu for a clean HDMI output setting, sometimes labelled as info display off or HDMI info display off, and switch it on. Then check the picture on your computer: if you see only the scene, with no battery icon or recording dot, the feed is clean. If menus still show, check the camera manual for that exact model, because the setting hides in different menus on different cameras.
Next, the capture device. A capture device is a small box or dongle that takes the HDMI signal from your camera and presents it to your computer as a video source, usually over USB. Plug the camera’s HDMI output into the capture device, plug the capture device into the computer, and add it in OBS Studio as a video capture source. Our guide to capture cards for streaming and recording covers how to pick one, and our guide to cameras for streaming covers which camera traits matter most for a live picture.
Camera settings for a live picture differ slightly from settings for a recorded vlog. Turn on face or eye autofocus so the camera holds focus on you while you move and gesture, instead of hunting for focus on the background. Set exposure manually where you can, or lock it after framing, so a bright window or a lamp switching on does not make the picture pulse brighter and darker mid-stream.
Two practical problems catch first-time camera streamers. The first is power: a camera running for an hour or two on its internal battery will die mid-stream, so use mains power or a dummy battery adapter for desk streams, and carry spare batteries for anything outdoors. The second is auto shutoff: some cameras switch off after a period of continuous use, especially when not recording to a card, so test a full-length session at home before the first real stream, and switch off any auto power-off setting the camera allows.
Audio deserves the same attention as the picture. Viewers forgive a soft picture far sooner than they forgive muddy or echoing audio. Use the microphone you already trust for vlogs, placed close to you and away from fans, keyboards, and humming appliances. Test the level in OBS before going live: your normal speaking voice should sit comfortably in the middle of the meter, never touching the red at the top. If your room echoes, record a short test and listen back on a phone in another room, because echo you no longer notice in your own space is obvious to a first-time listener.
OBS scenes and settings for a first stream
OBS Studio is the free broadcasting software most Twitch streamers use. Set it up with four scenes, a modest resolution, and a hardware encoder, then run a private test stream before your first real one.
OBS Studio is free, runs on Windows, Mac, and Linux, and is the baseline nearly every Twitch tutorial assumes. Download it from the official OBS site, run the auto-configuration wizard, and choose the option to optimize for streaming. The wizard measures your connection and suggests settings, which gives you a safe starting point to adjust from. Connect OBS to Twitch in Settings, then Stream, by choosing Twitch as the service and clicking Connect Account, which avoids pasting a stream key by hand. Never show your stream key on screen or share it with anyone, because anyone holding it can broadcast to your channel.
Build four scenes before your first stream: Starting Soon, Live, Be Right Back, and Ending. The Live scene holds your camera source, a small chat display if you want one, and a simple lower banner with the stream topic. Keep overlays minimal at first: one clean frame around the camera and readable text beat a crowded screen full of alerts you have not learned to read yet.
For settings, start modest and raise quality only after stability is proven. A 720p output at 30 frames per second with a bitrate around 2,500 to 4,500 kbps suits most home connections and most new channels, if your viewers have slower connections, stay near the lower end of that range, because lower-quality options are not guaranteed for new channels. If your upload speed is strong and test streams stay smooth, 1080p at 30 or 60 frames per second with a bitrate between 4,500 and 6,000 kbps is the usual next step. Use constant bitrate mode, a keyframe interval of 2 seconds, and a hardware encoder if your computer offers one, since hardware encoding takes the compression work off the main processor. Use a wired network cable rather than Wi-Fi where possible, because a wired connection drops far fewer frames than a wireless one under load.
Test before the first public stream. Start with a Twitch Inspector bandwidth test, which checks stability without an audience but produces diagnostics only, not a watchable stream. Then check the picture itself with a brief unannounced go-live watched on a second device, or on a separate test account if you want no audience at all. Watch for three things: whether the picture stutters, whether the audio stays in sync with your lips, and whether anything private is visible on screen, such as open messages, file names, or browser tabs. Fix all three before announcing a first stream anywhere. For a deeper walkthrough of the live production side, including encoders and backups, see our guide to live production for vloggers.
IRL and Just Chatting formats that fit a vlog channel
The best Twitch formats for a vlogger are the ones your recorded videos already suggest: a live Q and A, an edit-with-me session, a travel-day stream, and a behind-the-scenes look at how a vlog gets made.
Just Chatting is the category where most non-gaming Twitch streams live, and it works best when the chat has something to do besides watch a person talk at a camera. The formats below all give chat a job, and each one maps directly to a kind of vlog you may already make. Pick one for your first month rather than rotating through all four, because a regular format teaches viewers when to show up and what to expect.
Live Q and A
A live Q and A is the simplest first format for a vlogger. Collect questions before the stream from your video comments, open with the strongest five, and then take live questions from chat. Say each question out loud before answering, so viewers who join late can follow the thread and so the later clip makes sense on its own.
Edit with me
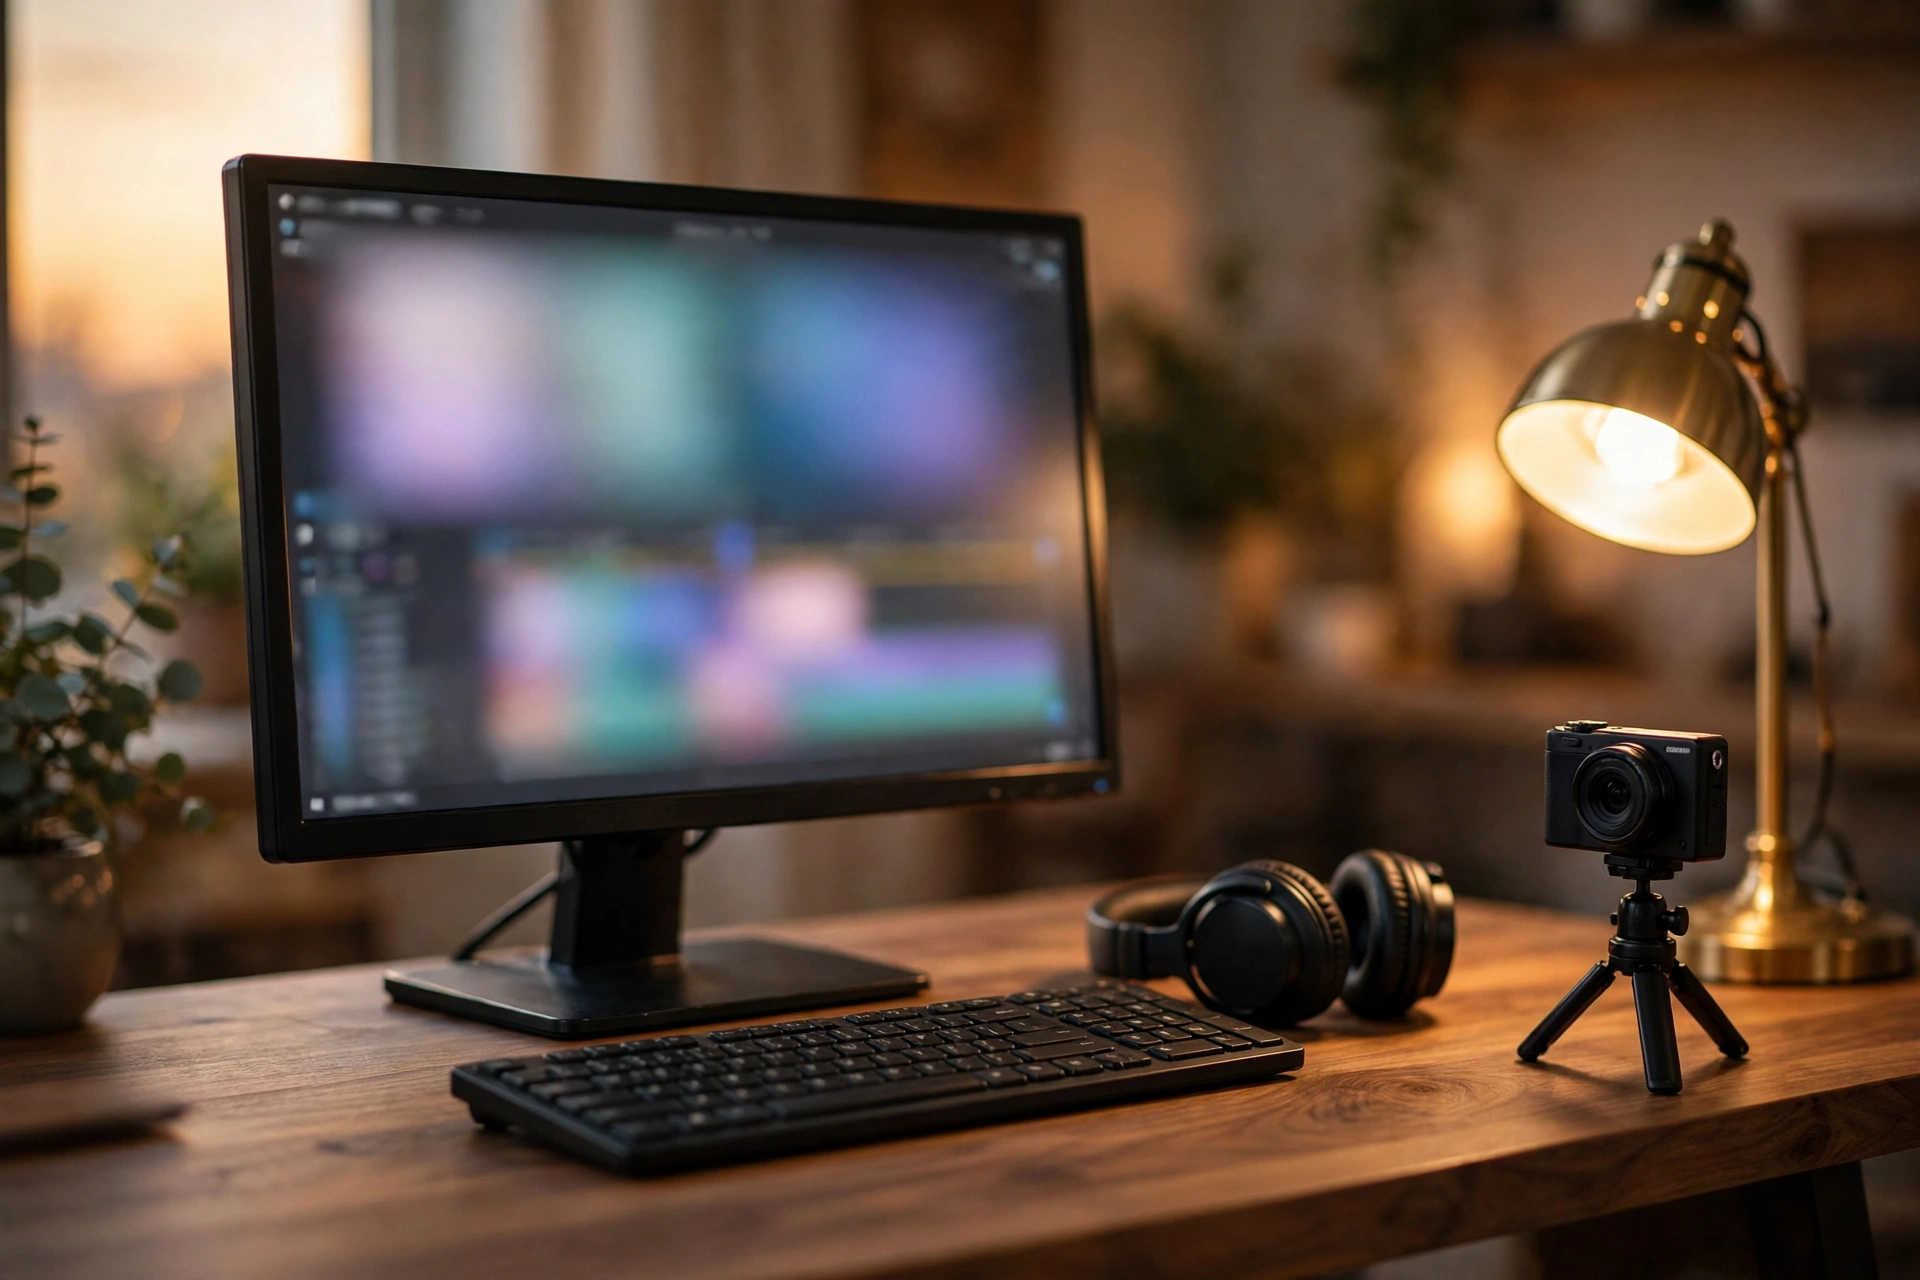
An edit-with-me stream turns your editing desk into the show. Share your screen, talk through real decisions as you cut a vlog, and let chat vote on small choices such as which opening shot works. Keep the session to a single task, such as cutting one vlog opening, rather than editing a whole video live, because a whole edit runs long and quiet stretches lose viewers. Hide file names and anything private before sharing your screen, and pause screen sharing whenever you open email or messages.
Travel-day stream
A travel-day stream takes viewers along for a real day out: a market visit, a walk through a new town, or the journey between two filming locations. Plan two or three anchor stops where you will stop, talk to chat properly, and read questions, because walking and reading chat at the same time splits your attention. Tell chat the rough plan at the start, including when you expect to reach each stop, so viewers can join at a moment that interests them. Carry a power bank, and know where the next stable connection is, because a travel stream lives or dies on its signal.
Behind the scenes
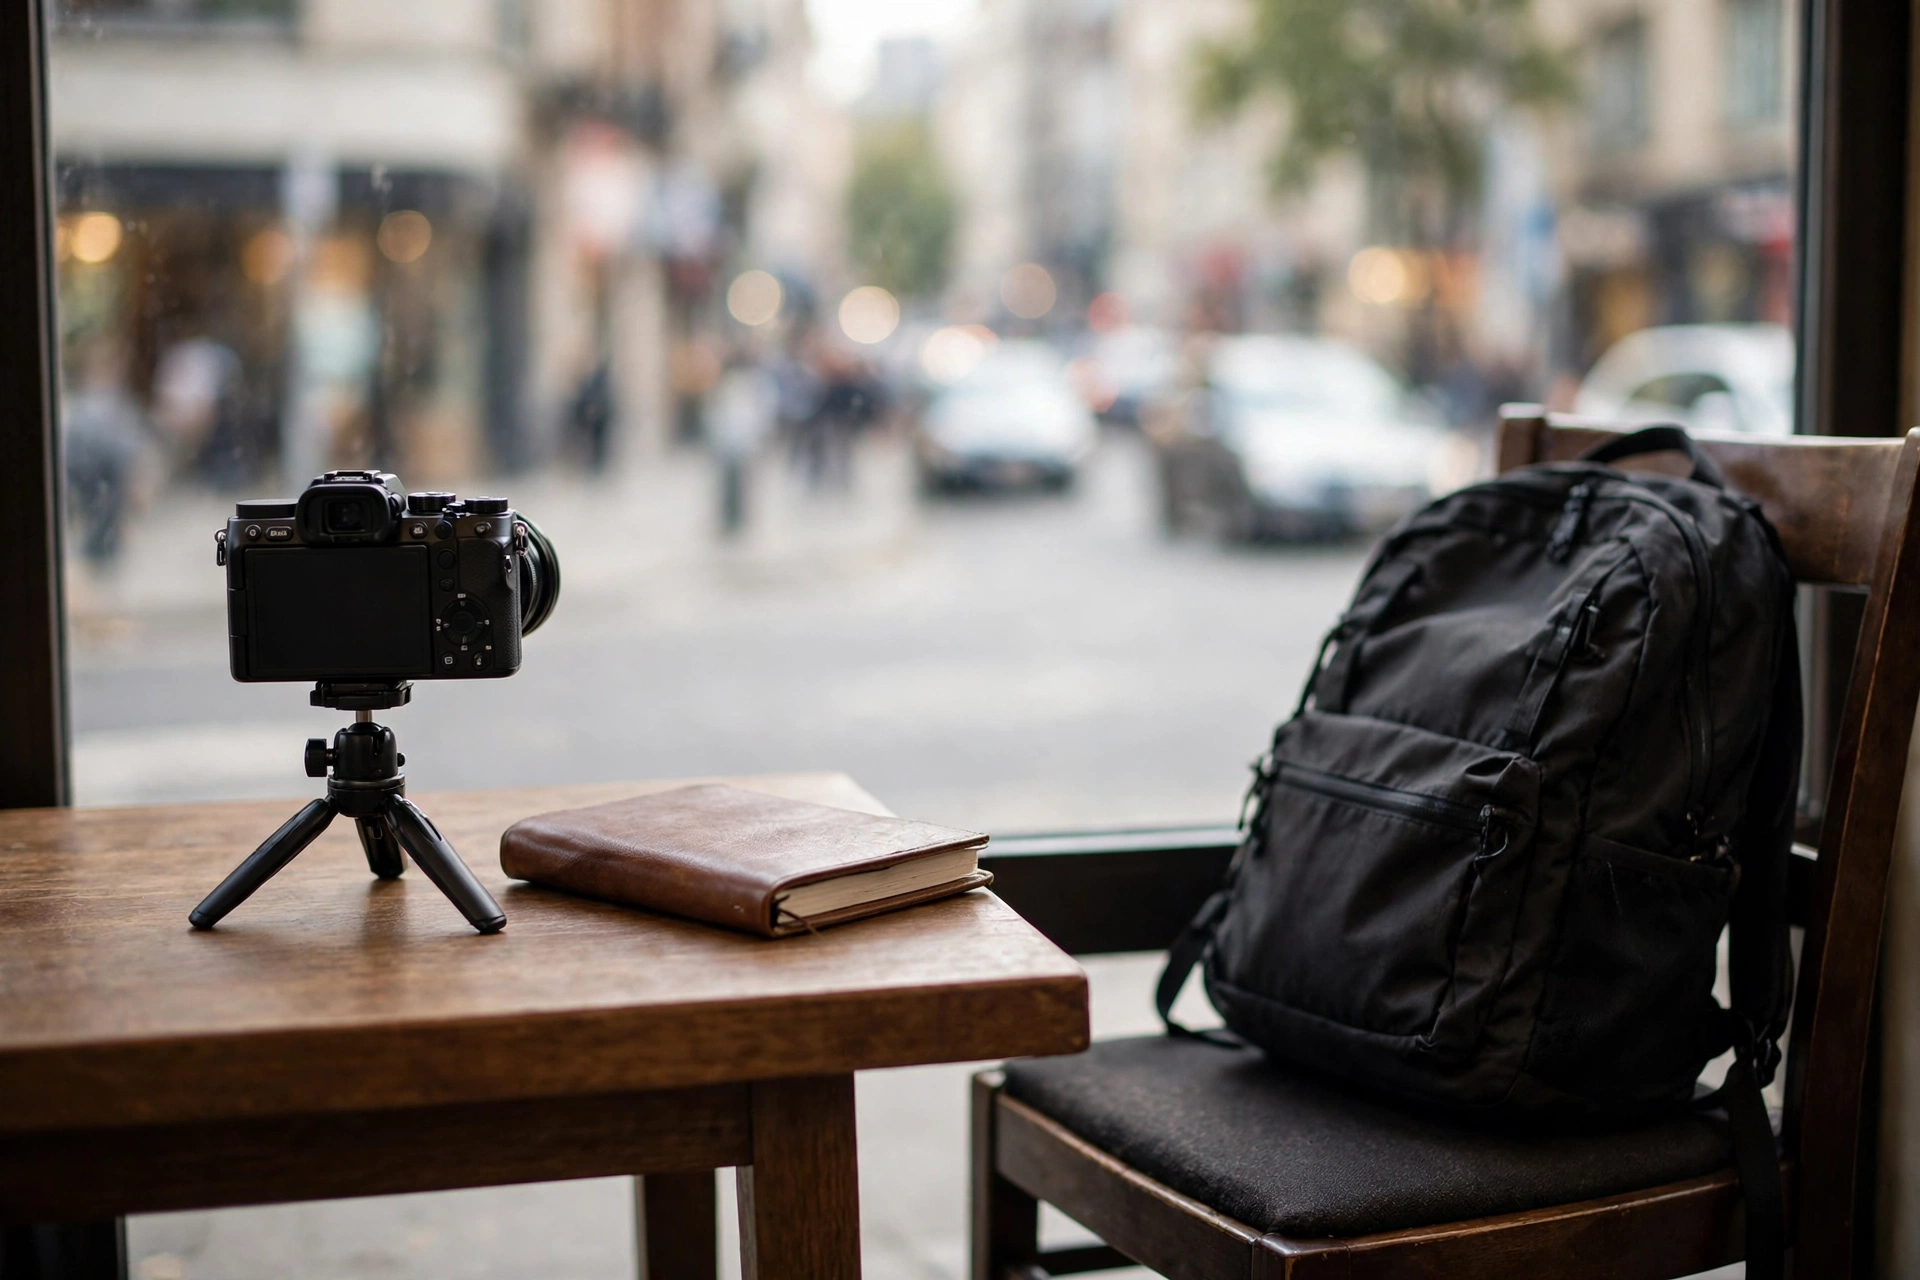
A behind-the-scenes stream shows the work viewers never see in a finished vlog: packing gear for a shoot, setting up lights, or reviewing footage and deciding what to keep. This format is easy to run because you are doing real work rather than performing, and it answers the question recorded viewers ask most often, which is how the vlog actually gets made. Narrate what you are doing as you do it, because silent work looks like an empty stream to someone arriving mid-task.
Choosing a category that is not a game
Pick the category that describes what you are actually doing, not the biggest one. For most vloggers that means Just Chatting, IRL, or a topic category such as Travel and Outdoors, Food and Drink, or Art, and the right category is what puts your stream in front of viewers looking for it.
Categories are how Twitch viewers browse, and a wrong category costs you twice: viewers looking for that category leave when the stream is not what they expected, and viewers looking for your kind of stream never find you. Check the category before every stream, because a format can change category from one week to the next. A travel-day stream belongs in a travel category, a cooking session belongs in a food category, and a talking stream belongs in Just Chatting.
| Your stream | Category to try first | Why it fits |
|---|---|---|
| Live Q and A, general chat, reacting to your own vlog with chat | Just Chatting | The audience here expects conversation first and an activity second. |
| Walking a city, visiting a market, travelling between locations | IRL or Travel and Outdoors | Viewers browse these categories for real places and real days out. |
| Cooking a meal, tasting street food, reviewing a cafe | Food and Drink | Food viewers arrive hungry for the process, not just the result. |
| Editing live, designing thumbnails, building a set | Just Chatting or Art | Creative work draws viewers who want to learn the craft, so name the task in the title. |
| Talking through a vlog topic in depth, such as a camera guide | Just Chatting or Science and Technology | Topic viewers search for the subject, so put the subject words in the title. |
Small categories are a genuine advantage for a new channel. A stream in a category with a handful of live channels appears near the top of that browse page, while the same stream in a giant category sits far below channels with hundreds of viewers. Check how many channels are live in a category before you choose it, and prefer a category where your stream will be visible over a famous category where it will be buried. Add tags that describe the stream honestly, such as the activity and the language, and skip tags that promise something the stream does not deliver.
Titles matter as much as categories. A good title says what is happening and what the viewer can join in with, such as “Travel day in the old town: market walk, food stop, and your questions answered live”. Write the title before you go live, not after, because a rushed title written mid-stream is almost always a vague one.
Bringing your vlog audience to Twitch
Your first Twitch viewers will come from your existing audience, not from Twitch browsing. Announce the stream where your viewers already are, give them one clear time, and make the first streams easy to join.
Twitch browsing rarely sends a new channel its first viewers. The directory favours channels that already have viewers, which is a cold start problem every new streamer faces. A vlogger has an advantage most new streamers lack: an existing audience on recorded video. Use it deliberately, and the first streams will have real people in chat instead of silence.
Start with the announcement, not the stream. Post a short video or community post a few days ahead that says what the stream is, when it happens, and what viewers will get by joining live that they cannot get from a recorded video. One clear promise beats a long list of features, and one fixed time beats a vague promise to stream soon. Add the stream time to your channel schedule on Twitch as well, so followers see it on your channel page.
On stream day, remind viewers once, close to the start time, with a direct link to your Twitch channel. After the stream, close the loop: post a short clip of the best moment on your recorded channel and mention the next live date. That loop is how a recorded audience becomes a live audience over a few weeks, because each clip gives a viewer who missed the stream a reason to catch the next one live. One announcement before, one reminder on the day, and one clip after is enough for a weekly stream.
Raids and collaborations help once you have a small base. A raid sends your viewers to another channel at the end of your stream, and other small streamers often return the favour. Choose raid targets in your own niche and of a similar size, and raid channels whose audience would genuinely enjoy your kind of stream.
Streaming from your phone: mobile IRL done properly
You can stream to Twitch from the official Twitch app with no extra software. Open the app, choose the live option, set a title and category, and you are broadcasting from your phone camera, which makes it the simplest route to a travel-day or outdoor stream.
Mobile streaming is the right tool for any stream that leaves the desk. A phone weighs less than a camera rig, connects over mobile data, and lets you walk, talk, and read chat from one device. The trade is control: the app gives you fewer scenes, fewer overlays, and less audio routing than OBS on a computer, so mobile suits talking and travelling streams far better than produced studio shows. Use mobile for IRL, and keep the desk setup for formats that need scenes and screen sharing.
The setup is short. Install the official Twitch app, sign in, and use the create or live option to start a stream from your phone camera. Set the title and category before going live, exactly as you would for a desk stream, and check that chat is visible on screen while you stream, since answering chat is the whole point of an IRL stream. Turn on Do Not Disturb before going live, because notifications that pop up on screen can show private messages to your whole audience.
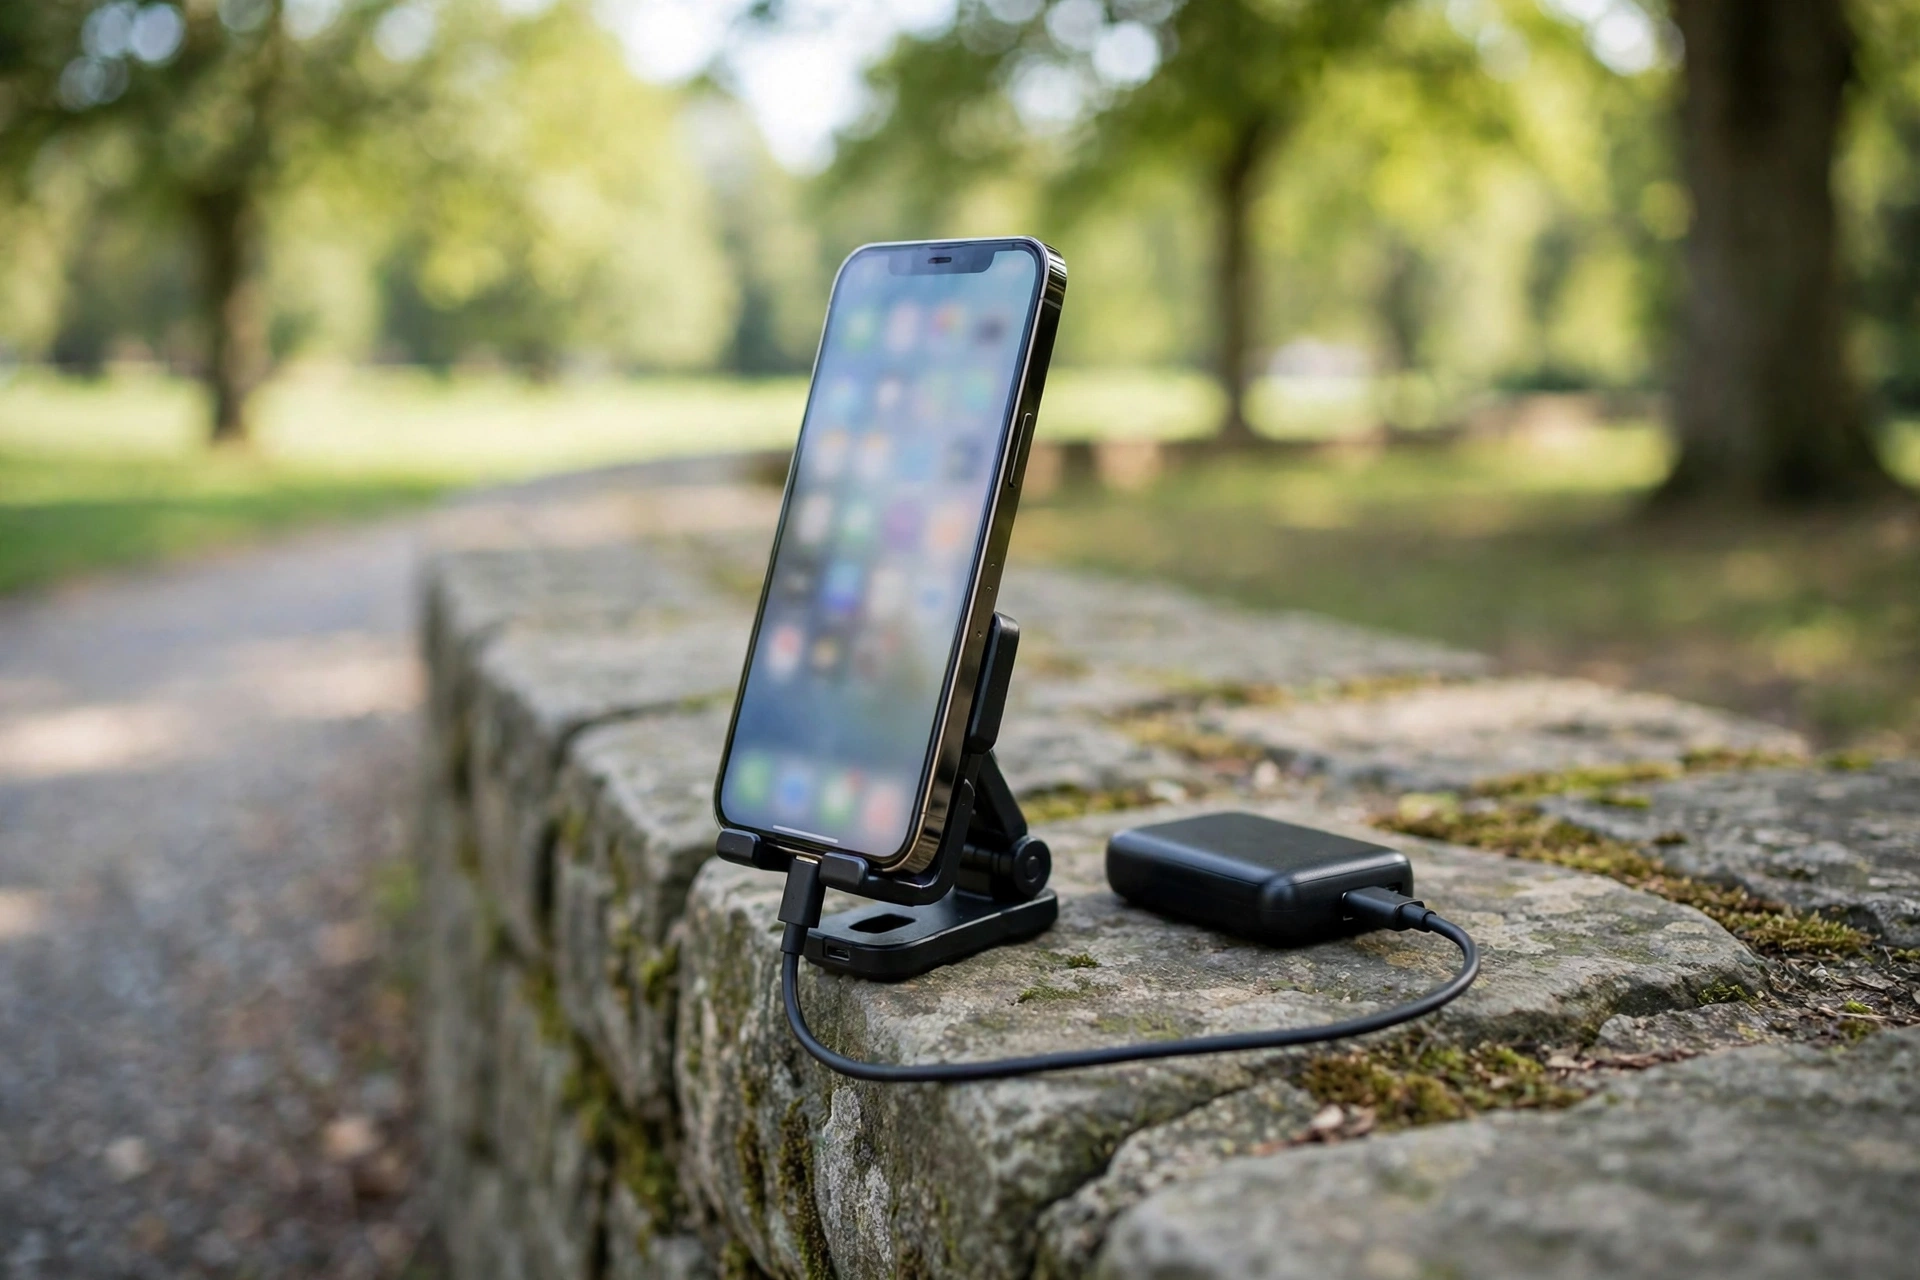
Mobile IRL has four practical rules. First, power: streaming over mobile data drains a battery fast, so carry a power bank and start with a full charge. Second, signal: test your upload speed at the location if you can, and have a backup stop with better signal for the moments the stream stutters. Third, sound: the phone microphone picks up wind and street noise, so speak close to the phone outdoors and pause in sheltered spots for longer answers. Fourth, safety and privacy: never stream your exact location in real time if that worries you, and keep your home address, travel bookings, and private messages off screen at all times.
A phone can also serve as a stable shot for a seated outdoor stream, such as a cafe Q and A, with a small tripod grip holding it steady. The principle stays the same: the phone is a camera you already own and already know, so use it where its strengths, portability and instant connection, matter most, and leave the produced work to the desk rig.
Twitch vs YouTube Live: which home for your live show
Choose Twitch when the live community is the point, and YouTube Live when discovery and long-lasting replays are the point. Many vloggers end up using both, with Twitch as the live room and YouTube as the permanent home for the best moments.
The two platforms reward different things. Twitch is built for live interaction: chat culture, subscriptions, channel points, and a directory of people watching right now. YouTube is built for discovery and replay: search, recommendations, and videos that keep earning views for months after they go live. A stream that lives only on Twitch fades when the broadcast ends, while a YouTube live stream can keep working as a recorded video afterwards.
| Question | Twitch fits better when | YouTube Live fits better when |
|---|---|---|
| What is the stream for? | Building a regular live crowd that returns weekly | Reaching new viewers through search and recommendations |
| What happens after? | Clips and highlights carry the value, and the full recording matters less | The full stream should keep earning views as a video |
| How do viewers find it? | Followers, schedule, and category browsing | Search, suggested videos, and Shorts that point to the stream |
| How does it earn? | Subscriptions and Bits from a loyal live audience | Ads, memberships, and Super Chat tied to a video channel |
| What does it feel like? | A live room with its own chat culture and regulars | A video event with a comment section that lives on |
A practical split works for most vloggers. Run the regular live show on Twitch, where the community gathers, and cut the best moments into clips and Shorts that live on your video channel, with the next live date attached. That way Twitch gets the live energy and YouTube gets the lasting value, and neither platform is asked to do a job it does poorly. For the YouTube side of the decision in full, see our guide to livestreaming on YouTube.
Simulcasting, streaming the same show to both platforms at once, is now an option under Twitch’s current simulcast rules, and some creators use it to avoid choosing. It has a real cost for a small channel: it splits a small live audience across two chats, which makes both rooms feel quieter, and it doubles the moderation work. Until one platform clearly has the bigger live crowd for your show, streaming to one place and repurposing to the other usually builds a stronger room. Check the current simulcast rules on Twitch’s help pages before simulcasting, because platform rules change. Two standing conditions to know: the Twitch stream must be no worse in quality than the stream elsewhere, and you must not direct Twitch viewers to the other stream.
Turning one stream into clips and Shorts
Turn one stream into lasting content with a weekly routine: save the recording, pick three moments, cut each one as a vertical short with captions, and post the best one with the next live date attached.
A Twitch stream vanishes quickly if you let it. Past broadcasts are kept only for a limited window, and a stream that nobody clips is a stream that never happened for anyone who missed it live. The fix is a routine, done the same week as the stream, that turns one live hour into several pieces of content that keep working after the broadcast ends. Our guide to repurposing video content covers the wider routine, and our vertical video guide covers framing and captions for short-form cuts.
Start before the stream ends. Switch on the setting that stores past broadcasts, found in your Creator Dashboard under Settings, then Stream, so the recording exists to work from at all. During the stream, mark moments worth clipping: drop a stream marker if your software supports it, or simply note the time when something good happens. Viewers can also clip moments live with the clip button, and those viewer clips are a useful shortlist of what the audience itself found memorable.
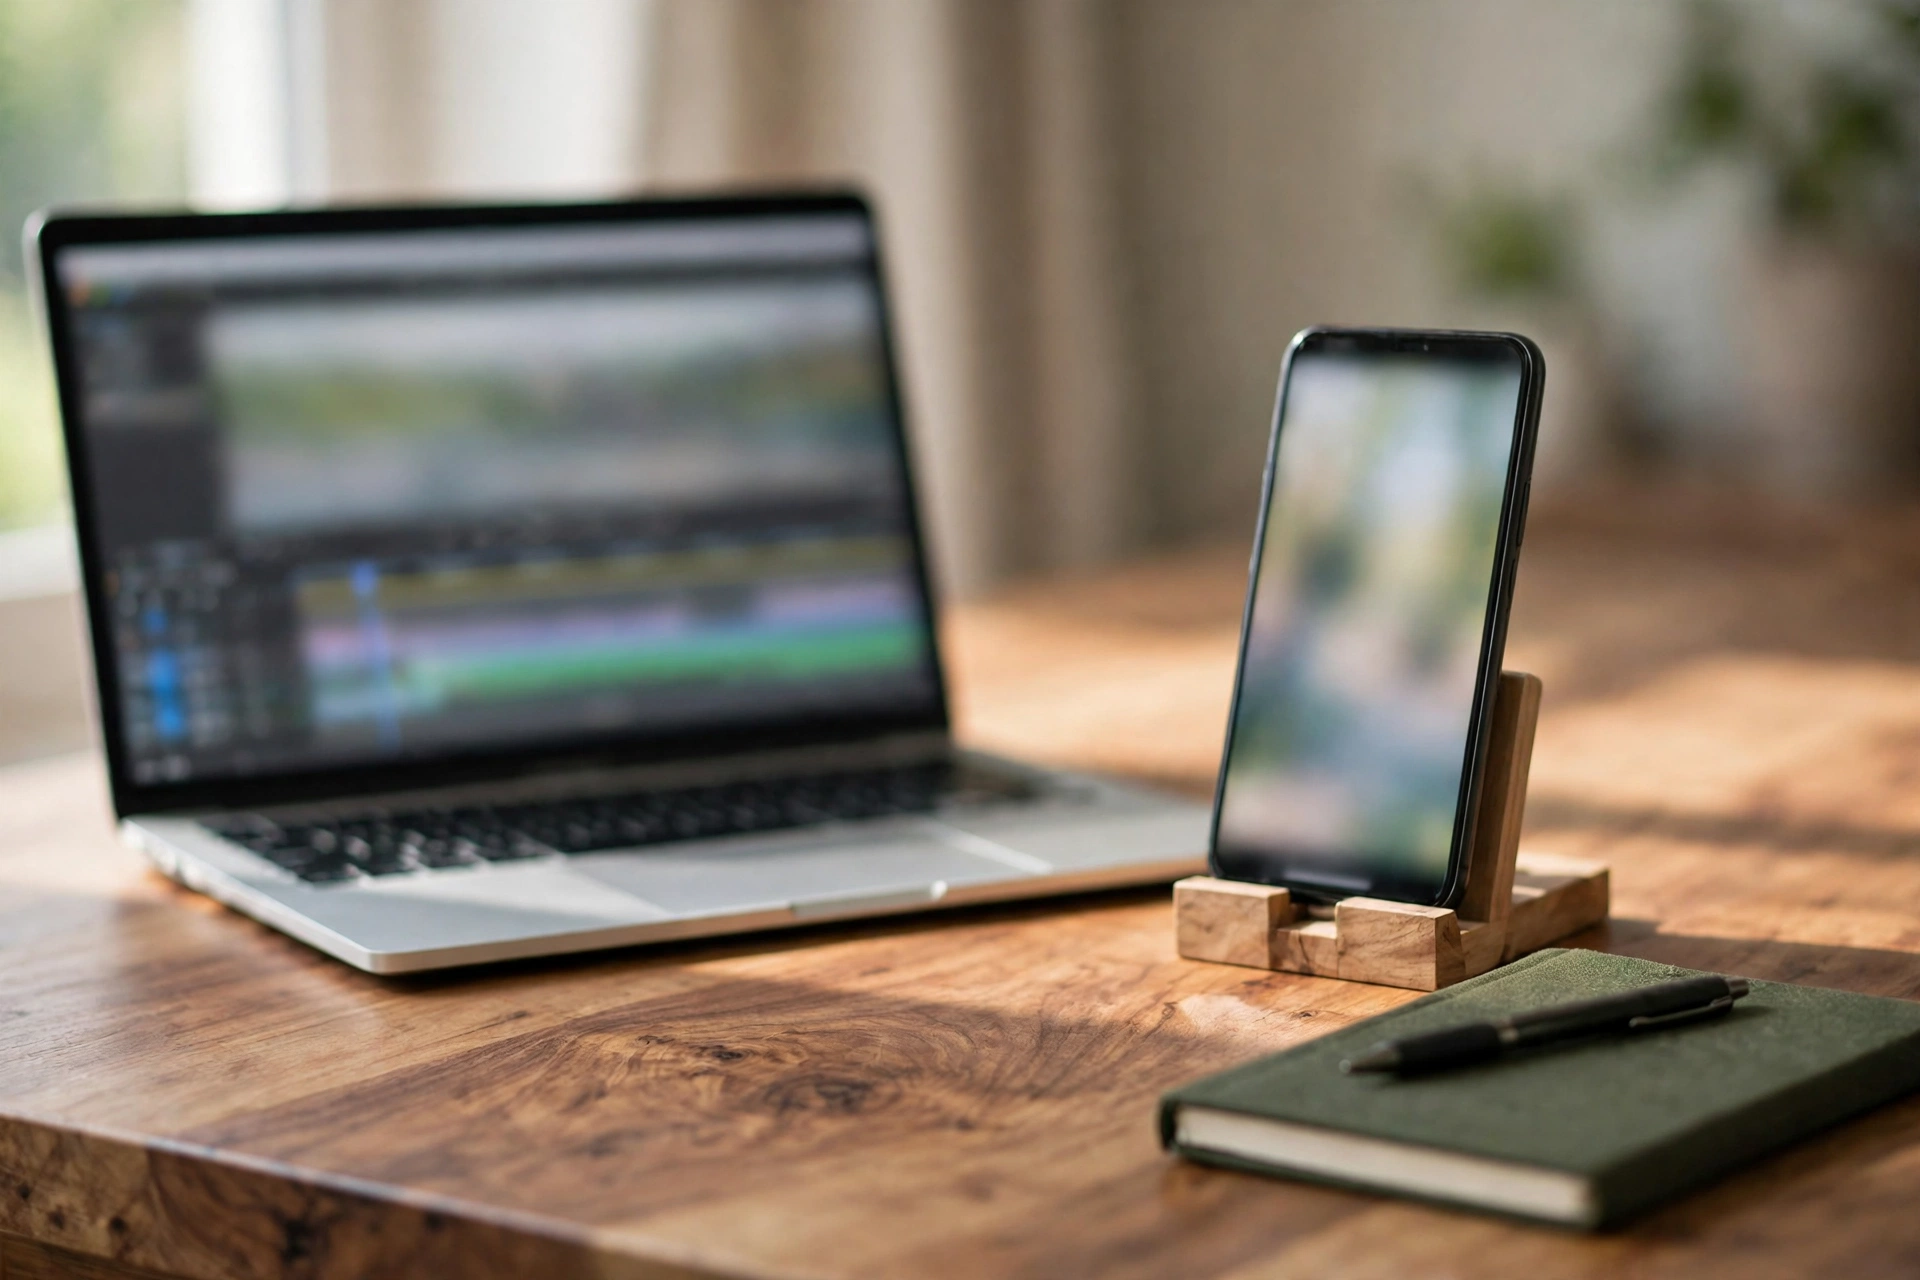
After the stream, work in this order. First, download or secure the full recording, because the platform copy will not wait for you. Second, watch the marked moments and pick three: one answer, one funny or surprising moment, and one moment that shows the format at its best. Third, cut each moment as a vertical short: start just before the payoff, keep it short, reframe the picture for a vertical screen, and add captions, because many short-form viewers watch with sound off. Fourth, post the strongest clip with the next live date, so the clip is not just a highlight but an invitation.
Two cautions keep the workflow honest. Only clip your own streams, or streams you have permission to use, because a clip button is not permission to repost someone else’s work. And never post a clip that misleads about what happened live: a reaction clipped out of context damages trust faster than any growth the clip brings.
Growing to Affiliate honestly, without bots
Affiliate is Twitch’s first monetization step, and it is earned with real viewers on a real schedule. Viewer bots and bought viewers are not a shortcut to it: they break Twitch rules and can cost you the channel you are trying to grow.
Before any money enters the picture, set expectations honestly. Twitch’s Affiliate program opens subscriptions, Bits, and ad revenue to smaller channels, and it is the first realistic milestone for a new streamer. The current reported bar, shown on your own Achievements page in the Creator Dashboard, is 25 followers in total, plus, inside the same 30-day window, 4 hours streamed, 4 different broadcast days, and an average of 3 viewers on each of those 4 days. Older guides still quote a higher bar of 50 followers, 7 days, and 500 minutes, and Twitch has changed these numbers before, so treat your Achievements page as the authority for your account and check it rather than trusting any single guide, including this one. Turn on two-factor authentication on your account early: Twitch requires it before Affiliate onboarding opens. For the wider picture of how live income fits beside ads, sponsorships, and other vlog income, see our guide to making money vlogging.
The viewer average is the requirement most new streamers stall on, and it is worth understanding why. An average is pulled down by long, quiet stretches, so a focused 90-minute stream with a handful of real viewers counts for more than a four-hour stream that sits empty for half its length. Shorter, stronger sessions, a fixed schedule, and categories where your stream is visible all move the average more than any trick. Long, lightly watched reruns can drag a day’s average down too, so save always-on reruns for after you qualify.
Now the guardrail, stated plainly. Do not use viewer bots, do not buy viewers or followers, and do not use services that promise to inflate your concurrent viewer count. Viewer bots are automated or paid accounts that pretend to watch your stream, and Twitch treats that fake engagement as a rules violation: channels caught using it risk suspension and loss of Affiliate or Partner status. Beyond the rules, fake viewers are useless for growth. Bots do not chat, do not subscribe, and do not come back next week. They also corrupt your own numbers, so you can no longer tell which formats real viewers liked.
What works instead is slower and real. Stream on a fixed schedule so the same viewers can return. Cut clips from every stream so new viewers can find you off Twitch. Raid and collaborate with streamers your size. Answer chat by name so first-time chatters become second-time viewers. A channel that reaches Affiliate this way has something a botted channel never has: an audience that actually exists.
Chat, moderation, and staying safe live
Set chat rules before your first stream, switch on AutoMod, and bring a trusted moderator for your first streams, because a live chat with no moderation becomes a problem at the worst possible moment.
Live chat is the best and the riskiest part of Twitch. The same open chat that lets a viewer ask a great question lets a stranger post spam or abuse. Moderation is therefore setup, not an afterthought, and it takes ten minutes before the first stream rather than a crisis during it.
Write four short rules and pin them where viewers can see them: be respectful, no spam or self-promotion links, no hateful language, and follow the moderator’s call. Switch on AutoMod in your Creator Dashboard, which holds back messages containing flagged language for you or a moderator to approve, and set it to a moderate level at first rather than the strictest, so genuine chat is not swallowed. Appoint one trusted moderator for your first streams, ideally a friend who knows your boundaries, and give them a clear brief: time out first, ban for hate or repeated spam, and never argue with a troll on screen, because attention is what trolls are after.
Safety goes beyond chat. Never show your stream key, passwords, or private messages on screen. Check what your camera sees behind you before going live, and move anything private out of frame. Be careful with live location: a travel stream that shows street signs and shop names in real time tells strangers exactly where you are, so delay sensitive location details or stream them after you have moved on if that worries you. Keep personal details about family members out of live streams unless you have thought carefully about it, because live video cannot be edited after the fact the way a recorded vlog can. Finally, take music seriously: playing recorded music you do not have rights to can lead to muted sections in your saved broadcasts and, in repeated cases, strikes against your channel, so use music you own, music licensed for streaming, or no music at all during talk segments.
Your first month on Twitch, week by week
Week one is a private test and a first public stream. Week two fixes what the test revealed. Week three locks a fixed schedule. Week four reviews the numbers and sets the next month’s format.
- Week one: test, then go live once. Set up the camera chain, build four OBS scenes, run a full-length bandwidth test plus a brief visual check, and then stream one 60 to 90 minute session in your chosen format. Announce it once to your existing audience. Note three things afterwards: what broke, what felt easy, and which moment chat liked most.
- Week two: fix one thing and stream twice. Fix the biggest problem from week one, whether it was audio, framing, or a dropped connection, and stream on two fixed days. Cut one short from each stream and post it with the next live date.
- Week three: lock the schedule. Pick two weekly slots you can keep for a month, add them to your Twitch schedule, and keep them even when the viewer count is small.
- Week four: review and decide. Open your Achievements page and your stream analytics. Which format held viewers longest? Which clip brought the most new followers? Keep the winning format for next month and set one concrete goal for the month ahead.
If the month shows that live streaming fits your channel, keep the schedule and grow it slowly, adding a third slot only when two are comfortable. If it shows that live work drains the energy your recorded vlogs need, scale back to one monthly live session, such as a Q and A. Either outcome is useful, because the decision comes from a month of real streams.
Twitch questions vloggers actually ask
Quick answers to the questions vloggers ask most before their first Twitch stream, including the ones gaming guides leave unanswered.
Do I need a capture card to stream on Twitch?
Only if you want to use a real camera through a computer. A capture device takes your camera’s HDMI output and turns it into a video source for OBS Studio. If you stream from your phone with the Twitch app, or from a webcam plugged straight into your computer, you do not need one.
Can I stream on Twitch with my vlogging camera?
Yes, and for a vlogger it is the best starting point. Connect the camera’s HDMI output to a capture device, switch the camera to a clean HDMI feed so no menus appear on screen, set face autofocus and a locked exposure, and power the camera from mains for desk streams so it does not die mid-stream.
What is clean HDMI, and why does it matter?
Clean HDMI is a camera output that shows only the scene, with no menus, icons, focus boxes, or battery indicators on top of it. It matters because anything on the camera display is sent to your stream as well, so a feed that is not clean puts your camera settings in front of your whole audience.
Do I need OBS Studio to stream on Twitch?
No, but it is the most flexible free option for desk streams. OBS Studio gives you scenes, overlays, and control over audio and video sources. For a phone stream you can use the official Twitch app instead, with no extra software, and for a very first test that is often the simplest route of all.
What should I stream on Twitch if I do not play games?
Stream the vlog life itself: a live Q and A, an edit-with-me session, a travel-day stream, or a behind-the-scenes look at a shoot. Use Just Chatting for talking streams, and topic categories such as Travel and Outdoors or Food and Drink when the stream is about a place or a meal.
How do I bring my YouTube audience to Twitch?
Announce the stream where your viewers already are, a few days ahead, with one clear time and one clear promise about what joining live gives them. Remind them once on stream day, then post a clip of the best moment afterwards with the next live date.
How long should my first Twitch streams be?
Sixty to ninety minutes is a good length for a first stream. It is long enough for viewers to find you, ask questions, and settle in, and short enough to keep your energy up and your viewer average healthy.
Can I stream on Twitch from my phone?
Yes. Open the official Twitch app, use the live option, set a title and category, and you are broadcasting from your phone camera. It is the best route for travel-day and outdoor streams. Carry a power bank and turn on Do Not Disturb so private notifications stay off screen.
What are the Twitch Affiliate requirements?
The current reported bar, shown on your Achievements page in the Creator Dashboard, is 25 followers in total, plus, inside the same 30-day window, 4 hours streamed, 4 different broadcast days, and an average of 3 viewers on each of those 4 days. Older guides quote a higher bar, and Twitch has changed these numbers before, so check your Achievements page for the figures that apply to your account.
Are viewer bots allowed on Twitch?
No. Viewer bots and bought viewers are fake engagement, and Twitch treats them as a rules violation that can lead to suspension and loss of Affiliate or Partner status. Bots also never chat, subscribe, or return, so they cannot build the audience that Affiliate is meant to reward. Grow with real viewers, even if it is slower.
How do Twitch VODs and clips work?
A VOD is the saved recording of a past broadcast, kept only if you switch on the setting that stores past broadcasts, and kept only for a limited window. A clip is a short slice of a live stream or a VOD made with the clip button. Download recordings and cut clips in the same week as the stream.
Should I stream on Twitch or YouTube Live?
Pick Twitch when the live community is the point: regular viewers, chat culture, and a weekly live room. Pick YouTube Live when discovery and lasting replays are the point: search traffic and videos that keep earning views afterwards. Many vloggers use both, with Twitch as the live room and clips carrying the best moments to their video channel.
A note on changing rules. Platform rules and limits change, so confirm the current requirements on Twitch’s help pages and on your own Achievements page on the day you set up your channel.