
Last updated: October 2026
Going live looks simple from the viewer’s side. Press a button, talk, people show up. From your side, it’s a small chain of things that all have to work at once. Your channel has to be allowed to stream. Your camera has to reach your computer. The software has to send the right amount of data, and your internet has to carry it without dropping pieces along the way. Break one link and you get the classic first-stream disasters: a black screen, robotic audio, a stream that stutters every ten seconds. The walkthrough below covers the whole chain in order, so by the time you press Go Live you’ve already tested everything that could embarrass you. No gear shopping here. This is setup and settings, using whatever camera you already own.
Key takeaways
- Enable live streaming early. Your channel must be verified, and turning live on for the first time can take up to 24 hours to activate. Do it days before your first stream, not minutes.
- A real camera beats a webcam, if it connects cleanly. Either plug it in over USB and use it like a webcam, or run its HDMI output through a capture card. Both work; the capture card route is sharper and more reliable.
- Your upload speed sets your quality ceiling. Pick a resolution and bitrate your connection can sustain with room to spare. A smooth 720p stream looks far better than a 1080p stream that keeps dropping frames.
- OBS does the heavy lifting for free. One scene, one camera source, one microphone source, the right bitrate, and a 2-second keyframe interval covers most of what YouTube needs.
- Test privately first. Run an unlisted or private test stream and watch it back on your phone. Almost every first-stream failure shows up in testing, when nobody is watching.
On this page
- What you need before YouTube lets you go live
- The three ways to stream, and which fits you
- Using your real camera: USB or capture card
- OBS and Streamlabs: the settings that matter
- Schedule it in advance and give viewers a link
- Bitrate by resolution: match the stream to your upload speed
- Audio checks viewers will thank you for
- Chat basics: keeping the conversation sane
- The 15-minute pre-flight checklist
- First-stream failures and how to fix them fast
- Livestreaming questions, answered
- Keep exploring
What you need before YouTube lets you go live
You need a verified YouTube channel with no live-streaming restrictions in the last 90 days, and you need to be at least 16 to stream on your own. Request live access in YouTube Studio, then wait: first-time activation can take up to 24 hours. Streaming from the mobile app also requires at least 50 subscribers; streaming from a computer has no subscriber minimum.
This step catches people out, and you can’t rush it. The evening you decide to stream is not the evening to discover an activation wait. Sort the account side first, even if your first real stream is weeks away.
The requirements, in the order to do them:
- Verify your channel. In YouTube Studio, go to Settings, then Channel, then Feature eligibility. The intermediate features tier asks for phone verification: a quick text or voice code. Without it, several creator features stay locked, live streaming included.
- Request live access. Click the Create button, choose Go Live, and follow the prompt to enable streaming. YouTube then starts an activation period that can take up to 24 hours. Nothing’s broken. It’s a standard waiting period for every new channel.
- Keep your record clean. Your channel must have no live-streaming restrictions in the past 90 days. A strike or a previous live violation can quietly block you even after activation.
- Know the mobile exception. Streaming from the YouTube phone app needs at least 50 subscribers. Until a channel passes 1,000 subscribers, YouTube may also limit how many viewers a mobile stream can reach, and the replay is saved as private by default. There is no subscriber minimum for streaming from a computer, which is one more reason a vlogger’s first streams belong on a desk setup, not a phone.
- Mind the age rule. Since July 2025, you must be 16 or older to livestream on your own. Creators aged 13 to 15 can only appear on a live stream with an adult visibly present and co-hosting, and under-18s streaming from a phone start with their stream set to unlisted by default.
You’ll also need the unglamorous basics: a computer that can run streaming software without its fan screaming, a wired internet connection if you can possibly manage one (more on why shortly), and a Google account with two-step verification turned on, because accounts that stream are accounts worth protecting. If you’re still at the channel-creation stage, work through the early steps in our guide on how to start vlogging first, then come back here once the channel exists.
The three ways to stream, and which fits you
YouTube gives you three routes: webcam streaming straight from the browser, mobile streaming from the app, and encoder streaming through software like OBS. For a vlogger using a real camera, the encoder route is the one worth learning. It’s the only option with full control over picture, sound, and layout.
Webcam (browser). In Studio, Go Live, choose Webcam, allow camera and microphone access, and you’re broadcasting from whatever your browser can see, usually the laptop’s built-in camera. It’s genuinely useful for a quick test or a casual chat, and it needs zero setup. The ceiling is low, though: no scenes, no overlays, no second camera, and the picture is only as good as that laptop lens.
Mobile. The app route suits outdoor and on-the-move streams, subject to the 50-subscriber rule above. The phone handles everything, which is both the convenience and the limit. The app also has a practice mode that lets you run a private rehearsal stream with no audience, which is worth using before your first public attempt. If phone streaming is your plan for now, our roundup of the best phones for vlogging covers which models hold up as cameras; just remember your stream quality will rise and fall with your mobile signal.
Encoder (software). An encoder is a program (OBS Studio, Streamlabs, or YouTube’s own supported tools) that takes your camera and microphone feeds, assembles them into scenes, and sends the finished stream to YouTube using a stream key. This is how every polished vlog-style live gets done: camera full-screen when you talk, screen-share when you show something, a “starting soon” card when you’re early. The sections below assume this route, because it’s the one that grows with you.
One concept to understand before moving on: the stream key. When you schedule or create a stream in Studio’s Stream tab, YouTube shows you a stream URL and a personal stream key, a password-like code that tells the encoder where to send your video. Paste both into your software once and it remembers them. Treat the key like a password: anyone who has it can stream to your channel, so never show your settings screen on a test stream or a screenshot.
Using your real camera: USB or capture card
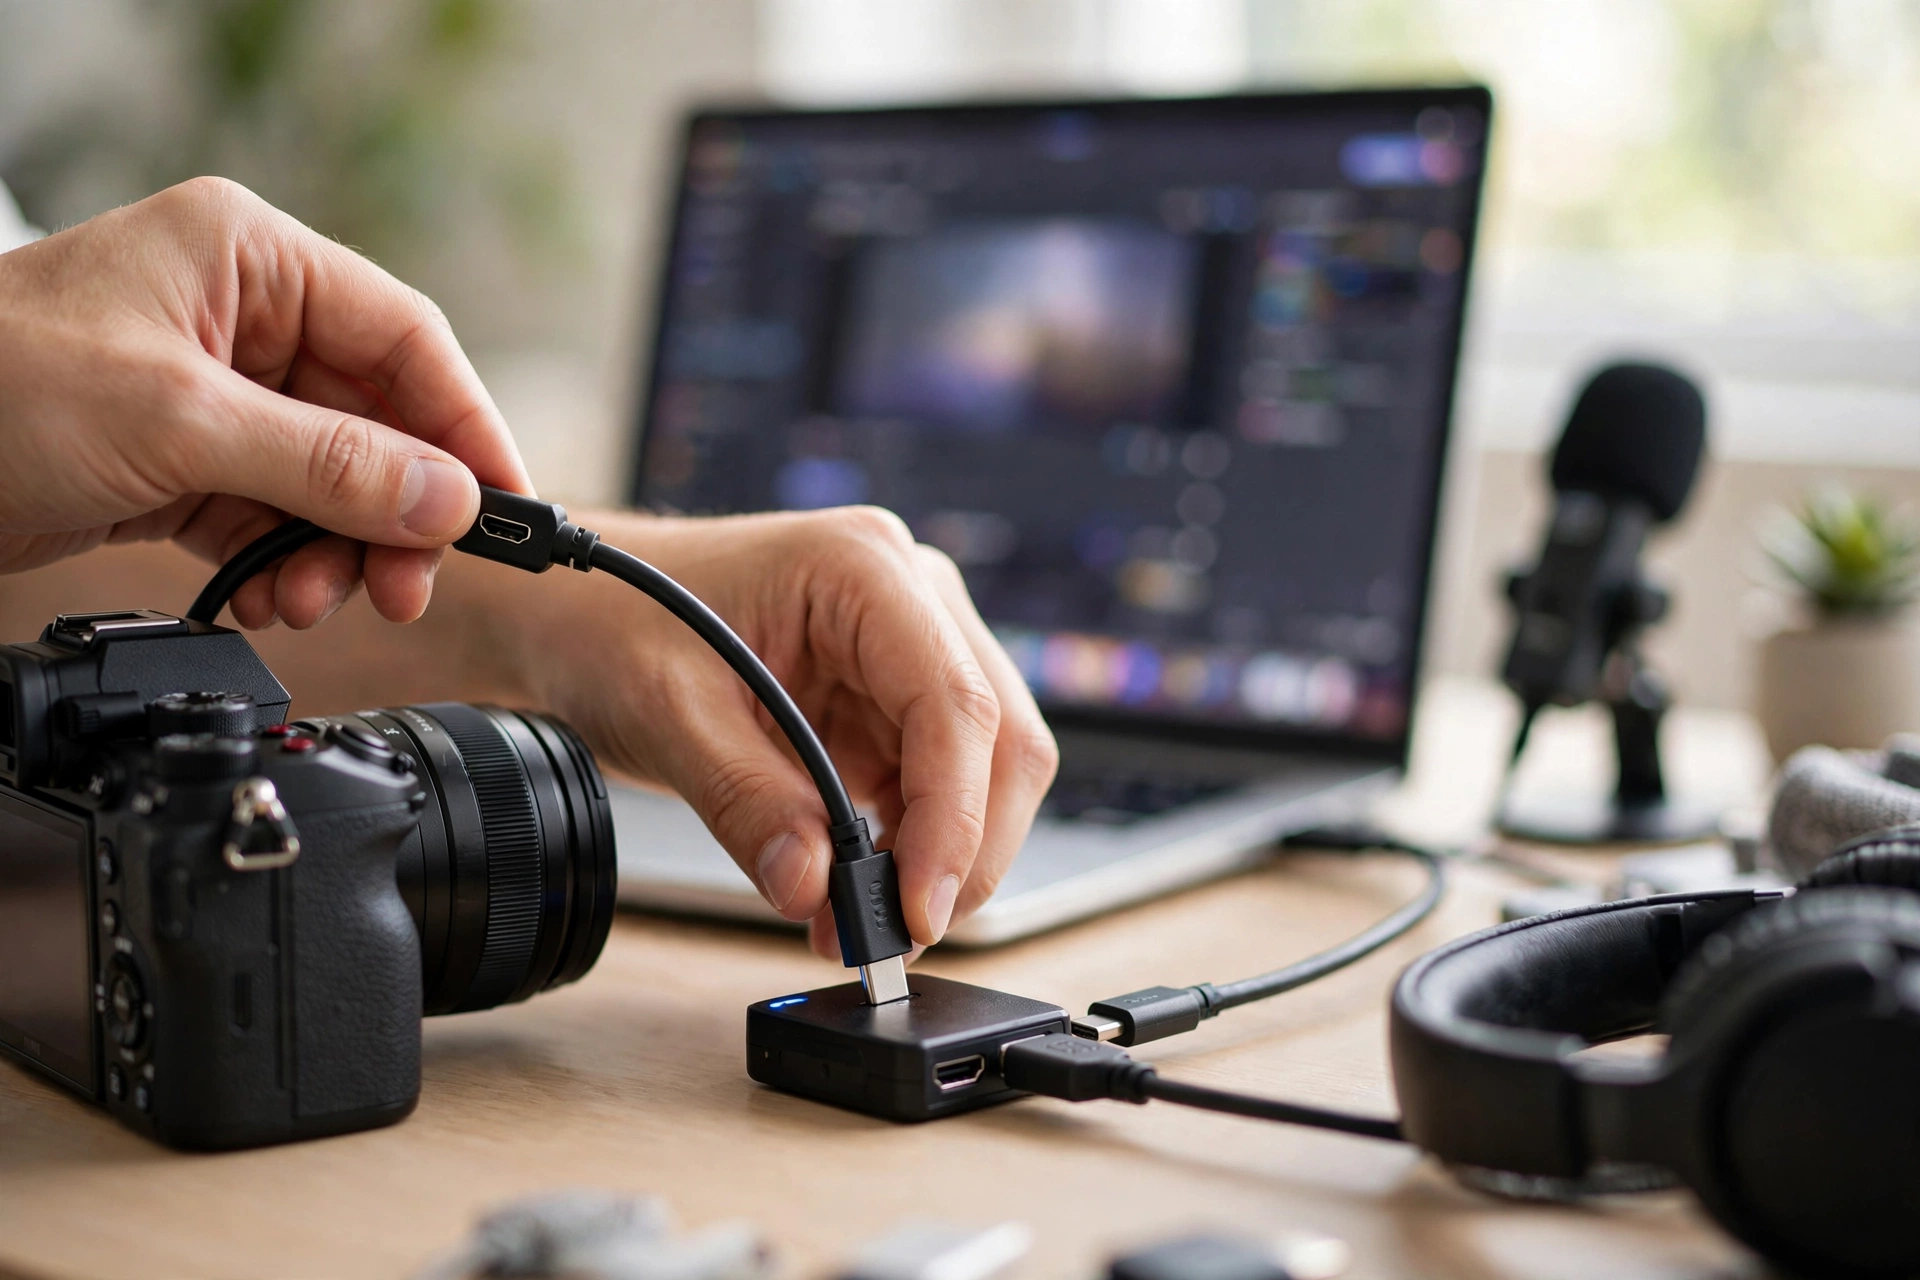
Most modern vlogging cameras connect two ways. USB turns the camera into a webcam using the maker’s free software or a built-in USB streaming mode. It’s simple, but often capped at lower resolutions. HDMI into a capture card gives you the camera’s full clean output and is the more reliable long-term setup.
Route one: USB. Sony, Canon, Panasonic, and Fujifilm all offer free webcam utility software, and many recent bodies have a proper USB streaming mode built in. Plug in a USB-C cable, select the camera as the video source in OBS, and it appears. Try this first because it costs nothing. Know its limits, though: USB modes on many cameras top out at 720p or a soft 1080p, some add a small delay, and the camera may sip power through the cable too slowly for a two-hour stream. If USB gives you a picture you are happy with, stop here and stream.
Route two: HDMI plus a capture card. A capture card is a small box or stick that takes the camera’s HDMI output and converts it into a USB video feed your computer treats like a webcam, except it’s your real camera’s picture, at full quality. This is the standard setup behind most good-looking streams, and our guide to the best capture cards explains the specs and picks; pair it with our roundup of the best cameras for streaming if you are also choosing the camera itself.
Whichever route you take, these camera-side settings decide whether it works:
- Turn on clean HDMI output (sometimes called info-free or clean out) so your viewers do not see focus boxes, battery icons, and menu graphics. It lives in the camera’s HDMI or display settings.
- Disable auto power-off and the screen timeout. A camera that sleeps after 30 minutes will end your stream mid-sentence. Set power saving to off, and run the camera from a mains adapter or dummy battery for anything longer than a short test. Streaming drains batteries far faster than recording does.
- Set the camera manually. Fix the frame rate to match your stream (30 or 60), lock exposure once you are seated, and set white balance to a fixed value instead of auto, or your face will drift orange-blue every time you lean. If frame rates are still fuzzy, our explainer on vlogging frame rates clears it up in minutes.
- Use manual focus or face-tracking autofocus, then leave it. A lens that hunts for focus every time you gesture is the most distracting picture fault a stream can have.
Finally, check for heat. Some cameras that record happily for hours get warm when outputting HDMI continuously, especially at higher resolutions. Your private test stream (coming below) doubles as a heat test: if the camera survives 45 minutes of test streaming in your room, it will survive your show.
OBS and Streamlabs: the settings that matter
In OBS or Streamlabs you really only need five things set correctly: your camera added as a video capture source, your microphone as the audio input, output resolution and frame rate, CBR bitrate matched to your upload speed, and a keyframe interval of 2 seconds. Everything else is decoration you can add later.
OBS Studio is free, runs on everything, and is what most tutorials assume. Streamlabs is built on OBS with a friendlier face and more built-in widgets, at the cost of a heavier program. Either is fine; the settings vocabulary is nearly identical. Build your setup in this order:
- Create one scene. Add a Video Capture Device source and choose your camera or capture card. Drag the corners until it fills the frame. You can add a second scene later (a simple “Starting soon” image, or your screen for demos) and switch between them live. That alone makes a stream feel produced.
- Add your microphone as its own source in the audio mixer, and mute or remove every other audio source you do not intend to use. Extra live sources are how mystery echoes are born.
- Set the canvas and output. In Settings, then Video: base and output resolution both 1920×1080 if your bitrate will support it (next section), otherwise 1280×720, and frame rate 30 for talk-style streams or 60 if you move around a lot or show gameplay-style motion.
- Choose the encoder. In Settings, then Output (switch to Advanced view in OBS for the full panel): if your graphics card offers a hardware encoder (NVENC on NVIDIA cards, or the AMD and Apple equivalents), use it. It encodes on the GPU and leaves your processor free. Software x264 encoding works too; the “veryfast” preset is the sensible starting point for most computers.
- Set rate control to CBR (constant bitrate), enter your chosen bitrate from the table below, and set the keyframe interval to 2 seconds. YouTube recommends 2 seconds and will not accept an interval longer than 4, and leaving it at 0 or auto is a quiet cause of choppy playback and warnings in Studio.
- Connect the stream. In Settings, then Stream, choose YouTube as the service and paste in your stream key, or use the Connect Account option and skip the key entirely. Then, in Studio’s Live Control Room, confirm your title, description, thumbnail, and visibility (public, unlisted, or private) before you press Start Streaming in OBS. Pressing start in OBS sends the video; YouTube goes live with it moments later.
A word on latency: Studio offers normal, low, and ultra-low latency. Low latency makes chat feel conversational, since viewers’ messages arrive while the moment is still happening, at a small cost to buffering smoothness. For a talk-to-camera vlog stream, low latency is the sweet spot. Ultra-low is for auctions and watch parties, not first streams: it also drops the DVR rewind that viewers get at the other settings, and 4K streams always run at normal latency whatever you pick.
While you are in settings, light yourself properly, too. A stream magnifies flat, dim lighting because viewers stare at one frame for an hour. Our guides to the best lights for vlogging and how to light your face for videos cover placement that works just as well live as it does recorded.
Schedule it in advance and give viewers a link
For anything beyond a casual test, create the stream ahead of time in YouTube Studio. A scheduled stream gets its own watch page and link straight away, so you can promote it like a video premiere, and its encoder settings are saved and waiting when you connect.
Going live on the spot works, but a scheduled stream is calmer and draws better. In Studio, click Create, then Go Live, and choose to schedule the stream for later. Fill in the title, description, thumbnail, and audience settings exactly as you would for an upload, because the page viewers land on is the same page the replay will live on afterwards.
That page exists from the moment you create the stream. Share its link wherever your audience already is, and subscribers who find it can set a reminder so YouTube pings them at start time. A waiting page with a real thumbnail and a promised topic collects viewers in a way a surprise stream never does.
Two settings on a scheduled encoder stream are worth knowing. Auto-start begins the broadcast as soon as your encoder connects, and auto-stop ends it when the encoder disconnects. Turning both on makes showtime a single button press in OBS, at the price of a mid-stream connection drop ending the show, so cautious streamers leave auto-stop off. Studio also lets you create a new stream by reusing a previous stream’s settings, which keeps your stream key and options consistent from week to week.
For a promoted stream, take YouTube’s own production advice: set the encoder side up well ahead of the start time rather than in the final minutes, start sending video around 15 minutes early, and check the preview in the Live Control Room before the audience arrives. The pre-flight checklist below builds on exactly that habit.
Bitrate by resolution: match the stream to your upload speed
Bitrate is how much data your stream sends per second, and your internet upload speed is the hard ceiling. Run a speed test, take the upload figure, and pick a resolution whose bitrate uses no more than about two-thirds of it. The spare third absorbs the dips every home connection has.
Download speed, the big number internet providers advertise, is nearly irrelevant to streaming. Upload is what carries your video out of the house, and on many connections it is a fraction of the download figure. Test it wired, at the time of day you plan to stream, and test it twice. A single result can flatter you.
These are the bitrates YouTube currently recommends for encoder streams using the standard H.264 codec, with the upload speed you realistically need to sustain each one:
| Stream resolution | Video bitrate | Minimum sustained upload to aim for |
|---|---|---|
| 720p at 30 fps | 8,000 kbps (8 Mbps) | About 12 Mbps |
| 720p at 60 fps | 8,000 kbps (8 Mbps) | About 12 Mbps |
| 1080p at 30 fps | 14,000 kbps (14 Mbps) | About 21 Mbps |
| 1080p at 60 fps | 17,000 kbps (17 Mbps) | About 26 Mbps |
| 1440p at 30 fps | 21,000 kbps (21 Mbps) | About 32 Mbps |
| 1440p at 60 fps | 34,000 kbps (34 Mbps) | About 51 Mbps |
| 4K at 30 fps | 42,000 kbps (42 Mbps) | About 63 Mbps |
| 4K at 60 fps | 50,000 kbps (50 Mbps) | About 75 Mbps |
If your encoder and graphics card support the newer AV1 or H.265 (HEVC) codecs, YouTube’s recommended targets are lower for the same picture, for example 10 Mbps at 1080p30 and 30 Mbps at 4K30, because those codecs carry more detail per bit. H.264 remains the safe default that every setup handles.
Add a little on top for audio: 128 kbps for stereo is YouTube’s recommended figure, and it fits comfortably inside those headroom figures. Then comes the judgment call the table can’t make for you: a talking-head vlog gains very little from 1440p or 4K, because a face in a room has far less fine detail and motion than a game or a sports field. Most vloggers should stream at 1080p30, or drop to 720p if the connection is shaky. Viewers forgive 720p instantly; they do not forgive buffering.
Two connection rules matter as much as the numbers. Use an ethernet cable whenever you possibly can. Wi-Fi adds exactly the kind of random dips that drop frames, and “strong signal” bars don’t change that. And keep the network to yourself while you stream: a cloud backup kicking in, or someone upstairs starting a big download, will show up on your stream as stutter within a minute.
If your upload simply is not there yet, you still have options: stream at 720p, schedule streams for quieter network hours, or take the stream outdoors on a phone where your mobile signal happens to be stronger than your home upload. What doesn’t work is setting 1080p bitrates on a 720p connection and hoping YouTube copes. It can’t cope with data that never arrives.
Audio checks viewers will thank you for
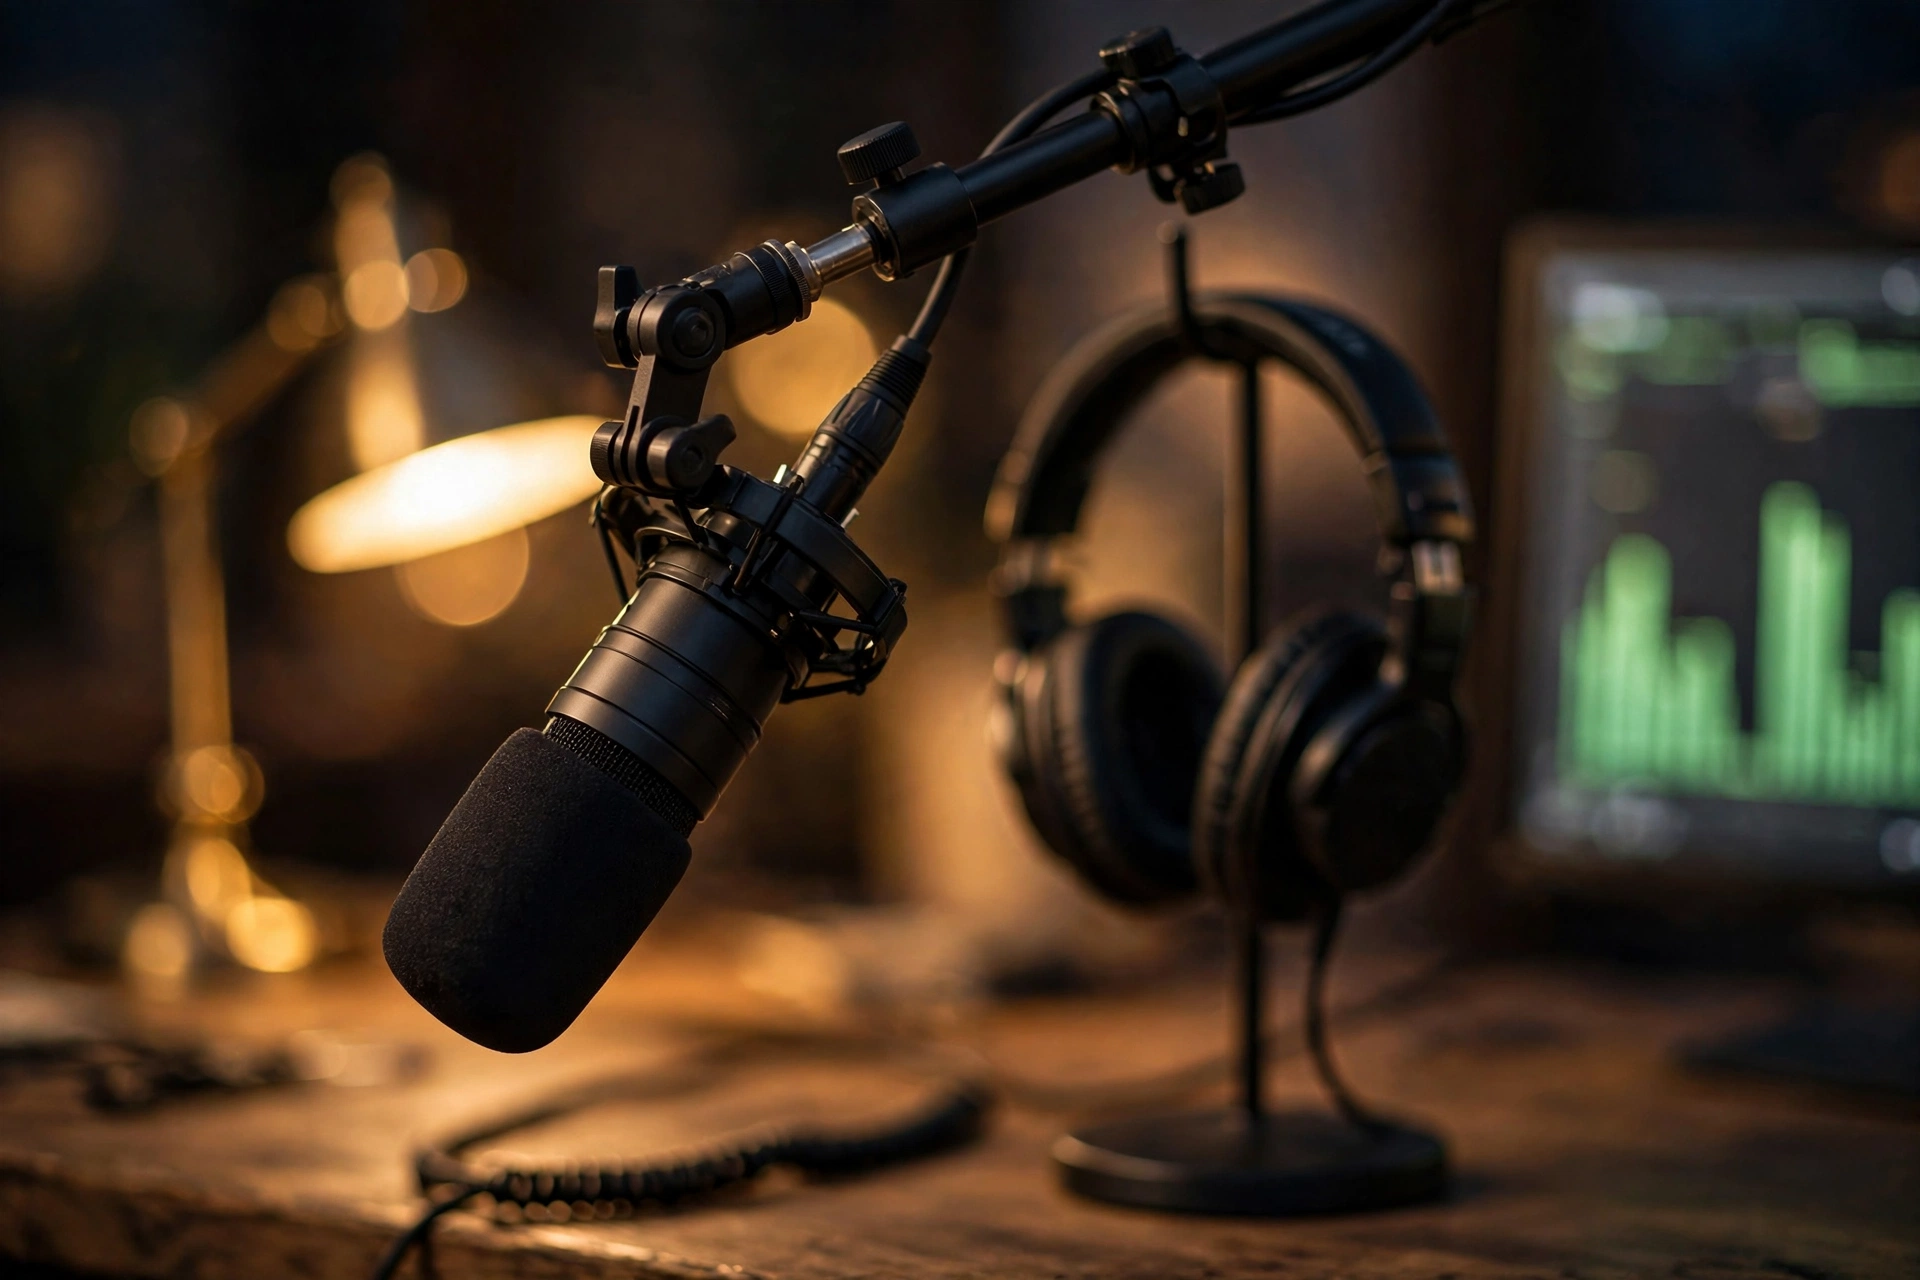
Viewers tolerate an average picture far longer than bad sound. Set your microphone level so normal speech peaks around −12 dB in OBS and never hits the red, wear headphones so your speakers cannot feed back into the mic, and record a one-minute test you actually listen to before going live.
Start with placement: a microphone 15 to 30 cm from your mouth, slightly off to the side, will sound better than an expensive microphone across the room. The camera’s built-in microphone is for emergencies only. It hears the room, the fan, and your keyboard as enthusiastically as it hears you. If you are still on basic gear, the audio side of our beginner vlogging equipment guide explains the simplest upgrades in the right order.
Then run these checks, in order, during your test stream:
- Levels. Talk at your loudest natural volume. In the OBS mixer your voice should live in the yellow, peaking near −12 dB, and never pin into the red. Red means distortion that no viewer setting can undo. Too quiet is fixable with a gain filter. Clipped is forever.
- Echo and double audio. If your voice sounds like it is in a tunnel or doubled, you almost certainly have the stream playing back somewhere. The YouTube preview open in a browser tab with sound on is the usual culprit. Mute every playback of your own stream while you broadcast, and monitor yourself through OBS with headphones instead.
- Sync. Clap once, sharply, on camera during the test. If the clap sound and the picture of your hands landing do not match on playback, add a sync offset to the microphone source in OBS (right-click the source, Advanced Audio Properties). Capture cards commonly lag the audio by a few hundred milliseconds, and the fix is a number, not new gear.
- Room noise. Listen to ten seconds of silence in your test recording. Fridges, fans, traffic, and PC whine are all far more audible to a fresh listener than to you. Close the window, move the mic closer (so you can lower its gain), and let OBS’s noise suppression filter handle the rest, gently. Heavy suppression makes voices sound watery.
Don’t skip the listening-back step just because the meters looked fine. Meters cannot tell you that your chair squeaks every time you lean, or that your “quiet” keyboard sounds like a drum kit. Your ears, on the recording, are the test.
Chat basics: keeping the conversation sane
Before your first public stream, turn on held-for-review filters and blocked words in YouTube Studio, consider Slow Mode so messages cannot flood past, and decide who moderates. During the stream, pin one message with the topic and house rules, greet people by name, and read questions aloud before answering them.
Live chat is half the reason to stream at all. It turns a video into a room. It also needs light management, because one bad stretch of chat can sour a stream for everyone, including future viewers reading the replay chat.
Set these up in advance, in YouTube Studio’s Settings, then Community:
- Blocked words. Add the obvious profanity and spam terms to your block list; messages containing them are held automatically. YouTube’s built-in filters catch a lot, but your list knows your channel’s specific trolls and topics.
- Hold potentially inappropriate messages for review. This setting quietly parks borderline messages where only you and your moderators see them. On a small channel it rarely triggers; on the day a stream gets shared somewhere unfriendly, you will be glad it exists.
- Slow Mode. In the live chat settings for each stream you can limit how often each viewer can post. A 10 to 30 second interval calms busy chats enough that you can actually read them, and it makes spam pointless.
- A moderator who is not you. You cannot present, read chat, and police chat at once. A trusted regular or a friend with a second account, given moderator status in Studio, can delete and time out while you keep talking. Even for a tiny first stream, brief your moderator on what crosses the line.
On the hosting side, a few habits make chat work for you: pin a message at the start with the stream topic and one line of house rules; say hello to people by name when they arrive, because being named is what turns a viewer into a regular; and when you answer a chat question, repeat it aloud first. Replay viewers can’t always see chat, and a naked answer confuses them. For more on the etiquette of filming and interacting around other people, our guide to vlogging in public covers the face-to-face version of the same judgment calls.
Afterwards, remember the stream is not over when it ends. YouTube keeps the video on your channel as a replay: trim the dead air at the start in Studio’s editor, add chapters and a proper description, and treat its discoverability like any upload. The habits in our guide to YouTube SEO basics for vloggers apply to the replay word for word. Studio also shows you a recap of how the stream did, with peak viewers and watch time, and mobile streamers can save a Short highlight straight from that recap. You can also stream vertically for Shorts-style live if that format suits your audience. Our vertical video guide explains the framing differences.
The 15-minute pre-flight checklist
Fifteen quiet minutes before showtime prevents nearly every public failure. Run a private test stream, confirm picture, sound, sync, and stream health, then check the physical stuff (power, cables, lighting, and a clear desk) before you switch the real stream to public.
Print this list or keep it beside the keyboard. In order:
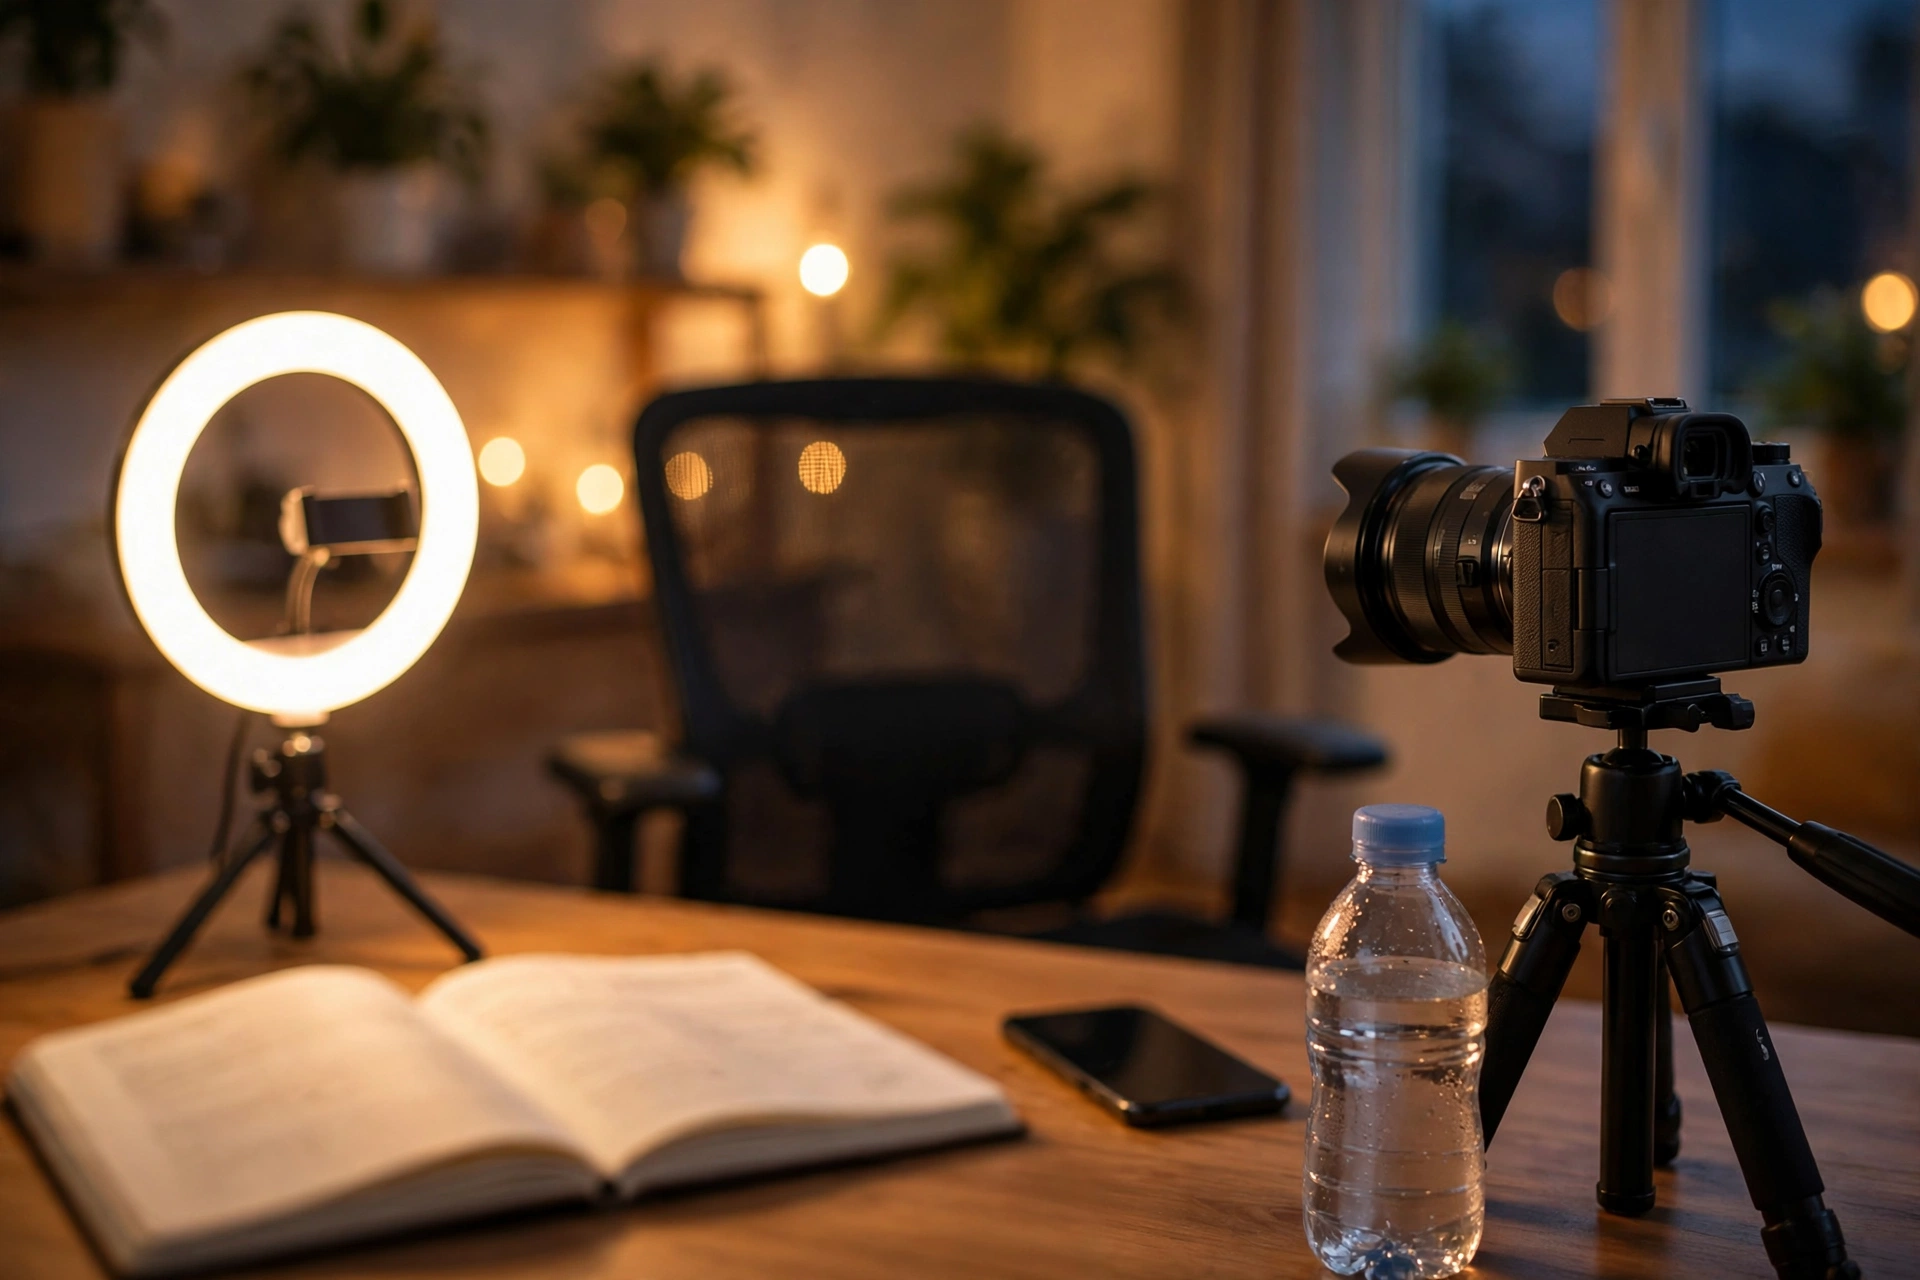
- Private test stream running. Start an unlisted or private stream with the exact setup you will use publicly. Let it run at least ten minutes. That’s long enough for heat and network problems to show themselves.
- Watch the test on your phone (with the computer speakers muted). This is precisely what a viewer gets: picture sharp, framing right, face lit, no menu overlays on the camera feed.
- Clap test done for audio sync, loud passage checked for clipping, ten seconds of silence checked for room noise.
- Stream health green. In the Live Control Room, YouTube rates your stream’s connection. If it’s warning you during the test, fix it now. Lower the bitrate a step rather than arguing with it.
- Camera on mains power, battery worries removed, auto power-off disabled, a card in the camera if you also want a local recording.
- Local recording on. Set OBS to record while streaming. If the internet dies mid-show, you still own a clean copy you can upload as a normal video. It’s the best insurance here, and it costs one settings tick.
- Lighting set and background checked. Key light on, face lit evenly, nothing behind you that you would not want a thousand people reading or staring at. The framing habits in our talking-head filming guide apply directly.
- Desk and room ready. Water within reach, phone on silent, notifications and pop-ups off on the streaming computer, door closed, household warned that you are live.
- Stream page finished. Title written, thumbnail uploaded, description in place, visibility set correctly, chat settings as planned, your moderator present.
- Starting-soon scene first. Begin the stream on your “Starting soon” scene, confirm everything is stable for a minute, then switch to the camera and say hello. Nobody’s first impression should be you squinting at settings.
If your stream is a bigger occasion (a launch, a Q&A you promoted all week), treat the checklist like a pilot does: read it aloud, tick each item, no skipping the ones that “were fine last time.” Last time is how cameras end up on battery power.
First-stream failures and how to fix them fast
Almost every first-stream failure is one of five familiar problems: a black camera feed, dropped frames from an overloaded connection, echo or doubled audio, lip-sync drift, or the encoder overloading the computer. Each has a quick, known fix, and all five show up in a private test stream before they can happen in public.
Black screen where your camera should be. Work the chain: is the camera on and awake? Is the right source selected in OBS (USB cameras and capture cards often appear with similar names)? If a capture card shows black but the camera screen shows an image, suspect a resolution mismatch (set the card’s input to match the camera’s HDMI output) or a USB bandwidth problem: plug the card directly into the computer, not through a hub, and use the cable it came with. Also check that no other app (a video call program, the camera maker’s utility) is holding the camera; only one program can use it at a time.
Dropped frames and a stuttering stream. OBS shows a dropped-frames counter in its status bar; YouTube’s stream health panel will be complaining too. This is a network problem, not a computer problem: your bitrate is more than your connection is delivering right now. Fix it live by lowering the output bitrate a step (say 14,000 down to 10,000), and fix it permanently by switching to ethernet, lowering your default resolution, and stopping other uploads on your network. Never respond by raising the bitrate.
Echo, doubling, or a strange delay on your voice. You are hearing your own stream somewhere: an open YouTube tab, the Studio preview with audio on, or speakers feeding the microphone. Mute every version of your own stream except your OBS monitoring through headphones, and check you have not added the microphone twice in your scene.
Lip sync drifting. The capture path for video is often slower than the audio path, so your voice arrives early. Add a sync offset to the microphone in OBS’s Advanced Audio Properties. Start around 100 to 300 ms and fine-tune with the clap test. It should stay fixed once set for a given setup.
“Encoding overloaded” warnings and a freezing picture. Your computer cannot encode at the settings you chose. Lower the load in this order: switch to the hardware encoder (NVENC or equivalent) if you have not, drop the x264 preset one step faster if you are on software encoding, then reduce output to 720p30. Closing the game, the browser with forty tabs, and anything else heavy also genuinely helps.
YouTube says “waiting for stream” or the key is rejected. The encoder is not reaching YouTube with the right credentials. Re-copy the stream key for this specific stream (scheduled streams each have settings to check), confirm the service is set to YouTube in OBS, and make sure you actually started the matching stream in the Live Control Room. A classic variant: streaming happily to an old, reused stream page while your audience watches the new one sit idle.
Notice the pattern in all six: none of them needs new equipment, and every one is cheaper to meet in a private test than in front of an audience. That test stream is not a warm-up act. It is the whole safety system.
Livestreaming questions, answered
Quick answers to the questions vloggers ask most before their first YouTube live stream.
How do I livestream on YouTube for the first time?
Verify your channel in YouTube Studio (Settings, Channel, Feature eligibility), then click Create and Go Live to request access. First-time activation can take up to 24 hours. Once enabled, connect your camera and microphone to streaming software like OBS, paste in your stream key, set your bitrate to match your upload speed, run a private test stream to check picture and sound, then go live publicly.
Do I need 1,000 subscribers to livestream on YouTube?
No. That figure is a leftover myth from old mobile rules. Streaming from a computer has no subscriber minimum at all: you just need a verified channel with live access enabled and no recent live restrictions. The one subscriber rule that does exist is for the mobile app, which needs at least 50 subscribers. Passing 1,000 subscribers only removes the viewer limits YouTube may place on a small channel’s mobile streams.
Why does enabling live streaming take 24 hours?
YouTube puts a waiting period of up to 24 hours between requesting live access and the feature activating on a channel. It’s an anti-spam safeguard applied to every new channel, not a problem with your account. The practical lesson is simple: request access well before you plan to stream, never on the day itself.
Can I use my vlogging camera instead of a webcam?
Yes, two ways. Many cameras work over USB, either through the maker’s free webcam software or a built-in USB streaming mode. Simple, though sometimes limited in resolution. Or connect the camera’s HDMI output through a capture card, which delivers the camera’s full-quality clean picture and is the more reliable setup for regular streaming. Either way, turn off the camera’s auto power-off and run it on mains power for longer streams.
What upload speed do I need to stream in 1080p?
Plan on roughly 21 Mbps of sustained upload speed for 1080p at 30 fps, and around 26 Mbps for 1080p at 60 fps. That covers YouTube’s current recommended H.264 bitrates (14,000 kbps and 17,000 kbps) while keeping about a third of your connection in reserve for dips. Test your real upload speed wired, at the time you plan to stream. Advertised speeds and Wi-Fi results both flatter the truth.
What bitrate should I use in OBS for YouTube?
Match it to your resolution, using YouTube’s current recommended targets for the H.264 codec: about 8,000 kbps for 720p, 14,000 kbps for 1080p30, and 17,000 kbps for 1080p60, always with CBR rate control and a 2-second keyframe interval (YouTube recommends 2 seconds and will not accept an interval longer than 4). Then sanity-check the choice against your upload speed: your total bitrate should use no more than about two-thirds of what your connection sustains.
Why does my stream keep buffering and dropping frames?
Almost always because your bitrate is higher than your connection can deliver at that moment. Dropped frames are a network symptom. Lower the bitrate a step, switch from Wi-Fi to an ethernet cable, and make sure nothing else on your network is uploading during the stream. Lowering resolution to a smooth 720p looks far better to viewers than a 1080p stream that stutters.
How do I stop the echo on my livestream?
An echo means your own stream’s audio is reaching your microphone or being mixed in twice. Mute the YouTube preview and any browser tab playing your stream, monitor yourself through OBS with headphones instead of speakers, and check you have not added the microphone source twice. Once every playback of your own stream is silent except your headphones, the echo is gone.
Can I practice streaming without anyone watching?
Yes, and you should. Set the stream’s visibility to private or unlisted, run it with your full real setup for at least ten minutes, and watch it back on your phone. You will catch camera, audio, sync, and network problems at the exact moment they are free to fix. Most experienced streamers still run a quick private test before important streams.
What happens to my livestream after it ends?
YouTube saves it to your channel as a regular video replay, chat included, which viewers can find and watch like any upload. Tidy it up in Studio: trim the dead air at the start, refine the title and description, and add chapters. Streams under 12 hours are saved automatically; very long streams may not be recorded in full, which is another reason to keep a local recording running in OBS.
Keep exploring
The stream itself is one skill in a bigger kit. The guides below cover the setup, lighting, and structure that make your live sessions (and your regular videos) look and sound like you meant it.