
Last updated: November 2026
Fitness vlogging looks easy until you try it in a real gym. The tripod you brought is banned, a stranger walks into your shot, the mirror shows the whole room behind you, and your voice vanishes under the music and the clanging plates. This guide fixes those problems in the order that matters: gym rules first, then the kit, then the framing that makes a form demo worth watching, then audio, then a solo workflow that fits inside a normal workout.
Contents
- Gym rules come before gear
- The solo kit that fits in a gym bag
- Form-demo framing per exercise type
- Mirrors: use them without filming the whole gym
- Noisy-gym audio that stays intelligible
- The solo between-sets workflow
- Home and outdoor sessions: same framing, fewer rules
- Editing a fitness vlog for clarity
- Your first gym-filming session checklist
- Questions vloggers ask
Gym rules come before gear
Ask the gym before you film, keep strangers out of frame, and never film in changing rooms, showers, or toilets. Tripods are banned in many gyms, and influencer or commercial filming usually needs advance permission in writing.
Every gym writes its own rules, so the first filming skill is reading them. Published policies from real gyms show how wide the range runs. Dohertys Gym in Australia banned tripods outright from February 2024 and offers a media pass instead. The YMCA of Greater Toronto bans extra videography equipment such as lights and audio gear, bans live streaming and virtual coaching, and bans photos of minors except by a parent or guardian. PureGym in the UK asks members to keep a tripod with them at the station they are using, rather than leaving it to hold a space while they train elsewhere, wants a word with gym management before larger setups, and requires advance arrangement plus written confirmation for influencer or commercial filming. The University of Texas at San Antonio recreation center bans tripods and requires the explicit permission of every person who may be identified in a photo or video.
The pattern is plain. Your gym may be relaxed, strict, or somewhere between, and the only way to know is to ask. A short ask on arrival works better than a long explanation. Try this: “I film my own workouts for my channel. I will keep it to myself, keep strangers out of frame, and pack down between stations. Is that all right here, and is there anywhere I should avoid?” Staff remember the vlogger who asked. They also remember the one who did not.
Four rules are worth treating as non-negotiable, whatever your gym’s written policy says. First, no filming in changing rooms, showers, or toilets, ever, for any reason. Second, no identifiable stranger in frame without their permission. Third, never block equipment, walkways, or emergency exits with your kit. Fourth, if staff or a member asks you to stop or delete a clip, stop and delete it. Arguing about a clip costs you the gym. A second gym is harder to find than a second take.
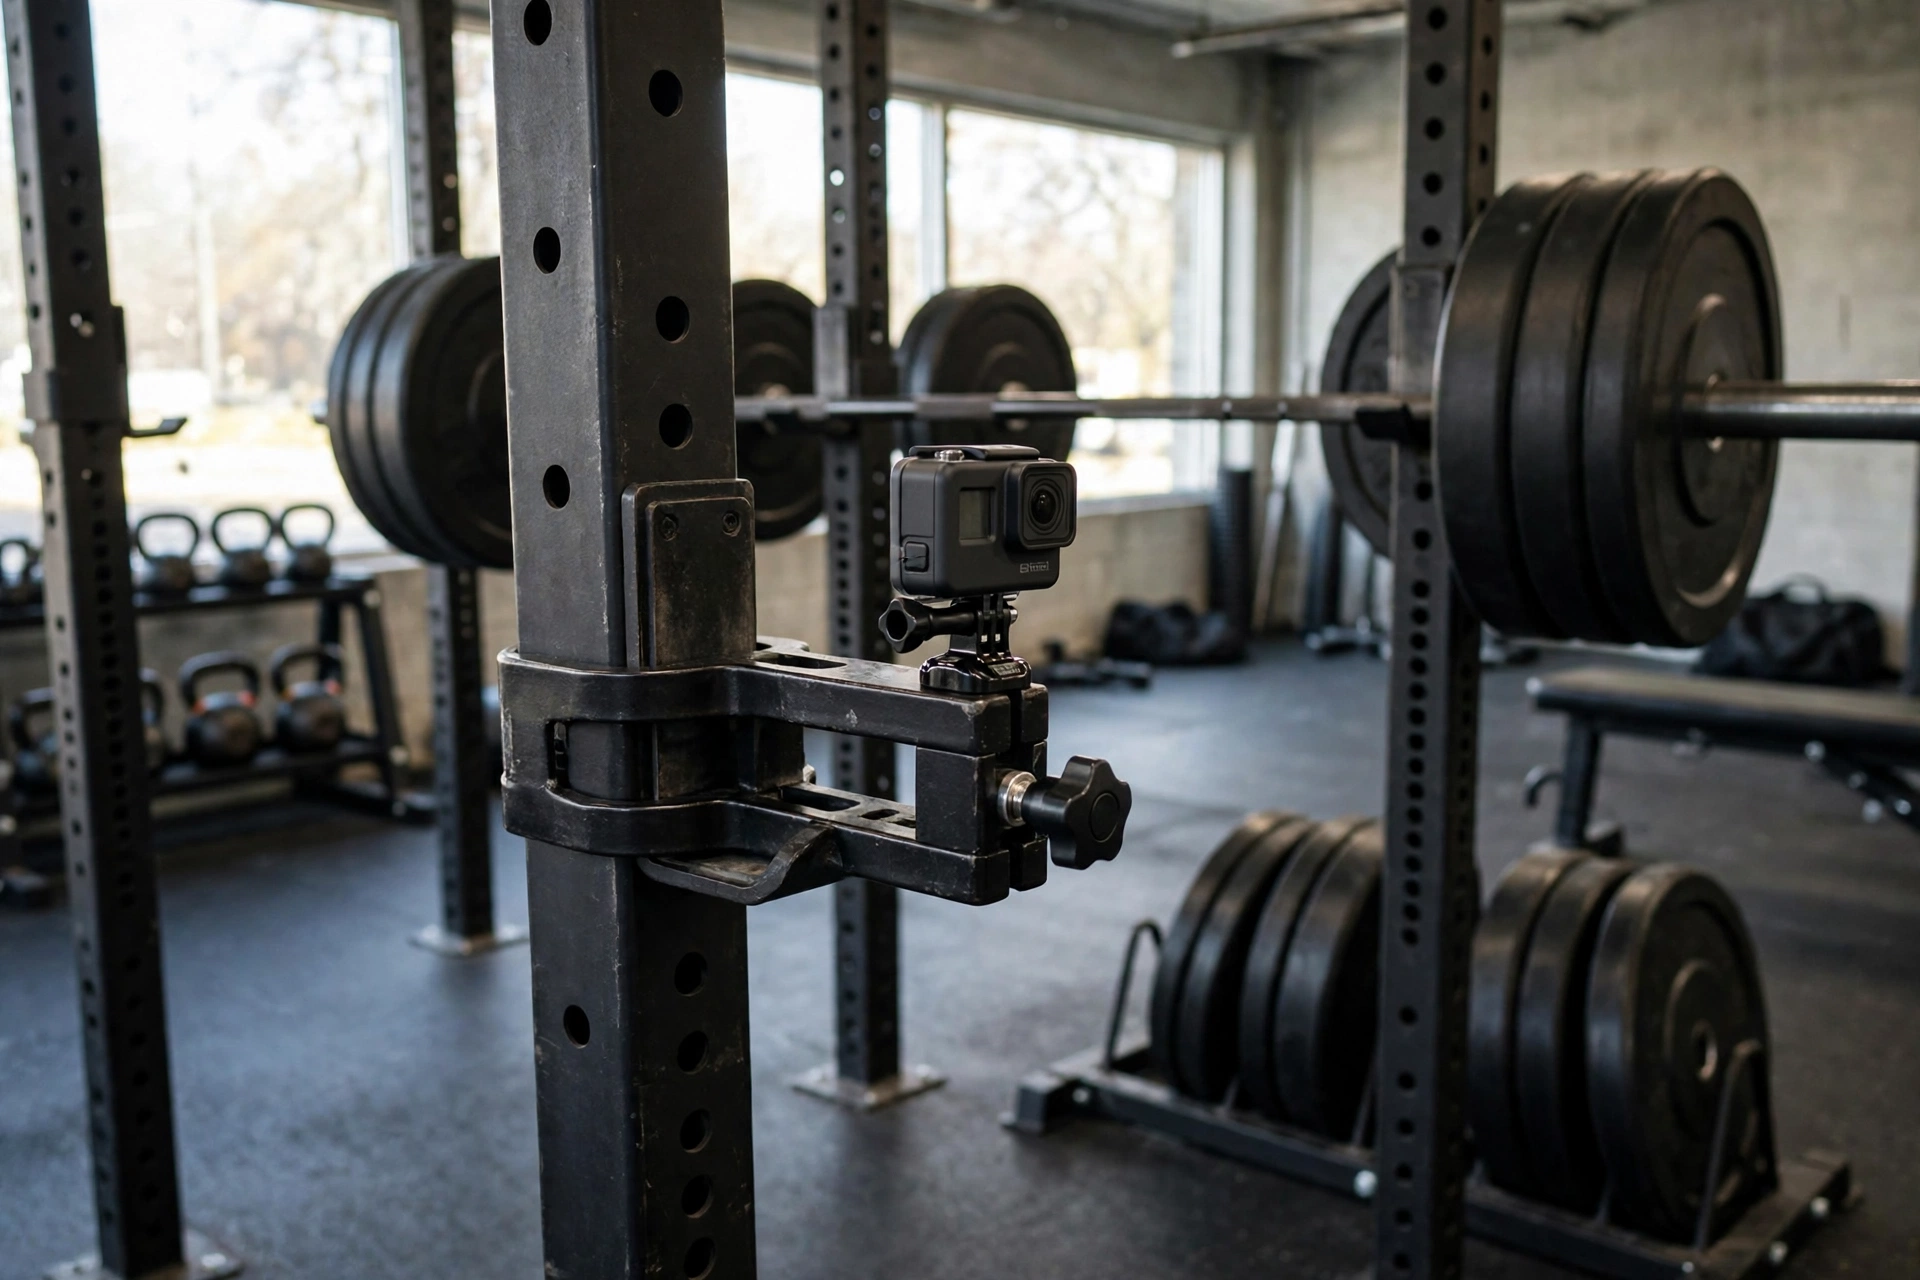
Tripod bans deserve their own plan, because they are the most common surprise. If your gym bans tripods, you still have options that stay inside the rules. A clamp mount grips a rack upright and holds a small camera without touching the floor. A magnetic mount sticks to a rack or a plate tree. A bench or a plyo box gives you a stable platform at roughly the right height. A mini tripod that sits on a bench is a different thing from a full tripod in a walkway, but check first, because some policies ban all supports. The point is the same in every case: the mount must be stable, out of the walkway, and attached to something that is not in use by someone else.
Strangers are the other half of gym rules. The cleanest system is to make strangers impossible rather than to ask everyone. Film facing an empty wall or an empty rack. Check the background before you press record, not after. Shoot at quiet hours when the floor is thin. Keep the frame tight on yourself and your equipment. If someone walks into frame mid-set, finish the set, then re-shoot it or cut that clip. If a clip you already published includes someone who objects, take it down. That last rule is not just politeness. Published gym policies treat identifiable filming without consent as grounds for removal from the facility, and a complaint from a stranger is the fastest way to lose filming permission for good. The legal side of filming people is covered in depth in our guide to filming people, places, and property legally.
One more distinction matters. Filming yourself for your own review is personal use in most policies. Filming content that earns money, carries a sponsor, or uses a crew is commercial or influencer filming, and several policies treat it differently, with advance arrangement and written confirmation. If your channel earns, say so when you ask. Honesty at the desk buys you more filming days than a quiet workaround that gets discovered.
The solo kit that fits in a gym bag
A vlogging camera, a small tripod and a clamp mount, a lavalier microphone, a phone, headphones, spare batteries, a spare card, and a towel. Everything must fit in your gym bag, set up in under two minutes, and pack down between stations.
Gym filming punishes big kits. You carry everything between stations, you set up while other people wait for equipment, and you pack down fast when a station is needed. The kit below is the whole system, and each item earns its place by solving a gym problem rather than by looking professional.
The camera should be a vlogging camera with a flip screen, good autofocus, and clean video at high ISO, because gym light is uneven and often dim. A flip screen matters more in a gym than anywhere else: you set the camera 8 to 12 feet away, and the screen is how you confirm the frame without walking back and forth. Set the camera to record at 30 frames per second for normal sets and switch to your camera’s slow-motion setting (120 frames per second on most vlogging cameras) only for form points, where a slower replay shows something the eye misses at full speed. Lock the exposure before you start, because a bright window behind you will otherwise darken your whole shot. Our camera settings guide covers the setup in full.
The mount is the piece most vloggers get wrong. A full tripod is the steadiest option and the most likely to be banned, so carry two mounts: a small tripod for gyms that allow it and a clamp mount for gyms that do not. The clamp grips a rack upright, a bench frame, or a plate tree, and it keeps your camera off the floor entirely. Test the clamp at home first. A mount that slips under vibration is worse than no mount, because it fails mid-set.
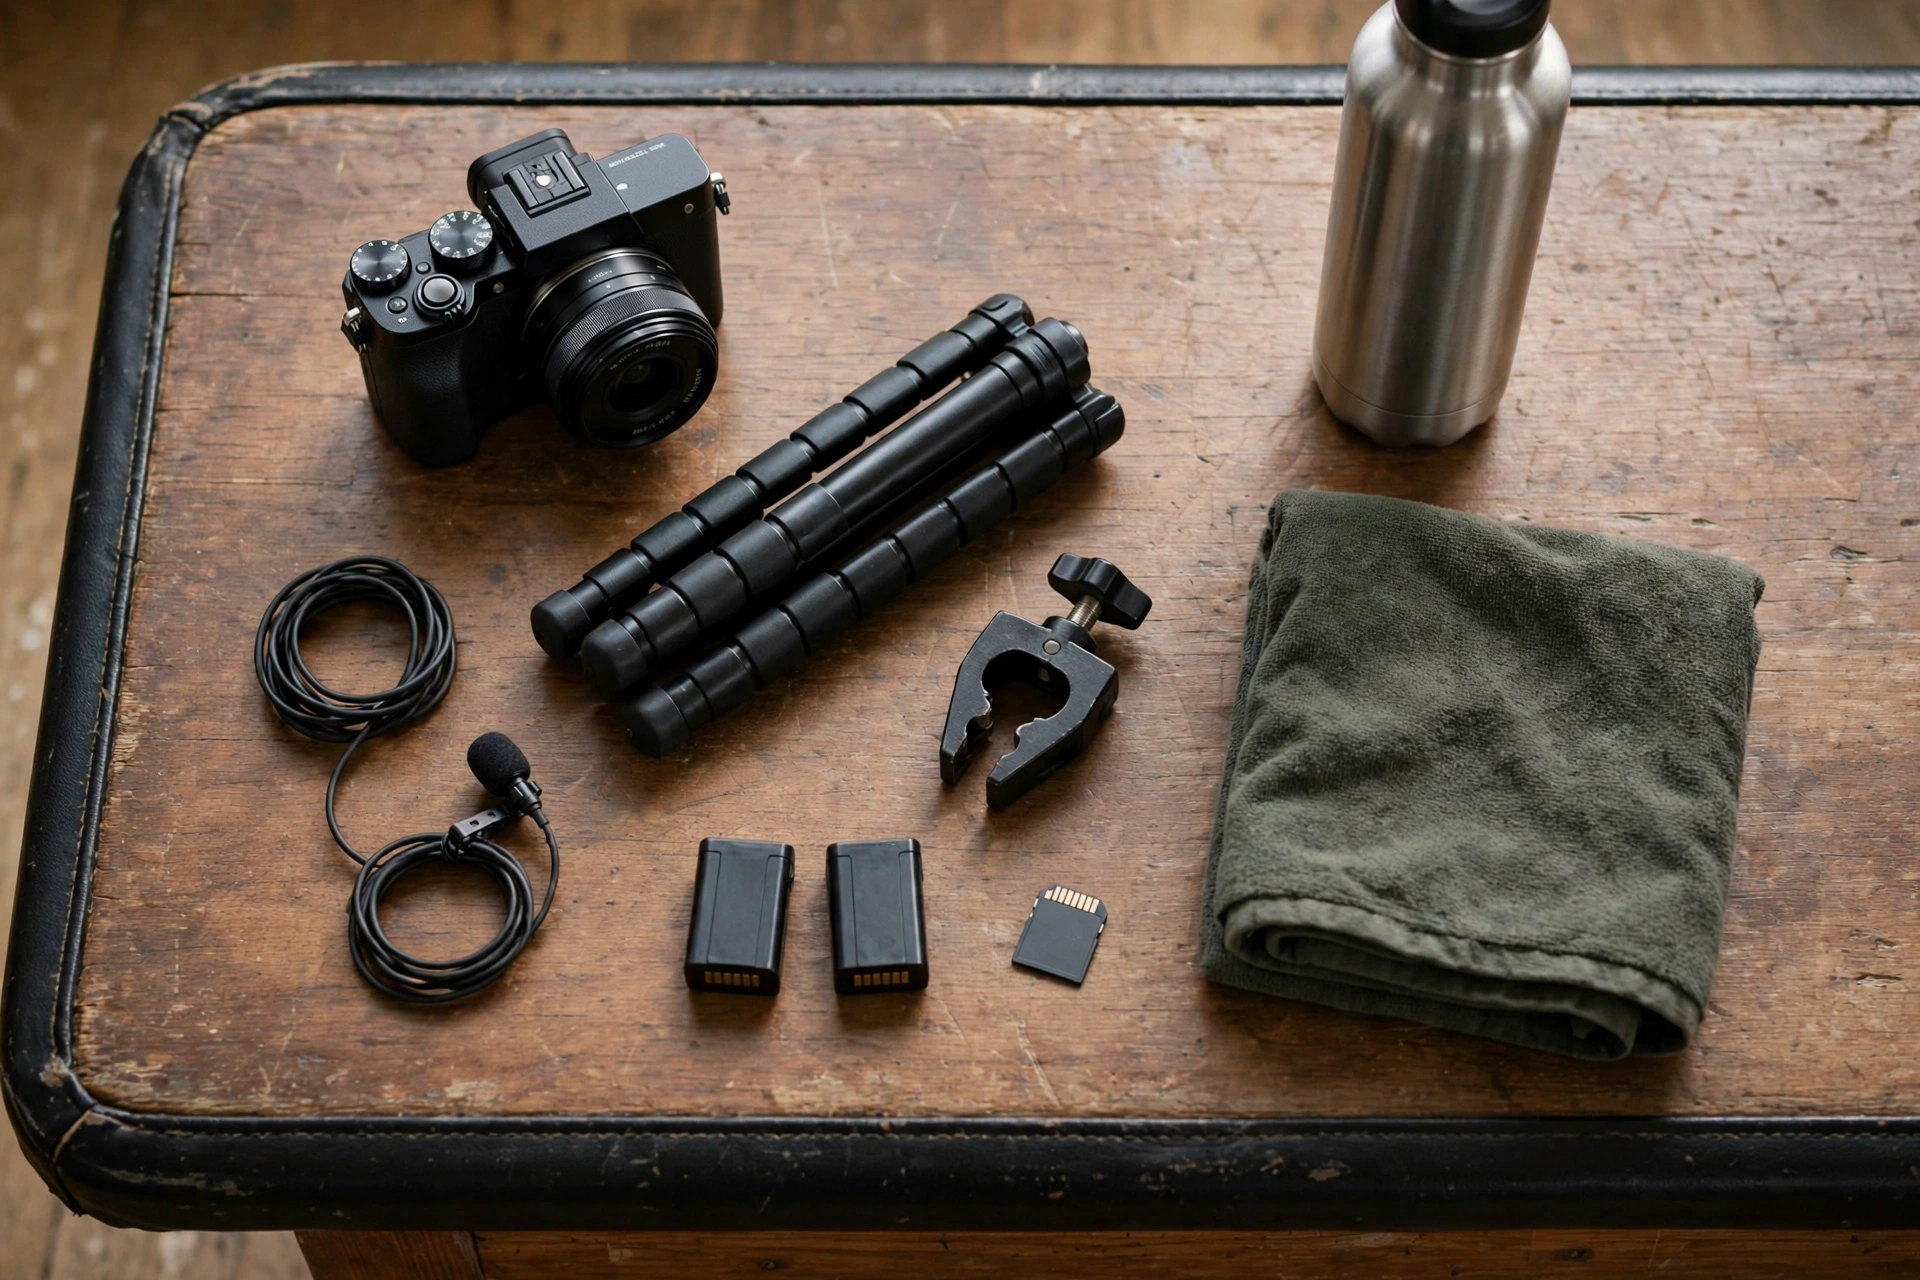
Audio gets its own section later, but the kit item is simple: a lavalier microphone with a foam cover, plus the cable or transmitter that connects it to your camera or phone. The camera microphone will not carry your voice across a gym floor. A lavalier clipped near your collarbone will. Your phone is part of the kit, not an extra. It trims clips during rest, holds the one-cue note for each set, and plays back the last reps for review. Headphones are part of the kit too: they are how you test the lavalier level before the first set and how you check a clip without adding noise to the gym. Bring a spare battery for the camera and a spare card. A gym session that ends early because a battery died is a session you cannot re-shoot, because the workout is done.
The towel is not just for sweat. It wipes a lens that fogs in a warm gym, it covers a bench you use as a camera platform, and it marks your station while you adjust the camera. The water bottle is yours, not a prop: filming adds minutes to a workout, and a dry vlogger rushes the last sets. Pack the bag the night before, in the same order every time, so setup becomes a habit rather than a scramble. The solo workflow later in this guide assumes this exact kit and nothing more.
Form-demo framing per exercise type
Film from the side at hip height, 8 to 12 feet back, with your whole body in frame. That one setup covers most lifts. Add a second angle only when the side view hides something, such as knee tracking on a squat.
A form demo has one job: show the movement clearly enough that a viewer can see what is happening. That is different from a cinematic workout video, where the camera moves and the angles change for energy. In a form demo, the camera stays still, the whole body stays in frame, and the angle matches the movement. Coaches who review lifting videos agree on the same basics: camera at roughly hip height, a slight side angle or a true side view, head and feet in frame at all times, and the plates visible so the load is honestly shown. A low angle that looks up at you hides depth. A high angle that looks down hides the bar path. A frame that cuts off your feet hides your stance.
The side view is the default because it shows bar path, depth, back position, and hip position in one shot. The three-quarter view, halfway between side and front, is the best single angle when you can only film once, because it shows depth and knee tracking together. The rear view is a second angle, never the only angle: from directly behind, your body hides the bar and your hips. The front view earns its place for squat depth, and for presses where the bar path over the head matters.
| Exercise type | Primary angle | Camera height and distance | What it shows | Second angle when needed |
|---|---|---|---|---|
| Squat | Side | Hip height, 8 to 12 feet back | Depth, bar path, back position, hip position | Rear view for knee tracking |
| Deadlift | Side or 45 degrees | Hip height, far enough back that both plates stay in frame from floor to lockout | Bar path, hip and shoulder position at the start, lockout | Front 45 degrees for grip and stance |
| Overhead press | Side | Chest height, 8 to 12 feet back | Bar path over the head, torso angle, head movement | Front view for bar path and symmetry |
| Bench press | Side | 3 to 4 feet off the floor, far enough back that bar, bench, and lifter stay in frame | Bar touch point, elbow angle, arch | 45 degrees from the head end for bar path |
| Row and pull | Side | Hip height, 8 to 12 feet back | Back angle, pull path, torso stability | Rear view for shoulder blade movement |
| Mat and core work | 45 degrees from the head end of the mat | Low, about knee height, far enough back that the whole mat stays in frame | Whole body on the mat, hip and shoulder position | Overhead for foot placement |
| Cardio machines | Side | Machine height, level with the display, far enough back that the machine and user stay in frame | Posture, stride or stroke, display if you want it shown | Front view for face-to-camera cueing |
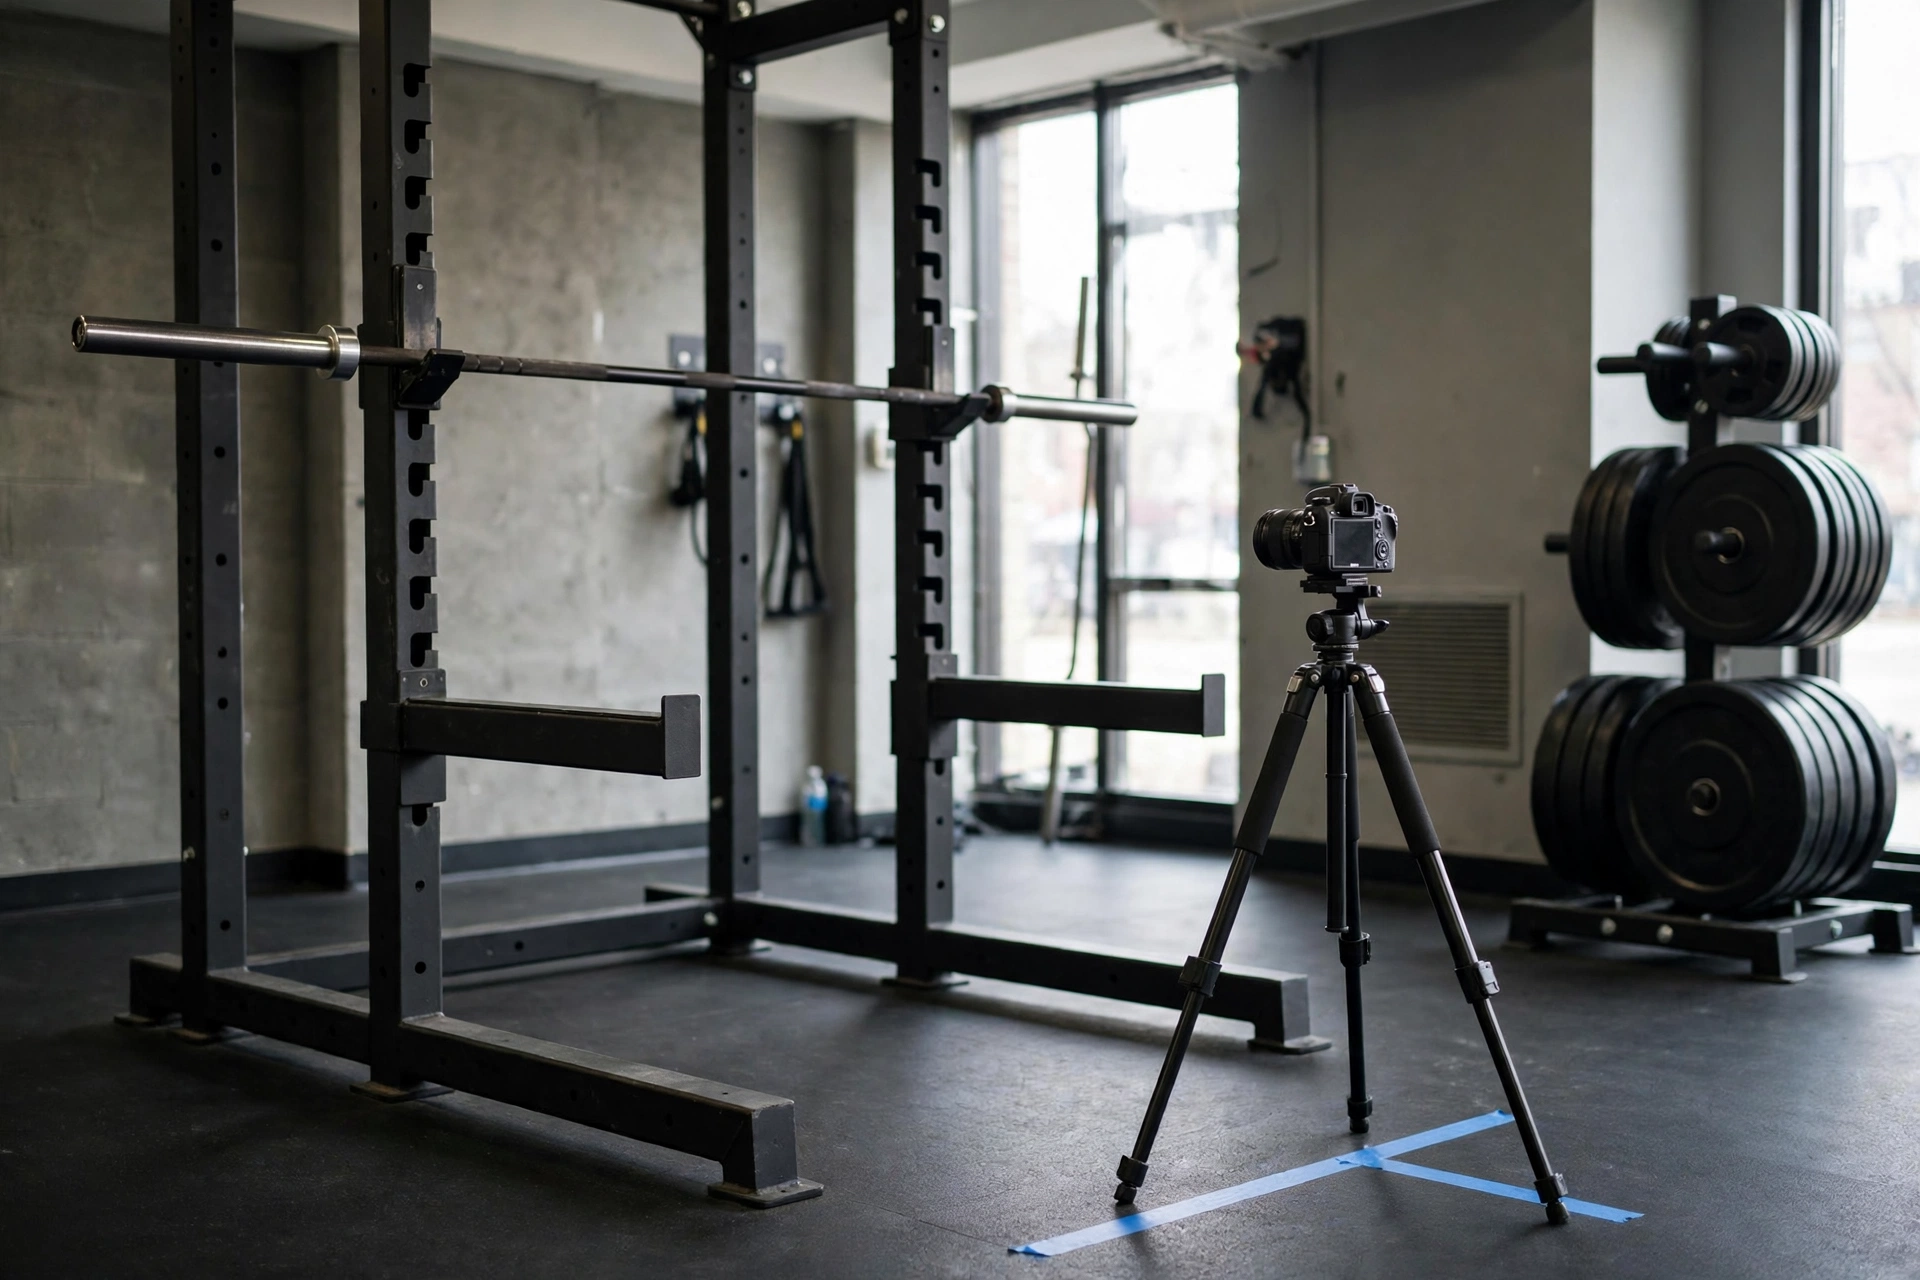
Two framing habits separate a usable form demo from a confusing one. First, test the frame with a slow empty rep before the working set. Step into frame, do the movement without load, glance at the flip screen, and adjust. That thirty-second test catches a cut-off foot, a plate blocking the view, and a stranger in the background before they cost you a set. Mark the camera position with a strip of tape on the floor once the frame is right, so you can return the tripod to the exact spot after moving it between stations. Second, keep the whole set intact in the edit. A form demo cut in the middle of a rep hides the very thing the viewer came to see, and viewers notice. Cut between sets, not inside them.
Slow motion has one job in a form demo: show a moment the eye misses at full speed, such as the bottom of a squat or the lockout of a deadlift. Use it for one or two reps, then return to full speed. A whole set in slow motion drags, and it hides rhythm, which is part of form. Text overlays carry the rest: the exercise name, the angle, and one cue per clip. One cue per clip is a filming rule as much as a coaching rule. A clip that tries to show five things shows none of them clearly. Our composition guide covers shot choice in general; this table is the fitness-specific version of it.
Mirrors: use them without filming the whole gym
Angle yourself to the mirror so it shows you and an empty wall, not the room behind you. Check the whole mirror frame for strangers before you press record.
Gym mirrors tempt every vlogger. They let you see your form while you film, and they double your angles without moving the camera. They also cause the most common gym filming complaint, because a mirror that shows you also shows everyone behind you. The fix is geometry, not luck.
Stand at an angle to the mirror rather than square to it. When you face the mirror straight on, the reflection shows the room behind the camera, which is where the other people are. When you angle yourself, the reflection shows you against the wall beside you, which is usually empty. Test this before the set: look at the mirror and ask what is visible besides you. If the answer includes anyone else, move a step sideways or a step closer until it does not. Closer framing helps twice over: it crops strangers out and it keeps your form large in frame.
Never use a mirror to film other people, and never film a class through a studio mirror. A class belongs to everyone taking part, and several published policies require permission from the instructor and every participant before filming that includes anyone else. The same care applies to the mirror in a stretching area or a studio: if the mirror shows the room, assume someone is in it.
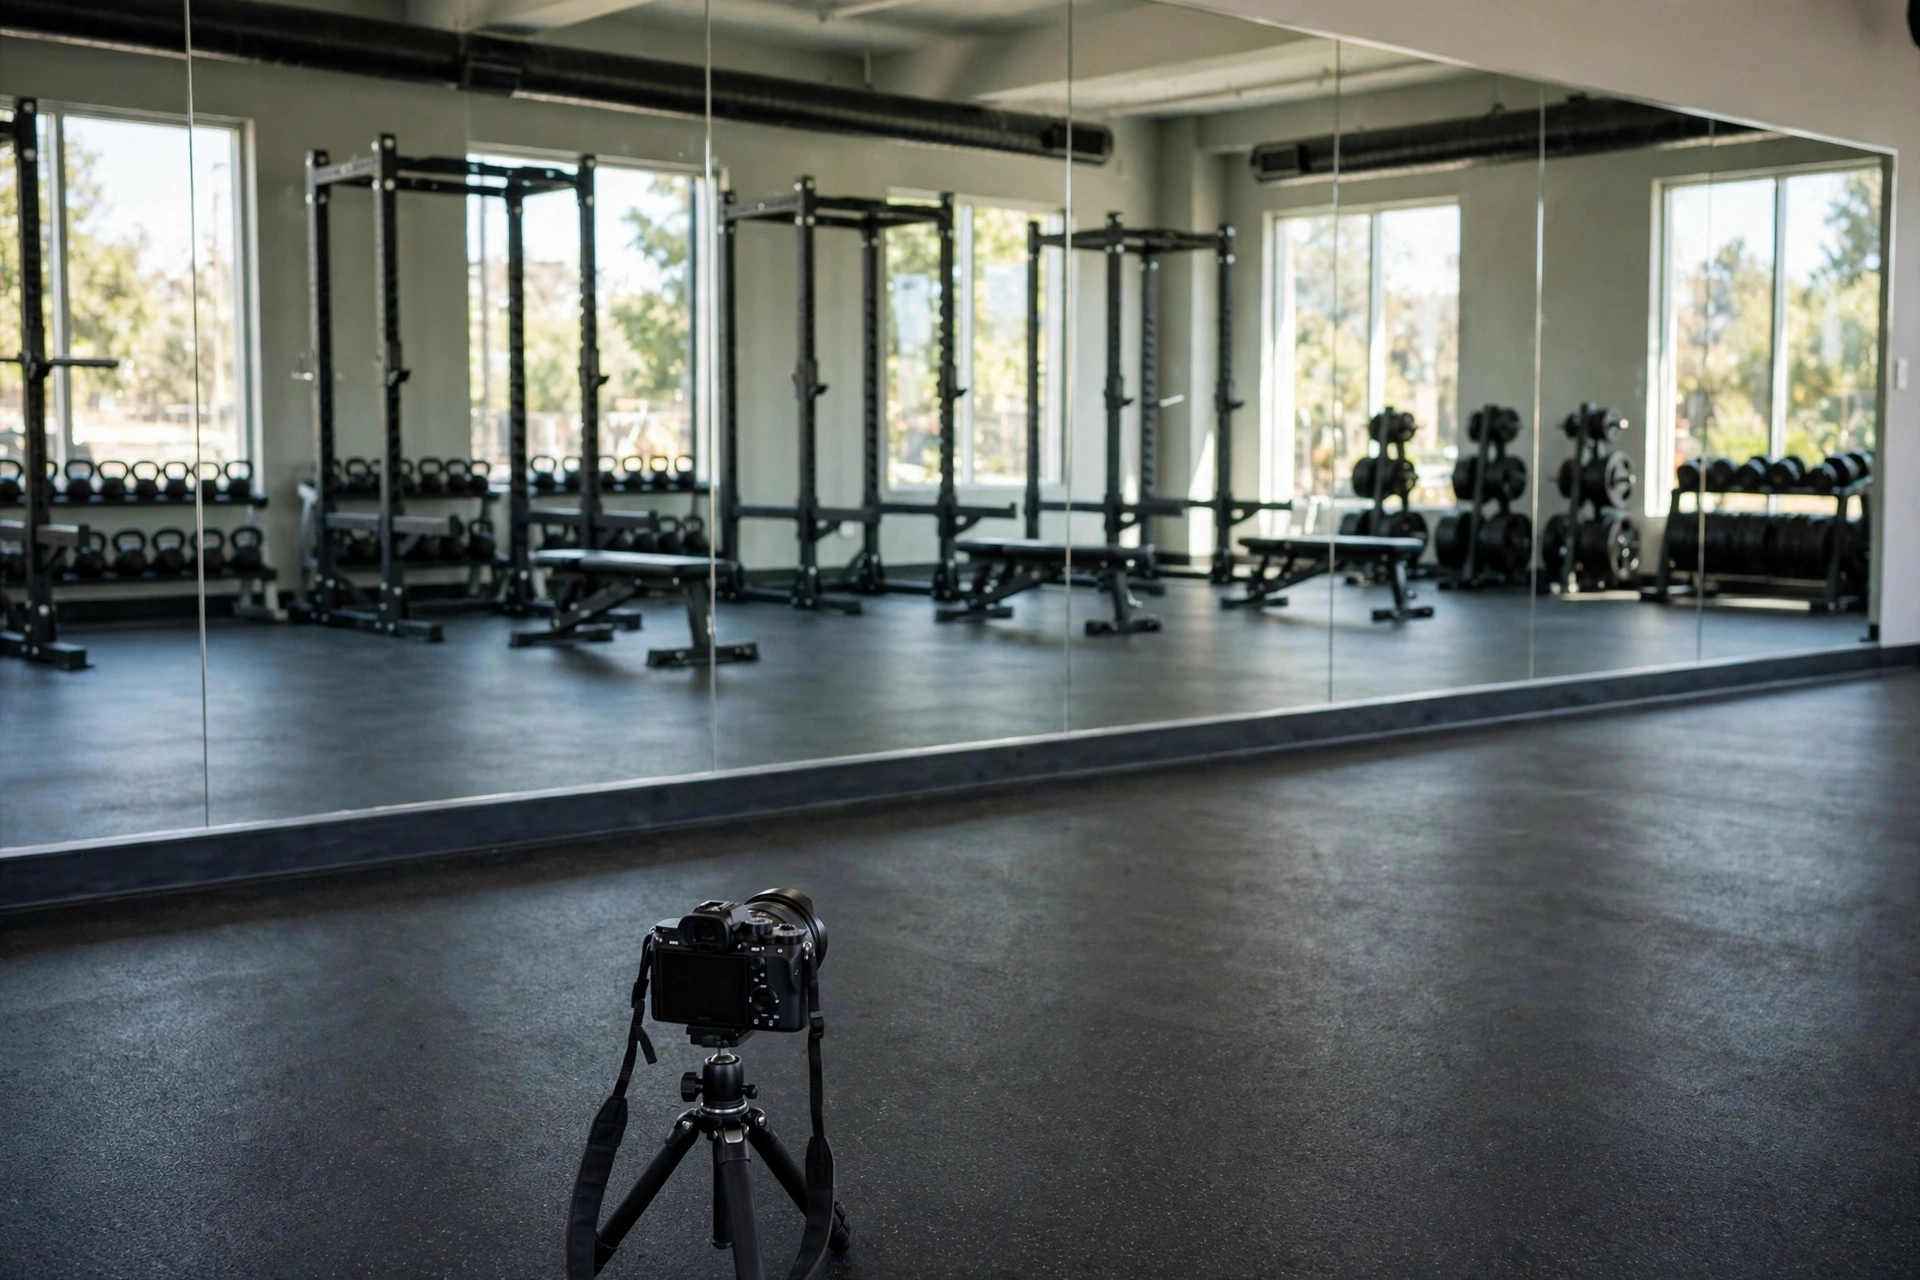
One mirror technique is worth learning properly: filming your own reflection as the main angle. Set the camera behind you, angled at the mirror, so the recorded shot is your reflection. This gives you a front view without a camera in front of you blocking the walkway, and it lets you watch your form in the mirror while you lift. Check two things before the set. First, that the camera itself is not visible in the mirror in a distracting way; standing between the camera and the mirror usually hides its reflection behind you. Second, that the reflection shows only you. If a stranger crosses the mirror mid-set, that clip is cut, not published.
Noisy-gym audio that stays intelligible
Clip a lavalier microphone near your collarbone, under your shirt, and record your voiceover after the workout if the gym is too loud for live cueing. The camera microphone 8 feet away will not carry your voice over music and plates.
Gym audio fails in a predictable way. The camera sits 8 to 12 feet away, the gym plays music, plates clang, treadmills hum, and your voice arrives at the microphone quieter than all of it. The camera microphone cannot fix that, because it hears everything at once. A lavalier microphone fixes it by getting close to the only sound that matters: your voice.
Clip the lavalier near your collarbone, on the inside of your shirt if the shirt allows it, with the cable routed under the shirt to the transmitter or recorder. The foam cover stays on: it cuts breath noise and the rustle of fabric when you move. Test the level before the first set by speaking at your normal cueing volume while the gym plays at its normal level. If your voice is clear over the background, the setup works. If it is not, check the microphone is clipped close to your mouth and the foam cover is on, then test again. Do not wait until the edit to discover the audio failed. Our audio guide covers microphone placement in general; in a gym, closeness beats everything else.
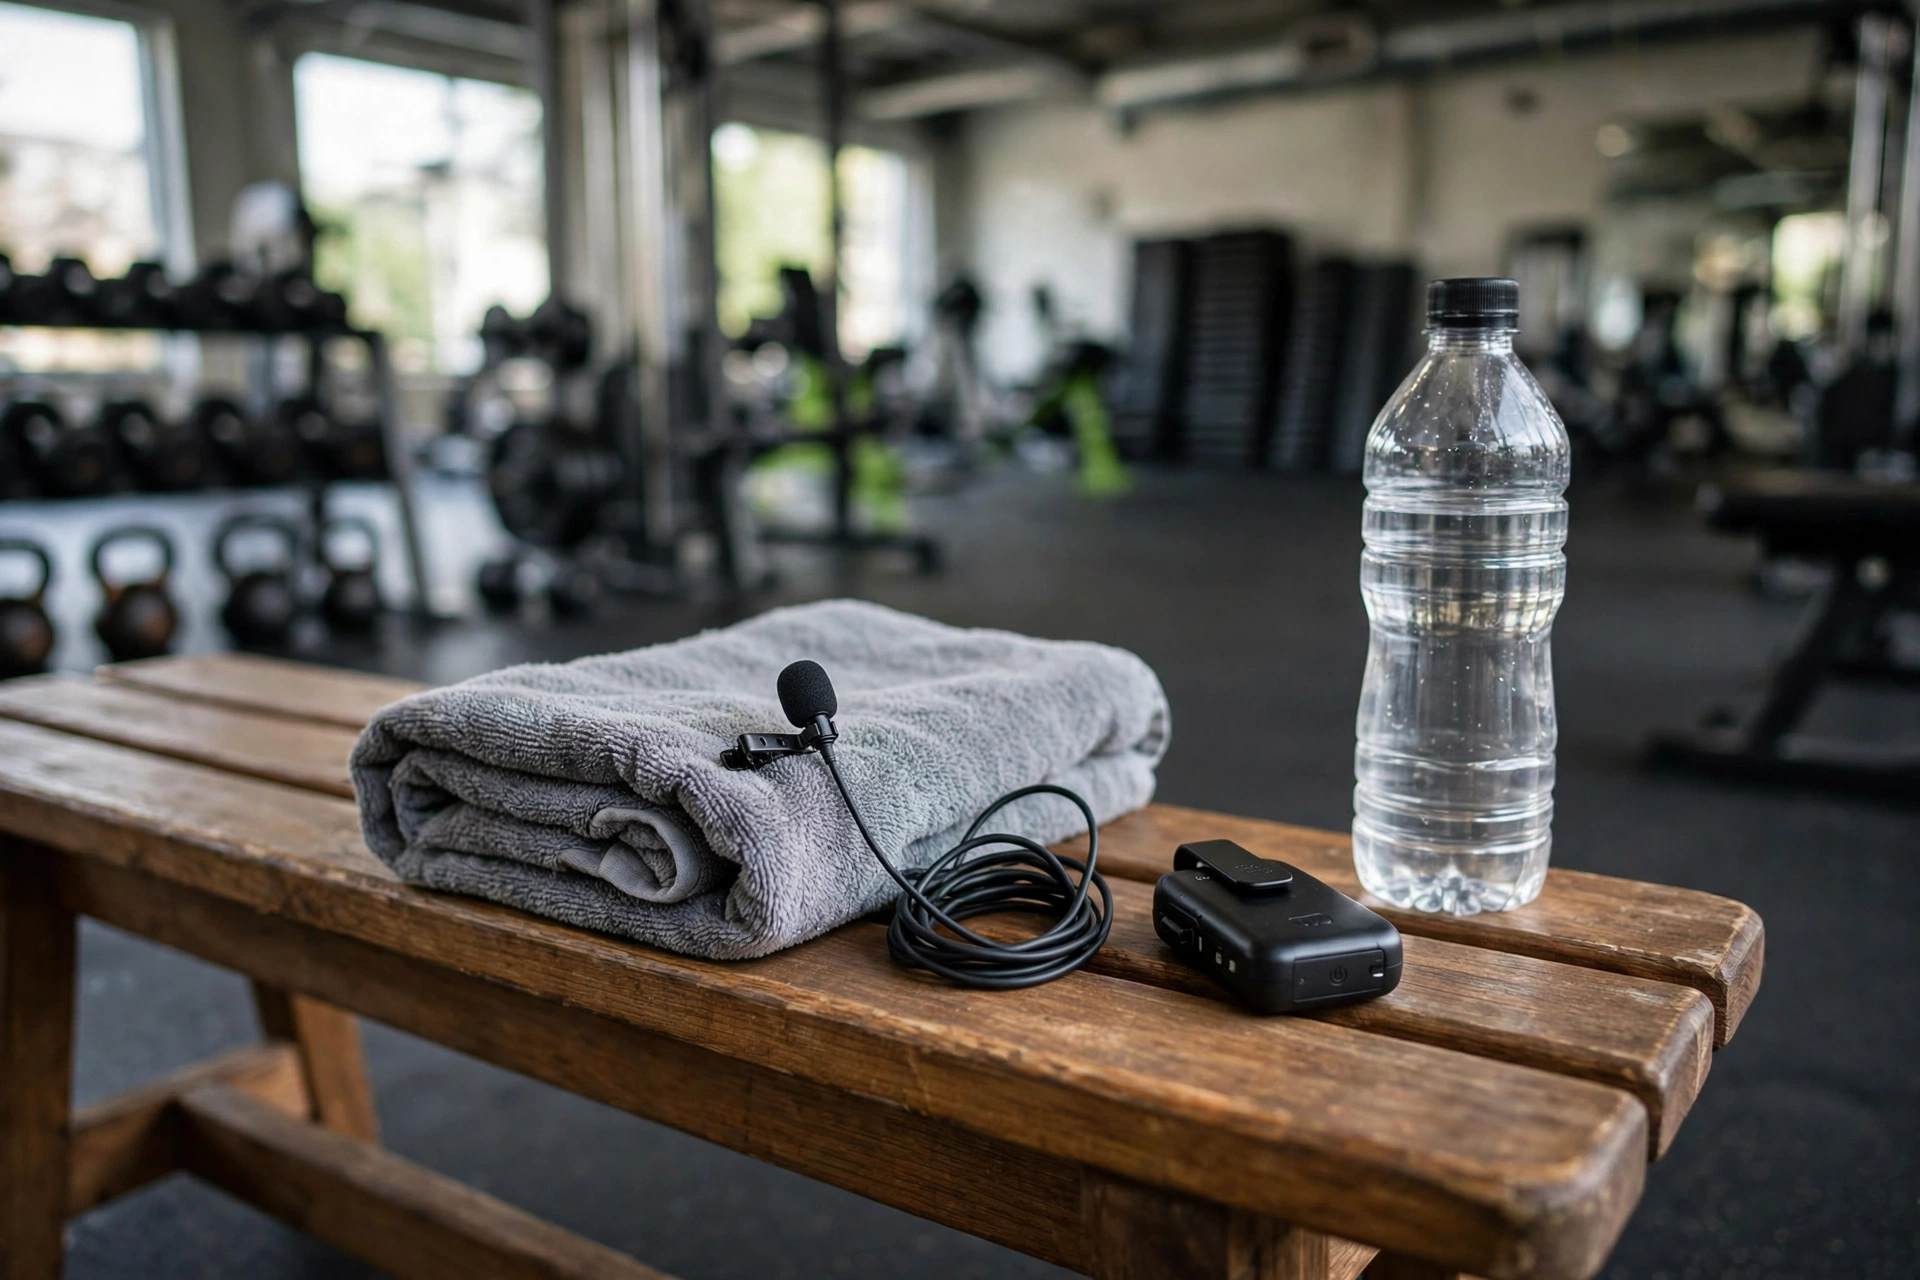
Record ten seconds of room tone at every station: the gym sound with nobody speaking. That clip is what lets you smooth the gaps in the edit, so a cut between sets does not jump from loud to silent. It costs ten seconds and saves the whole edit.
Live cueing and voiceover after are two different tools, and a noisy gym decides between them. Live cueing works when the gym is quiet enough that your voice survives, and it carries energy that a voiceover cannot fake. Voiceover after works everywhere, because you record it at home over the footage, at a steady level, without music fighting you. If you plan a voiceover, film the set without worrying about talking, and note one cue per set on your phone as you go. That note is the script. Music sits under the voice in both cases, never over it: duck the music whenever you speak, and choose instrumental tracks, because lyrics fight spoken cues for the listener’s attention.
Echo is the last audio problem, and it comes from hard floors, bare walls, and high ceilings. You cannot treat the room, so treat the distance: the lavalier keeps your voice close, and a tight frame keeps the camera close, which keeps the room sound lower in the mix. If a particular corner of your gym echoes badly, move the station. A quiet corner with a plain wall beats a dramatic spot under a steel roof.
The solo between-sets workflow
Film the set, trim the clip during your rest, check one cue only, then move on. The workflow fits inside normal rest times, so filming adds minutes, not a second workout.
Solo filming fails when it becomes a second job between sets. The vlogger who films every set, reviews every rep, and re-shoots twice turns a 60 minute workout into a two hour shoot, and the workout suffers. The workflow below is built to fit inside rest times you already take, and it borrows the batch discipline of trainers who film dozens of exercise demos in one quiet session: plan the shots in advance, film at quiet hours, and review one thing at a time.
At each station, the sequence is the same. Set the camera and test the frame with a slow empty rep. Record the working set. During your rest, trim the clip on your phone: drag the start point past the setup fumble and the end point past the walk back to the camera. It takes under a minute once you have done it twice. Watch the last two or three reps only, and check one cue only, such as depth on the squat or bar path on the deadlift. Watching the whole set between sets wastes the rest and teaches you less, because the last reps are where form breaks down. Then put the phone down and do the next set. One cue per set, one review per rest, no re-shoots unless the frame itself failed.
| Block | Time | What happens |
|---|---|---|
| Arrive and ask | 10 minutes | Permission at the desk, kit out, camera and audio test |
| Film across up to 4 stations (graduated target; the first session films one) | 40 minutes | One working set filmed per station per round, trimmed during rest, one cue checked |
| Cutaways and room tone | 10 minutes | Close-ups of plates, grips, and displays, plus room tone at each station used |
| Pack down | 5 minutes | Kit in the bag, station left as found, quick check that no stranger is in any clip |
Quiet hours are part of the workflow, not a luxury. Trainers who film exercise libraries plan their filming for weekend mornings when the gym is quiet, because an empty floor solves the stranger problem, the tripod problem, and the audio problem at once. If your gym has a quiet window, build your filming days around it. If it does not, film the stations that face empty walls and save the busy floor for days you train without the camera.
Busy days need their own rule, because the workflow above assumes a floor with room to move. When the gym is packed, shrink the filming, not the manners. Film one station that faces an empty wall and train the rest without the camera. Skip the tripod entirely and use the clamp, which takes no floor space. If every station faces other people, make it a training-only day and film another day. A missed filming day costs nothing. A clip that includes a stranger who did not agree to be filmed can cost you the gym, and a reputation for hogging equipment while filming costs you the goodwill of everyone who trains beside you. The vloggers who film for years are the ones other members barely notice, and that is a compliment.
Battery and card discipline belongs in the workflow too. A camera that records through a long session in a warm gym drains faster than you expect, and a card that filled up last week ends the session early. Start every filming day with a charged battery, a spare battery, and a formatted card. Check the remaining time on the card before the first set, not after the third station. These are small habits, and they are the difference between a session that ends with usable footage and one that ends with an apology to your audience.
Home and outdoor sessions: same framing, fewer rules
At home and outdoors, the framing stays the same and the permission problem shrinks. Wind noise outdoors and flat light at home become the new problems.
Home filming removes the gym rules and keeps the craft. The same side view at hip height, the same whole-body frame, the same one cue per clip. What changes is the room. Home light is often a single window, so face the window rather than filming against it: light on your front keeps your form visible, while a window behind you turns you into a silhouette. A plain wall behind you keeps the frame clean, and a mat marks the same spot every session, which makes progress clips comparable week to week. Our lighting guide covers window light in detail.
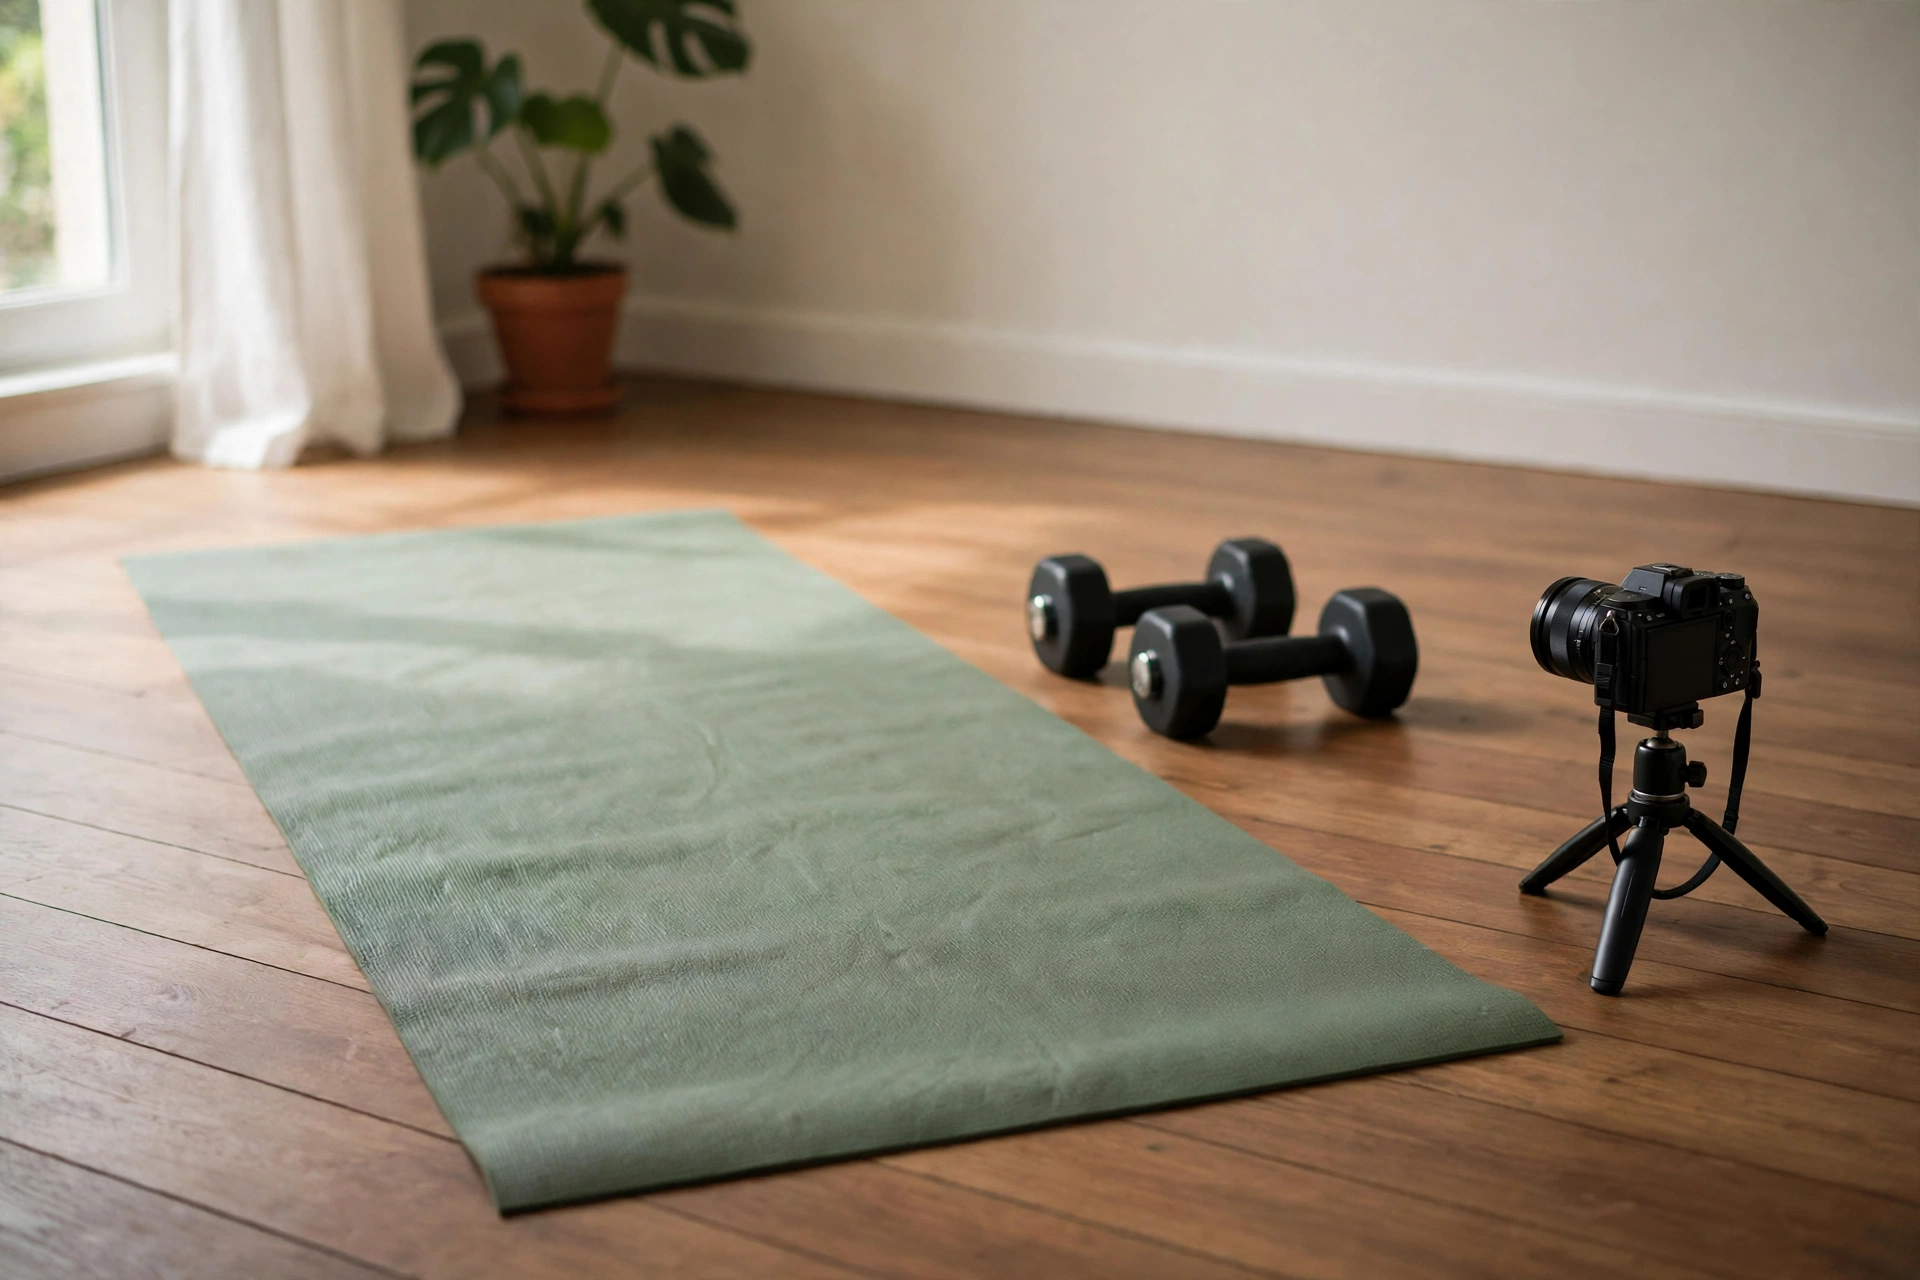
Outdoors, wind is the problem that ruins more clips than any other. A foam cover on the lavalier helps, but the real fix is position: stand with your back to the wind so your body shields the microphone, and keep the camera at the same 8 to 12 feet so the whole body stays in frame. Record a test clip and listen to it before the session, because wind noise that sounds mild in the moment sounds harsh in the edit. Light changes outdoors too, as clouds move, so lock the exposure rather than letting the camera chase the sun. At home, nobody else’s permission is needed, which is the whole point of filming at home when a gym day is not possible. Outdoors, the stranger rule still applies: parks have other people in them, so the same tight framing and background check apply.
One habit carries across all three locations: film the same movement from the same angle every time. Comparable clips are what let you, and your viewers, see change over weeks. A squat filmed from the side at hip height in week one and from the front at knee height in week four cannot be compared, and the comparison is the reason viewers follow a fitness vlog.
Editing a fitness vlog for clarity
Cut between sets, never inside a rep. Use slow motion only for form points, text overlays for exercise names and cues, and captions for anything recorded in a noisy gym.
Editing a fitness vlog is mostly cutting. Cut the setup, cut the walk to the camera, cut the rest between sets down to a beat, and keep the working set intact. A viewer who watches a form demo wants the whole movement, and a cut inside a rep reads as hiding something even when it is innocent. Straight cuts carry the edit; transitions add nothing to a form demo and slow it down.
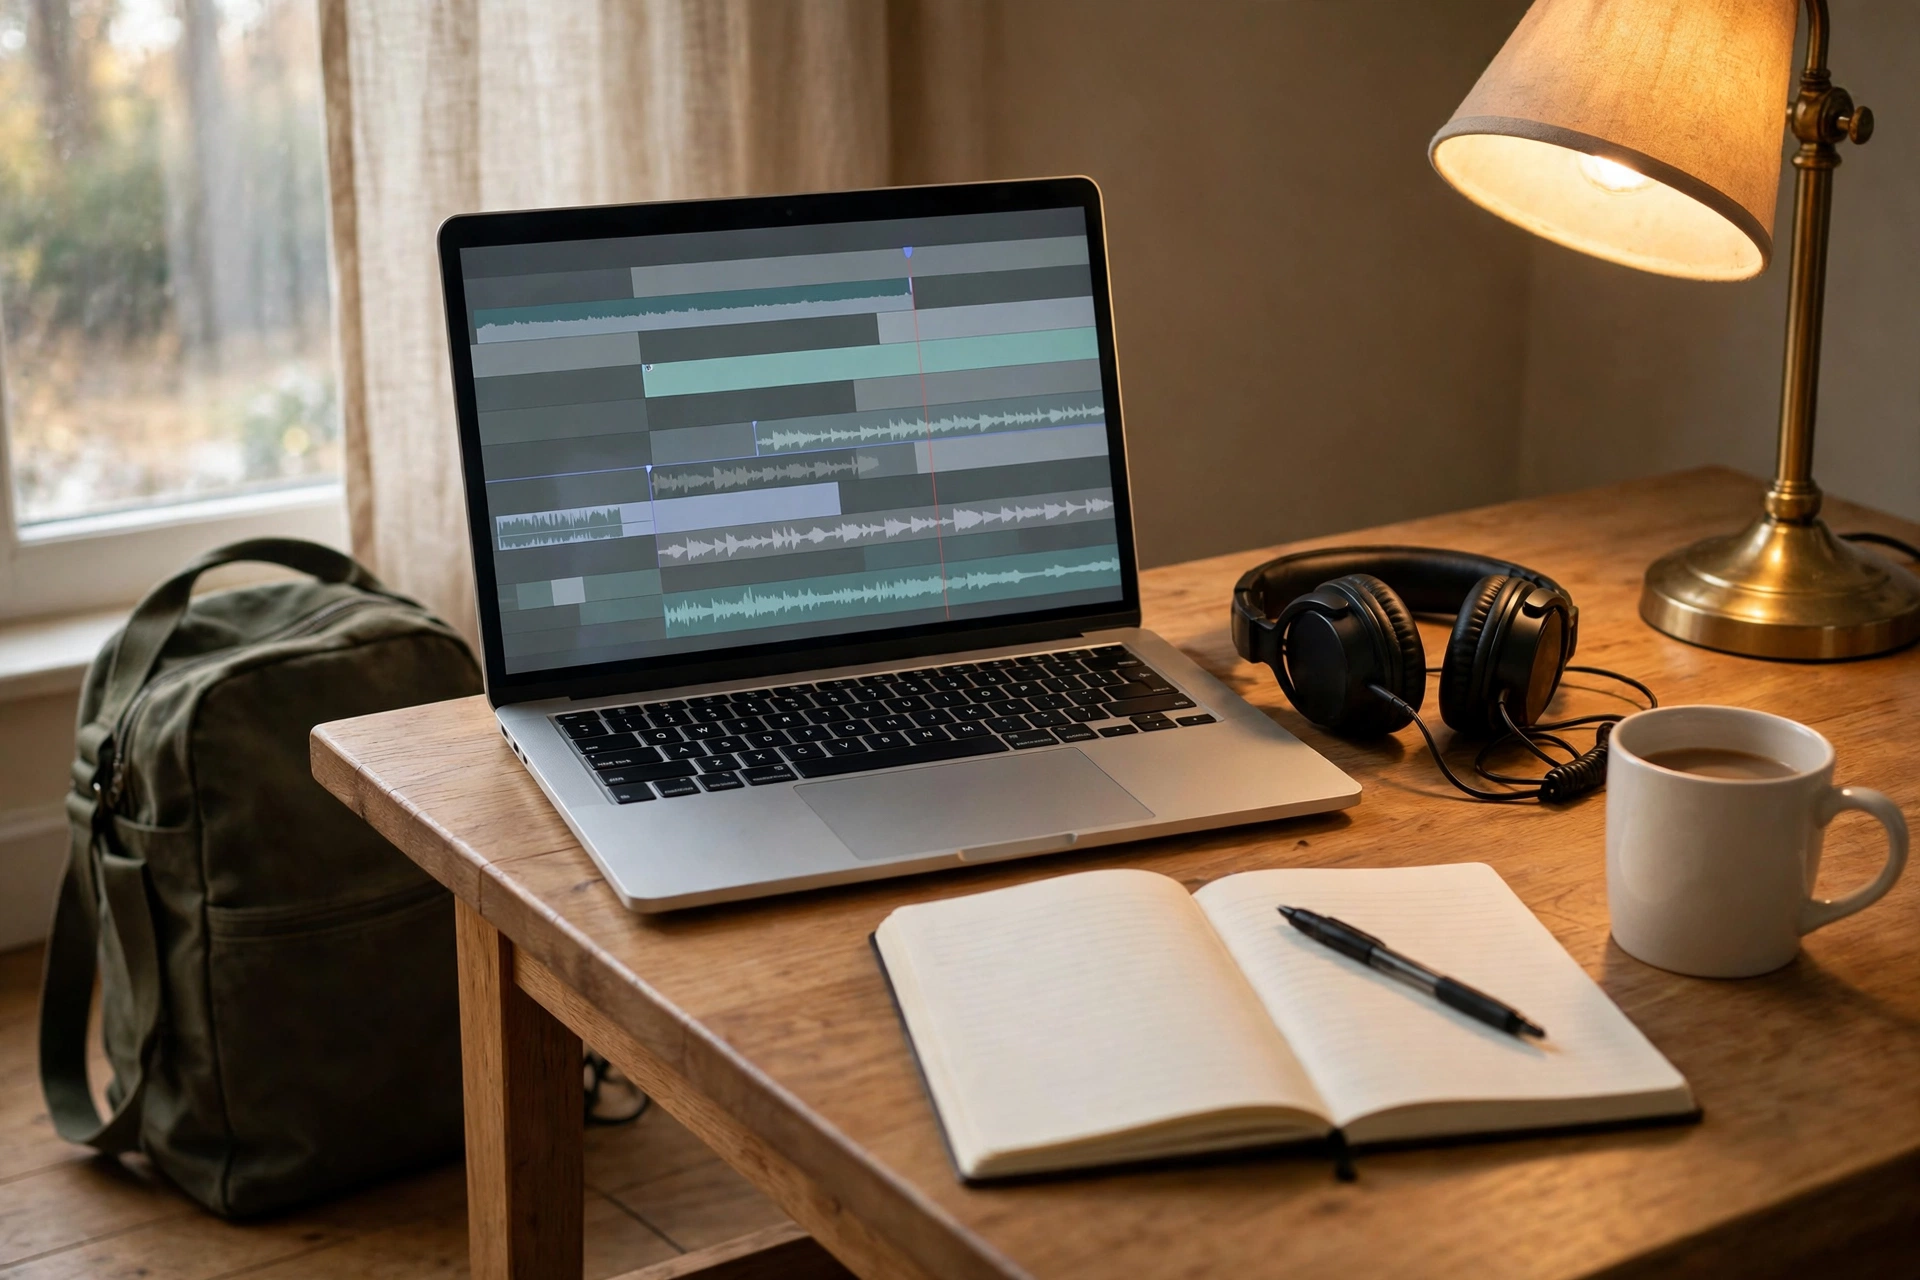
Text overlays do three jobs. They name the exercise, so a viewer scrubbing the timeline finds it. They carry the one cue for the clip, so the viewer knows what to watch. They replace spoken audio when the gym was too loud, which is why captions matter here more than in a quiet room vlog. Keep overlays short, in the same style every time, and on screen long enough to read. A title that flashes past in one second helps nobody.
Slow motion, music, and color follow the same rule: serve the movement. Slow motion shows a form point, then the clip returns to full speed. Music sits under speech, never over it, and instrumental tracks avoid fighting your cues. Color correction evens out gym lighting so the viewer is not distracted by a green cast from fluorescents, but it should not turn skin tones orange or make plates look like a different color. If the edit changes what the movement looked like, it has gone too far. A form demo earns trust by showing the rep as it happened.
Titles and thumbnails follow the same honesty rule. A title that names the movement and the filming problem it solves will keep earning clicks longer than a title that promises a result. Our title guide covers that choice. The thumbnail should show the movement, not a pose that never happened in the video.
Your first gym-filming session checklist
Ask at the desk, test camera and audio before the first set, film one station well rather than four badly, and check every clip for strangers before you leave.
Use this list on your first filming day, in order, and tick each item off as you go. It is short on purpose: a first session that films one station well teaches more than a session that films four badly.
- Ask at the desk with the short script from the rules section, and note any area or equipment the staff ask you to avoid.
- Set the camera at the first station (tripod where allowed, clamp mount where tripods are banned), test the frame with a slow empty rep, and confirm head and feet are in frame.
- Clip the lavalier near your collarbone, record a test sentence, and listen to it with headphones before the first set.
- Record ten seconds of room tone at the station.
- Film one working set, trim it during your rest, and check one cue only.
- Check the background of every clip for strangers before you move to the next station.
- Pack down between stations, leave the station as you found it, and keep the tripod or clamp out of walkways.
- At home, back up the card before you edit, and delete any clip that includes a stranger who did not agree to be filmed.
After that first session, add one station per filming day until the workflow feels ordinary. The goal is not a perfect first video. The goal is a repeatable routine that survives a busy gym, a banned tripod, and a stranger walking into frame, because those three things will happen, and the vloggers who last are the ones whose routine already has an answer for each of them.
Questions vloggers ask
Can I film in my gym?
It depends on your gym. Many gyms allow personal filming of yourself with conditions, and many ban tripods or extra equipment. Ask at the desk before your first filming session, and follow the written policy if your gym has one. Never film in changing rooms, showers, or toilets.
What do I do if my gym bans tripods?
Use a mount that stays off the floor: a clamp mount on a rack upright, a magnetic mount on a plate tree, or a mini tripod on a bench. Check first, because some policies ban all supports. Keep the mount out of walkways and off equipment someone else is using.
How do I avoid filming strangers?
Film facing an empty wall or rack, check the background before you press record, shoot at quiet hours, and keep the frame tight. If someone walks into frame, re-shoot the set or cut the clip. If someone objects to a published clip, take it down.
What is the best angle to film a squat?
From the side at hip height, 8 to 12 feet back, with your whole body in frame. That view shows depth, bar path, and back position. Add a rear view as a second angle if you want to check knee tracking.
What is the best angle to film a deadlift?
From the side or at 45 degrees, at hip height, far enough back that both plates stay in frame from the floor to lockout. The side view shows bar path and hip position at the start. Never film only from behind, because your body hides the bar and your hips.
How do I film alone between sets without slowing my workout?
Film the set, trim the clip during your rest, and check one cue only from the last two or three reps. Put the phone down and do the next set. Re-shoot only when the frame itself failed, not when a rep felt imperfect.
How do I record clear audio in a noisy gym?
Clip a lavalier microphone near your collarbone, under your shirt, with the foam cover on. The camera microphone 8 feet away cannot beat gym music and plates. Record ten seconds of room tone at each station, and record a voiceover at home if the gym is too loud for live cueing.
Can I film using the gym mirrors?
Yes, if the mirror shows only you. Stand at an angle to the mirror so it reflects you against an empty wall rather than the room behind you, and check the whole mirror frame for strangers before recording. Never film a class through a studio mirror without permission from the instructor and participants.
Do I need permission to post gym videos online?
You need the gym’s permission to film there, and you need the permission of any identifiable person in the clip. If your channel earns money or carries sponsors, several gym policies treat that as commercial filming and require advance arrangement in writing. Say so when you ask.
Should I film every set?
No. Film one working set per station per round, and spend the rest of your session training. Filming every set doubles the session length and the footage you must review, and the extra clips rarely add anything the first set did not already show.
This guide is research-based: we compared published guidance and creator resources.
Keep exploring
Ready to film your next workout? These guides cover the filming, audio, and editing skills behind a clean fitness vlog.
- How to Film Yourself: Talking-Head Tips for Vloggers in 2026
- How to Record Better Audio for Vlogs in 2026
- Best Wireless Microphones for Vlogging in 2026
- How to Get Smooth Handheld Video Without a Gimbal: IBIS, OIS and EIS Explained
- Action Camera Vlogging Tips: Mounts, Settings and Waterproofing
- Best Action Cameras for Vlogging in 2026
- How to Vlog in Public Without Feeling Awkward in 2026
- Vlogging Safety Tips: Stay Safe While You Film
- Filming People, Places and Property Legally: Permission, Releases and Permits
- How to Edit Vlogs Faster in 2026
- How to Structure a Vlog: Storytelling Tips That Keep Viewers Watching in 2026
- Best Mobile Vlogging Kit for Creators in 2026