
Last updated: October 2026
That hollow, bathroom-like sound in your videos is not your microphone. It is your room, bouncing your voice back at the mic a fraction of a second late. The good news is that echo is a shoot-side problem with shoot-side fixes, and most of them cost nothing: soften the surfaces near you, break up the bare walls, and get the mic closer. This guide explains why rooms echo in plain terms, how to test yours in two minutes, and the order to treat it in, from free furniture rearrangements to DIY panels, including options that leave no mark when you move out.
The short version
- Echo is reflections. Your voice bounces off hard, bare surfaces and returns to the mic late.
- Test first. A clap test and a short A/B recording tell you where the problem lives.
- Closest fix is free. Halving your distance to the mic makes your voice far stronger than the room.
- Soft beats bare. Rugs, curtains, bedding, and a full bookshelf absorb the bounce.
- Treat near the camera. The wall behind the camera and the corners matter as much as the backdrop.
On this page
- Why your room echoes
- Test the room before you treat it
- The cheapest fix: get closer to the mic
- Soft furnishings do most of the work
- DIY panels and blanket setups
- The closet trick
- Corners and the wall behind the camera
- Renter friendly and reversible
- Pick the least echoey room
- The order to work in
- Echo questions, answered
- Keep exploring
Why your room echoes: hard surfaces and parallel walls
Your voice leaves your mouth in every direction. Where it meets a hard, flat surface, most of it bounces back, reaches the mic a moment after the direct sound, and your recording gets that hollow, distant ring. Bare walls, wood or tile floors, windows, and empty ceilings are the usual reflectors.
Sound moves fast, about 343 metres a second, so in a normal bedroom the bounce off the far wall is back at the mic in roughly 20 milliseconds. That is too fast to hear as a separate echo, the way a canyon repeats your shout. Instead the reflections pile up on top of your voice and smear it, which is why the effect sounds like hollowness or a faint metallic ring rather than a repeat. Studios call the total effect reverberation, and they measure how long it takes to die away. For filming, you only need the plain version: the longer your voice hangs in the room, the worse your audio sounds.
Two room shapes make it worse. Parallel hard walls facing each other create flutter echo, a rapid ping-pong of sound between the two surfaces that adds a buzzing edge to words, especially sharp sounds like claps and hard consonants. And corners, where walls and ceiling meet, collect and throw back a build-up of lower tones, which is part of why untreated rooms sound boxy as well as echoey. Big, empty, square rooms with hard floors are the worst combination. Small rooms full of soft stuff are naturally kind, which is why the same camera and mic can sound dreadful in one room and perfectly fine in the next.
One thing to be clear about: this article is about stopping echo before it reaches the mic. Trying to scrub reverb out of a finished recording is a different, harder job with specialised tools, covered in our guide to how to remove background noise from video. Prevention wins every time, and prevention is mostly furniture.
Test the room before you treat it
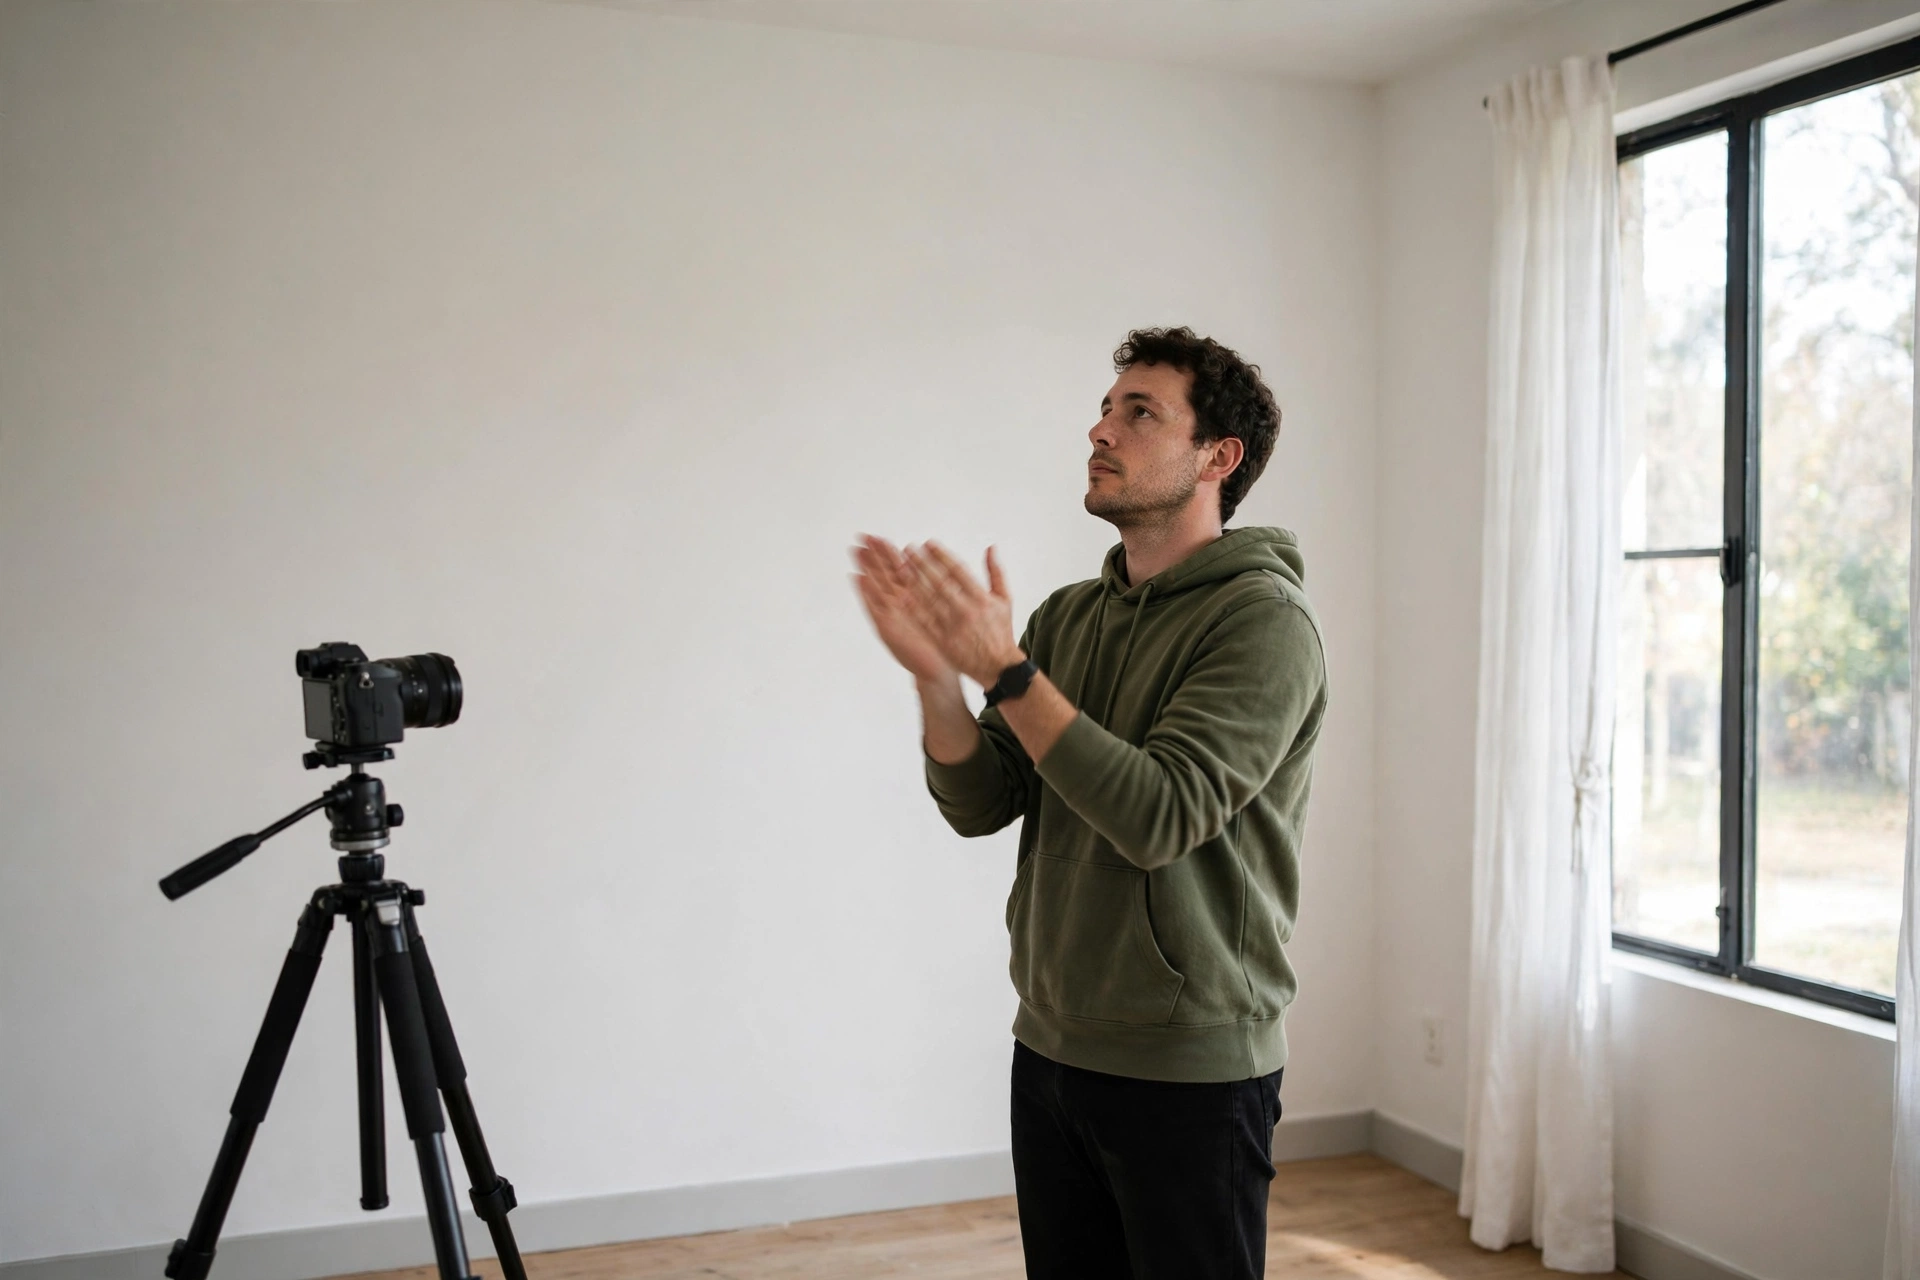
Stand where you film and clap once, hard. A clean room gives you one dry clap. An echoey room answers with a fluttery ring or a short tail. Then record 20 seconds of normal speech on your actual camera, move nothing, and listen back on headphones: the pause after your last word is where the room shows itself.
The clap test is crude and genuinely diagnostic. Clap in the middle of the room, then near each wall and in the corners. Wherever the clap rings or buzzes, there is a reflection problem nearby, and the loudest ring usually points at the worst surface pair. Walk it around the room and you will know within two minutes whether your enemy is the bare wall behind the camera, the window, or the empty ceiling.
The recording test matters more, because mics hear rooms differently from ears. Record the same short passage, at your normal volume and your normal mic position, before you change anything. Keep this clip. Every fix you try gets the same test: same passage, same position, same volume. Compare the ends of sentences, where your voice stops and the room keeps going for a moment. That tail is your scorecard. When the tail disappears, the room is treated, whether or not it looks like a studio.
Test in the conditions you actually film in, too. Curtains open or closed, door open or shut, and the heating or air conditioning running all change the result. There is no point tuning a room for a configuration you never use.
The cheapest fix: get closer to the mic
Before you treat anything, halve the distance between your mouth and the mic. Direct sound falls off fast with distance, so moving closer makes your voice much louder relative to the reflections, without the room changing at all. It is the single biggest improvement available and it costs nothing.
The maths is on your side. Each time you halve the distance, the direct sound reaching the mic gets roughly four times stronger compared with the room reflections, which stay about the same. A creator filming a metre from the mic who moves to half a metre has not made a small tweak; they have changed the balance of the recording completely. This is why a modest mic used close in a bad room beats an expensive mic used at arm’s length in the same room, a point our gear guide for vlogging equipment for beginners makes from the equipment side.
In practice, closer means a mic on a boom arm just out of frame, a shotgun mic on the camera at close range, or a lav mic clipped to your shirt, which sits near your mouth wherever you move. What does not work is turning a distant mic up: that raises the room reflections along with your voice. Distance first, volume second. Where the mic points matters as well, since directional mics reject sound from behind them; that is a placement topic in its own right, covered in our guide to microphone patterns and placement.
General capture technique, levels, and mic choice are covered in our guide to how to record better vlog audio. For echo specifically, remember that proximity is a treatment in itself. Some creators fix their “room problem” entirely with a boom arm and never touch the walls.
Soft furnishings do most of the work
Soft, heavy, uneven materials absorb reflections instead of returning them. A thick rug, heavy curtains, a fabric sofa, bedding, and full bookshelves between you and the bare surfaces will calm most rooms noticeably, using things you already own.
Work through the room in this rough order. The floor first if it is hard: a rug under and around your filming spot, the thicker the better. Then the biggest bare wall, especially if it faces another bare wall. Heavy curtains over windows do double duty, since glass is one of the most reflective surfaces in any home. A fabric sofa or an armchair in the room absorbs more than its size suggests, and a bookshelf loaded with books of different sizes is a genuinely good treatment, because the uneven spines scatter reflections in many directions instead of sending them straight back.
Temporary softening works too, and for filming it is often all you need. A duvet or thick blanket draped over a door, a clothes rail, or a couple of chairs near your spot changes the sound of that corner of the room for the length of a shoot. Cushions piled on a hard chair, coats hung on the back of the door, even a laundry basket of clothes in the corner: it all counts. The rule is simple. If a surface near you is hard, flat, and bare, put something soft, heavy, or uneven in front of it.
Notice what does not help much: thin foam squares glued everywhere, egg boxes, and other internet folklore. Thin materials only absorb the very top of the sound and leave the body of the echo untouched. Thickness and weight are what absorb a voice.
DIY panels and blanket setups that actually work
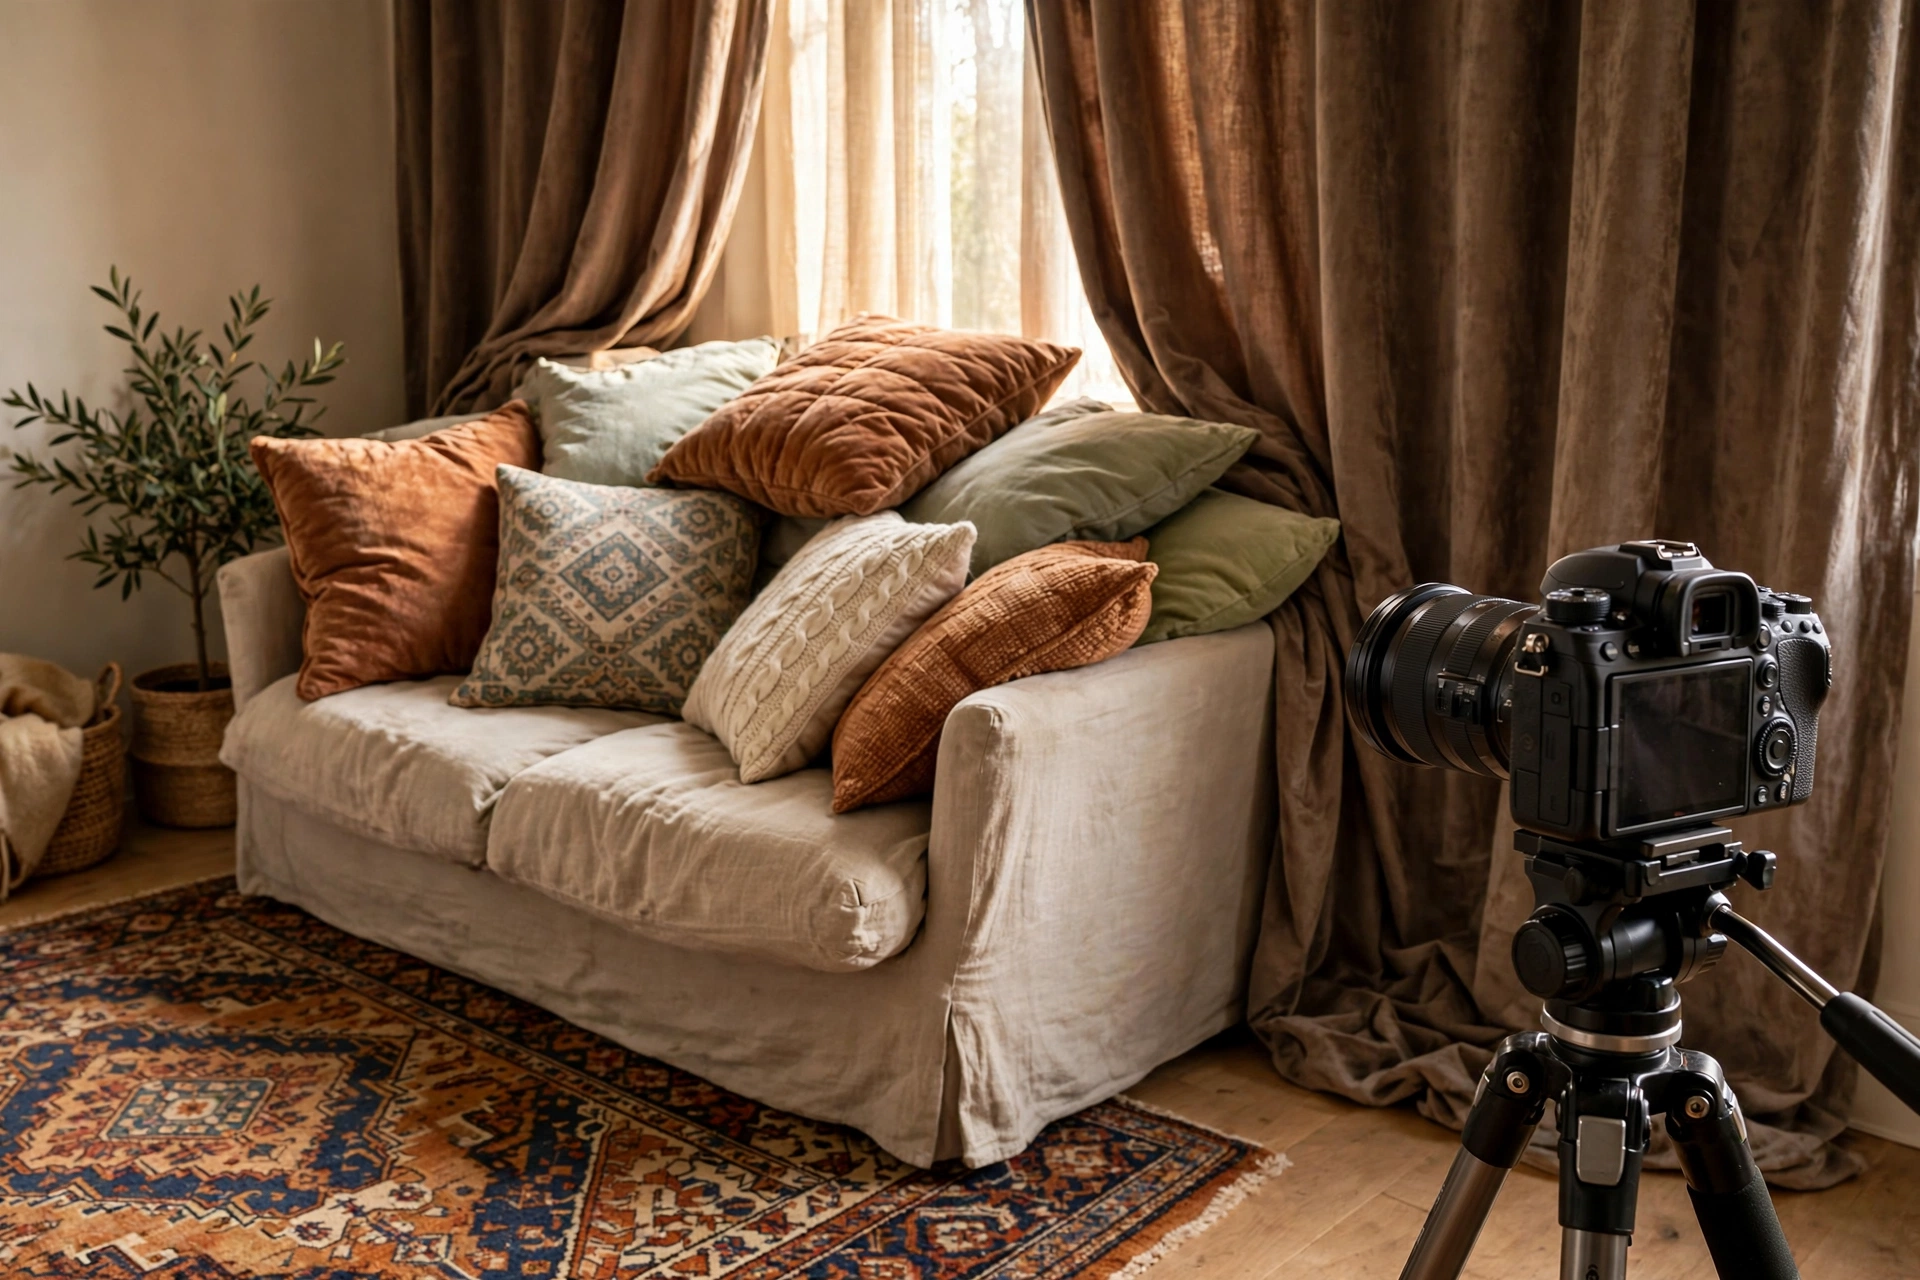
A panel works when it is thick and dense: a wooden frame filled with mineral wool or dense insulation, wrapped in breathable fabric, hung where reflections are worst. The blanket version, heavy moving blankets hung with an air gap behind them, gets you most of the same benefit for far less effort.
If you want a step up from furniture, build or buy proper panels. The recipe that works is consistent across every studio tradition: a simple frame, a filling of mineral wool or similar dense insulation material around 5 to 10 centimetres thick, and a fabric cover you can blow through. Hang panels on the wall behind your filming position and on the side walls at the points where sound from your mouth bounces toward the mic. Two or three panels in the right places outperform a wall covered edge to edge in the wrong ones.
The blanket fort deserves its reputation. Moving blankets are heavy, cheap, and designed to deaden sound. Hang them from a clothes rail, a curtain rod, or hooks so they sit a few centimetres off the wall; that air gap makes them work harder. A blanket tent over and around your filming corner, roof included, is close to a small studio for voice. It looks ridiculous and sounds professional, which is the correct trade for anything that happens off camera.
Leave the ceiling for last. It is a real reflection surface, but it is the hardest to treat and usually matters least once the walls and floor near you are soft. A canopy of fabric over the filming corner helps if the ceiling is your remaining problem.
The closet trick, and other small-space escapes
A closet full of clothes is one of the driest recording spaces in any home, because hanging garments absorb reflections on every side. If your main room resists treatment, filming or recording voice parts in or facing a full wardrobe can rescue the audio immediately.
Creators have used closets for voice work for decades, and the physics is the same as everything above: maximum soft material, minimum bare surface, tiny distances. You do not even need to climb inside. Filming facing an open, full closet, with the doors open and the clothes a step in front of you, puts absorption exactly where your voice is aimed. For narration and voiceovers it is often the fastest route to a clean sound in an echoey flat.
Other small-space escapes follow the same pattern. A car interior is heavily padded and famously dry, fine for audio-only parts. A bedroom usually beats a kitchen or bathroom, because beds and wardrobes soften it. Under a blanket fort on the bed is the zero-budget classic for a reason. The pattern to remember is that small and soft beats big and bare, every single time. Our talking-head filming tips cover how to frame and light yourself well once you have picked the spot.
Corners and the wall behind the camera
Treat the surfaces your voice hits first, not just the backdrop viewers see. The wall behind the camera receives your voice head-on and sends it back, so hang soft material there. Corners collect low, boxy tone; a bookshelf, curtain folds, or a panel placed across a corner calms them.
The most common treatment mistake is decorating the backdrop and ignoring everything else. Viewers see the wall behind you, but your voice mostly travels forward, toward the camera and the wall behind it. That wall is your first reflection surface, and treating it, with a hung rug, a heavy curtain, or panels, often improves the recording more than anything you do to the pretty side of the room. If you film facing a window, drawing thick curtains behind the camera position does the same job.
Corners are the second priority. Where two walls and the ceiling meet, sound builds up, and the result is the boxy, chesty quality that rides under echo. You do not need specialist bass traps for speech. Breaking the corner works: a tall bookshelf across it, curtain bunched into it, a panel angled over it, or even a clothes rail of garments standing in it. The backdrop itself, the wall behind you, matters for a different reason: it returns sound that has passed you to the mic from behind, and it is where our guide to vlogging backgrounds and home studio sets picks up, since that wall is doing visual and acoustic work at the same time.
Renter friendly and reversible: everything comes down clean
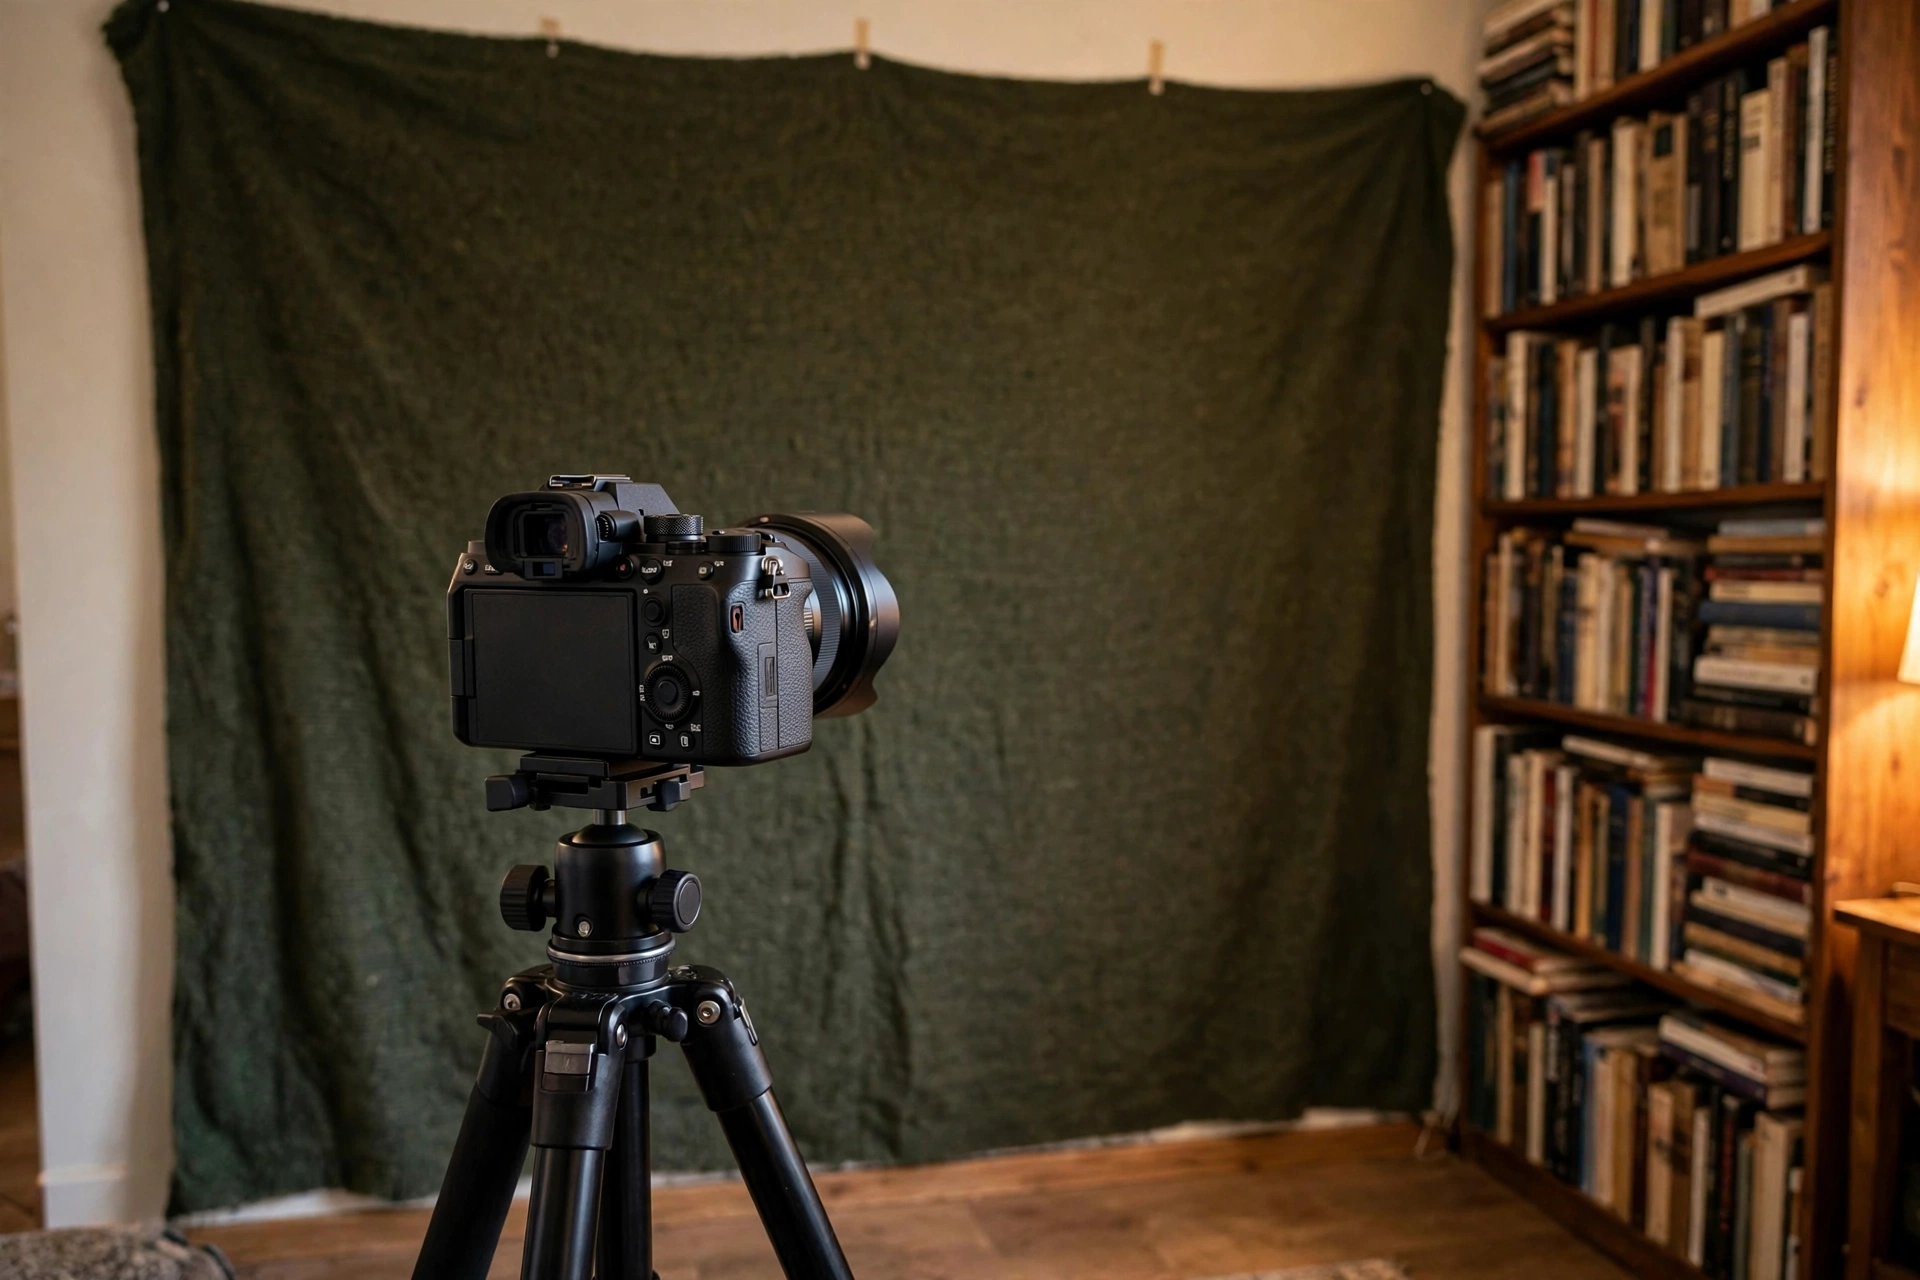
Almost every effective treatment can be hung, draped, or stood in place rather than fixed. Curtain rods on tension, blankets on rails and hooks that lift off, panels leaned or hung from picture hooks, rugs simply laid down: a full treatment can be up for a shoot and gone in ten minutes.
Renting does not excuse echo, because the fixes that work best need no screws. Tension rods hold curtains and blankets across walls and windows. Removable adhesive hooks carry a surprising amount of weight and come off clean. Panels can lean against a wall at a slight angle and work nearly as well as mounted ones, or hang from the picture rail many older homes already have. A rug needs no permission at all.
Think in terms of a filming configuration rather than a permanent conversion. Many creators keep a mental checklist: curtains drawn, blanket up behind the camera, rug rolled out, door closed. Two minutes of setup, then the room returns to normal life afterwards. That habit also keeps the treatment consistent from video to video, which matters, because a room that changes between shoots gives you audio that changes between shoots. Reversibility is not a compromise here; it is a workflow.
Pick the least echoey room in the first place
If you have any choice of room, clap test them all and film in the softest one. Carpeted, furnished, oddly shaped rooms with curtains and books beat large, square, hard-floored rooms every time, and moving rooms is cheaper than treating a bad one.
Walk the whole home with the clap test before you commit to a filming spot. The ranking surprises people: the spare bedroom with a bed, wardrobe, and curtains often beats the bigger living room with wood floors and a glass wall. Kitchens and bathrooms are almost always the worst rooms in the house, all tile, glass, and hard parallel surfaces. Hallways flutter. The room you want has soft stuff at several heights, no two bare walls staring at each other, and a door that closes.
Also weigh what else the room gives you: a door you can shut against household noise, a window you can curtain for consistent light, and enough distance from the street. Acoustic treatment fixes reflections; choosing the room fixes reflections and half your noise problems at the same time. It is the highest-leverage decision in this whole guide, and it happens before any treatment at all.
The order to work in
Test, then get closer to the mic, then soften the room with what you own, then target the wall behind the camera and the corners, then build panels only if you still need them. Re-test after each step and stop when the tail after your sentences is gone.
Echo feels overwhelming because people attack it randomly, hanging things everywhere and hoping. Worked in order, it is a sequence of cheap experiments. The clap test tells you where you stand. Proximity fixes more than most expect. Furniture fixes most of what remains. Targeted treatment of the forward wall and corners handles the stubborn cases. Panels and built treatment are the last resort, not the first purchase. At every step, the same 20-second test recording tells you whether you are done. When the room stops answering back, stop treating it and go film something.
Echo questions, answered
Quick answers to the questions creators ask most about echoey rooms and filming spaces.
How can I reduce echo in a room without spending money?
Get closer to the mic, film facing soft furniture, hang a duvet or thick blankets on the wall behind the camera, lay any rug you own under your spot, and close heavy curtains. Those five free steps fix most bedroom echo. A closet full of clothes is the other classic free fix.
Why does my room sound like a bathroom in my videos?
Because hard, bare surfaces are reflecting your voice back into the mic a fraction of a second late, the same thing that happens with tile in an actual bathroom. The mic hears you plus the room. Softening the surfaces near you and moving the mic closer removes the effect.
Do acoustic foam panels really work?
Thick, dense panels work; thin foam squares do very little for voice. Foam only absorbs high frequencies, so a wall of thin tiles leaves the body of the echo in place. Heavy blankets, curtains, and proper mineral wool panels absorb far more of what a voice produces.
What is the clap test for echo?
Stand in the room and clap once, sharply. A treated room answers with a single dry clap. An echoey one adds a ring, buzz, or short tail. Clap near walls and corners to find the worst surfaces, then record a short speech test on your camera to confirm what the mic hears.
Does carpet help reduce echo?
Yes, a thick rug or carpet is one of the most effective single changes, because the floor is a large reflection surface close to you. It works best combined with softening a wall or two; a rug alone in an otherwise bare square room helps a lot but may not finish the job.
Why does recording in a closet sound so good?
Hanging clothes absorb reflections on nearly every side, the distances are tiny, and there are no parallel bare walls. It is a naturally dry space. You can get much of the benefit by filming facing an open, full wardrobe rather than squeezing inside it.
Can I fix echo in editing instead?
Only partly, and it is the hard way round. De-reverb tools can reduce baked-in echo but often thin the voice, while treating the room fixes the cause for every future video. Record it clean first; treat editing fixes as rescue work for footage you cannot shoot again.
Which wall should I treat first?
The wall behind the camera, because your voice travels forward and reflects off it straight back to the mic. After that, whichever bare wall faces another bare wall, then the corners. The backdrop behind you matters, but it is not where your voice is aimed.
How do I reduce echo in a rented room?
Use tension rods for curtains and blankets, removable hooks, panels leaned against the wall, and rugs laid on the floor. Nothing needs screws, and the whole setup can come down in minutes. Filming configuration, not permanent conversion, is the renter’s approach.
How close should my mic be to reduce echo?
As close as your setup reasonably allows. Halving the distance makes your direct voice roughly four times stronger compared with the room reflections. A lav mic on your shirt or a boom mic just out of frame both achieve it; turning up a distant mic does not, because it raises the room too.
Keep exploring
A calmer room is one part of better videos. These guides cover the filming setup and starter kit around it.