
Last updated: October 2026
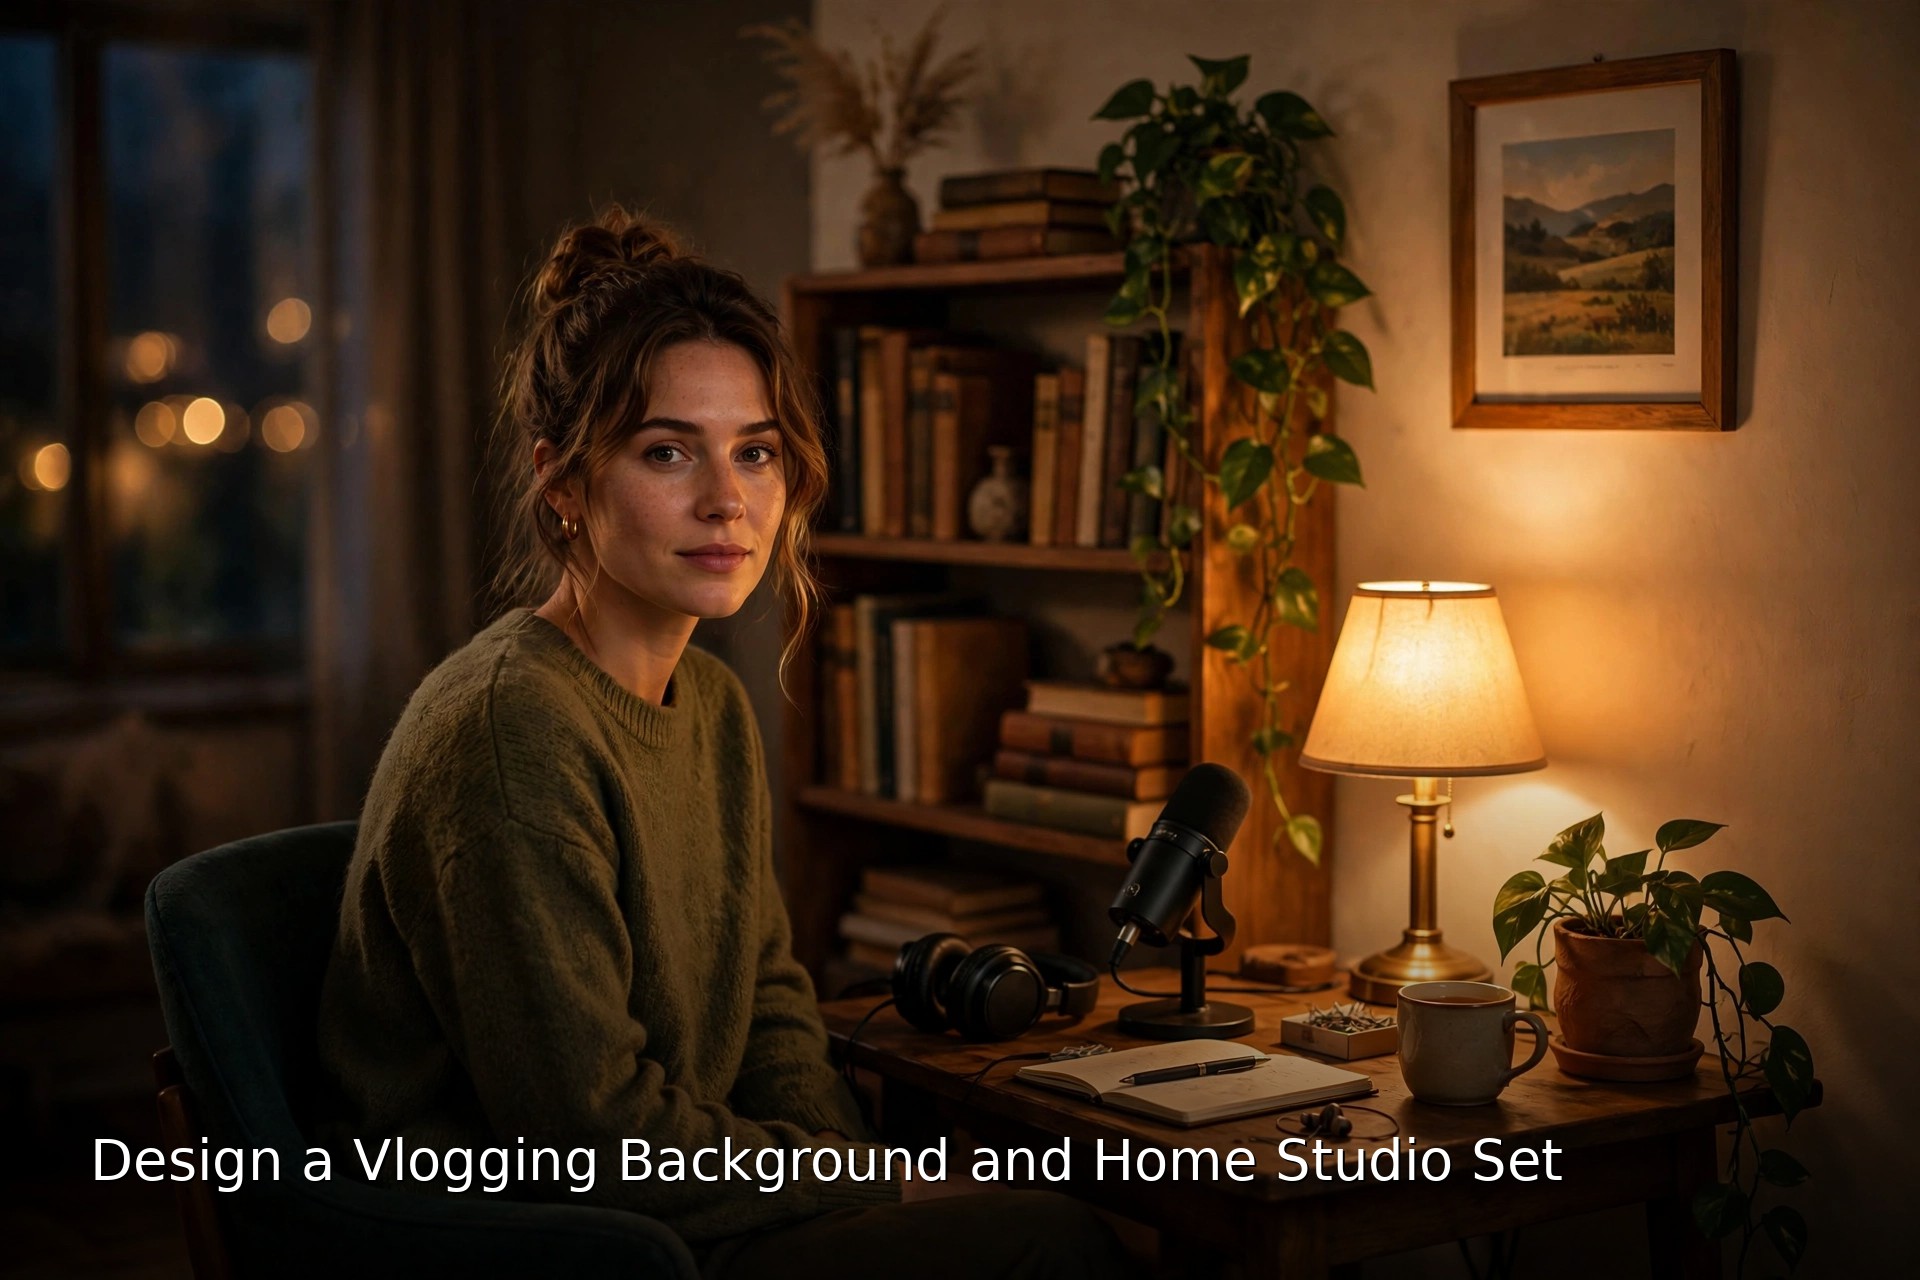
Viewers judge your background before they judge your advice. In the first seconds of a video, the space behind you tells them whether this channel is settled and worth trusting, or a laptop balanced on a laundry pile. The good news is that a background is mostly arrangement, not spending. Distance, layers, one accent color and a bit of soft furnishing will take a spare corner further than most gear upgrades. This guide designs the set the way a camera sees it: as a flat rectangle with you in front of it.
The short version
- Design for the frame, not the room. Only what the lens sees exists. The rest of the room can stay exactly as messy as it is now.
- Distance is the cheapest upgrade. A meter or two between your chair and the wall changes the shot more than any decoration.
- Keep the background dimmer than your face, and give it one accent color, repeated two or three times.
- Soft furnishings do two jobs. Rugs, curtains and cushions look cosy on camera and quietly soak up echo.
- Photograph the finished set and rebuild it from the photo every session. Consistency is branding.
On this page
- Start with the frame, not the room
- Depth and separation do the heavy lifting
- What actually reads well on camera
- Color and brightness: keep the background in its place
- Light the background like part of the shot
- Hide the clutter, cables and echo clues
- Small rooms and renters: a set without drills or space
- Vlogging from a small apartment: the apartment-life layer
- Three budget tiers, and no shopping list
- The same background every time is branding
- Mistakes that make a set look cheap
- Background questions, answered
- Build it once, then stop touching it
- Keep exploring
Start with the frame, not the room
Your set is only the rectangle the lens can see from your filming position, often less than two meters of wall. Sit in your chair, set the camera at its real height, and design inside that rectangle. Everything outside it is storage, and it never needs to look good.
Work from a test recording, not from standing in the room. Rooms look fine to eyes that can turn their heads; cameras crop the world hard, and the crop is where sets succeed or fail. Record ten seconds of yourself talking, then watch it back full screen and audit all four edges and corners. Edge clutter is the classic find: half a laundry basket, a cable dropping through frame, the corner of a poster you forgot existed. A phone preview hides all of this, so check on the biggest screen you have.
While you audit, watch where your head lands against the background. A shelf edge, a picture frame or a plant should never sit directly behind your skull, where it reads as something growing out of you. Shift the chair a few centimetres and the problem usually walks away. Framing rules like headroom and eye line placement build on the same test shot, and our talking head filming tips walk through them in detail.
Depth and separation do the heavy lifting
Depth is what separates a studio looking shot from a mugshot against a wall. It comes from distance and layers: aim for one to two meters between your chair and the wall, then stack a foreground edge, yourself, a midground object and the wall itself into four soft layers.
Distance works three jobs at once. It lets the background fall gently out of focus, it moves your shadow off the wall behind you, and it lets your key light fade before it reaches the background, so the wall sits darker for free. Even one meter of gap transforms a shot; two meters is the luxury version. If the room forces a choice, spend the space behind you rather than in front of the camera.
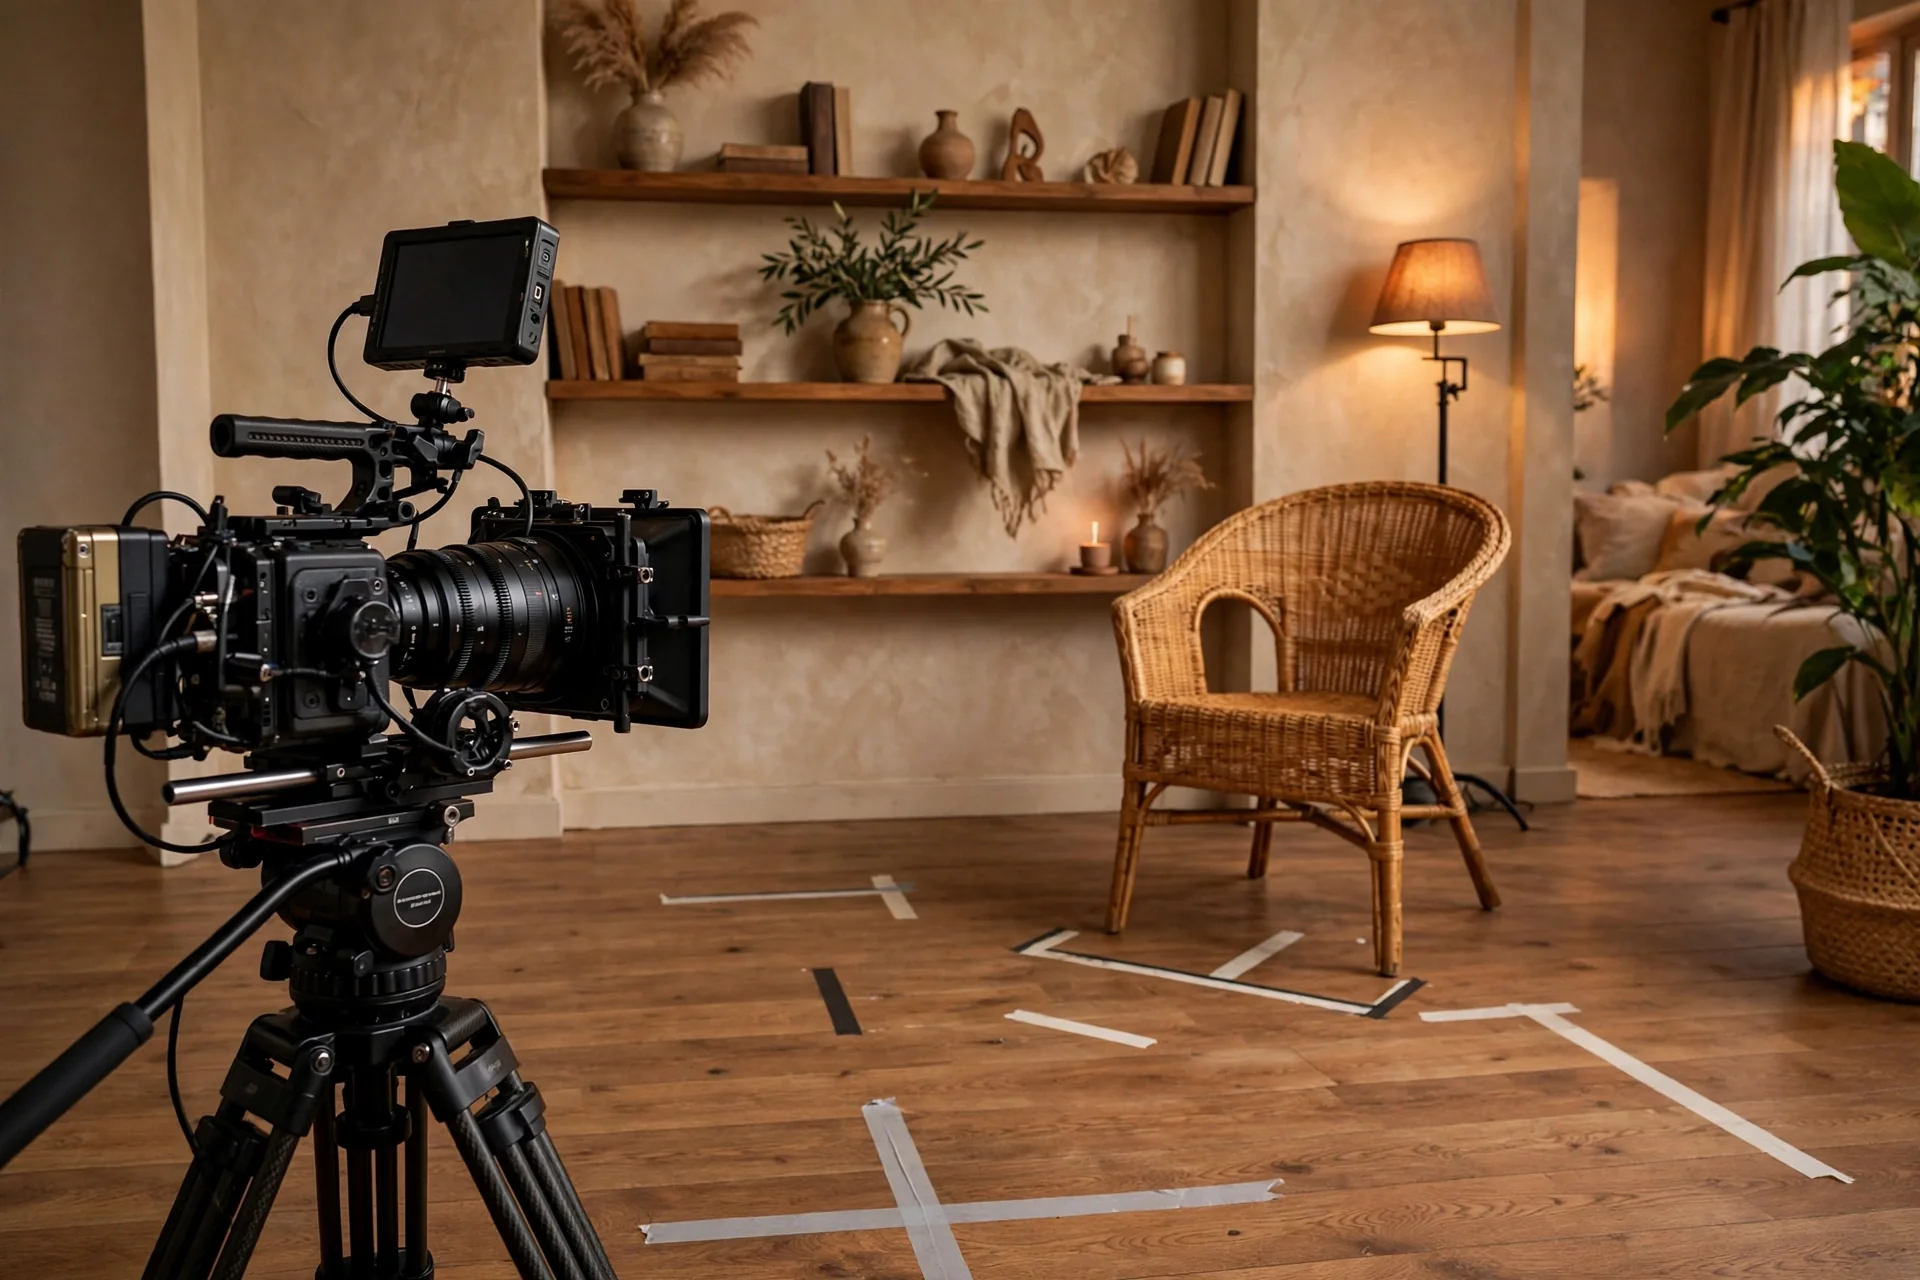
Layers do the rest. A plant leaf, a microphone arm or a desk corner just inside the frame edge gives the eye a near layer. You are the middle. A shelf, a second chair or a floor lamp behind you forms the midground, and the wall closes the back. Corners beat flat walls, too: angle your chair toward a corner and the two walls run away diagonally, which reads as a bigger room than the tape measure allows. When space is truly tight, fake the last of the depth with light: a dimmer background always reads as a deeper one.
What actually reads well on camera
Cameras reward big, simple shapes: shelves with varied heights and breathing room, one or two plants, a lamp glowing inside the frame, and honest texture like wood or weave. Tiny busy objects dissolve into noise at video resolution, so judge every item at phone size before it earns a place.
The bookshelf is the classic for a reason, but the trick is editing, not owning books. Mix vertical rows with horizontal stacks, leave gaps, and vary the heights so the shelf reads as a rhythm rather than a barcode. Add one plant with soft edges, ideally something trailing that breaks the shelf’s straight lines. A practical lamp, a real lamp switched on inside the frame, is the hardest working prop in set design: it adds warmth, a highlight and a sense of evening all at once.
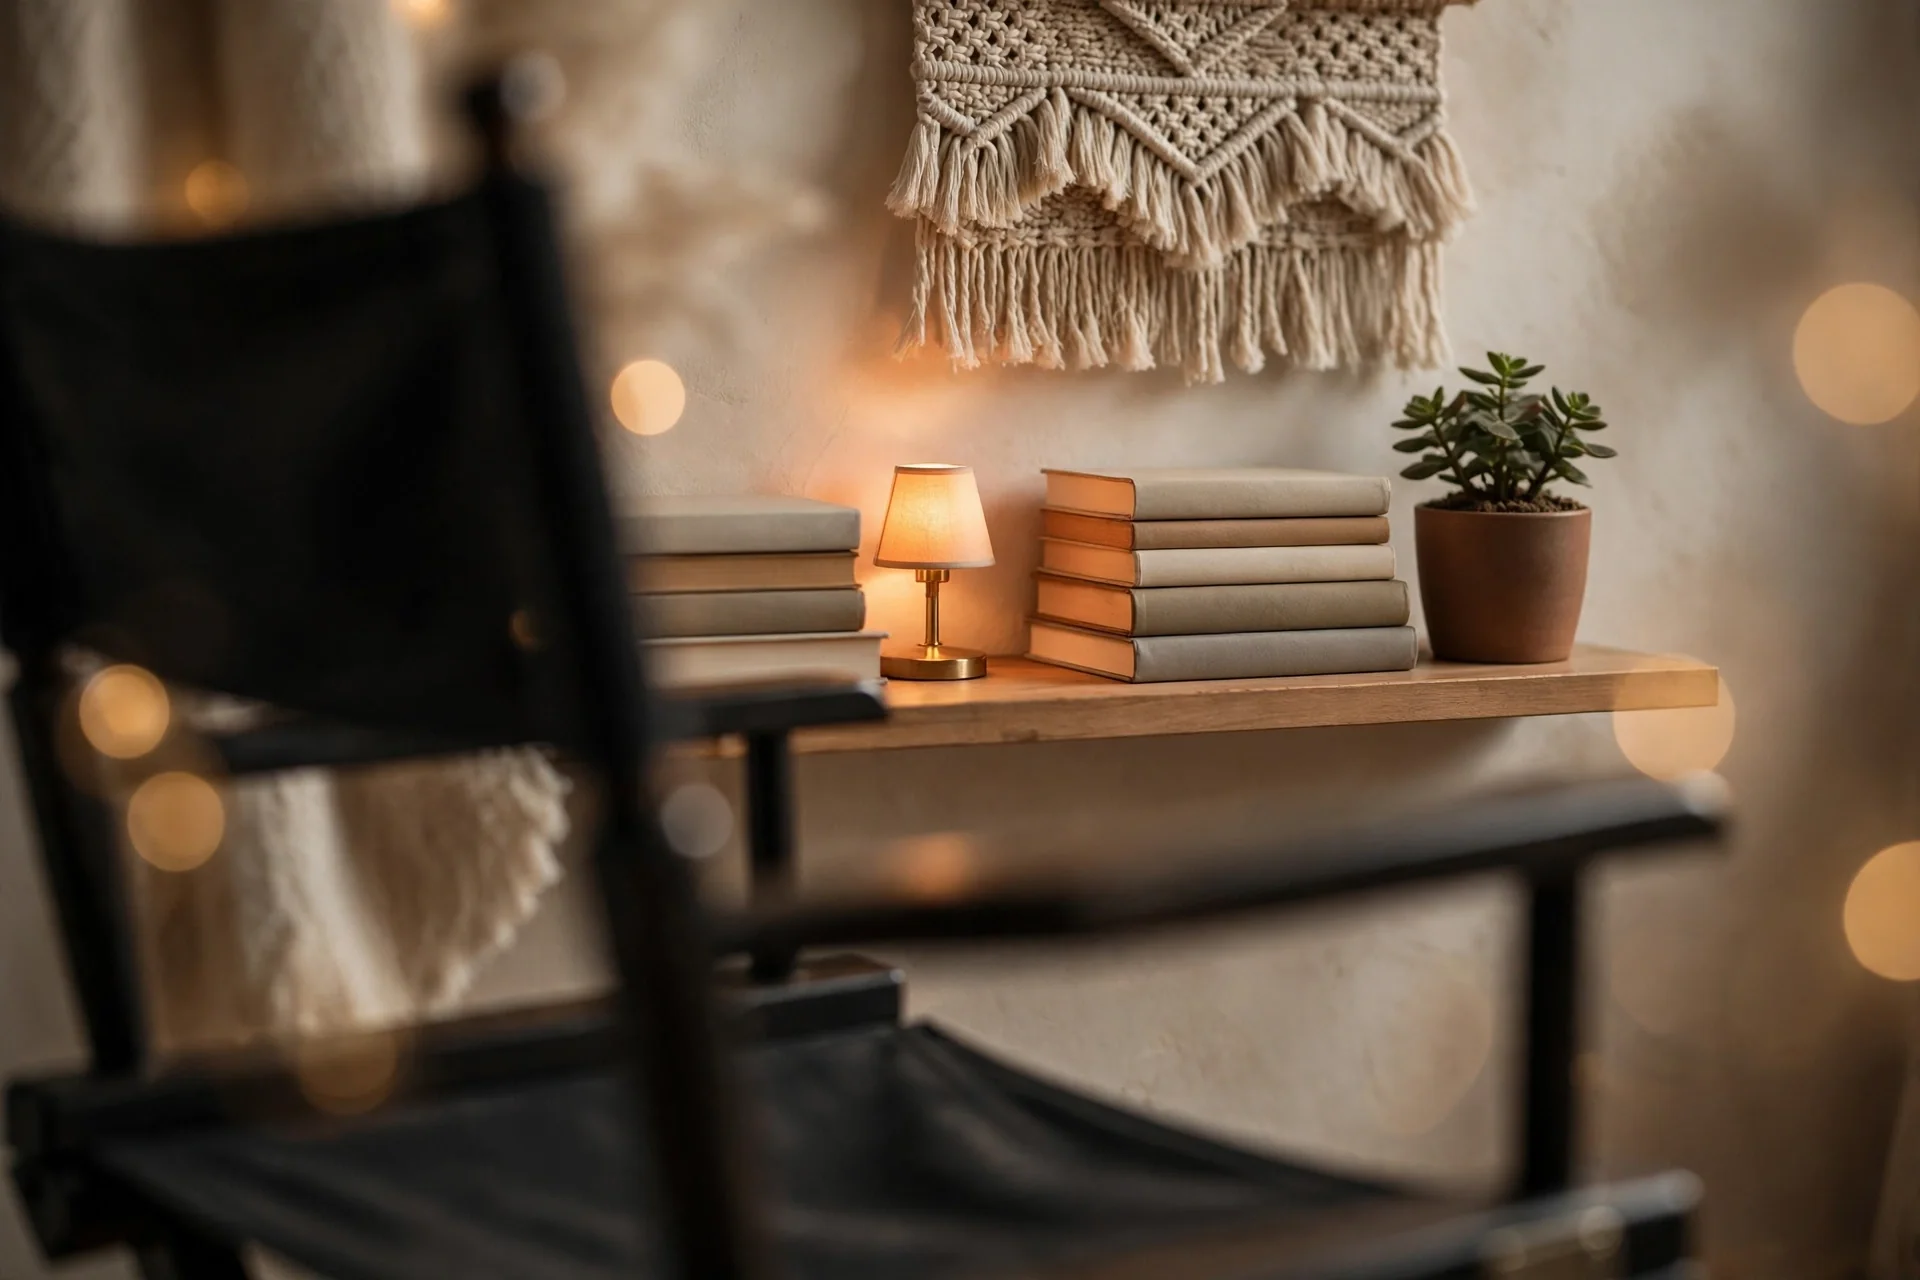
Texture is the quiet ingredient. Wood grain, woven hangings, brick, slatted panels and matte paint all give the camera something to hold at low resolution, while smooth glossy surfaces reflect your lights and show every smudge. One larger item tied to your subject, an instrument, a framed map, a shelf of the tools of your trade, tells a new viewer what the channel is about before you say a word. Group items in twos and threes at different heights, then run the phone test: shrink your test recording to the size viewers actually watch at, and remove anything that turned into visual static.
Color and brightness: keep the background in its place
Your face should be the brightest, warmest thing in the frame. Keep the background roughly one to two stops darker, build it from calm neutrals, and repeat a single accent color two or three times so the set feels chosen rather than accumulated.
Brightness first. If the wall behind you matches your face in brightness, the viewer’s eye has nowhere to settle and the shot feels flat and tiring. Let the background fall darker and your face steps forward without any extra light on you. The one hard rule: the brightest object in the frame must never be behind your head. A bright window or a bare bulb back there will drag every eye in the room away from you, and your camera will expose for it and darken your face into the bargain.
Color follows the same discipline. Neutrals, warm greys, soft whites, muted versions of your channel color, carry the set, and one accent does the talking: a cushion, a lamp shade and a book stack in the same rust, teal or mustard reads as design. Check the contrast against yourself as well. Dark hair against a dark shelf disappears without a lighter patch or a dim lamp to one side behind you, and a pale wall behind a pale shirt washes the whole frame out. Run the test wearing what you actually film in.
Light the background like part of the shot
The background deserves its own light. A practical lamp inside the frame, or one small light washing a shelf from the side, creates the gradient and glow that make a set feel designed. Flat, even light across the whole wall is what makes backgrounds look like passport photos.
Lighting your face is a separate craft, covered in our guide to lighting your face for videos. This section is about the light behind you. The simplest version is a practical: the table lamp or floor lamp already in the frame, doing visible work. It motivates its own glow, warms the set, and gives the background a bright point that is allowed to be there because it sits away from your head. One step up, aim a small light at the shelf or wall from low or from the side, so brightness falls across it in a gradient instead of a flat wash.
Colored accent light is the tool everyone reaches for and the one to handle gently. Keep it on the background only, keep it dim, and pick one color that belongs to your channel. A saturated wash looks dramatic in a still photo and fights skin tones for a whole video, and it dates a set faster than any other choice. Small panels and practical lamps suited to this background work are compared in our guide to the best lights for vlogging.
Hide the clutter, cables and echo clues
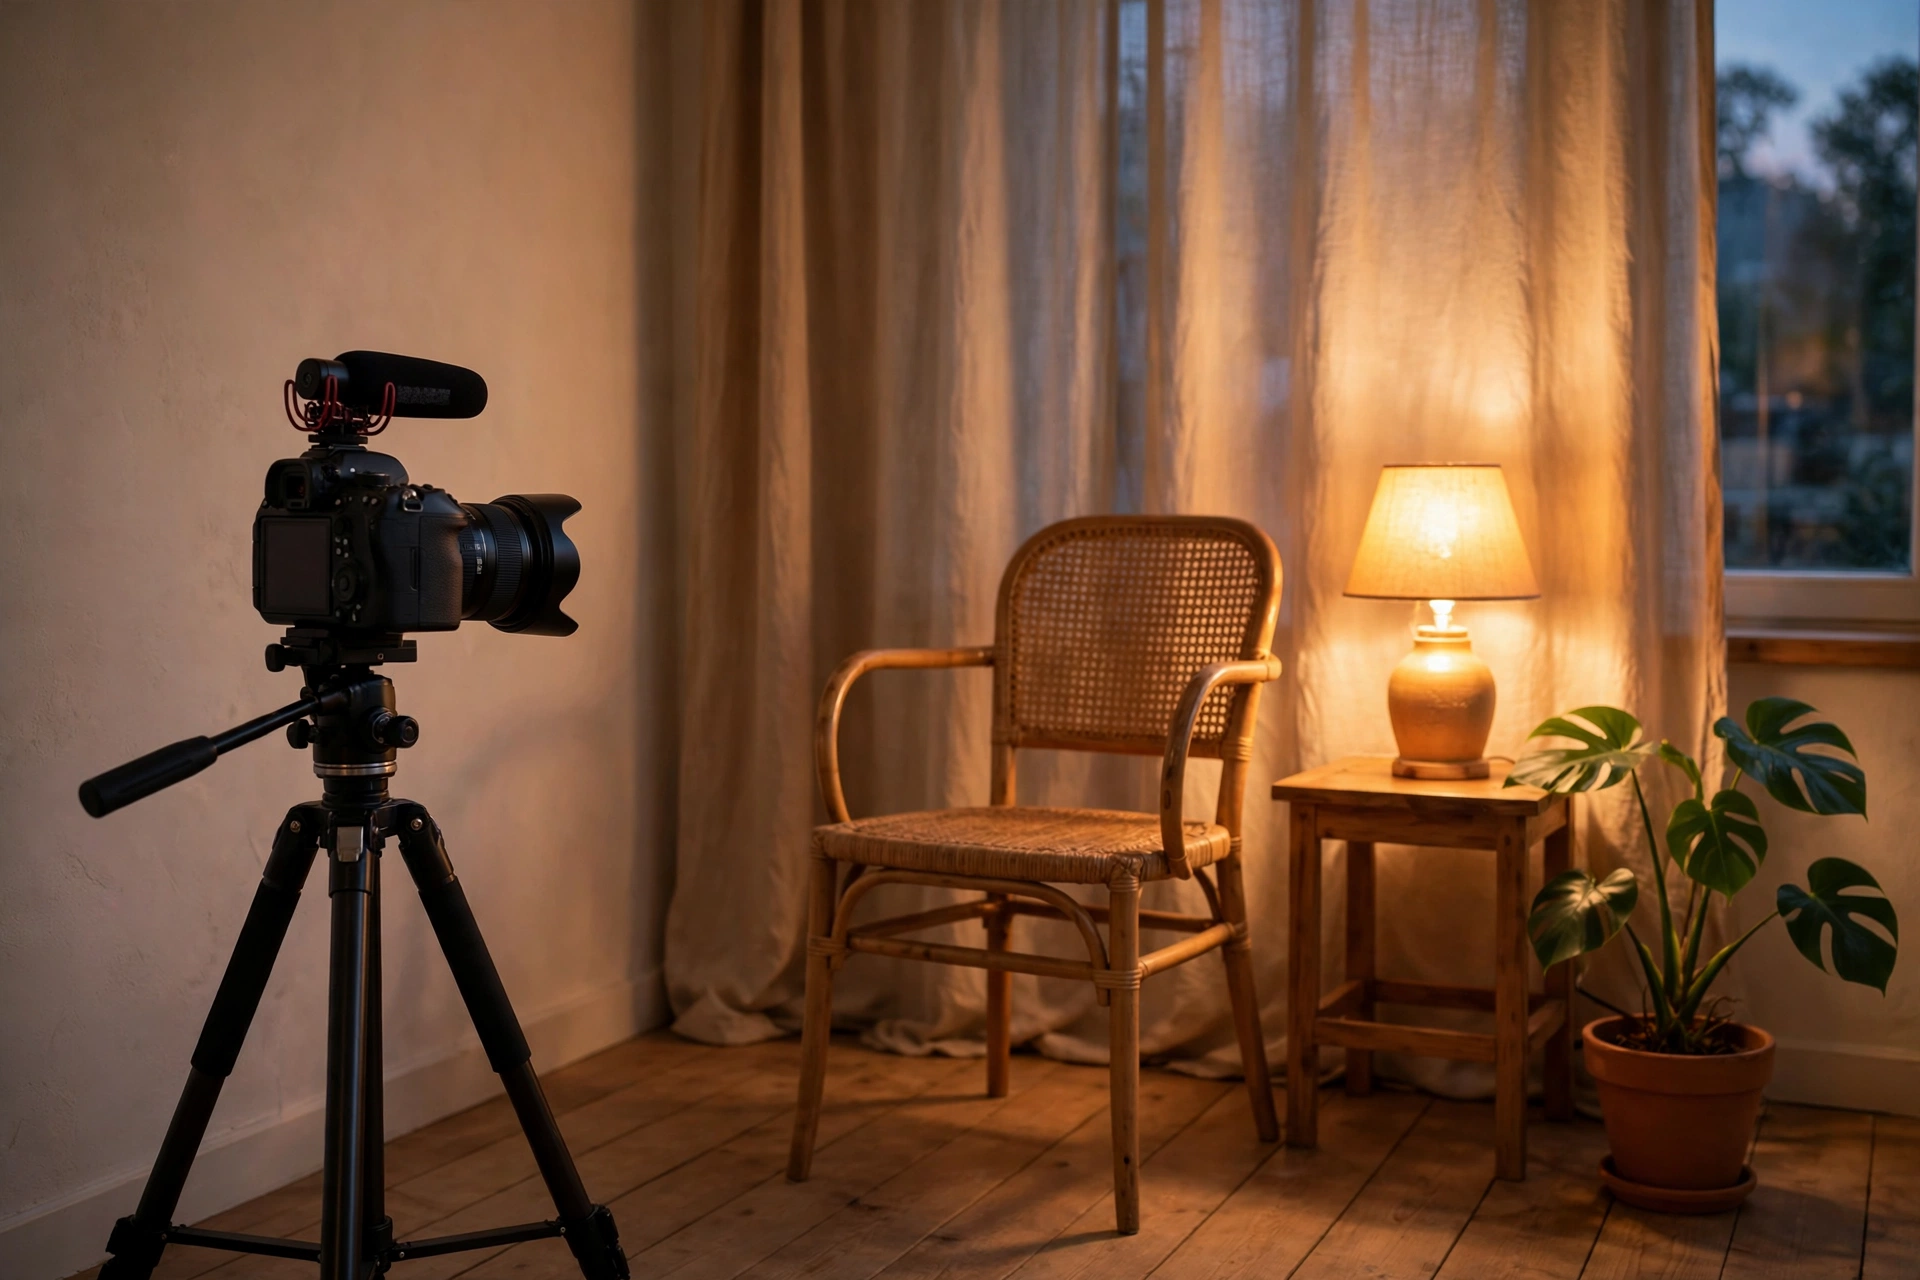
You do not need a tidy home, only a tidy rectangle. Move real life out of the frame slice, run cables along the skirting board, keep doors out of shot, and dress the set with soft furnishings that quietly absorb the echo a bare room would announce.
Clutter is an edge problem. Chargers, laundry, paperwork and the cable nest behind every desk all live happily just outside the frame; the camera will never report them. Cables that must cross the set should hug the skirting board or run taped under a rug, because a single dangling cable reads louder than any shelf styling. Doors deserve special suspicion: a door behind you will eventually open mid take, and even closed, it reads as an exit sign hovering over your shoulder.
Echo leaves visual clues. Bare walls, hard floors and empty corners look exactly like they sound. The fix doubles as decor: a rug under the chair, curtains at the window, cushions on the sofa, a throw folded over the bookcase. Books and plants scatter sound a little, but soft mass does the real absorbing, so style the treatment in your set colors and it reads as furnishing, not as a studio. We go deeper on the sound side in our guide to reducing echo in a room.
Small rooms and renters: a set without drills or space
Renters and small rooms lose nothing that matters. A corner gives you diagonal depth for free, a curtain on a tension rod is a backdrop with zero holes, and leaning shelves, removable strips and a collapsible backdrop build a full set that leaves the deposit untouched.
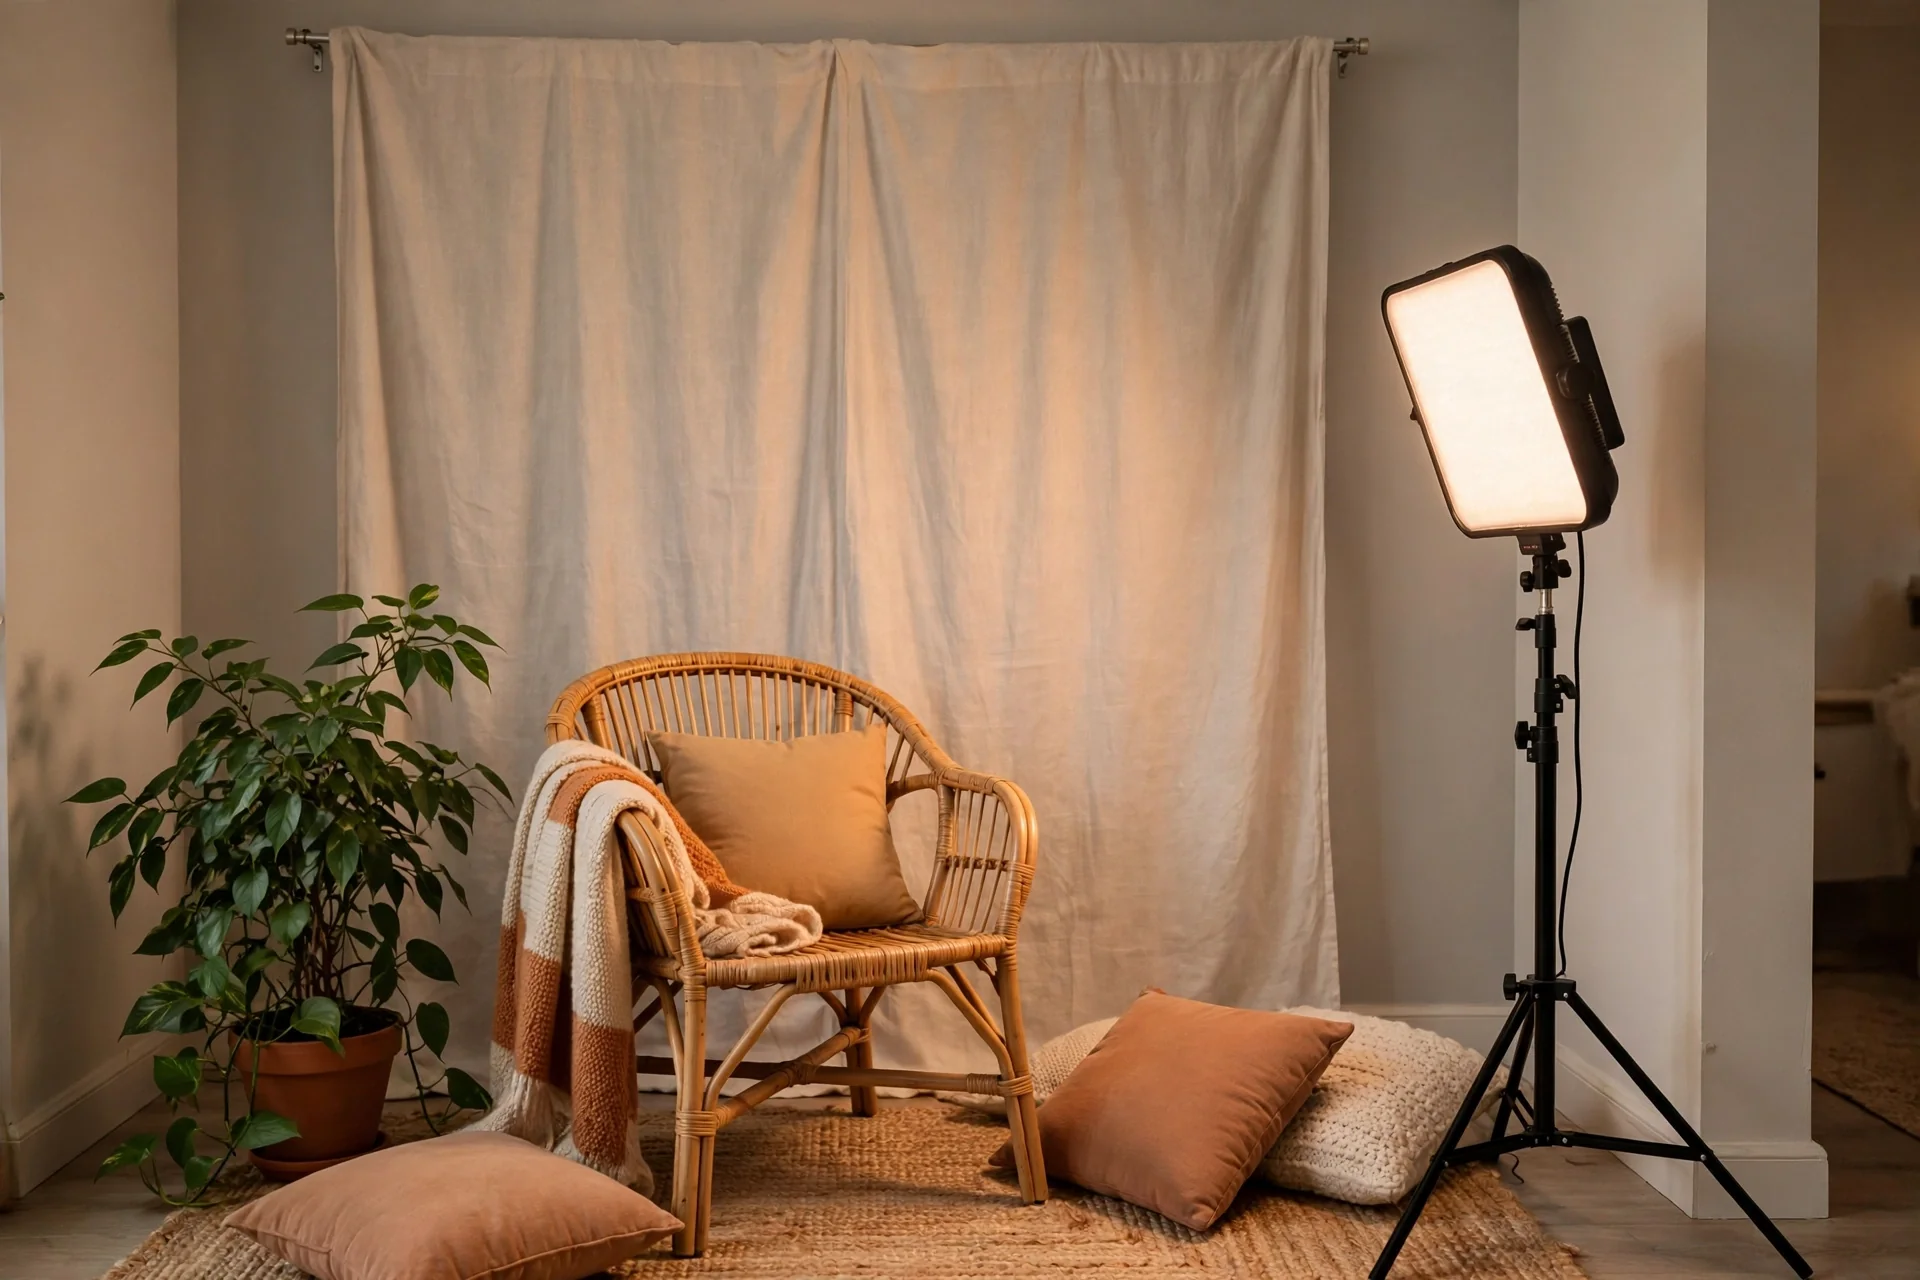
Start with the corner. Two walls meeting already angle away from each other, so a chair placed into the corner gets layered depth that a flat wall in a bigger room cannot match. Hang a plain curtain from a tension rod or a removable rail and you have a controlled surface whose color and texture you chose, in front of a wall you did not touch. A collapsible backdrop does the same job in shared rooms where the set has to vanish afterwards.
Furniture can be the structure. A bookcase leaned against the wall, or turned sideways as a divider, brings its own styled back panel with it. Light frames, art and hangings go up on removable adhesive strips. And if the room is shared, keep a set box: cushion, throw, plant and lamp live in one box, the corner converts in five minutes, and filming never becomes an argument about whose room it is.
Vlogging from a small apartment: the apartment-life layer
Small-room set design and apartment life are two different problems. The set design above fixes what the camera sees. Apartment life fixes what the neighbors hear, what the lease allows, and the fact that you live in the room you film in. This section is mostly that second layer, with two last-resort framing and location fixes at the end.
Everything here assumes the set itself already follows the earlier sections: a framed rectangle, distance where you can get it, a background darker than your face. The apartment layer sits on top of that, and it matters most in one-room flats, thin-walled buildings, and shared homes.
Sound travels both ways through thin walls
Thin walls carry sound in both directions, so apartment filming has two sound problems, not one: your neighbors hear your takes, and your microphone hears your neighbors. Plan for both before you press record.
Schedule the loud takes. Learn your building’s rhythm and film voice-heavy takes when neighbors are out or at work, not late at night when everyone is home and every word carries. If the building has posted quiet hours, treat them as filming hours you do not use for loud takes.
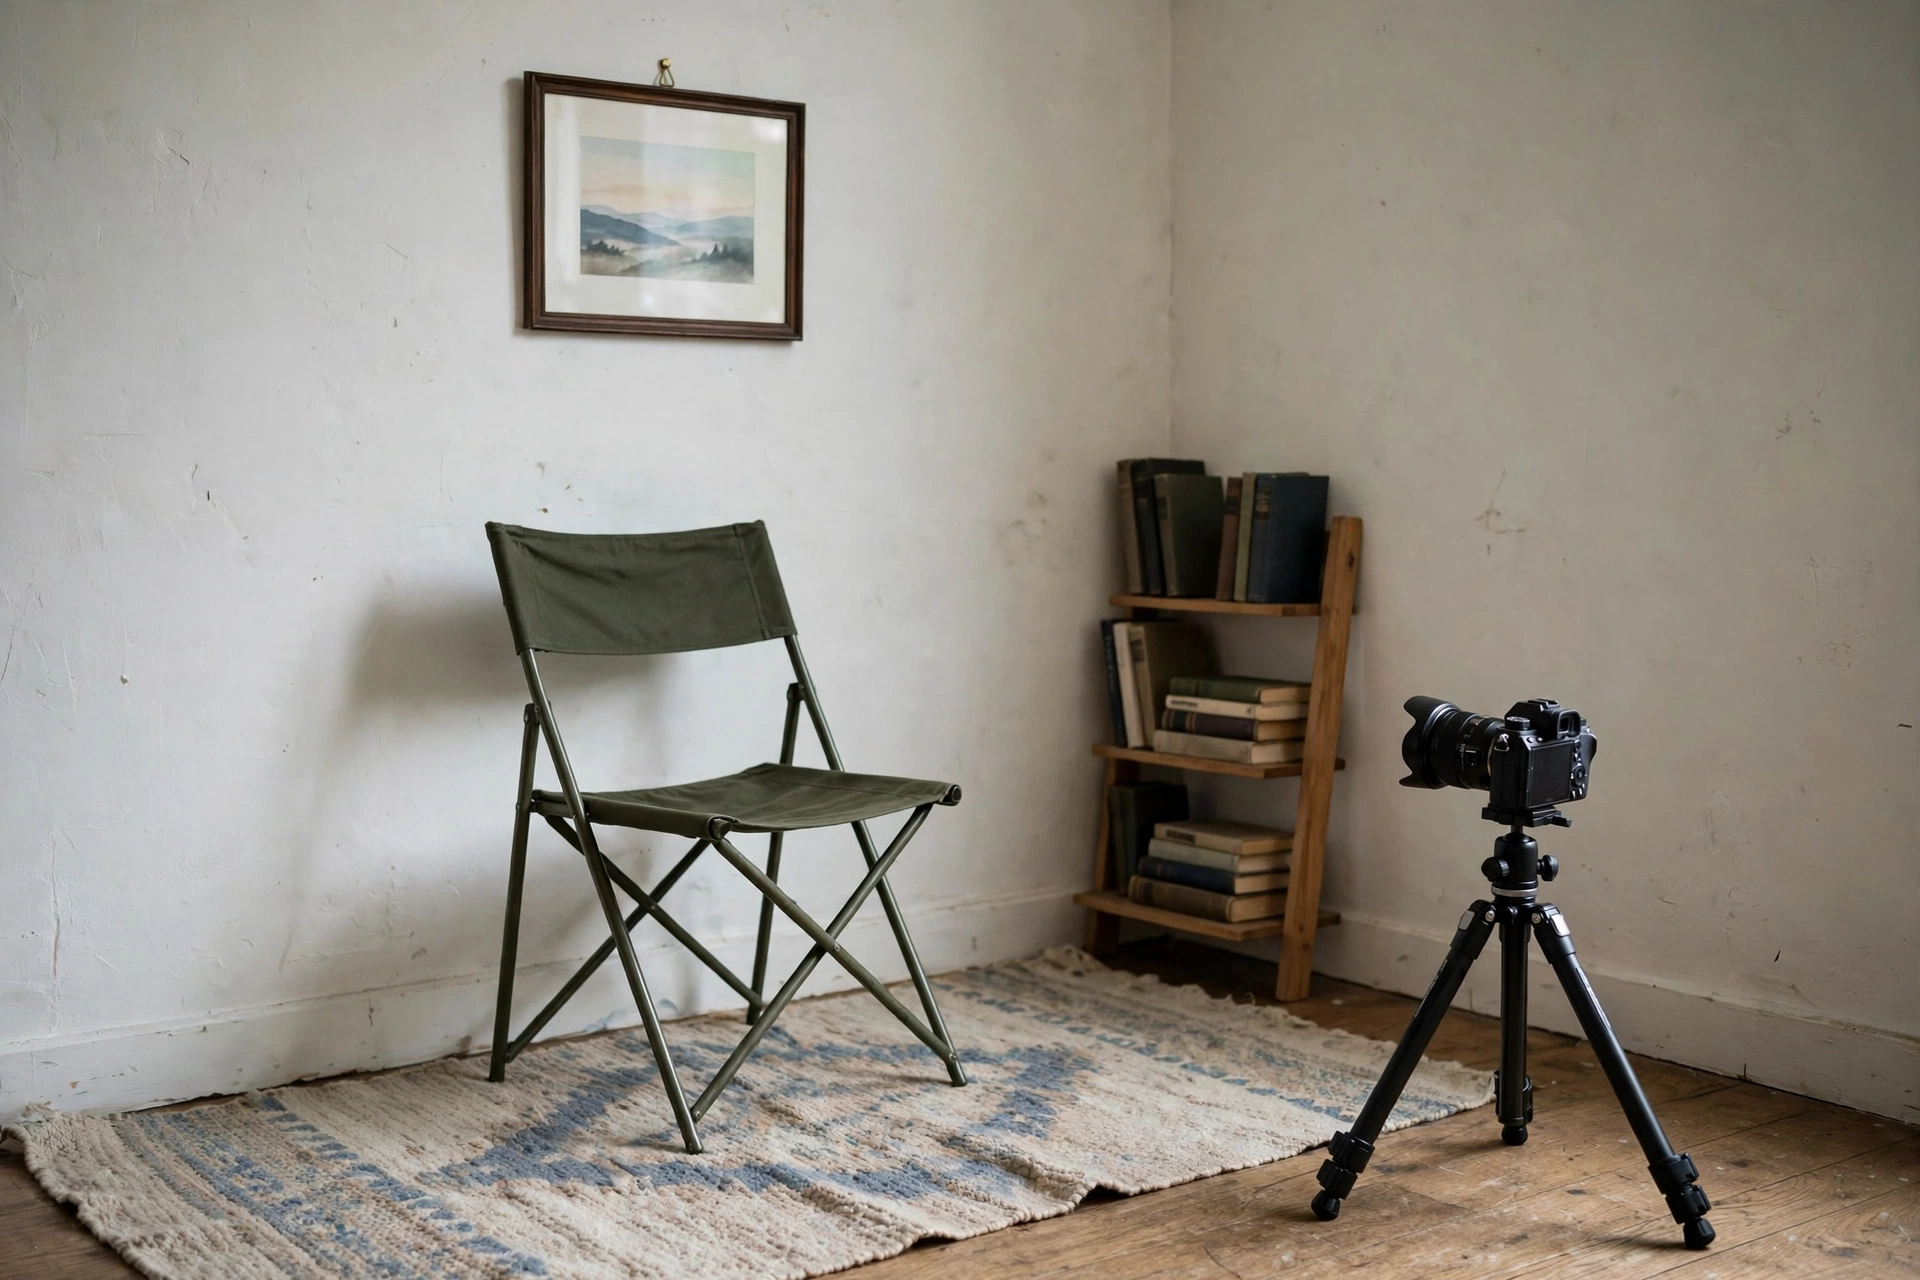
A lavalier microphone is the kindest tool an apartment vlogger owns. Clipped close to your mouth, it records a clean voice at ordinary conversation level, so you can speak more quietly and still sound close and clear. A white-noise machine or a fan on your side helps the other direction: it masks the neighbors’ noise leaking into your recording, though it does nothing to stop them hearing you, so do not mistake it for soundproofing. Keep it low, and well away from the microphone, or it becomes part of your recording.
Check the lease for a noise clause before a neighbor ever complains. Some leases name quiet hours or noise rules, and the lease is the document a landlord reads when a complaint lands. Knowing what yours says turns a complaint into a conversation you are prepared for.
Dampening you can do, proofing you mostly cannot
In a rented flat you dampen the sound inside your room. You do not soundproof the walls. Knowing which one you are buying saves money and disappointment.
Dampening means softening the reflections inside your own room: the rug, curtains, cushions and throws from the earlier sections are dampening, and they work. Proofing means blocking sound through a wall, which takes mass, sealed gaps and construction, and in a rented flat it usually needs the landlord’s permission first. Foam panels are dampening, not proofing: they tame the echo in your recording and do almost nothing about the neighbor hearing you through the wall.
In a one-room flat the whole room is one echo box, so start dampening in the filming corner, where the microphone hears most clearly. Put the rug under the chair, the curtain behind the camera if there is a window there, and a cushion or two within arm’s reach of the set. Treating the corner helps the recording most, but it will not silence the rest of the room.
Filming at night in a small flat
Night filming in a small flat runs on a minimal setup and short distances. Every extra light bounces off close walls and flattens the shot, so keep it to your key light plus the practical lamp already in the frame.
When the chair sits under a meter from the wall, your shadow lands on the wall behind you. Angle the key light across you rather than straight at you, so the shadow falls to one side instead of framing your head; raising it helps keep the shadow low. If the shadow will not move, keep the wall dark and let the shadow read as part of a dim background.
Switch the room’s ceiling light off. It fights your key light, lifts the background to your face’s brightness, and undoes the darker-background rule the whole set depends on. And remember that night is when neighbors are home, so night takes are quiet takes: speak at conversation level, lean on the lavalier, and save the loud energetic takes for the daytime schedule.
Living in the room you film in
In a one-room flat the bed, the desk and the kitchen share the frame’s orbit. You do not get a separate filming room, so you schedule the room instead of dressing a set in it.
A bed in or near the frame needs a decision, not an apology. A made bed with a plain cover reads as intentional furniture. An unmade bed reads as a bedroom you forgot to hide. If the bed cannot be framed out, make it part of the set and keep it made. The same rule covers the desk: it is your workspace and your set, so clear the work clutter into a box before filming and put it back after, rather than letting paperwork live in the rectangle.
Housemates need a timetable, not a negotiation every session. Agree filming hours once, put them on a shared calendar, and use a simple signal, a message or a sign on the door, so nobody walks through a take. The door warning from the earlier sections is partly a housemate problem in shared flats, and a timetable helps with the walk-through part; filming against a different wall is still the fix for a door sitting behind you.
Where the gear lives in a small flat
Gear needs a home that is neither the frame nor the floor. Give it one shelf or one gear box, and everything returns there after every session.
Camera, tripod and microphone each get a place in the gear box or on the shelf, cables coiled beside them, not draped over furniture. Setup then takes minutes because nothing is hunted for, and teardown takes minutes because nothing is left out. A tripod leaning against the set wall will fall into frame one day, so stand it in a corner or lay it flat in the box.
If the set itself must vanish after filming, the gear box and the set box travel together. The set box holds the props that make the set, lamp included, and the gear box holds the gear that shoots it, and the room converts back to a living room when both are put away.
The renter’s checklist before you change anything
Check the lease, photograph the walls, and then hang nothing you cannot remove cleanly. That order protects the deposit better than any single product.
- Noise and quiet-hours clause. Know what your lease says before a neighbor complains, not after.
- Alterations clause. Check what counts as damage: holes, adhesive, paint, and anything fixed to a wall may all be named.
- Deposit terms. Know what the landlord can deduct for, and what evidence you would need to dispute it.
- Move-in photos. Photograph every wall before you hang anything, so you can prove what was already marked.
- Removable fixings only. Keep the receipts for strips and hooks, and test one in a hidden spot before trusting it with a frame.
When in doubt, lean it instead of fixing it. A leaning shelf or panel gives you the set without giving the landlord a repair bill, and it comes with you when you move.
Last framing fixes before you give up on the room
When even the corner will not give you distance, buy it with the camera position instead of the furniture. Put the camera in the doorway and film into the room, and use the freed floor space to pull your chair further from the wall: that is what buys you the meter the room would not, and the door frame itself becomes a foreground layer.
Film along the long wall when the room has one, so the background runs away from you instead of sitting flat behind you. Tighten the crop until the frame holds you and one or two set pieces and nothing else: a tighter shot hides more room than any rearrangement. And keep the background dim, because a dim background reads as a deeper one even when the tape measure disagrees.
When the flat defeats you: the outdoor escape hatch
Some takes are better outside the flat entirely. A balcony, a building courtyard or a park bench escapes the echo, the thin walls and the one-room problem in a single move.
Outdoor takes have their own costs. Wind reaches the microphone, so use the lavalier under a collar or a wind cover, or pick a sheltered spot out of the wind. Light changes fast outside, so keep outdoor takes short and simple: one idea, one angle, no elaborate set. Passers-by will look, and that is fine; a short take with a real background beats a long take fighting the flat.
Use the escape hatch for the takes the flat ruins and keep the flat for the takes it serves. Talking-head advice that needs clean sound stays inside when the flat can deliver it; when the flat’s echo ruins that clean sound, that take is exactly what the escape hatch is for. A quick reaction, an opening shot, or a walk-and-talk segment is often better outside, and mixing the two keeps a channel from feeling trapped in one room.
Three budget tiers, and no shopping list
Sets improve in three jumps. First, rearrange what you already own. Second, add textiles and one controlled surface. Third, build a semi permanent set with texture and layered light. The first jump does most of the work, and it is free.
Tier one: rearrange. Move the shelf into frame, borrow the plant from the hallway, bring the bedside lamp to the desk, pull the chair off the wall. An afternoon of moving and testing costs nothing, and distance plus tidiness carries most of what viewers read as production value.
Tier two: textiles and a surface. A curtain or one painted wall (if your lease allows it) gives you control of the background color, and a rug, cushions and a throw bring the echo down and the cosiness up. This is the tier where a set stops looking accidental. Tier three: build. Panelling, slats, dedicated furniture and two or three layers of light. It buys texture and permanence, and it earns its place when filming is your job rather than your hobby. The camera and microphone side of the room follows the same staged thinking; our guide to vlogging equipment for beginners lays out the gear in the same order.
The same background every time is branding
A consistent set is a logo you sit inside. Regular viewers recognize your corner before they read a title, and that recognition is what makes a returning audience feel at home. Keep the anchors fixed, document them, and let small changes happen around them.
Anchors are the two or three elements a viewer would name if asked what your videos look like: the shelf arrangement, the lamp, the accent color, the plant in the corner. Those stay. Around them, life can move: swap one object with the seasons, change a book stack, add something a video is about. Total redesigns throw the recognition away, which is why channels that redecorate monthly always look newer than they are.
Consistency is a system, not a memory. Take a phone photo of the finished set and one from the camera’s position, put small tape marks where the tripod feet and chair legs land, and note the lamp’s brightness setting if it has one. Rebuilding from the photo takes minutes and lands in the same place every time. If you move house one day, rebuild the anchors first. The new room will feel like your channel within one video.
Mistakes that make a set look cheap
Cheap looking sets share the same short list of faults: no distance, a bright object behind the head, clutter at the edges, and a set that changes every video. Each one takes minutes to fix once you know to look for it.
- Sitting against the wall. Your shadow joins the cast and the shot goes flat. Pull the chair forward before anything else.
- The brightest thing behind your head. A window or bare bulb pulls every eye and fools your exposure. Dim it, curtain it, or move seats.
- Clutter creeping in at the edges. Corners are where mess hides. Audit the frame edges on a full screen test recording.
- Objects growing out of your head. A lamp post or plant stem aligned with your skull is all anyone sees. Shift the chair a few centimetres.
- A door directly behind you. It will open mid take one day, and until then it reads as an exit sign. Film against a different wall.
- Busy small patterns. Fine stripes and dense prints shimmer and crawl on camera. Choose plain surfaces or large scale texture.
- Wearing the wall. A shirt that matches the background erases your outline. Keep one filming outfit that contrasts with your set.
- A different set every month. Nothing builds recognition. Lock the anchors and let the set become a signature.
Build it once, then stop touching it
The whole project is an afternoon: pull the chair forward, dress the rectangle the lens can see, light the background gently, and photograph the result. After that, the set should leave your attention and come back only as the thing your viewers recognize.
That is the real prize on offer. A finished set removes a decision from every filming day, and it quietly tells every new viewer that this channel has been here a while and plans to stay. Spend the energy you save on the videos themselves.
Background questions, answered
Short answers to the questions creators ask most about distance, color, small rooms, renting, echo and keeping a set consistent.
How far should I sit from the wall behind me?
One to two meters is the sweet spot. That gap lets the background soften out of focus, keeps your shadow off the wall, and lets your key light fade before it reaches the wall. Under a meter still works if you add layers and keep the background dim, but against the wall is the one position to avoid.
What color background is best for YouTube videos?
Calm mid tone neutrals, warm gray, soft white or a muted version of your channel color, with one accent color repeated in a few objects. Avoid pure bright white, which blows out and flattens, and avoid matching your usual filming clothes. The background should be a supporting color, never the loudest thing in frame.
How can I make a good background in a small room?
Film into a corner so the walls angle away from each other, pull your chair as far off the wall as the room allows, and build layers: a plant or desk edge in the foreground, you, a shelf or lamp behind. Keep the background a stop or two darker than your face, because dim reads as deep on camera.
How do I make a background as a renter without drilling holes?
Hang a plain curtain from a tension rod for an instant controlled backdrop, lean shelves and panels against the wall instead of fixing them, and use removable adhesive strips for light frames and art. A collapsible backdrop covers shared rooms where the set has to pack away after filming.
Should my background be lighter or darker than me?
Darker, by roughly one to two stops. A background darker than your face makes you step forward in the frame and gives the shot its depth. The exception is contrast: dark hair against a very dark background needs a lighter patch or a dim lamp to one side behind you to keep your outline readable.
Do bookshelves and plants really help with echo?
A little. Their uneven surfaces scatter reflections, which takes the sharp edge off a boxy room. The real absorption comes from soft mass: a rug, curtains, cushions and throws. Use the bookshelf for looks and the textiles for sound, and the set ends up doing both jobs at once.
Is a plain background or a decorated background better?
Plain is safer and cleaner; decorated builds identity and depth. The middle path suits most vloggers: a plain, controlled surface with two or three chosen objects and one accent color. It reads intentional on camera, keeps attention on you, and still gives returning viewers a set they recognize.
How do I stop my background looking flat?
Flat comes from three things: no distance, even light, and nothing between you and the wall. Pull your chair forward, light the background separately so it falls off in a gradient, and add one midground object like a shelf or floor lamp. Any two of the three fixes will cure most flat sets.
What should I never put in my background?
A bright window or bare bulb behind your head, a door that can open mid take, clutter at the frame edges, fine busy patterns that shimmer on camera, and anything private you would not read aloud. If an object makes a viewer ask a question unrelated to your video, it does not belong in the rectangle.
How do I keep my background the same in every video?
Document it once: a phone photo of the set, a photo from the camera position, and small tape marks for the tripod feet and chair legs. Rebuild from the photo each session instead of from memory. Keep two or three anchor elements permanently in place and only rotate small items around them.
Keep exploring
A set is one third of a talking head shot. These guides cover the framing and the gear that complete it.