Last updated: October 2026
Two lights can share the same brightness, the same colour temperature and the same glowing spec sheet, and still make your face look completely different. One gives you healthy skin and soft shadows. The other gives you waxy cheeks, a green tint and shadows with edges like a knife cut. The difference is light quality, and it is three separate things sold as one: how soft the light is, how complete its spectrum is, and what temperature it runs at. This guide pulls the three apart so you can read any spec sheet, and any test clip, with clear eyes.
The short version
- Softness is about apparent size. A light looks soft when it is big relative to you and close to you. Price has nothing to do with it.
- CRI was built for human eyes, TLCI for cameras. For video, trust TLCI first.
- Look for both scores together: CRI 95 plus, TLCI 95 plus, and an R9 of 90 or more when published.
- Your camera white balances for one temperature only. Mixed light works when your face sits under one source and the rest drifts.
- Judge every light twice: once on the spec sheet, once in test footage of your own skin.
On this page
- Light quality is three separate things
- Hard vs soft light: size, not price
- What CRI measures, and what it leaves out
- TLCI: the score built for cameras
- TM-30 and SSI: two numbers that say more
- Colour temperature and the mixed light problem
- Mixing colour temperatures without wrecking your face
- Why skin tones fall apart under cheap LEDs
- Reading a spec sheet like a sceptic
- The ten minute test footage check
- Light quality questions, answered
Light quality is three separate things
Light quality combines softness (how gradual your shadows are), spectrum (how complete the spread of colours is) and colour temperature (how warm or cool the light runs). A light can excel at one and fail the others, so a single score never tells the whole story.
Softness is geometry. It decides whether the shadow under your chin fades gently or ends in a hard line, and whether the shine on your forehead is a glow or a hotspot. Spectrum is chemistry. Every source emits a spread of wavelengths, and gaps in that spread mean some colours in your face and clothes never get lit properly. Colour temperature is the warm to cool scale, in kelvin, that your camera tries to neutralise with white balance.
Most arguments about lighting gear go wrong because they mix the three up. A panel can throw soft light with a poor spectrum, so faces look smooth but slightly ill. A bare bulb can have a near perfect spectrum and still carve harsh shadows. Grade each part separately; the sections below take them one at a time.
Hard vs soft light: size, not price
Light is soft when the source looks large from where you sit, and hard when it looks small. A big modifier close to your face wraps light around you and softens every shadow edge. The same fixture across the room, or stripped of diffusion, turns hard. Price changes none of this.
The sun proves it. It is enormous, yet its light is brutally hard on a clear day, because from where you stand it appears as a small disc. An overcast sky becomes one giant source, and shadows nearly vanish. A 60 cm softbox one metre from your face looks huge to your skin, so shadows melt. Move it three metres back and every edge sharpens.
Diffusion on its own does not soften anything. Its job is to spread a small, fierce emitter across the full face of a larger modifier, so the modifier becomes the source. Clip it over a panel that fills only half the softbox and you still have a small source wearing a big costume. Distance matters twice: a closer soft light is softer still, and because light falls off fast up close, your background drops darker behind you, which is free separation. Placement angles and three point layouts are a craft of their own, covered in our guide to lighting your face for videos. The soft, close source is also the backbone of a flattering setup in general, as our talking head filming tips show when they build a solo shot from scratch.
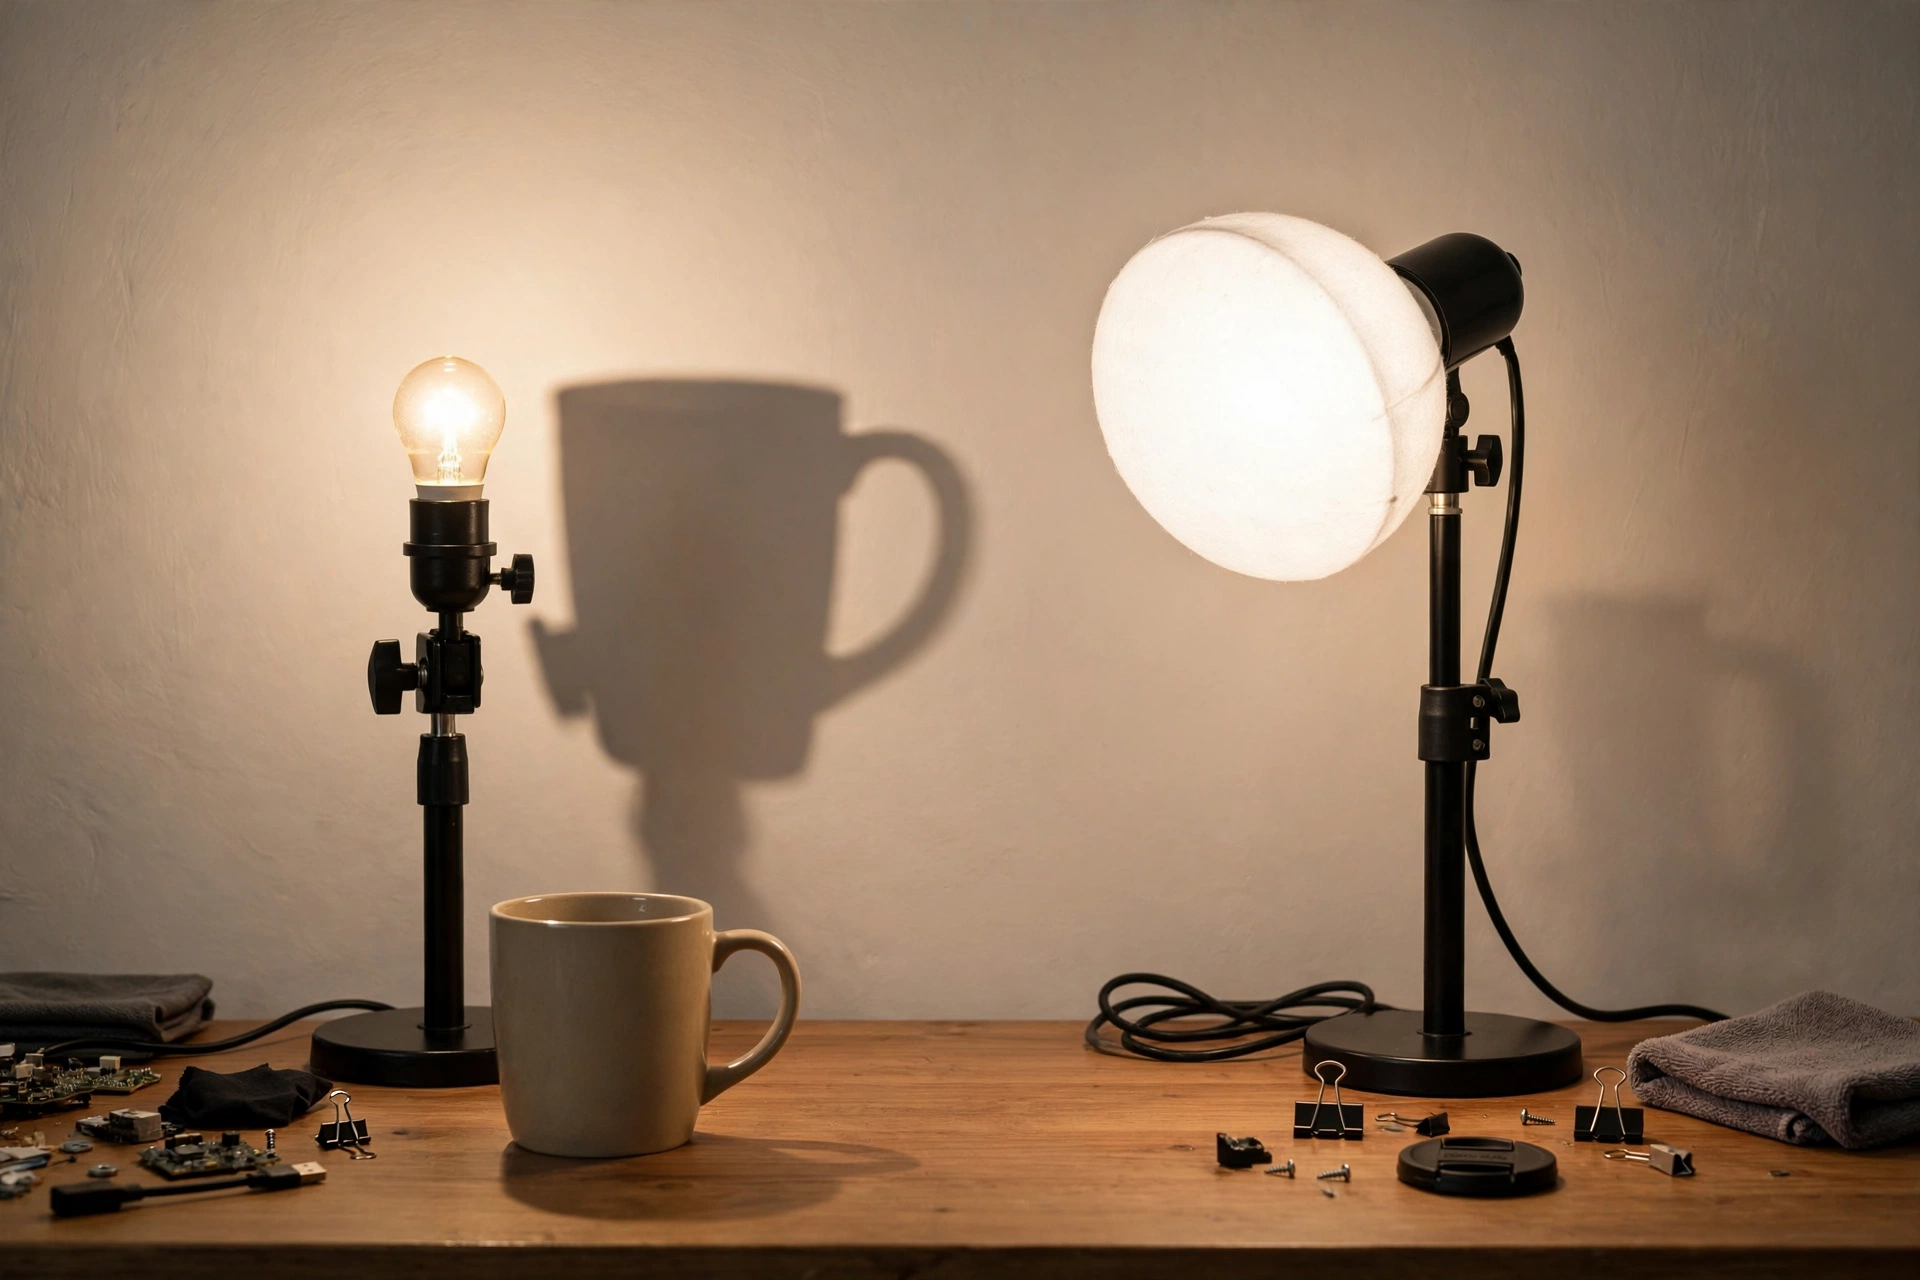
Hard light is not a mistake, by the way. It is a choice. Product shots, cooking videos and anything where texture matters often look better with edge and sparkle. Faces talking to camera are where softness earns its keep, because viewers read skin before anything else in the frame.
What CRI measures, and what it leaves out
CRI, the Colour Rendering Index, grades how faithfully a light shows colours compared with a reference source, on a scale of 0 to 100. It was designed around human vision and an average of eight pastel test colours. That average hides weak spots, most importantly deep red, which is the colour your skin depends on most.
The test works like this. A lab lights standard colour samples with the lamp being measured, then with a reference source of the same temperature, and scores how far each sample drifts. The headline number, Ra, averages just the first eight samples, all muted pastels. A light can score 95 while handling saturated colours badly, because those colours were never in the average.
The famous gap is R9, the score for a saturated red sample. R9 sits outside the Ra average, and plenty of LEDs with a proud 95 CRI stamp carry an R9 under 50. Skin is full of red information: blood under the surface, lips, cheeks, the warmth that tells a viewer you are alive and well. Weak red rendering is why a high CRI light can still make people look drained. When a maker publishes the full R1 to R15 set, read R9 and R12 (saturated blue, another weak spot) before the headline.
CRI has two more blind spots. It says nothing about tint: a light can sit slightly green of neutral and still score well, because the test tracks colour samples, not the white point’s sideways drift. And it was built for eyes, which adapt constantly. Your camera records the spectrum it is given, gaps and all.
TLCI: the score built for cameras
TLCI, the Television Lighting Consistency Index, was created by the European Broadcasting Union to predict how a light performs through a camera instead of an eyeball. It uses 24 colour patches and a model of a typical camera. Scores of 85 to 100 mean colours land close enough that no correction is needed.
The difference in approach matters more than the difference in numbers. TLCI runs the light’s spectrum through a model of a camera sensor and display. Because camera colour filters do not match human vision, the two scores routinely disagree. A candle is the classic example: it scores below zero on CRI, yet reaches the high 60s on TLCI, because a camera can white balance to candlelight and render a scene through it quite happily.
Broadcast reads TLCI in bands. From 85 to 100, errors are small enough that no correction is wanted. From 70 to 85, a simple pass fixes what is off. From 50 to 70, correction gets complex. Below 50, you are into rescue work that still looks wrong. For a vlogger filming skin at a desk: 90 plus is the comfort zone, 95 plus is excellent, and a maker who publishes TLCI at all usually has nothing to hide. When CRI and TLCI are both printed, weight TLCI more. Your audience watches through a sensor, not through the lab’s eyes.
TM-30 and SSI: two numbers that say more
TM-30 tests a light against 99 colour samples and reports two numbers: fidelity (Rf), how accurate colours are, and gamut (Rg), whether colours come out more or less saturated than the reference. SSI compares the raw spectrum itself against daylight or tungsten. Both expose tricks that a single CRI average can hide.
The gamut number is the interesting half. An Rg well above 100 is pumping saturation up, which can look vivid in a demo and strange on skin. One near 100 with strong fidelity is the honest profile. The catch is availability: TM-30 appears on cinema and broadcast fixtures far more than creator panels, and SSI, developed by the Academy of Motion Picture Arts and Sciences, is rarer still. Treat both as tiebreakers: if one maker publishes TM-30 data and a spectrum graph and the other publishes adjectives, you have learned something real about both.
| Metric | What it tests | Test colours | Built for |
|---|---|---|---|
| CRI (Ra) | Colour accuracy vs a reference source | 8 pastel samples | Human eyes, general lighting |
| TLCI | Colour accuracy through a camera model | 24 colour checker patches | Television and video cameras |
| TM-30 | Fidelity (Rf) and saturation shift (Rg) | 99 samples | Any use, deepest detail |
| SSI | Spectrum similarity to daylight or tungsten | Full spectrum, no samples | Cinema production |
Colour temperature and the mixed light problem
Colour temperature, in kelvin, describes where a light sits between warm orange (around 2700K for household bulbs, 3200K for studio tungsten) and cool daylight (around 5600K). Mixed light means two temperatures hitting your subject at once, and since a camera can only white balance for one, the other side of your face goes orange or blue.
Everyday rooms are mixed light battlegrounds. The ceiling fitting runs warm, the window pours in daylight that shifts from cool noon to golden evening, and a monitor adds its own glow. Film between a window and a warm lamp on auto white balance and you get the classic split face: one cheek tanned, the other slightly blue, the camera hunting as you move. A fixed balance stops the hunting but cannot fix both sides at once, which is why manual Kelvin control matters; our vlogging camera settings guide covers setting it deliberately.
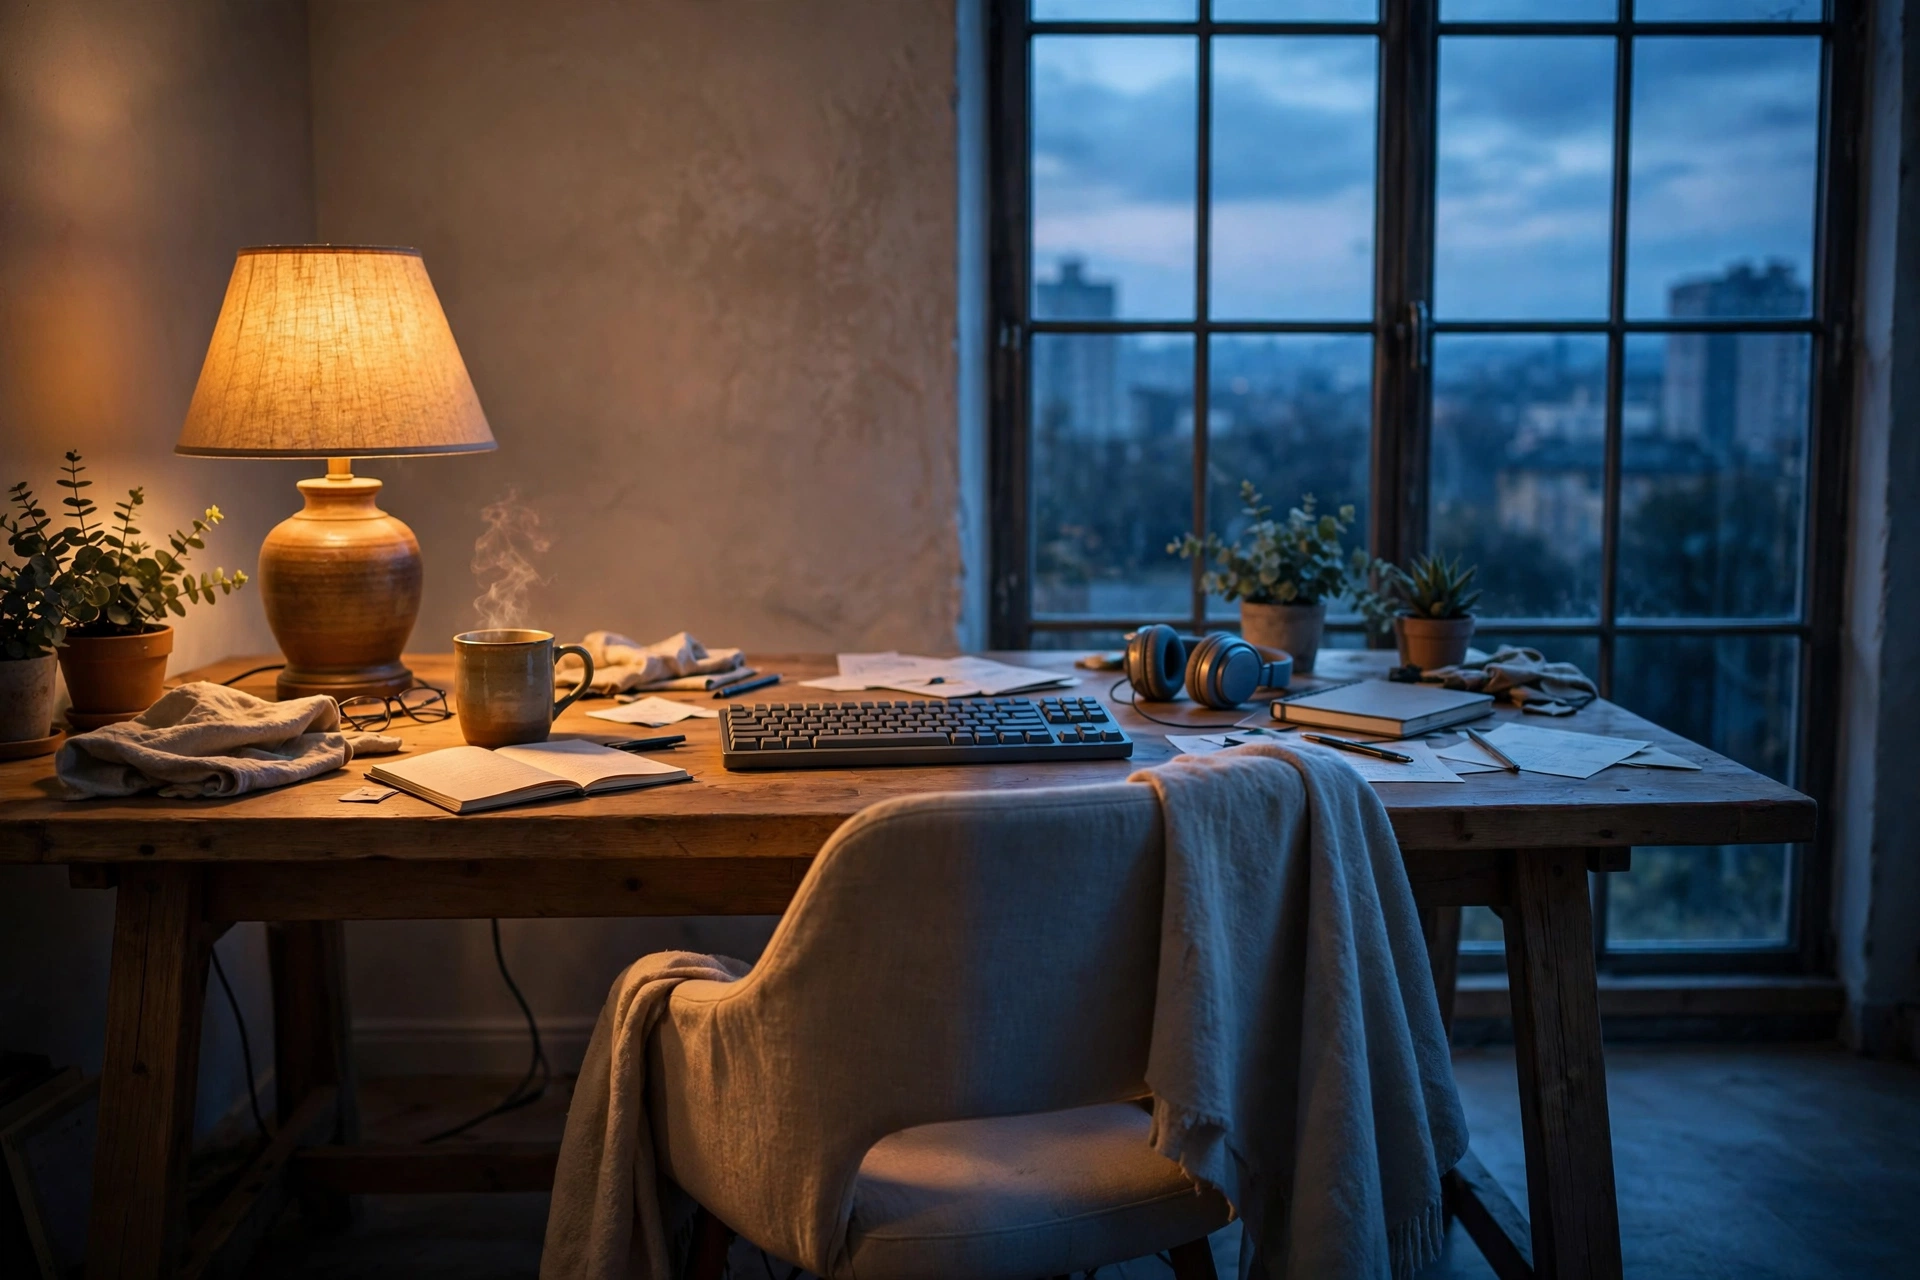
Household bulbs make this worse because their labels lie by omission. Two bulbs both marked 2700K from different makers can differ visibly, and cheap ones often lean green as well as warm. Daylight moves too: overcast sky runs cooler than 5600K and late sun far warmer. A quoted number is a starting point, not a promise.
Mixing colour temperatures without wrecking your face
Give your face one master light and one temperature, then decide what happens to everything else. Either bring the other sources to match it, switch them off, or push them into the background where their different colour reads as depth instead of error. White balance to the light on your face and let the rest drift.
Matching is the clean solution. If your key is daylight balanced, use daylight balanced bulbs in the room’s practical lamps, or close the blinds and work fully under your own lights, or gel a warm fixture toward daylight, accepting that the gel eats some output. Switching off is the honest budget solution: a ceiling light you cannot match is one you do not use while filming. Many good looking setups are one decent key light and a room gone deliberately dark around it.
The third option is the one most polished channels quietly use: deliberate contrast. Your face sits under a neutral key. Behind you, a warm practical lamp glows amber, or cool window light rims the background. Because the two temperatures never share a surface, viewers read the difference as mood and depth, not a mistake. Mixed light only looks broken when it splits a face or a white shirt down the middle. Keep each surface loyal to one source and you can mix temperatures all day.
Why skin tones fall apart under cheap LEDs
Skin is the colour viewers judge hardest, because everyone carries a memory of what a healthy face should look like. Cheap LEDs fail it three ways: weak deep red starves the colour skin is made of, a green leaning tint sits on top, and the tint shifts further as the light dims.
Start with the spectrum. Most white LEDs are a blue emitter under a phosphor coating, and the spectrum commonly dips in the cyan range and runs thin in deep red. That thin red output is the R9 problem felt rather than measured: lips lose their separation from the face around them, cheeks go waxy, and skin takes a grey, tired cast. Saturation in post cannot fix it. It amplifies what was recorded, and the red information was never recorded.
Then there is tint. A light can hit its quoted temperature while leaning green or magenta off the neutral line, a drift measured as Duv that CRI does not report. Green is the common direction, and it is the fastest way to make a healthy person look seasick on camera. The third failure is instability: inexpensive lights often shift tint as they dim, and bicolour models run only half their emitters at the warm and cool extremes, so output and colour quality drop where the dial promises the widest range. None of this shows in a brightness demo. All of it shows on a face.
Reading a spec sheet like a sceptic
A trustworthy spec sheet gives you CRI and TLCI together, an R9 figure, a stated colour temperature tolerance, and ideally a spectrum graph or TM-30 data. A suspicious one gives you a single heroic CRI number, no test conditions, and a lot of adjectives. Read what is missing as carefully as what is printed.
- Demand the pair. CRI 95 plus and TLCI 95 plus together is the working standard for face filming. One without the other is half an answer.
- Hunt for R9. A published R9 of 90 or more says the maker measured the hard part and is proud of it. Silence on R9 usually means the number is not flattering.
- Check the tolerance. Serious makers state how far a unit can drift from its quoted temperature. No tolerance stated means variation is your problem, and two matching lights may not match.
- Ask how it dims. Steady dimming that holds colour is a quality signal. A light that shifts green at low brightness betrays you in evening shoots, when vloggers use dimmers most.
- Note the light type. Daylight only models put every emitter behind one job. Bicolour models trade output at the extremes for range. Judge RGB models on their white light scores separately; colour effects say nothing about skin.
Once the numbers make sense, choosing fixtures gets easier. Our guide to the best lights for vlogging applies these scores to real panels and softboxes: this article teaches the scepticism, that one uses it.
The ten minute test footage check
Specs shortlist a light; footage decides it. Film four short clips at your real camera settings: a grey or white card, a saturated red object, your own face at full and half brightness, and your face lit by the new light alongside your existing one. Judge the clips on a decent screen, looking at reds and skin, not overall brightness.
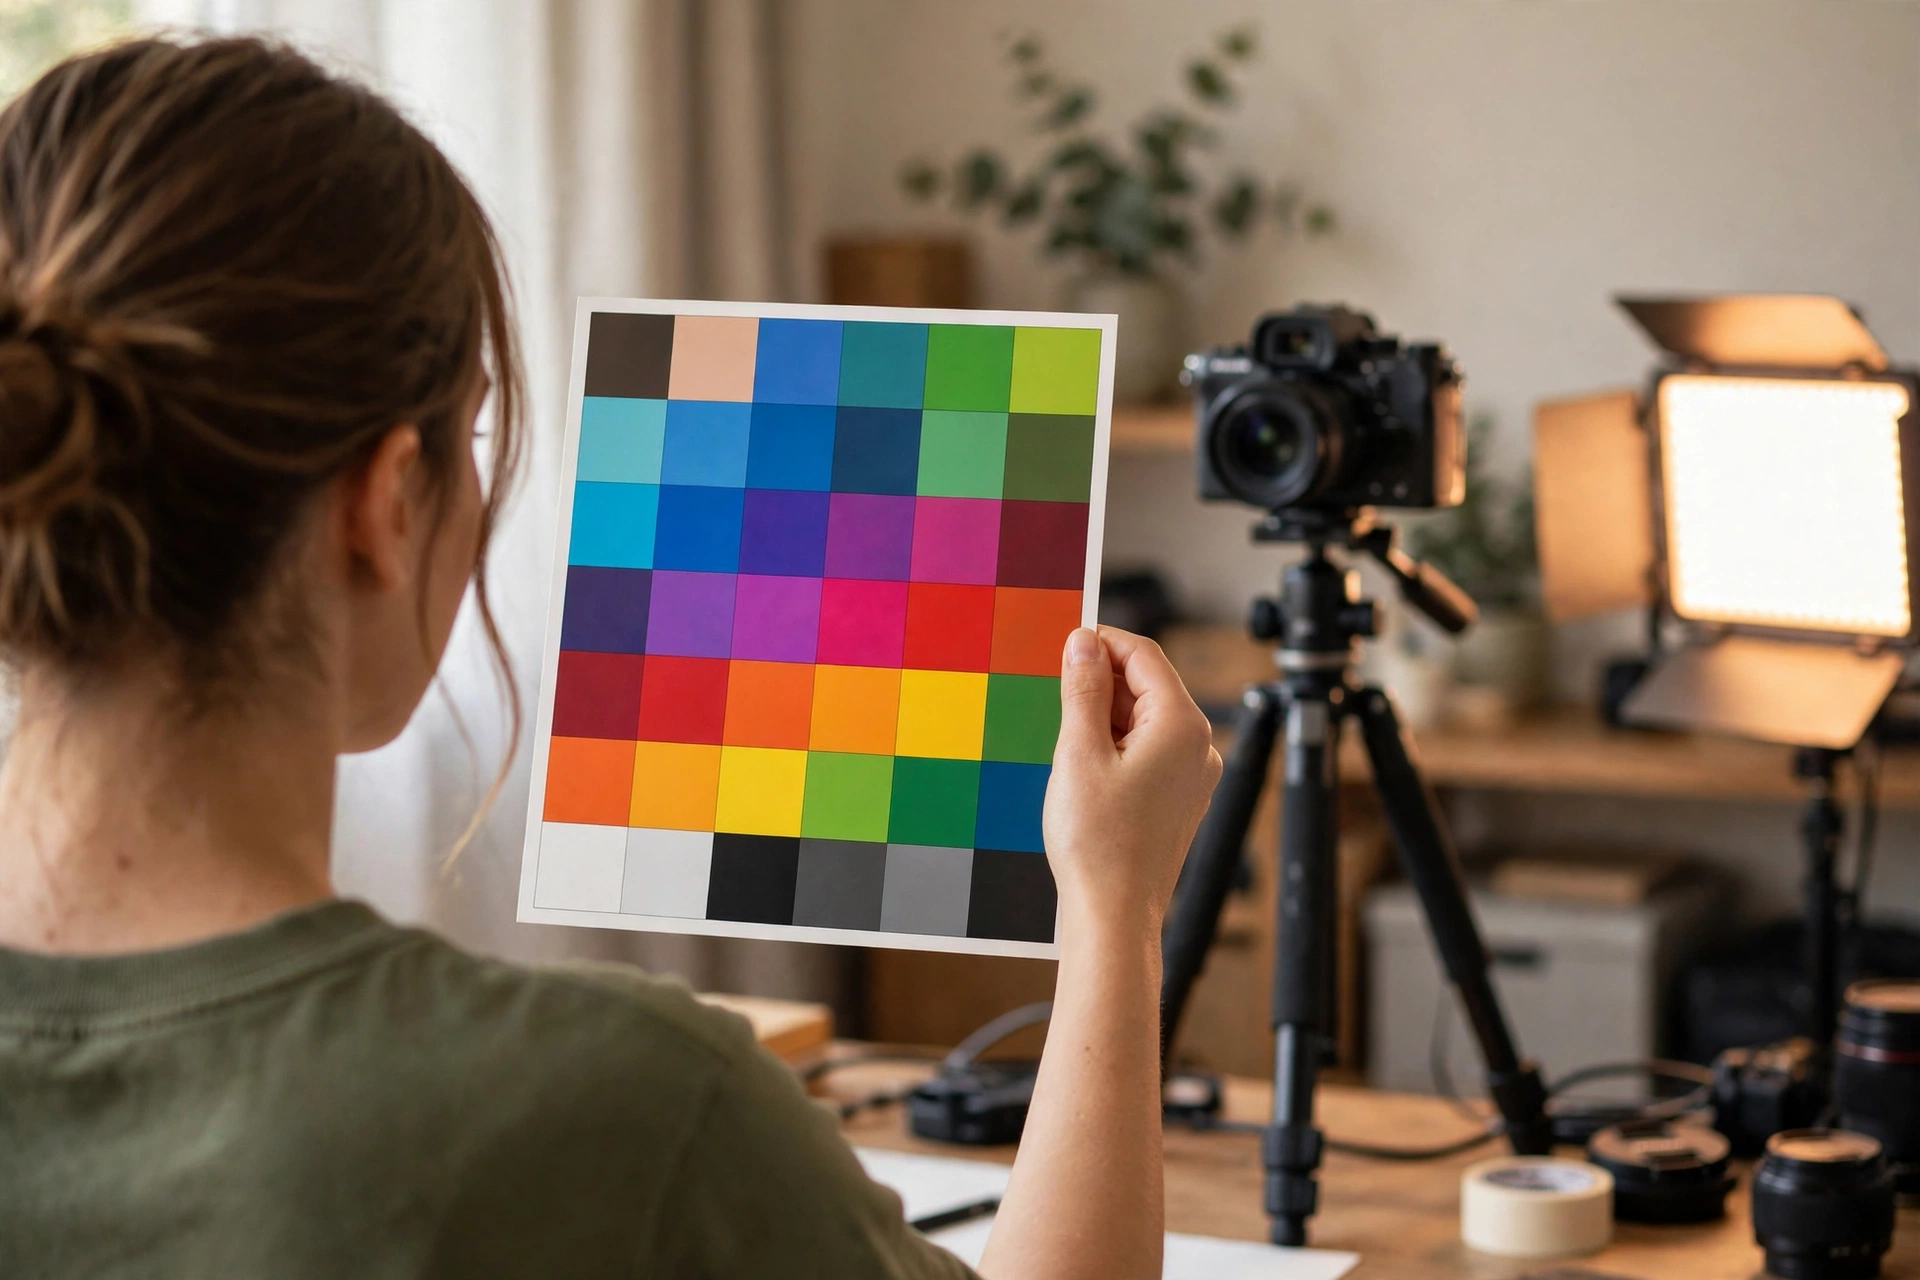
The grey card clip checks tint. White balance off the card in your editor; if skin under the same light still leans green or pink, the light has a tint problem your camera cannot fix. The red object (a book cover, a piece of fruit, anything whose colour you know) checks the red rendering R9 describes: under a weak light it slides toward brown or orange. The dimmer clips check stability, because a light that drifts at half power will drift in your real evening setup too.
The side by side clip saves you later. Two lights used together must agree about what colour your face is, and units from different makers with identical quoted temperatures often do not. Film the test during the return window a seller allows. It is the only stage where your camera, your skin and your room get a vote. Specs are measured in someone else’s lab; your channel is published from yours.
Put softness first, spectrum second
If you remember one order of operations, make it this: get the light big and close, make sure its spectrum is honest using CRI, TLCI and R9 together, then give your face one colour temperature to live under. Lights that pass all three make almost any camera look more expensive.
None of this requires a lab coat. Read past the one big number on the box, and spend ten minutes on test clips before a light earns a place over your desk. Your viewers will never know what TLCI means. They will know your face looks right, and they will stay.
Light quality questions, answered
Short answers to the questions creators ask most about CRI, TLCI, colour temperature and testing a light before it earns a place over the desk.
What CRI do I need for video lighting?
Aim for 95 or higher for anything that lights faces, and treat 90 as the floor. Do not stop at the headline: check TLCI alongside it and look for an R9 of 90 or more, because the CRI average ignores the deep reds skin depends on.
Is TLCI more important than CRI for video?
Yes, for camera work. CRI grades a light the way human eyes see it, using eight pastel samples. TLCI grades it the way a camera sensor sees it, using 24 colour patches and a camera model. When the two disagree, trust TLCI.
What is a good TLCI score?
Broadcast practice reads 85 to 100 as needing no colour correction, 70 to 85 as fixable with a simple correction, and anything under 50 as rescue work. For vlogging, 90 plus is comfortable and 95 plus is excellent. A published TLCI is a good sign; many cheap lights avoid it.
Why does my skin look green under LED lights?
Usually a tint problem. Many inexpensive LEDs lean green of the neutral line even when their temperature is correct, and CRI does not measure that sideways drift. It often worsens at low dimmer settings. A grey card balance helps a little; an honest spectrum helps a lot.
Can I mix daylight and tungsten light in the same shot?
Yes, as long as each surface answers to one source. Keep your face under one temperature, white balance to it, and let the other live in the background as contrast. Mixed light looks wrong when it splits your face or a white shirt between two temperatures.
How do I make hard light soft?
Make the source bigger as your subject sees it, and move it closer. Fit the largest modifier you have, make sure diffusion fills it, and bring it as near as framing allows. A small light far away stays hard however much diffusion hangs on it.
What colour temperature is best for vlogging?
The one you can keep consistent. Daylight balanced light around 5600K is the common choice because it matches windows and most panels at full strength. A warm 3200K setup suits evening and cosy topics. Trouble starts when temperatures mix on your face, not from the number.
Does a high CRI mean a light has no colour cast?
No. CRI does not report green or magenta tint in the white point, and its average can hide weak deep red output, so a 97 CRI light can still tint skin green. TLCI, R9 and a test clip all belong in the decision.
What is R9 and why does it matter for skin tones?
R9 is the test score for a saturated red sample, and it is left out of the CRI average. Skin is rich in red information, from blood flow to lips, so a low R9 light makes faces look drained and waxy even with a high CRI headline. Look for R9 of 90 or more when published.
How can I test a light’s colour quality myself?
Film short clips of a grey card, a saturated red object and your face at full and half brightness, using your normal camera settings. White balance off the card, then judge the skin and the red. If reds slide brown or skin stays green after balancing, the light fails, whatever its box claimed.
Keep exploring
Light quality is one half of how a shot feels. These guides cover the fixtures themselves and the camera settings that work alongside them.