

Last updated: October 2026
Open the video settings on almost any modern camera and you’ll run into the same question: 24fps, 30fps, or 60fps? It looks like a small technical setting. It isn’t. That one number shapes how a vlog feels: like a film, like a TV broadcast, or like smooth slow motion. Get it right and nobody notices a thing. Get it wrong and the footage looks choppy, oddly “soapy,” or your slow-mo comes out jerky. Below, we stick to frame rates and nothing else: what fps actually means, when each rate earns its place, the shutter rule that ties it together, slow motion done properly, the PAL and NTSC trap, vertical video, and settings you can copy for talking-head, b-roll, and action vlogging.
Key takeaways
- fps means frames per second: how many still images your camera captures each second. More frames means smoother motion, but it also changes the character of your footage.
- 24fps looks cinematic because that’s what movies trained our eyes to expect. It’s the choice for story-driven vlogs and anything you want to feel like a film.
- 30fps is the YouTube default: crisper, more “real,” and the safest all-round pick for talking-head vlogs, tutorials, and daily uploads.
- 60fps is for motion and slow-mo. It smooths fast action and gives you clean 2x slow motion when played back on a 30fps timeline.
- Always pair your shutter speed to your frame rate: set it to roughly double the frame rate (1/50 for 24fps, 1/60 for 30fps, 1/120 for 60fps). That’s the 180-degree shutter rule.
- Match your frame rate to your timeline and to your local lighting (PAL vs NTSC), or you’ll invite flicker and judder.
On this page
- What “frames per second” actually means
- 24fps: the cinematic look and when it works
- 30fps: the default choice for YouTube
- 60fps: smooth motion and slow-mo raw material
- 120fps: real slow motion (and its trade-offs)
- 24 vs 30 vs 60 vs 120, side by side
- The 180-degree shutter rule, simply explained
- How to shoot slow motion properly
- PAL vs NTSC: 25/50 or 30/60?
- Frame rates for Shorts, Reels and vertical video
- Ready-to-use settings: talking-head, b-roll, action, streaming
- Frame rate mistakes beginners keep making
- Frame rate questions, answered
- Keep exploring
What “frames per second” actually means
Frame rate is how many individual still images your camera records every second. Your brain stitches those images together into the illusion of continuous motion, and the number of images per second changes how that motion feels.
Think of a flipbook. Flip through 24 drawings of a running figure and the movement looks a bit dreamy, with a touch of blur between frames. Flip through 60 and the same run looks razor-sharp, almost too real. Same scene, same story, totally different feeling. That’s what fps does to your vlog.
Beginners often miss this part: frame rate is a creative choice, not a quality score. 60fps isn’t “better” than 24fps the way 4K is better than 1080p. It just produces a different look. Movies settled on 24 frames per second nearly a century ago, and generations of films trained our eyes to read that slight motion blur as “cinematic.” News, sports, and soap operas used higher rates, so we read that hyper-smooth look as “real,” or even cheap. Picking a frame rate really means picking which of those feelings your viewer gets.
Resolution is a separate decision. You can shoot 4K at 24fps, 1080p at 60fps, or anything in between, because the two numbers answer different questions. Resolution answers “how detailed is each frame?” Frame rate answers “how does motion feel between the frames?”
24fps: the cinematic look and when it works
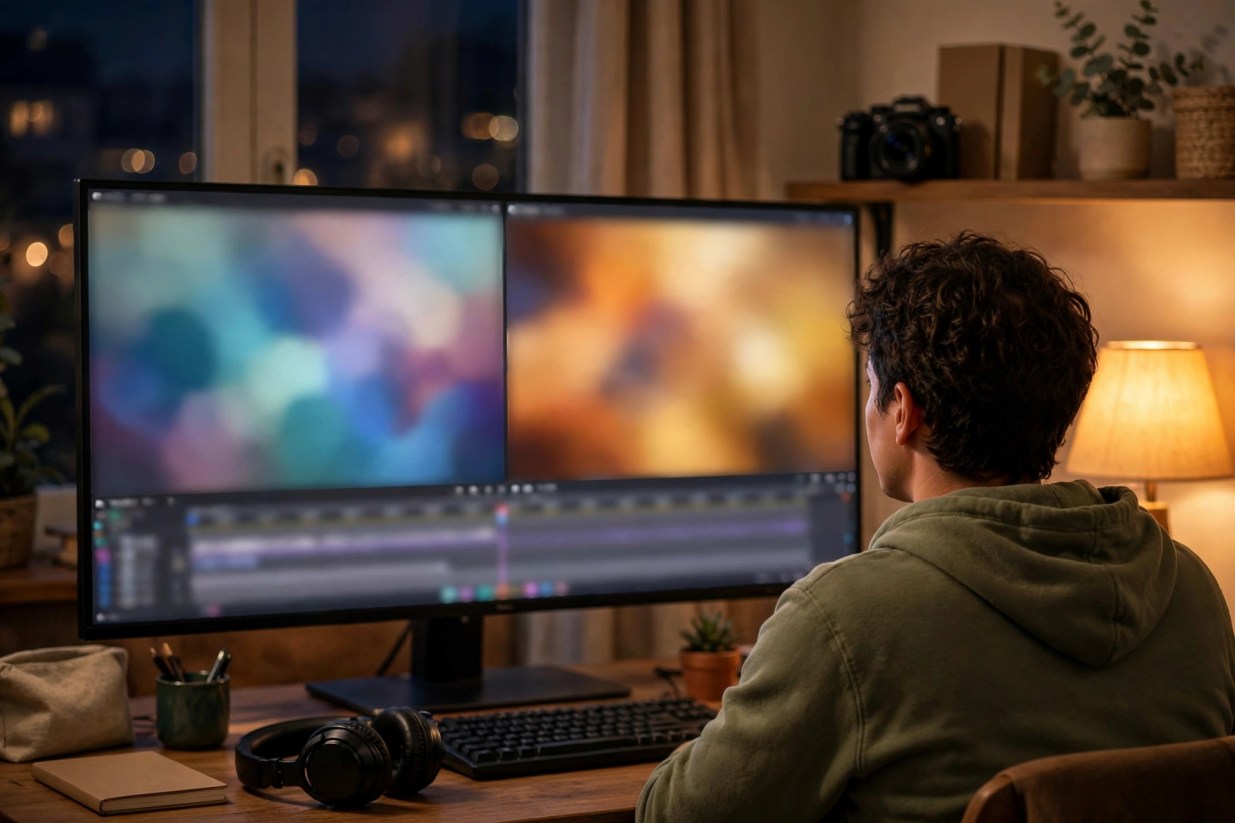
Shoot 24fps when you want your vlog to feel like a film: each frame carries a little natural motion blur, which reads as dreamy, emotional, and polished. It’s the go-to for story-driven vlogs, travel films, and wedding-style content.
24fps (technically 23.976 on many cameras, the NTSC broadcast variant; treat it as 24 for all practical purposes) is the frame rate of cinema. We’ve watched movies at this rate our whole lives, so our brains link it with storytelling and craft. A daily vlog shot at 24fps with a 1/50 shutter speed feels more intentional than the same footage shot at 30fps.
24fps does have real limits, though, and knowing them saves you from footage that looks amateur. Pans, tilts, and fast camera moves get juddery at this rate: the image stutters instead of gliding. Whip the camera around a city street and those moves will look messy. So move slowly and deliberately, or keep the camera still and let the scene do the moving. Handheld walking shots are usually fine. Fast pans are not.
Where does it earn its keep? Cinematic travel vlogs, talking-head segments where you want a filmic feel, b-roll of scenery, food, and products, and anything where mood matters more than capturing every detail of fast motion. Pair it with a 1/50 shutter speed (see the shutter section below) and you’ve got the classic film look.
One honest warning, though: frame rate is only one ingredient in that look. Lighting, a wide aperture with shallow depth of field, colour, and a location that doesn’t read as a spare bedroom do most of the heavy lifting. Shoot flat-lit footage at 24fps and it won’t suddenly look like a movie; it will look like flat-lit footage with motion blur. Get the light and the lens right first, then let 24fps finish the job.
30fps: the default choice for YouTube
30fps is the safest, most versatile frame rate for YouTube vlogging: motion looks crisp and natural, editing timelines handle it easily, and file sizes stay reasonable. If you’re unsure, start here.
Television in North America and Japan ran at 30fps (technically 29.97) for decades, so this rate reads as “real life” to our eyes. It’s sharper and more present than 24fps without crossing into the hyper-smooth territory of 60fps. For the most common vlogging formats (talking to camera in your room, walk-and-talk, product reviews, tutorials), 30fps is simply the right default.
It plays nicely with the platform, too. YouTube processes 30fps natively, every editing app handles it without complaint, and it needs about 25% fewer frames than 60fps, which means smaller files and faster uploads. On most modern cameras, 4K at 30fps is the sweet spot for a vlogger: detailed enough to crop or zoom in the edit, smooth enough for natural motion.
One catch: there’s no such thing as 30fps slow motion. Slowing 30fps footage on a 30fps timeline means repeating or blending frames, and that looks jerky. If you want slow-mo of anything, shoot that clip at 60fps or higher (covered below), then drop it into your 30fps project.
60fps: smooth motion and slow-mo raw material
60fps captures twice as much motion information as 30fps, so fast movement stays sharp and fluid. For vloggers its real power is slow motion: played back on a 30fps timeline, 60fps footage becomes clean 2x slow-mo.
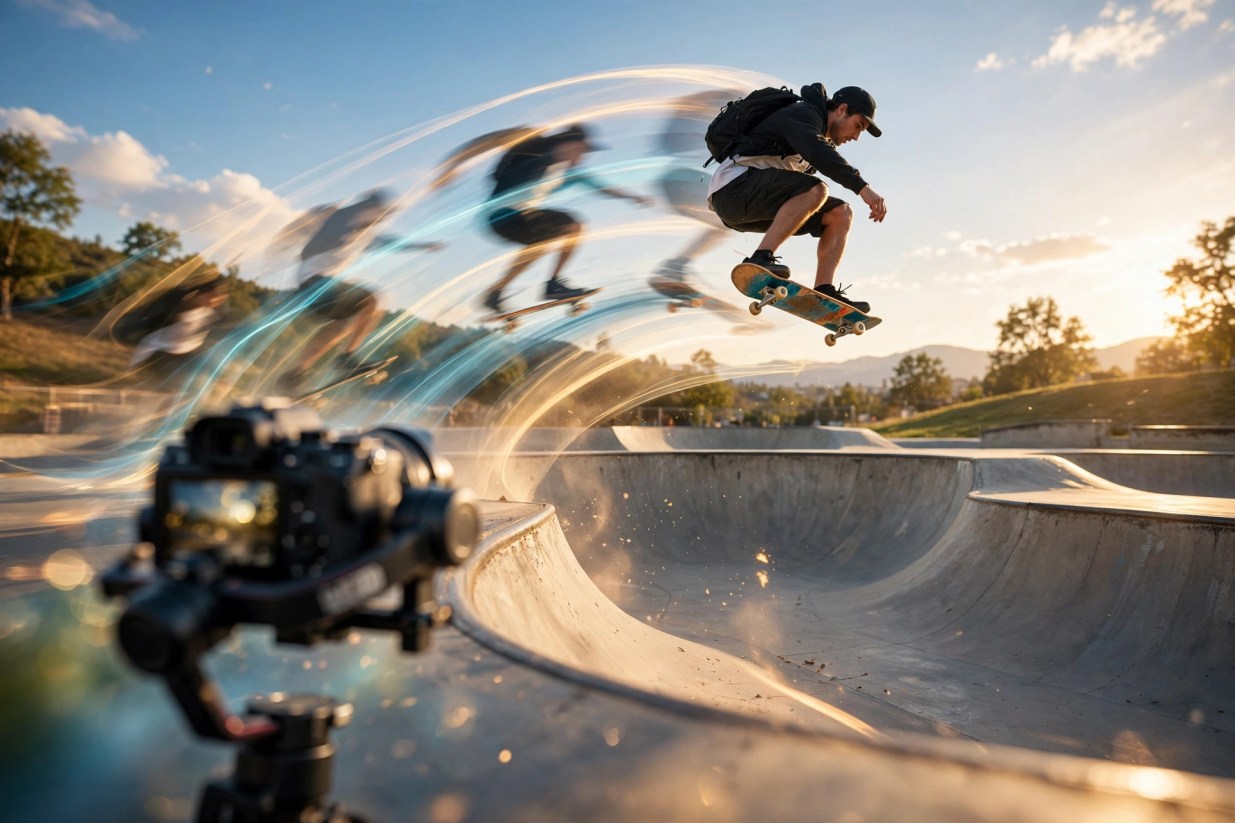
Watch a skate trick or a sports clip at 60fps and notice how much detail you can see: the board’s rotation, the water spray, the exact moment of impact. That clarity is why action vloggers love it. Played back at full speed on a 60fps timeline it looks vivid and hyper-real, which suits gaming, sports, and product demos where you want the viewer to see everything.
For most vloggers, though, 60fps works best as raw material, not a delivery format. Shoot at 60fps and edit on a 30fps timeline, and every clip gives you a choice. Play it at full speed and it looks like crisp 30fps footage. Stretch it to half speed and the editor plays all 60 frames across two seconds of timeline: perfectly smooth 2x slow motion, no frame-blending tricks needed. That flexibility is why so many YouTubers shoot entire b-roll sessions at 60fps and decide later which moments deserve slowing down.
The costs are real: roughly double the file size of 30fps, bigger uploads, and more light needed for clean footage (your shutter speed doubles too, which means half the light per frame). On bright days, none of that matters. In dim rooms, it does.
120fps: real slow motion (and its trade-offs)
120fps is for dramatic slow motion, the kind that stretches one second of action into four or five. Dropped onto a 24 or 30fps timeline it stays perfectly smooth, but it demands a lot of light and often comes with resolution or crop trade-offs.
This is the rate for water splashes, hair flips, skate tricks, wildlife, anything where the audience should savor a moment they’d otherwise miss. On a 30fps timeline, 120fps plays back at quarter speed; on a 24fps timeline, fifth speed. Either way it’s silky, because every frame is real captured data.
Now for the catch. On most consumer cameras, 120fps mode comes with strings attached: many drop to 1080p, crop into the sensor (making your wide lens suddenly feel tighter), or only work for a limited burst. File sizes are enormous, and the shutter speed jumps to 1/240 or faster, which starves the sensor of light. Shoot 120fps in a dim room and you’ll get noisy, grainy footage. Some cameras also record 120fps without audio, which is fine, since slow-mo clips are almost always laid over music anyway.
Treat 120fps as a specialty tool, not a default. Shoot your main content at 24 or 30, and switch to 120 only for the moments you specifically want in dramatic slow motion. Your storage and your footage will thank you.

24 vs 30 vs 60 vs 120, side by side
The short version: 24fps for cinematic feel, 30fps for crisp everyday vlogging, 60fps for smooth action and 2x slow-mo, 120fps for dramatic slow-mo only. Here’s the detail behind each.
| Frame rate | How it feels | Best for | Shutter speed (180° rule) | Watch out for |
|---|---|---|---|---|
| 24fps | Cinematic, dreamy, film-like | Travel vlogs, storytelling, talking-head with a filmic feel, scenic b-roll | 1/50 | Fast pans get juddery; no slow-mo possible |
| 30fps | Crisp, natural, “real life” | Talking-head, tutorials, reviews, daily vlogs, product demos | 1/60 | Slowing it down looks jerky without frame blending |
| 60fps | Vivid, hyper-smooth, detailed | Sports, action, gaming, b-roll you might slow down 2x | 1/120 | Double the file size; needs more light; can look “soapy” at full speed |
| 120fps | Dramatic, stretched time | Slow-motion highlights: tricks, splashes, wildlife, celebrations | 1/240 | Often 1080p or cropped; huge files; hungry for light; often no audio |
The 180-degree shutter rule, simply explained
Set your shutter speed to roughly double your frame rate: 1/50 for 24fps, 1/60 for 30fps, 1/120 for 60fps, 1/240 for 120fps. That ratio gives you natural-looking motion blur; stray from it and motion starts looking strange.
The name comes from film cameras, where a rotating shutter disc exposed each frame for half a rotation, 180 degrees. You don’t need the history; you need the ratio. Each frame should capture motion for half its duration. That half-frame blur is what your brain expects, because it’s how the real world looks to your eyes and how every movie you’ve ever watched behaves.
Break the rule and you’ll see the problem right away. A shutter speed that’s too fast (say 1/500 at 24fps) freezes each frame razor-sharp, and motion turns choppy and staccato: the jittery war-movie look. Great for a battle scene, terrible for a chatty vlog. Too slow (say 1/25 at 60fps) smears everything into a blurry, dreamlike mess.
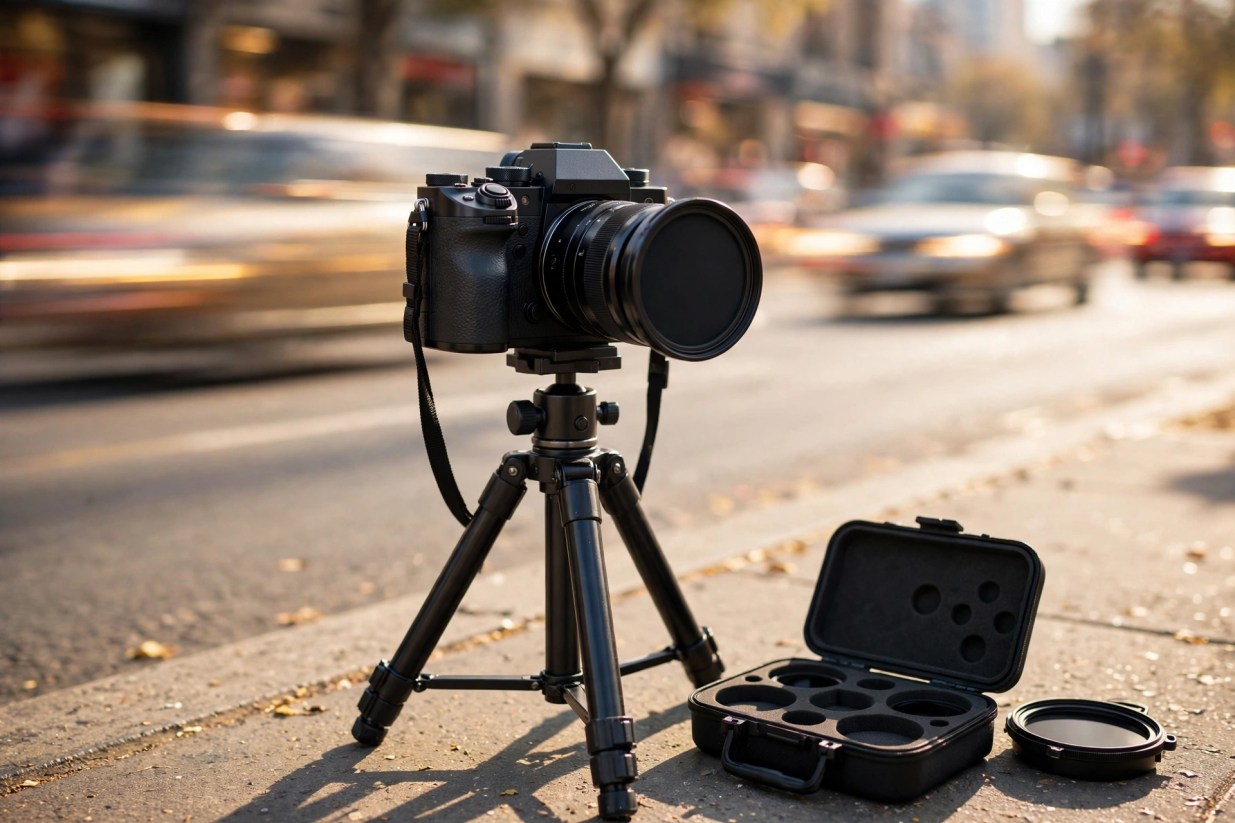
Breaking the rule on purpose is a legitimate creative tool, though. A deliberately fast shutter gives action a crisp, urgent, documentary edge, which is why sports coverage and battle scenes lean on it. A deliberately slow shutter on a locked-off camera turns passing traffic or a busy street into flowing streaks, which works well for transitions and city montages. The key word is deliberately: pick the effect before the shoot, don’t discover it as an accident of auto exposure.
A few practical notes. First, cameras rarely offer exactly 1/48, so 1/50 is the standard stand-in for 24fps, close enough that nobody can tell. Second, when you shoot slow-mo at 120fps, remember the shutter rule follows the shooting rate: use 1/240 even though you’ll play the clip back at 30fps. Third, if your footage is too bright at the correct shutter speed, don’t crank the shutter faster; use an ND filter instead. That’s what they’re for, and it’s a whole topic of its own in our guide to vlogging camera settings. Our ND filters for video guide goes deeper on picking the right filter strength for bright-day shooting.
How to shoot slow motion properly
Shoot at 60fps or 120fps with the matching shutter speed (1/120 or 1/240), then play that footage back on a 30fps or 24fps timeline. The editor spreads your extra frames across more time: real, smooth slow motion with no fakery.
The technique is called overcranking, and the workflow has two halves: capture and playback. Capture at a high frame rate. Play back on a lower-rate timeline. On a 30fps timeline, 60fps footage plays at half speed and 120fps at quarter speed. On a 24fps timeline, those same clips play at 40% and 20% respectively, which is even more dramatic, though your delivery gets the cinematic 24fps feel.
Most editing apps handle this automatically if you let them. In Premiere, right-click the clip and choose “Interpret Footage” to set it to your timeline rate; in DaVinci Resolve, “Clip Attributes” does the same. If the clip comes in playing at full speed and sounding like a chipmunk, that’s all it is: the app played 60 frames in one second of timeline instead of spreading them. Interpret it, and the problem vanishes.
A few field habits separate good slow-mo from disappointing slow-mo. Shoot in bright light. High frame rates cut your light per frame dramatically, and there’s no fix in post that makes noisy, grainy slow-mo look clean. Keep the camera still or move it very smoothly: handheld wobble is magnified when time stretches. Plan the slow-mo before you shoot: the best slow-mo clips have a clear peak moment: the splash, the jump, the spin. Record a few seconds on either side so you can ramp into and out of it. And if you want to get fancy, speed ramping, easing from full speed into slow motion and back, makes the transition feel deliberate instead of abrupt. If editing timelines are new to you, our guide on how to edit vlogs faster covers this workflow without the time sink.
PAL vs NTSC: 25/50 or 30/60?
PAL (25/50fps) and NTSC (30/60fps) are two broadcast systems tied to regional mains electricity: 50Hz in most of the world, 60Hz in North America and Japan. Mismatch your frame rate with local lighting and you can get visible flicker.
A bit of history explains the split: old TV systems synced to the local power grid, 50 times per second in Europe, Asia, and most of the world, 60 times per second in the US and Japan. Cameras inherited it. NTSC cameras offer 24, 30, 60, and 120fps; PAL cameras offer 25, 50, and 100fps.

When does it actually matter? When you shoot under artificial lights that run on mains power (fluorescents, cheap LEDs, streetlights), because the light itself pulses at the mains frequency. If your camera’s frame rate doesn’t match that pulse, you get rolling flicker bands across your footage. So: filming indoors in Europe, Asia, or most of the world? Use PAL rates (25 or 50fps). Filming in the US or Japan? NTSC rates (30 or 60fps). Many cameras let you switch between NTSC and PAL in a “system frequency” menu; pick based on where you’re shooting, not where you live.
Daylight is another story. Daylight and battery-powered LED panels don’t pulse, so the choice is yours. YouTube couldn’t care less either: it accepts 24, 25, 30, 50, and 60fps happily, and your viewers will never know which system you used. For online-only content shot in daylight, just use 24/30/60 and forget the whole PAL/NTSC thing. (One practical trap: on some cameras, switching between NTSC and PAL wipes your memory card formatting, so check your manual before flipping the switch mid-trip.)
And if flicker bands have already made it into footage you can’t reshoot, our guide to fixing flicker, banding and grain covers the repair side in the editor, from deflicker tools to the duplicate-clip trick.
Frame rates for Shorts, Reels and vertical video
For YouTube Shorts, Instagram Reels, and TikTok, 30fps is the reliable default and 60fps is the choice for action or slow-mo. The rules are the same as horizontal video; only the canvas is vertical.
Nothing about vertical video changes the frame-rate logic. The players on all three platforms accept 30fps and 60fps without complaint, so make the same decision you’d make for a regular vlog. Talking to the camera for a Short? 30fps, shutter 1/60, done. Filming a skate trick or a cooking pour you want to slow down? 60fps, shutter 1/120, then ramp it in the edit.
Two practical tips for vertical shooters. First, shoot vertical 4K if your camera offers it: it gives you room to reframe and stabilize in the edit, and 4K at 30fps on most cameras is light on storage. Second, if your camera doesn’t have a true vertical video mode, shoot horizontal 4K at 60fps and crop to 9:16 in the edit: the extra resolution keeps the vertical crop sharp, and the 60fps gives you slow-mo headroom on the same footage. Either way, keep the 180-degree shutter rule: 1/60 at 30fps, 1/120 at 60fps. Our vertical video guide for Shorts, Reels and TikTok covers the rest of the vertical craft: framing, safe zones, and export settings for each app. And if Shorts are part of how you’re growing, our guide on how to start a YouTube channel covers where short-form fits into the bigger channel strategy.
Ready-to-use settings: talking-head, b-roll, action
Talking-head: 30fps at 1/60 (or 24fps at 1/50 for a filmic feel). B-roll: 60fps at 1/120 so you can slow any clip to half speed. Action: 60fps at 1/120, or 120fps at 1/240 for the moments you want in dramatic slow motion. Streaming: 30fps for talk, 60fps for gaming and fast motion.
Talking-head vlogs, tutorials, reviews
Shoot 4K at 30fps, shutter 1/60. This is the workhorse setup: crisp, natural, easy to edit, modest file sizes. Want a more cinematic channel feel? Drop to 24fps at 1/50: the slightly softer motion reads as intentional and polished, especially paired with shallow depth of field. Either way, keep the camera on a tripod and locked off; your face isn’t moving fast enough to need anything more.
B-roll: scenery, food, lifestyle, travel
Shoot 4K or 1080p at 60fps, shutter 1/120. B-roll is where slow motion lives: a coffee pour, waves breaking, a city pan. Shooting everything at 60fps means you can decide in the edit which moments deserve the slow-mo treatment and which play at full speed. The only cost is file size, which is manageable for b-roll-length clips. Keep pans slow and smooth, since 60fps punishes jerky camera moves less than 24fps but still rewards steady hands.
Action and sports: skate, surf, biking, adventure
Shoot 60fps at 1/120 as your base for sharp, fluid motion at full speed, and switch to 120fps at 1/240 for the peaks: the trick, the jump, the splash. Two warnings: 120fps needs serious light (golden hour outdoors is ideal, a dim skatepark is not), and many cameras drop to 1080p or crop in at 120fps, so frame wider than you think you need. Also, decide your slow-mo moments before the session, not after: 120fps eats storage fast.
Live streaming
Streams follow the same logic, with a bandwidth twist. A talking-head or just-chatting stream looks right at 30fps, and it needs roughly half the upload bandwidth of a 60fps stream, which matters on a home connection. Switch to 60fps for gaming, sports, and anything fast-moving that viewers watch as it happens. The shutter rule still applies while you stream. Our guide to livestreaming on YouTube covers the rest of the setup: bitrates, software, and going live without the usual first-stream disasters.
Frame rate mistakes beginners keep making
The classics: shooting everything at 60fps because “higher is better,” mixing frame rates on one timeline without conforming them, ignoring the shutter rule, and trying to slow down 30fps footage.
1. Shooting everything at 60fps
“Higher number, better video” is the most common beginner logic, and it produces the most common beginner look: everything shot at 60fps played at full speed has a hyper-real, soap-opera quality that feels cheap rather than cinematic. 60fps is a tool for motion and slow-mo, not a default. If your video is mostly you talking, shoot 30fps (or 24fps) and save the 60fps for the clips that need it.
2. Mixing frame rates without conforming
Drop 60fps, 30fps, and 24fps clips onto one timeline and hit export, and you get judder: the editor has to invent or delete frames to force everything to fit, and the result stutters. Either shoot one frame rate for the whole project, or interpret your high-frame-rate clips to the timeline rate so every clip plays at the same speed. The timeline rate is the boss. Everything conforms to it.
3. Ignoring the shutter rule
Leaving the camera on auto shutter while switching frame rates is how you get that weird, hyper-sharp choppy look. Every time you change frame rate, change the shutter speed to match: 1/50 for 24, 1/60 for 30, 1/120 for 60, 1/240 for 120. Make it a habit, like checking your battery.
4. Trying to slow down 30fps footage
Stretching a 30fps clip to half speed on a 30fps timeline doesn’t create slow motion; it creates a stutter, because the editor has to invent frames that were never captured. Optical flow and frame-blending tools can fake it, but they smear and warp on anything with real motion. Real slow motion is captured at 60fps or higher, at the shoot, not manufactured in the edit.
5. Forgetting about light at high frame rates
120fps at 1/240 lets in a fraction of the light of 30fps at 1/60, and beginners discover this as noisy, grainy footage after the fact. If you’re going to 120, bring the light: shoot outdoors, near windows, or add a real light source. No amount of editing fixes starved footage.
6. Assuming you can fix the frame rate in the edit
Converting down always works: a 60fps clip becomes 30fps or 24fps by dropping frames, and that is exactly how conforming and slow motion work. Converting up is the trap. Turning 24fps into 60fps asks the editor to invent frames that were never captured, and interpolation tools can only guess at them, which shows up as warping and ghosting around anything that moves. Even a plain 30fps to 24fps conversion judders, because 24 does not divide evenly into 30, so frames get dropped in an uneven pattern. Decide the frame rate at the camera, where the frames are real.
Frame rate questions, answered
Straight answers to the frame rate questions vloggers ask most: no jargon, no hedging.
Should I shoot my YouTube videos in 24fps or 30fps?
For most vloggers, 30fps is the better default: it’s crisp, natural-looking, edits easily, and forgives casual camera movement. Choose 24fps when you want a cinematic, film-like feel for story-driven or travel content, and move the camera slowly to avoid judder. You can’t go badly wrong with either; you just get a different mood.
What is the best frame rate for talking-head videos?
30fps at 1/60 shutter speed. Talking-head footage barely moves, so the extra frames of 60fps add nothing but file size, and 24fps buys you a filmic look at the cost of slightly less crisp motion. 30fps sits right in the middle: sharp, natural, and professional. If your whole channel leans cinematic, 24fps at 1/50 is the legitimate alternative.
Can I mix 24fps and 60fps clips in the same video?
Yes, if you conform them. Set your timeline to one rate (say 30fps), shoot talking-head at 30fps, and interpret your 60fps clips to 30fps so they play at half speed, or drop them in at full speed for crisp real-time motion. What you can’t do is let the editor silently force mismatched rates together; that’s where judder comes from. One timeline rate, everything conformed to it.
Why does my 60fps footage look choppy in my editing app?
Almost always a timeline mismatch. If your timeline is 60fps but the export or playback can’t keep up, or your 60fps clip landed on a 24fps timeline without being interpreted, the app drops or duplicates frames and it stutters. Fix: set the timeline to your delivery rate (24 or 30fps) and interpret the 60fps clips to that rate. The footage was fine, the project setup wasn’t.
Do I actually need 120fps on my camera?
Only if you want dramatic slow motion: 4x or 5x stretched time for tricks, splashes, celebrations, and nature. For regular vlogging it’s unnecessary: 60fps already gives you clean 2x slow-mo, and 120fps costs you light, storage, and often resolution. Nice to have for action channels; a luxury for everyone else.
What shutter speed should I use with 60fps?
1/120: double the frame rate, per the 180-degree shutter rule. That gives you the natural motion blur your eye expects. If the image is too bright at 1/120, use an ND filter rather than raising the shutter speed; a faster shutter makes motion look choppy.
Does shooting at higher frame rates reduce video quality?
It doesn’t dull sharpness exactly, but there are real costs: file sizes roughly double from 30fps to 60fps, the sensor gets less light per frame (so low-light footage gets noisier), and many cameras drop to 1080p or crop the sensor at 120fps. Within the same resolution and good light, 60fps looks great. It’s the light and storage trade-offs you need to plan for.
Should I shoot 25fps instead of 30fps in Europe?
If you’re shooting indoors under artificial lights in a 50Hz country (most of Europe and Asia), yes: 25fps or 50fps avoids the flicker bands that mismatched rates can cause under mains-powered lighting. In daylight or with battery-powered lights it makes no difference, and YouTube accepts 25fps and 50fps without any issue. Switch your camera’s system frequency to PAL before you start, not mid-shoot.
What frame rate is best for YouTube Shorts and Reels?
30fps for most Shorts and Reels: it’s the standard the players expect and it looks natural for talking-to-camera content. Use 60fps when the clip involves fast action or you want slow-mo, and keep the 180-degree shutter rule (1/60 at 30fps, 1/120 at 60fps). Vertical video follows the same rules as horizontal; only the canvas changes.
Why does 60fps video sometimes look cheap, like a soap opera?
That’s the “soap opera effect.” Our brains link hyper-smooth motion with cheap TV and daytime soaps, because that’s where high frame rates showed up first, while 24fps reads as cinema. Played at full speed, 60fps looks vivid but uncanny for narrative content. The fix isn’t technical: use 60fps for action and slow-mo, and shoot story content at 24fps or 30fps.
Keep exploring
Frame rate is just one dial on the camera. Here’s how the rest of the vlogging craft fits together, from settings to editing to launching a channel.
1 thought on “24fps vs 30fps vs 60fps Explained for Vloggers in 2026”
Comments are closed.