
Last updated: November 2026
A USB microphone is the fastest way to fix bad vlog audio at a desk. It plugs straight into a laptop, needs no audio interface, and can make a voiceover, a talking-head video, or a livestream sound like it was recorded in a studio. But the wrong USB mic in the wrong room sounds worse than a cheap one in the right room, because the most sensitive mics hear everything: the fan, the keyboard, the echo off bare walls.
This guide ranks seven USB microphones for the three desk jobs a vlogger actually does: voiceover over b-roll, talking-head videos at a desk, and livestreams. Every pick is judged on the same five things: condenser or dynamic capsule, how it behaves in a normal room, whether it has a headphone jack for monitoring, how you control gain, and how it handles plosives. Read the room warning first. It decides the pick more than any spec sheet does.
As an Amazon Associate I earn from qualifying purchases.
Quick picks: the best USB microphones for vlogging
- Best overall: Rode NT-USB+: a condenser with built-in processing that makes voiceover sound polished in a quiet room.
- Best for noisy rooms: Shure MV7+: a dynamic mic that rejects room noise, with USB and XLR in one body.
- Best familiar beginner: Blue Yeti / Yeti X: four patterns cover solo voiceover and two voices at one desk.
- Best for livestreams: Elgato Wave:3 MK.2: a condenser with a built-in mixer for game audio, chat, and alerts.
- Best budget: FIFINE K669B: the cheapest credible start, with a volume knob and a metal body.
- Best portable hybrid: Samson Q2U: a dynamic mic with USB and XLR in one body, ready to pack.
- Best compact desk: Rode NT-USB Mini: the NT-USB+ sound in a body that fits the smallest desk.
In this guide
- The short answer: match the mic to your desk job
- The condenser warning: your room decides first
- The 7 best USB microphones for vlogging in 2026
- Voiceover: the best USB mic for narration over b-roll
- Talking-head: the best USB mic when you are on camera at your desk
- Livestream: the best USB mic for going live from your desk
- Condenser vs dynamic: the choice that decides your sound
- Not for walking around: what a USB mic cannot do
- Set up your USB mic in 10 minutes
- Five things to check before you buy
- How to make a noisy room sound better without buying a new mic
- USB vs XLR: when to upgrade
- Frequently asked questions
- Keep exploring
The short answer: match the mic to your desk job
A USB microphone is a desk tool, and the right one depends on the job you do at that desk. Quiet room and voiceover work point to the Rode NT-USB+. A noisy room points to the Shure MV7+. Livestreams with game audio, music, and chat point to the Elgato Wave:3 MK.2. A tight budget points to the FIFINE K669B.
Most vloggers do all three desk jobs with one microphone, so the honest short answer is a ranking by room first and job second. If your room is quiet, with curtains, a rug, books, or soft furniture, a condenser rewards you with detail and warmth. The Rode NT-USB+ is the pick there: its built-in processing adds polish before the sound reaches your computer, and its detachable pop filter keeps hard consonants under control. If your room is noisy, with a fan, street sound, a keyboard, or hard bare walls, a dynamic is the safer buy. The Shure MV7+ hears your voice up close and lets the rest of the room fall away, which is exactly what a talking-head video needs.
Budget changes the answer less than people expect. The FIFINE K669B costs a fraction of the top picks and still sounds like a real microphone, which is a huge step up from a laptop mic or a headset. What the extra money buys is not volume but control: better rejection of room noise, a headphone jack for monitoring, gain you can adjust without opening software, and processing that saves editing time later.
One warning belongs at the top of every USB mic guide, and it belongs here too: none of these microphones is for walking around. A USB mic sits on a desk, plugged into a computer. The moment you leave the desk, you need a different kind of microphone, and the section on walking around explains which ones and why.
The condenser warning: your room decides first
A condenser microphone hears more of everything, including the parts of your room you want to hide. In a quiet, soft-furnished room that extra detail sounds rich and professional. In a noisy or echoing room it sounds like a fan, a keyboard, and an empty hall. Buy the mic that fits your room, not the mic with the best reviews.
Condenser and dynamic are the two capsule types in this guide, and the difference between them is sensitivity. A condenser capsule is light and responsive, so it picks up fine detail in your voice and also fine detail in the room: the hum of a fridge two rooms away, the click of a mouse, the slap of echo off a bare wall. A dynamic capsule is heavier and less sensitive, so it needs your voice close and loud, and it naturally leaves the room behind. That is why the same condenser that sounds beautiful in a treated room sounds amateur in a kitchen with tile floors, and why a dynamic mic that sounds plain on paper sounds clean in a real bedroom.
Before you spend anything, do the clap test. Sit where you record, clap once, and listen. A short, dull thud means a soft room that will suit a condenser. A sharp slap that rings for a second means a hard, echoing room that will punish a condenser and reward a dynamic mic. Then sit quietly for thirty seconds and count the sounds: fan, traffic, fridge, heating, a ticking clock, family in the next room. Every sound you can hear is a sound a condenser will record. If the count is high, start with a dynamic mic. The Shure MV7+ and the Samson Q2U are the dynamic picks in this list, and both are built for exactly that room.
None of this means condensers are bad for vloggers. Most voiceover work happens in the quietest corner of a home, close to the mic, and that is where a condenser earns its keep. The trap is buying a condenser because it is popular, then recording in a room that fights it. If you already own one and your recordings sound echoey, get closer, hang a curtain, and put a rug down. The noisy-room section near the end of this guide walks through those fixes in order, cheapest first.
The 7 best USB microphones for vlogging in 2026
Seven USB microphones cover every vlogging desk job: the Rode NT-USB+ leads for voiceover, the Shure MV7+ leads for noisy rooms, the Elgato Wave:3 MK.2 leads for livestreams, and the FIFINE K669B leads on a tight budget. The Blue Yeti family, the Samson Q2U, and the Rode NT-USB Mini fill the gaps between them.
The table is the whole guide on one screen. Pick your desk job first, then read the matching card. Every card lists the same core facts in its key-specs strip, so you can compare like with like instead of trusting adjectives.
| Microphone | Type | Best desk job | Monitoring | Pop filter |
|---|---|---|---|---|
| Rode NT-USB+ | Condenser, cardioid | Voiceover | Headphone jack | Detachable, in the box |
| Shure MV7+ | Dynamic, cardioid | Noisy-room talking-head | Headphone jack | Digital, built in |
| Blue Yeti X | Condenser, 4 patterns | Two voices at one desk | Headphone jack | None included |
| Elgato Wave:3 MK.2 | Condenser, cardioid | Livestream mixing | Headphone jack | Built in |
| FIFINE K669B | Condenser, cardioid | First mic on a budget | No headphone jack | None included |
| Samson Q2U | Dynamic, cardioid | Portable hybrid start | Headphone jack | Foam windscreen, in the box |
| Rode NT-USB Mini | Condenser, cardioid | Small desks | Headphone jack | Built in |
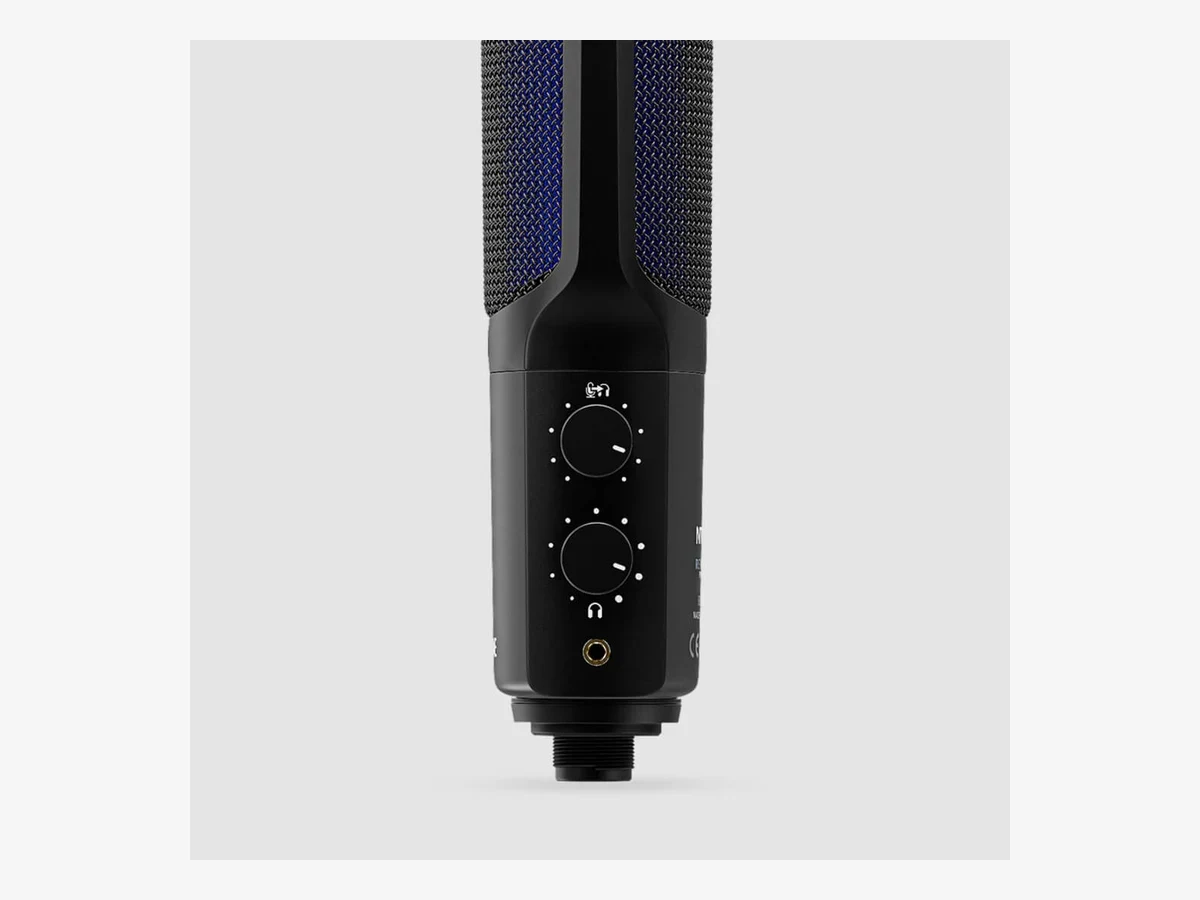
Photo: Rode
1. Rode NT-USB+
The best USB microphone for vlogging voiceover: a condenser with studio-grade detail and built-in processing that makes narration sound polished before you edit a word.
The NT-USB+ is the voiceover pick because it is built for exactly that job. Its large condenser capsule captures the warmth and detail that make narration over b-roll sound professional, and its low-noise preamp keeps the quiet parts of a recording clean instead of hissy. The built-in APHEX processing, switched on through the free Rode apps, adds compression, a noise gate, a high-pass filter, and the Aural Exciter and Big Bottom effects that give a voice broadcast presence. Those settings save to the microphone itself, so they travel with it to any computer.
Everything in the box is there for a reason. The detachable pop filter tames plosives without a separate screen to buy, the desk stand holds the mic steady, and the two dials on the body control headphone volume and the mix between your voice and your computer audio. The headphone jack gives you your own voice back with no delay, which matters when you are recording long narration. For a vlogger whose main desk job is voiceover, this is the mic to beat.
Technical features
- Type: condenser microphone with cardioid pickup pattern
- Connection: USB-C, class-compliant, works with computers, phones, and tablets
- Resolution: 24-bit, 48 kHz
- Processing: APHEX DSP (compressor, noise gate, high-pass filter, Aural Exciter, Big Bottom) via Rode Central, Rode Connect, and Rode Reporter
- Monitoring: 3.5 mm headphone output with zero-latency monitoring and mix control
- Pop filter: detachable pop filter included in the box
- Preamp: Revolution Preamp with low self-noise
- Mount: desktop stand and ring mount included
Pros
- Rich, detailed voiceover sound straight out of the box
- Built-in processing saves editing time on every video
- Pop filter, stand, and cable all included
- Zero-latency headphone monitoring with mix control
- Settings save to the mic and work on any computer
Cons
- Condenser capsule hears room noise, so it needs a quiet room
- No physical gain knob on the mic body; gain is set in software
- Larger than most desk mics, so it takes up real desk space
- USB only, with no XLR output for a later upgrade
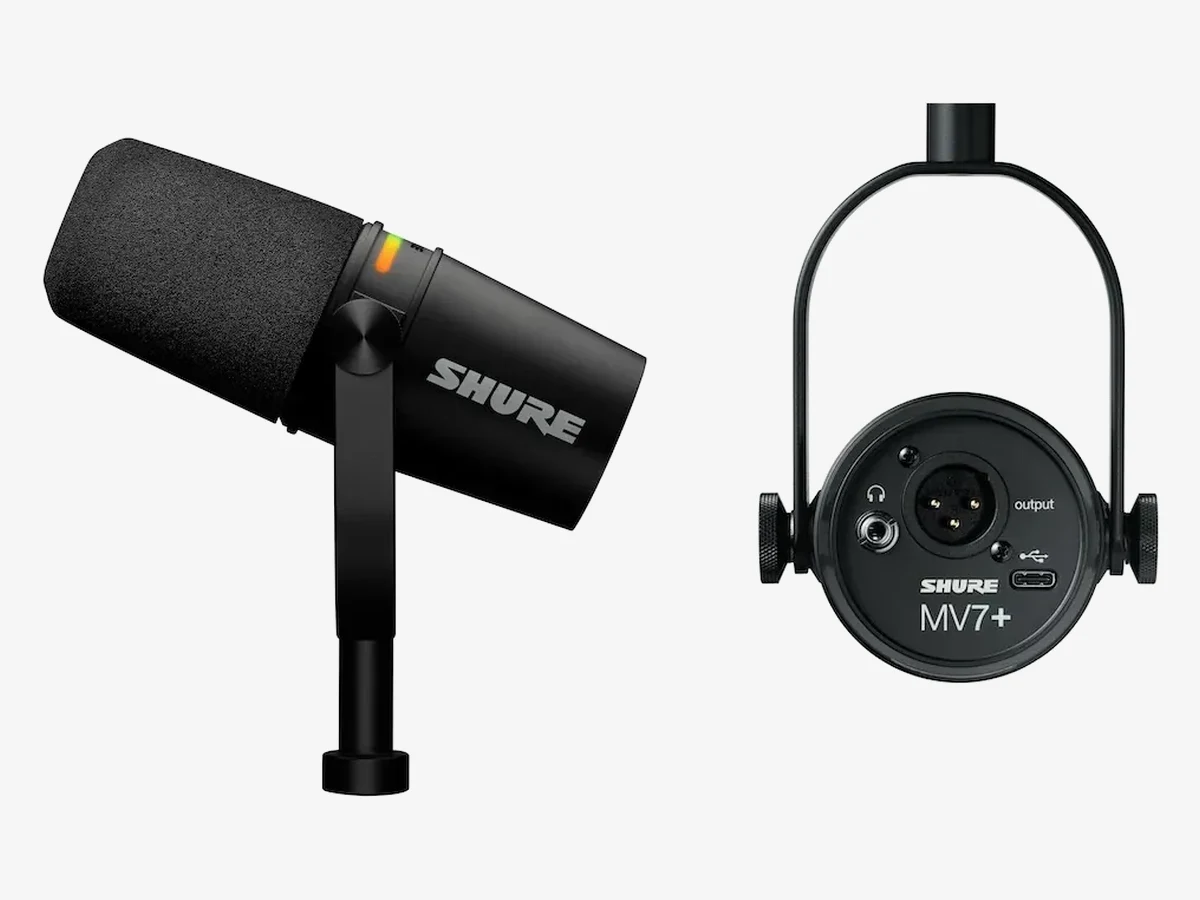
Photo: Shure
2. Shure MV7+
The safest USB mic for a normal room: a dynamic capsule that ignores fans, keyboards, and echo, with automatic level control and USB plus XLR in one body.
The MV7+ is the pick for the room most vloggers actually record in. Its dynamic capsule is far less sensitive than a condenser, so it hears your voice a few inches away and lets the room fall behind. That single fact makes it the most forgiving mic in this guide for talking-head videos recorded in a bedroom, a home office, or a living room with hard floors. It is the mic to buy when the clap test rings and the fan never really stops.
The processing inside the mic does the work a beginner would do in editing. Auto Level Mode watches your volume and adjusts the gain as you lean in or sit back, so your voice stays even without touching a slider. The real-time Denoiser strips out steady hum from a fan or air conditioner, and the digital pop filter tames hard consonants without a foam screen. The LED touch panel shows your level at a glance and mutes with one tap. USB-C and XLR outputs work together, so you can record over USB today and move to an interface later without buying a new microphone.
Technical features
- Type: dynamic microphone with cardioid pickup pattern
- Connection: USB-C and XLR outputs, usable at the same time
- Resolution: 24-bit, 48 kHz over USB
- Processing: Auto Level Mode, real-time Denoiser, digital pop filter, reverb effects via MOTIV Mix app
- Monitoring: 3.5 mm headphone output with zero-latency monitoring
- Controls: LED touch panel for mute, gain, and monitor mix, with color options
- Pop filter: digital pop filter built in, no external screen needed
- In the box: USB-C cable and quick start guide
Pros
- Best room-noise rejection of any mic in this guide
- Auto Level keeps your voice even as you move
- USB and XLR in one body, so it grows with your setup
- Tap-to-mute touch panel with a visible level display
- Strong, all-metal build that survives daily desk use
Cons
- Needs to sit close to your mouth, a few inches away
- Costs more than every other pick in this guide
- No desk stand or boom arm in the box
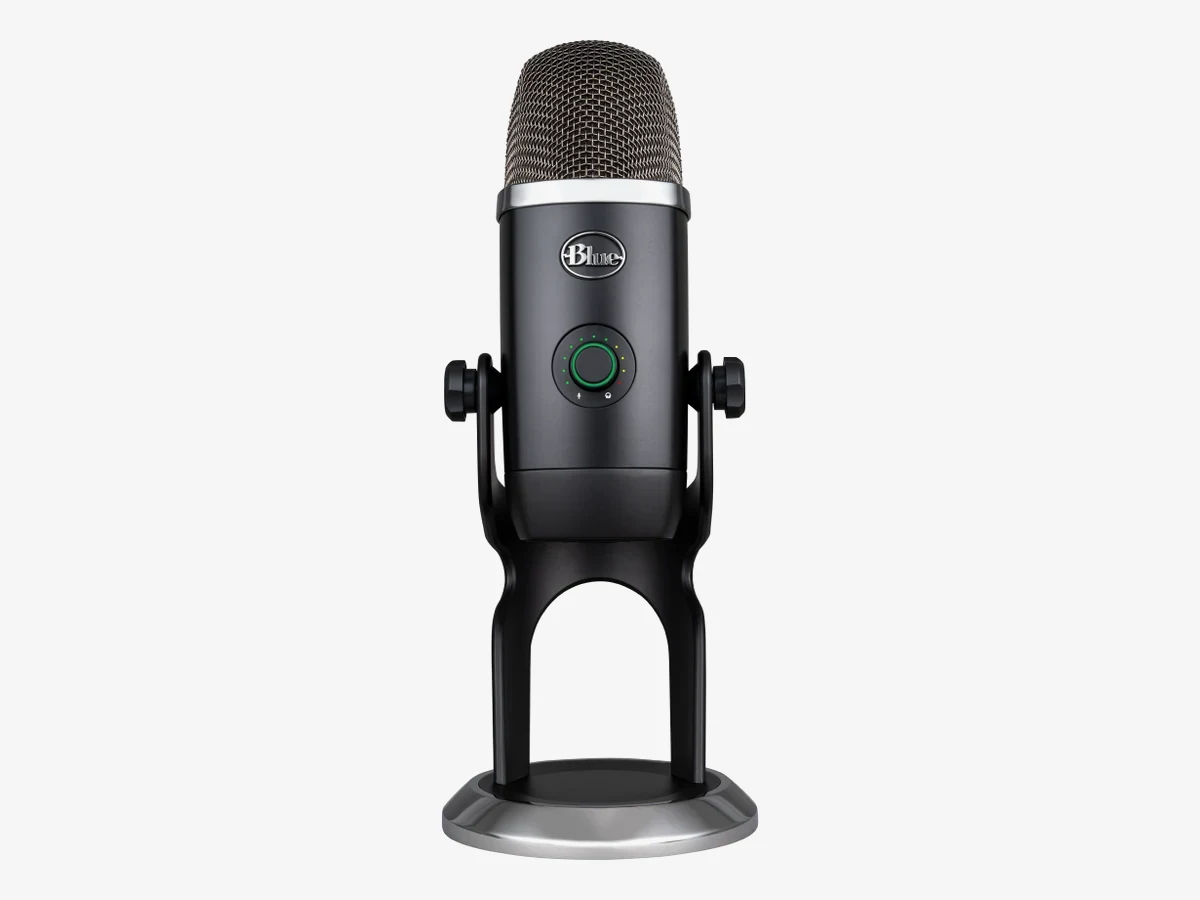
Photo: Logitech G
3. Blue Yeti / Yeti X
The familiar beginner pick: four pickup patterns in one mic, so it covers solo voiceover, two voices at one desk, and room capture without buying a second microphone.
The Yeti is the USB microphone most vloggers have already seen, and its strength is flexibility. Four selectable patterns change what the mic hears: cardioid for one voice, bidirectional for two voices facing each other across a desk, omnidirectional for a group in a room, and stereo for a wide sound. No other mic in this guide does two voices at one desk as simply. Switch to bidirectional, sit opposite your guest, and both voices land on one track. That makes the Yeti the pick for interview-style talking-head videos and for a vlogger who records with a partner at the same desk.
The Yeti X adds the controls the original Yeti lacks: a smart knob that handles gain, headphone volume, the mix between mic and computer audio, and mute, plus an LED ring that shows your input level in real time. The headphone jack gives zero-latency monitoring, and the Blue VO!CE software adds broadcast effects through Logitech G HUB. The trade is the one every Yeti owner learns: it is a large, heavy condenser that hears the room, so it belongs in a quiet space, on cardioid, close to your mouth.
One thing to check before you buy: Logitech has launched the Yeti 2, a newer multi-pattern USB microphone with automatic voice tracking and noise reduction, and it has replaced the Yeti X on some Logitech stores. The Yeti X is still sold and still a good mic, and it often appears at a discount. If you are choosing between the two new, look at the Yeti 2 first.
Technical features
- Type: condenser microphone with four pickup patterns (cardioid, bidirectional, omnidirectional, stereo)
- Connection: USB-C, plug and play on Mac and PC
- Resolution: 24-bit, 48 kHz
- Processing: Blue VO!CE broadcast effects via Logitech G HUB
- Monitoring: 3.5 mm headphone output with zero-latency monitoring
- Controls: multi-function smart knob for gain, headphone volume, mix, and mute, with LED level meter
- Pop filter: none included; a foam windscreen or pop filter is a useful add-on
- In the box: Yeti X microphone with desktop stand and USB cable
Pros
- Four patterns cover solo, duo, group, and stereo recording
- Smart knob puts gain, volume, and mute on one dial
- LED meter shows your level without opening software
- Enormous tutorial and preset support from years of use
- Heavy desk stand keeps it stable
Cons
- Large and heavy, and it dominates a small desk
- Condenser capsule picks up keyboard and room noise easily
- No pop filter in the box
- Yeti 2 is the newer model, so check it before buying new
Photo: Elgato
4. Elgato Wave:3 MK.2
The best USB mic for livestreams with more than one sound source: Clipguard stops loud moments from distorting, and Wave Link mixes game audio, chat, music, and your voice on separate channels.
The Wave:3 MK.2 is the current version of Elgato’s streaming microphone, and it is the pick for a vlogger whose desk job is going live. The headline feature is Clipguard 2.0, a two-stage system that catches sudden loud sounds, a laugh, a shout, a dropped controller, before they distort the recording. On a livestream there is no second take, so a mic that cannot clip is worth more than a mic that sounds slightly warmer in a quiet room.
The second reason is Wave Link, the free mixer software. It splits your audio into separate channels, so game sound, voice chat, music, alerts, and your microphone each get their own fader and mix for the stream and for the recording. The MK.2 adds onboard DSP effects, VST insert support, Auto Gain, and Voice Tune, plus an LED ring around the dial that shows your level. Speak into the front, the side with the dial, and keep it a hand span from your mouth.
Check which generation you are buying. The original Wave:3 and the MK.2 look alike, but the MK.2 has the LED ring around the dial and the model number on its base, and the original is now out of stock on Elgato’s own store. Search results can still show the older model, so confirm the LED ring and the MK.2 name before you order.
Technical features
- Type: condenser microphone with cardioid pickup pattern
- Connection: USB-C, works with Windows and Mac computers
- Resolution: 24-bit, 48 kHz
- Processing: Wave FX Processor with Clipguard 2.0, onboard DSP effects, VST insert support, Auto Gain, Voice Tune
- Monitoring: 3.5 mm headphone output with real-time monitoring
- Controls: multifunction dial for gain, Voice Tune, headphone volume, and monitor mix, with LED level ring
- Software: Wave Link virtual mixer with separate channels for apps and sources
- In the box: Wave:3 MK.2, desk stand, USB-C cable, 5/8 inch and 3/8 inch adapter
Pros
- Clipguard 2.0 stops loud moments from distorting a live stream
- Wave Link mixes game, chat, music, and mic separately
- Onboard DSP and Auto Gain need little setup
- LED ring shows your level at a glance
- Compact body that fits a crowded desk
Cons
- Cardioid only, with no pattern switching
- No shock mount in the box; it is sold separately
- Full DSP control needs Wave Link software
- Needs Windows 11 or macOS 14.2 or newer for the latest software
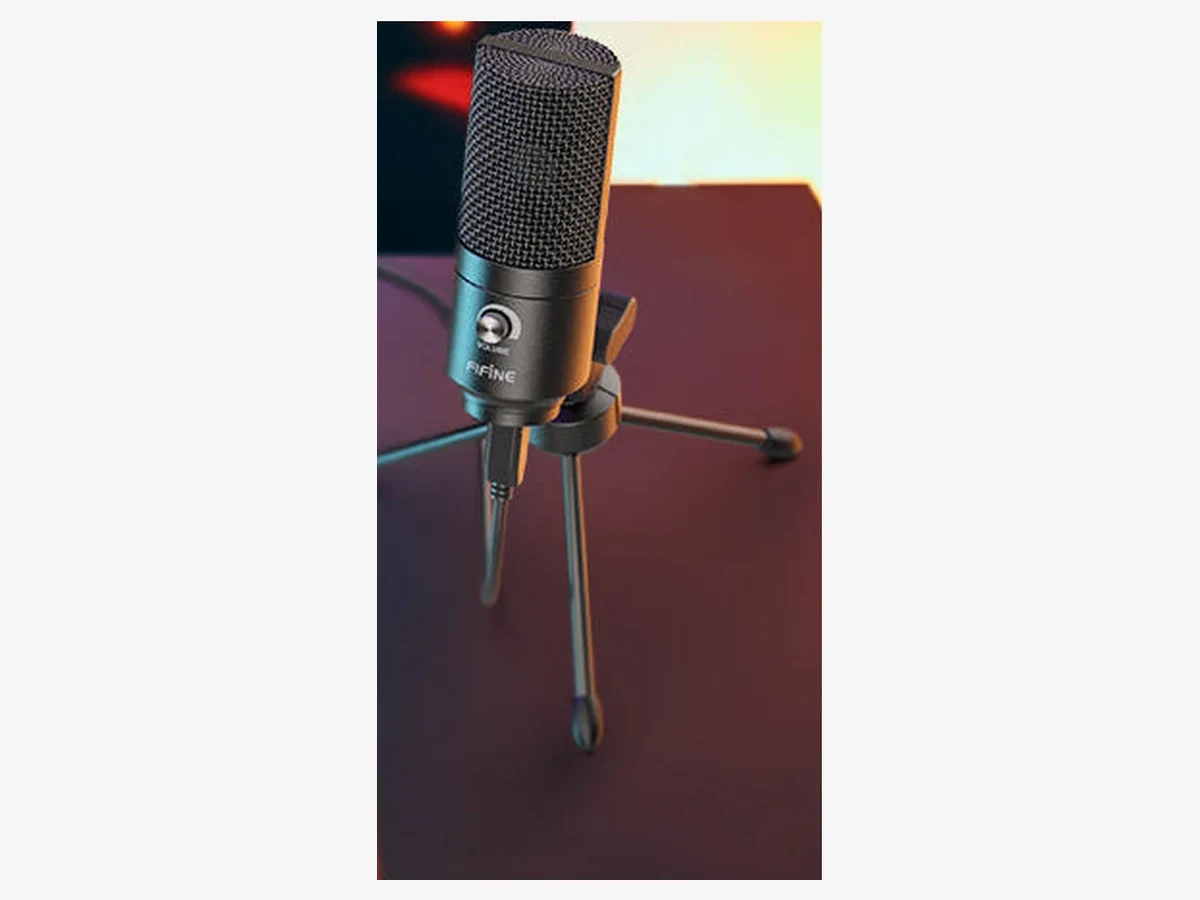
Photo: FIFINE
5. FIFINE K669B
The cheapest credible first microphone: a metal condenser with a volume knob that sounds like a real mic for the price of a takeout dinner, with one honest gap, no headphone jack.
The K669B exists to remove the last excuse for recording on a laptop microphone. It is a cardioid condenser in a full-metal body, on a small tripod stand, with a volume knob on the mic itself for quick gain changes. Plug it in, select it as the input, and you are recording. For a new vlogger testing whether voiceover or talking-head videos are worth pursuing, it delivers the biggest jump in sound quality per unit of money in this guide.
The honest trade is monitoring. The K669B has no headphone jack, so you cannot hear yourself through the mic while you record. You check the recording after the take instead of during it, which is fine for short voiceover lines and less fine for long narration. It is also a condenser, so it hears the room, and it has no pop filter in the box. None of that stops it being the right first buy. It stops it being the last buy.
Technical features
- Type: condenser microphone with cardioid pickup pattern
- Connection: USB, with a USB-B to USB-A/C cable in the box
- Resolution: 16-bit, 48 kHz
- Frequency response: 20 Hz to 20 kHz
- Monitoring: no headphone output on the microphone
- Controls: volume knob on the mic body for gain adjustment
- Pop filter: none included
- In the box: K669B microphone, tripod stand, USB cable
Pros
- By far the lowest cost of any mic in this guide
- All-metal body that feels far more expensive than it is
- Volume knob on the mic for quick gain changes
- Truly plug and play, with no software to install
- Small tripod stand keeps it stable on a crowded desk
Cons
- No headphone jack, so no live monitoring while recording
- Condenser capsule hears room noise and keyboard clicks
- No pop filter in the box
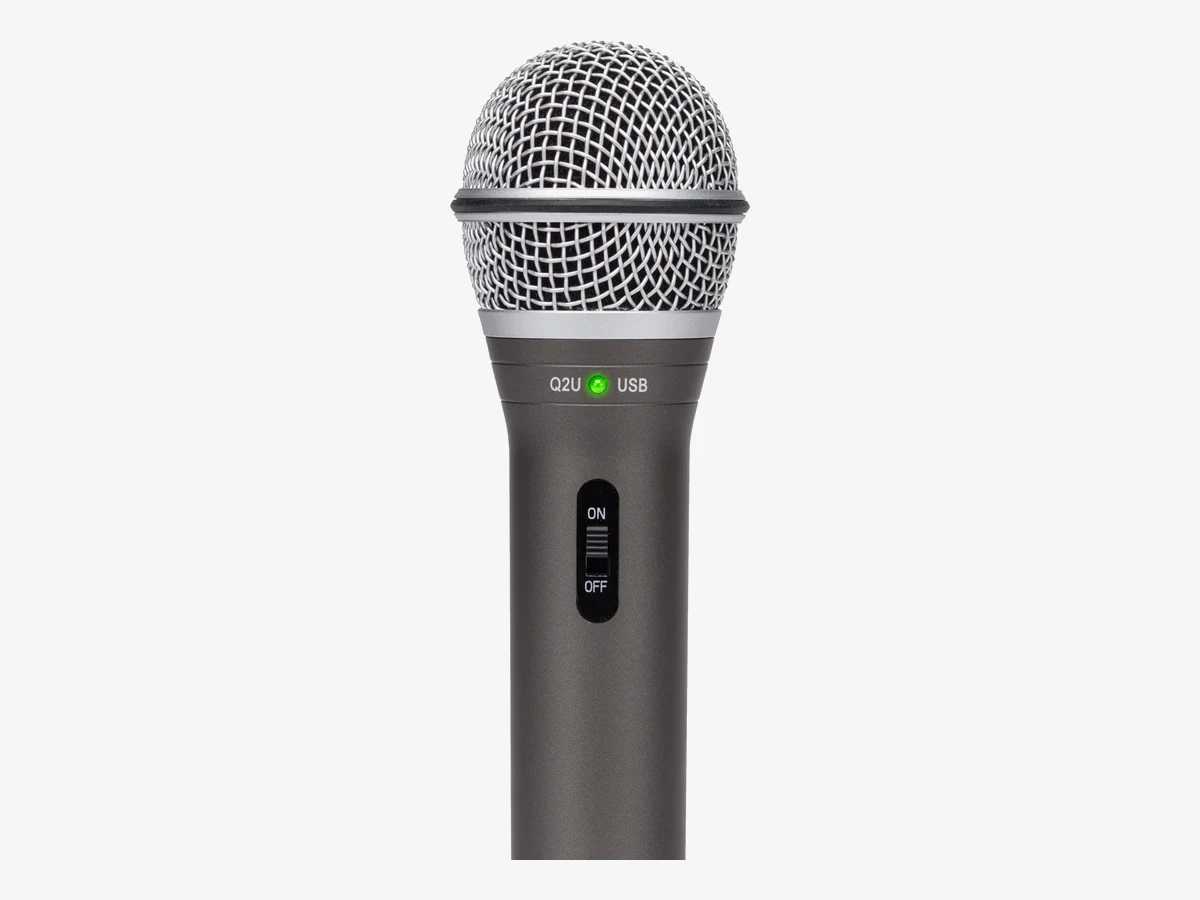
Photo: Samson
6. Samson Q2U
The best cheap way into a hybrid setup: a dynamic mic with USB and XLR in one body, a headphone jack, and every cable and accessory in the box.
The Q2U is the working vlogger’s bargain. It is a handheld dynamic microphone, shaped like a stage mic, with both a USB output and an XLR output. Start on USB at your desk. Later, plug the same mic into a mixer or interface over XLR and keep using it. That upgrade path is the same idea as the Shure MV7+, at a much lower cost, and it is the reason the Q2U has been a first recommendation for years.
Being dynamic, it rejects room noise far better than any condenser in this guide, which makes it a strong pick for a noisy room on a budget. The headphone jack has its own level control, so you can monitor with no delay, and the on-off switch controls both outputs. The box is generous: a desktop tripod stand and extension, a mic clip, a foam windscreen, a USB cable, and an XLR cable. The trade is resolution, 16-bit instead of 24-bit, and the handheld shape, which wants a stand or a boom arm to sit right on a desk.
Technical features
- Type: dynamic microphone with cardioid pickup pattern
- Connection: USB-C and XLR outputs, usable at the same time
- Resolution: up to 16-bit, 44.1 kHz and 48 kHz
- Frequency response: 50 Hz to 15 kHz
- Monitoring: 1/8 inch headphone output with level control for zero-latency monitoring
- Controls: on-off switch for both USB and XLR audio, dual-color power and clip LED
- Pop filter: foam windscreen included in the box
- In the box: mic clip, tripod stand, tripod stand extension, foam windscreen, USB cable, XLR cable
Pros
- Dynamic capsule rejects room noise on a budget
- USB and XLR in one mic, so it grows with your setup
- Headphone jack with its own level control
- Every cable and accessory included, nothing else to buy
- Light and portable enough to pack for a trip
Cons
- 16-bit resolution, not 24-bit like the premium picks
- Handheld shape needs the included stand or a boom arm on a desk
- No software processing or companion app
- Plainer sound than the condenser picks in a quiet room
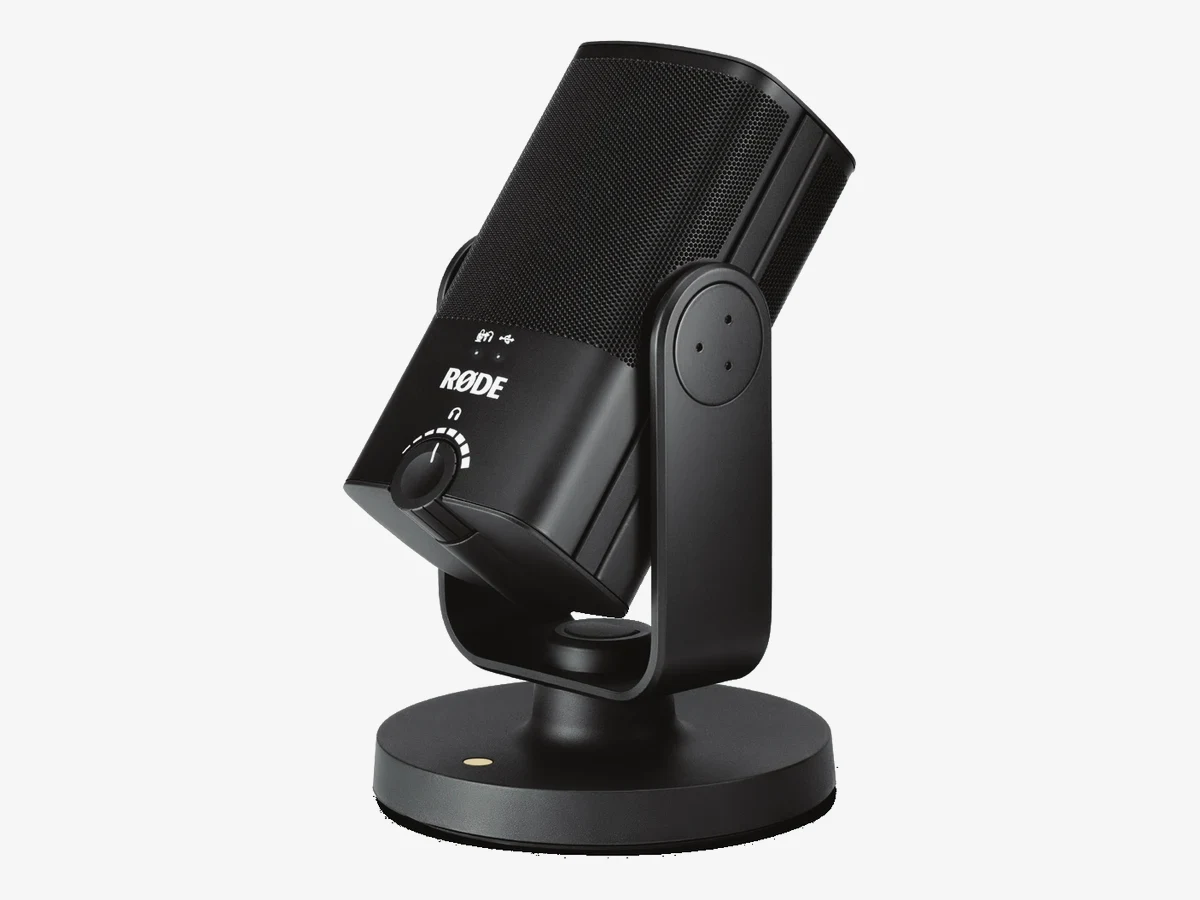
Photo: Rode
7. Rode NT-USB Mini
The best USB mic for a small desk: the NT-USB+ sound in a compact body, with a built-in pop filter, a magnetic stand, and a headphone jack.
The NT-USB Mini is the answer to a practical problem: a full-size studio mic does not fit every desk. At 89 mm wide and 141 mm tall, it takes up a fraction of the space of the NT-USB+, and its magnetic base detaches so the mic can mount on a boom arm or a stand. The sound stays in the same family, a studio-grade condenser with a smooth frequency response and a cardioid pattern that focuses on your voice.
The details are well thought out for desk work. The pop filter is built into the grille, so hard consonants land softer with no extra screen to buy or position. The knob on the front controls headphone volume and switches zero-latency monitoring on and off with a press, so you can hear yourself with no delay. The Rode Connect software adds the same kind of processing as its bigger sibling, compressor, noise gate, and the APHEX effects, and up to four Minis can connect to one computer. The honest limit is the same as every condenser here: it hears the room, so it wants a quiet corner and a close distance, around 10 to 15 cm from your mouth.
Technical features
- Type: condenser microphone with cardioid pickup pattern
- Connection: USB-C, class-compliant, works with computers and tablets
- Resolution: 24-bit, 48 kHz
- Frequency response: 20 Hz to 20 kHz
- Monitoring: 3.5 mm headphone output with zero-latency monitoring, switched by pressing the knob
- Controls: front knob for headphone volume; input level is set on the computer
- Pop filter: built into the grille
- Mount: detachable magnetic desk stand, 360-degree swing mount, compatible with Rode boom arms
Pros
- Compact body that fits the smallest desk
- Built-in pop filter, nothing extra to buy
- Zero-latency headphone monitoring with a powerful amplifier
- Magnetic base detaches for boom arm mounting
- Rode Connect software adds processing and multi-mic recording
Cons
- Front knob controls headphone volume only, not input gain
- Condenser capsule hears room noise, so it needs a quiet room
- USB only, with no XLR output for a later upgrade
- Small stand can be knocked over more easily than a heavy base
Voiceover: the best USB mic for narration over b-roll
For voiceover over b-roll, buy the Rode NT-USB+ if your room is quiet, and the Shure MV7+ if it is not. Voiceover is recorded close, in one place, with no camera running, so detail and control matter more than size or looks.
Voiceover is the most forgiving desk job and the most demanding at the same time. It is forgiving because you record alone, in the quietest part of your home, at whatever time of day is silent, with no camera to worry about. It is demanding because the voice carries the whole video: over travel b-roll, a tutorial, or a documentary-style vlog, the narration is the video, and every mouth click, breath, and room echo is audible. A condenser earns its keep here. The NT-USB+ captures the warmth that makes a voice sound close and present, and its built-in processing evens out the level before the sound reaches your editing software.
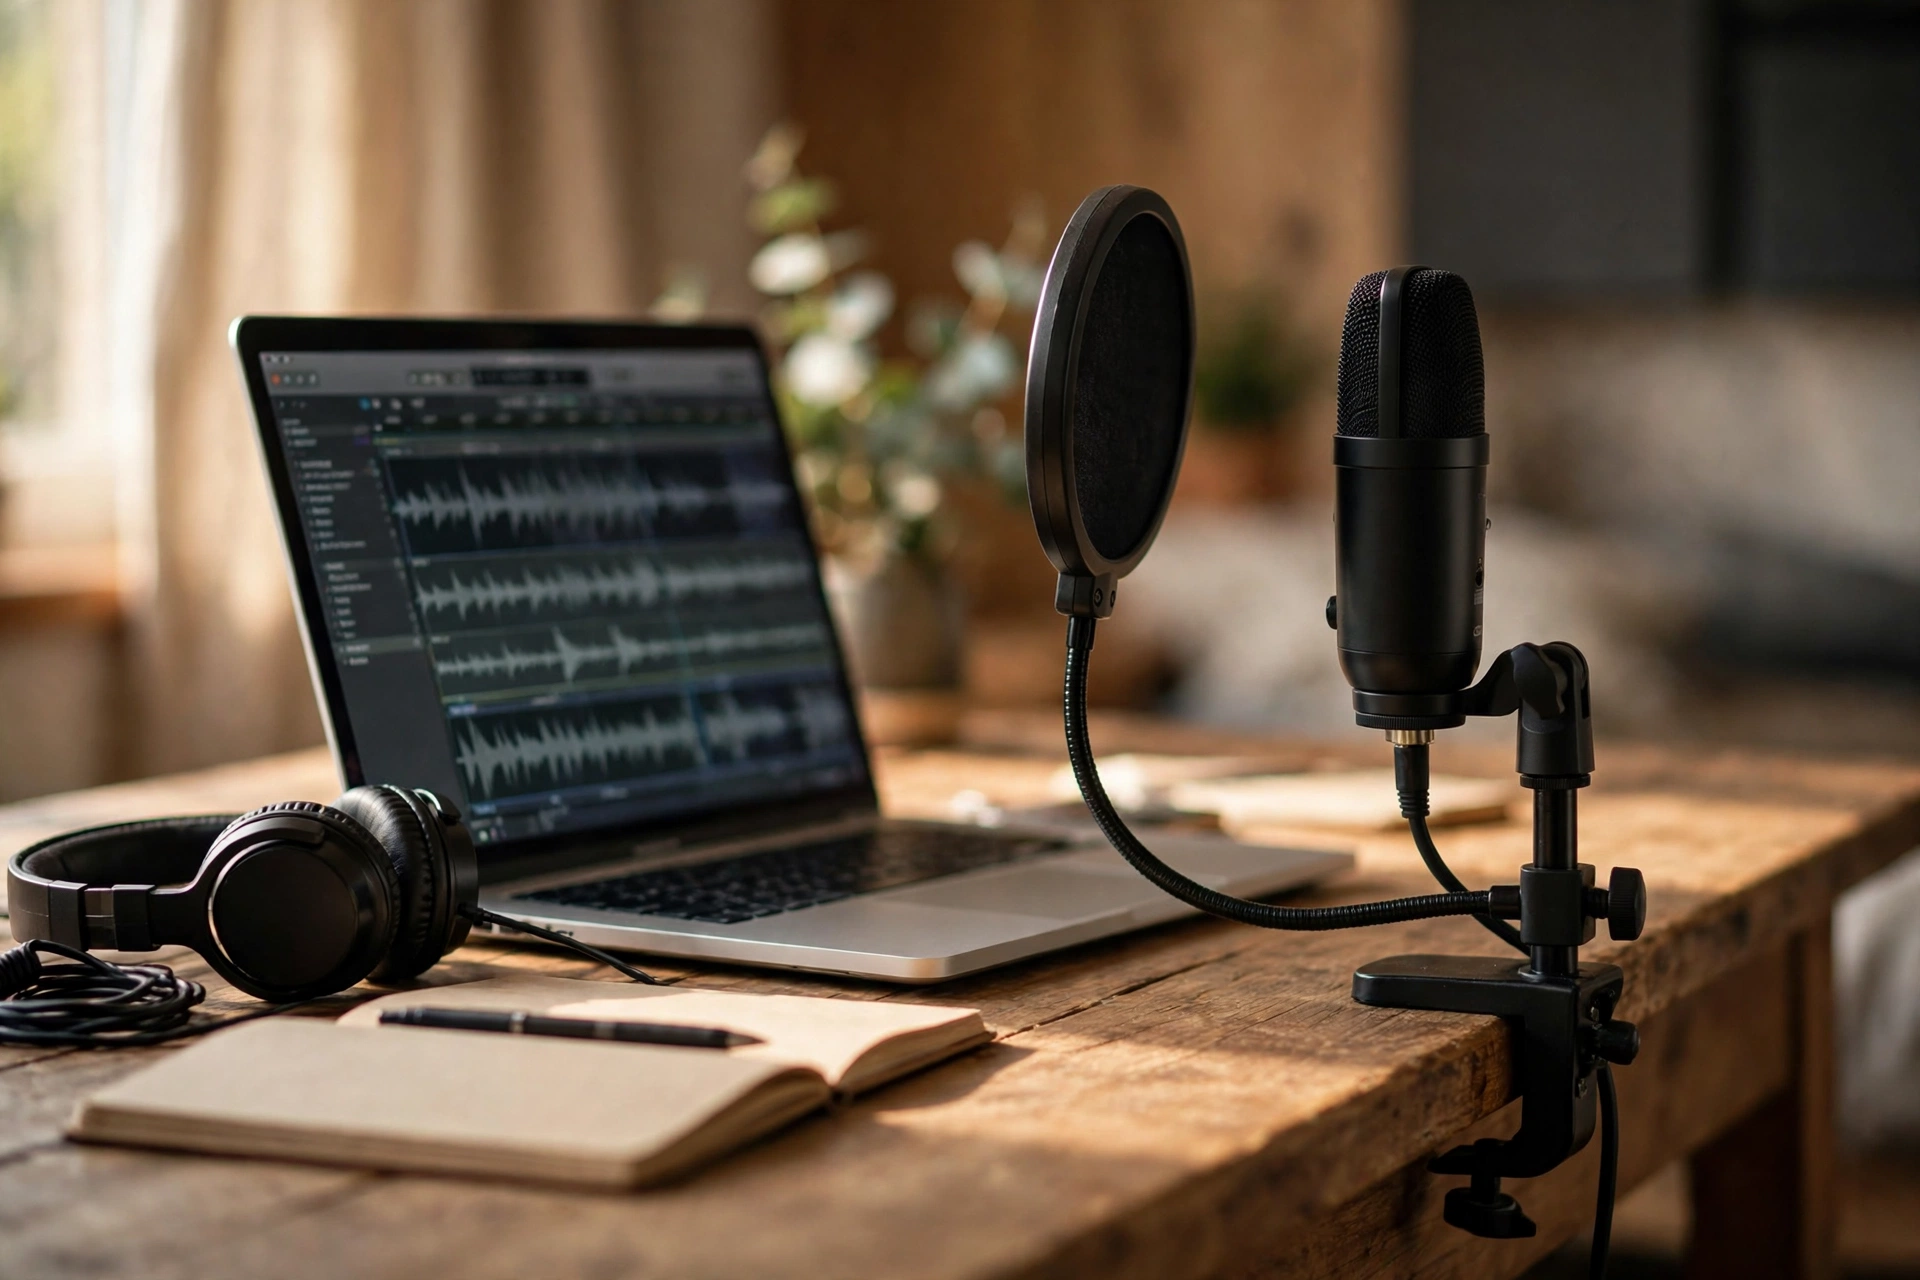
Distance is the voiceover skill that matters most. A condenser wants you 15 to 20 cm away, slightly off-axis, so hard P and B sounds pass beside the capsule instead of straight into it. A dynamic mic wants you closer, 5 to 10 cm away, speaking across the mic rather than directly down into it. Record a 30-second test at each distance and listen back on headphones before you record the whole script. The difference between a good take and a great take is usually five centimeters and a pop filter.
Script reading has its own habits. Print the script or put it on a tablet, never on paper you have to turn near the mic. Mark the pauses with a slash so you breathe where the sentence wants you to breathe, not where you run out of air. Record in short sections, a paragraph at a time, and leave a second of silence at the start of each section so your editing software has clean room tone to work with. If you flub a line, clap once, pause, and read it again. For the full voiceover workflow, from script to finished narration, the site’s guide to recording voiceovers for vlogs covers the process step by step.
Talking-head: the best USB mic when you are on camera at your desk
For talking-head videos at a desk, buy the Shure MV7+ for a normal room, and the Rode NT-USB+ for a quiet one. The mic sits in frame or just out of it, so size, looks, and room rejection matter as much as sound.
Talking-head is the desk job where the microphone is part of the picture. A big condenser on a desk stand fills the lower third of the frame, which some creators like and some hate. A compact mic like the NT-USB Mini or a dynamic mic on a boom arm keeps the frame clean and puts the mic close to your mouth without a stand in shot. Decide before you buy whether the mic will be visible. If it will, pick a mic you like looking at. If it will not, a boom arm is worth more than a prettier mic, because it holds the capsule a few inches from your mouth, out of frame, take after take.
Room noise is the talking-head problem that ruins more videos than any other. You are recording in real time, often for ten minutes at a stretch, and you cannot re-record a single line without breaking the flow. A dynamic mic forgives the fan, the keyboard, and the echo. A condenser punishes them. That is why the MV7+ leads this section even though the NT-USB+ sounds richer in a quiet room: most talking-head videos are recorded in rooms that are not quiet, and the MV7+ is the mic that survives them.
Two practical points finish the job. First, keep the mic out of the camera’s autofocus hunt: a mic that moves as you gesture can pull focus, so lock focus on your face or use manual focus for talking-head takes. Second, record a backup. A phone on the desk, recording audio from its own mic, costs nothing and saves the video when a cable fails mid-take.
Livestream: the best USB mic for going live from your desk
For livestreams from a desk, buy the Elgato Wave:3 MK.2. A live stream has no edit, so the mic that wins is the one that cannot clip, mixes several sound sources, and mutes fast when something goes wrong.
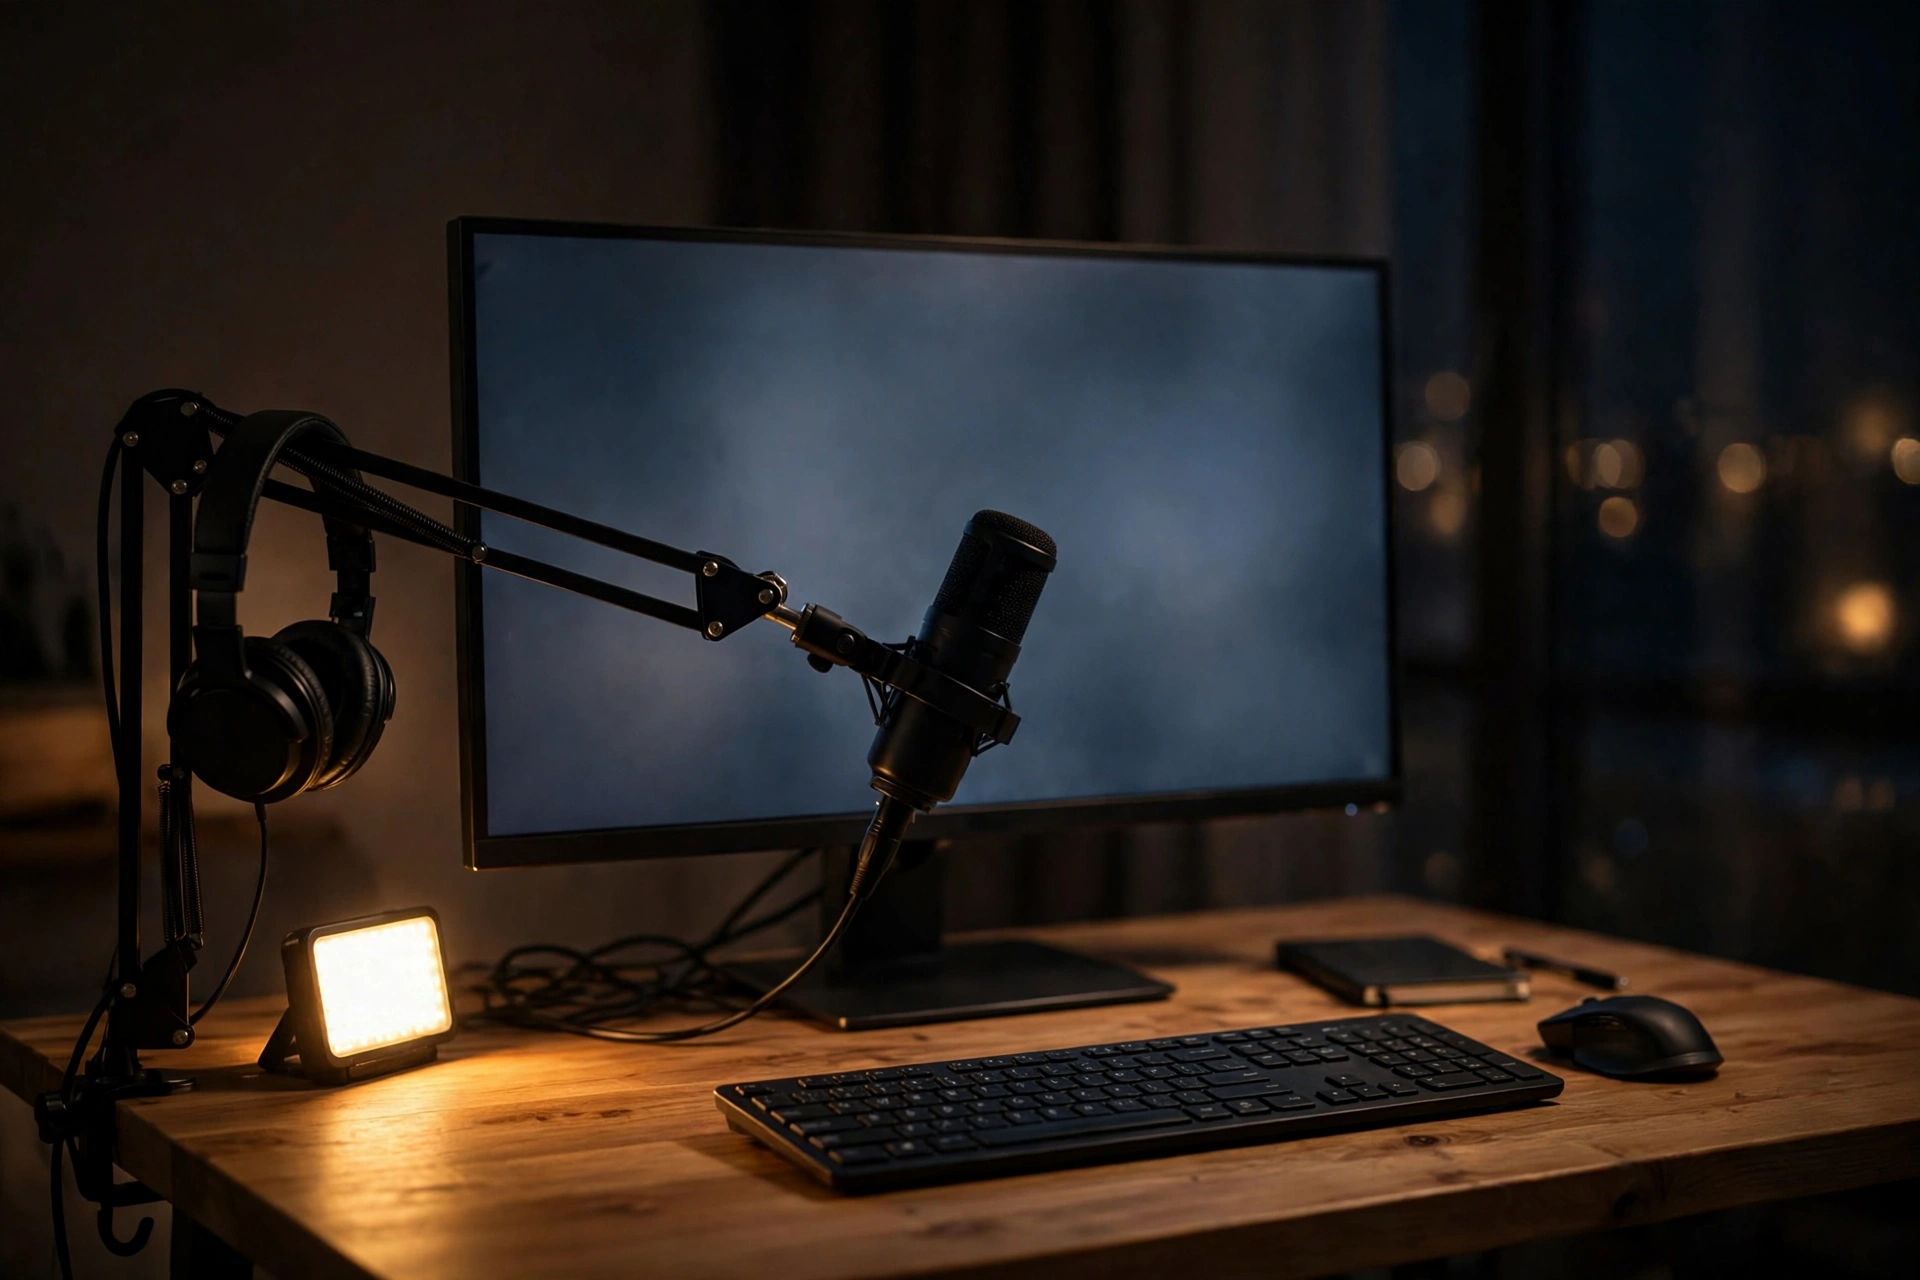
A recorded video forgives a bad take. A live stream does not. A cough, a shout, a notification sound, or a keyboard clatter goes straight to the audience the second it happens, and there is no edit to save it. That is why the Wave:3 MK.2 leads this section: Clipguard 2.0 catches loud peaks before they distort, Wave Link keeps game audio, voice chat, music, and alerts on separate channels, and the touch mute on the mic silences you instantly. The MV7+ is the runner-up for streams, with its Auto Level and its tap-to-mute panel, and it is the better pick when your room is noisy and your stream is mostly you talking.
Monitoring matters more live than anywhere else. Wear closed-back headphones and listen to your own voice through the mic’s headphone jack, not through your computer speakers, or the stream will hear itself echo back. Set your level so normal speech peaks around -12 to -6 dBFS on the meter, with headroom for laughs and loud moments. Test the mute before you go live, every time.
For the rest of the live setup, the camera, the lighting, and the platform settings, the site’s guides to the best cameras for streaming and how to livestream on YouTube cover the pieces this guide does not. The microphone is one part of a live desk. It is the part the audience notices first when it goes wrong.
Condenser vs dynamic: the choice that decides your sound
Condenser microphones are sensitive and detailed, and they reward quiet rooms. Dynamic microphones are less sensitive and forgiving, and they reward normal rooms. Pick the capsule that fits your room, and the rest of the decision gets easy.
The capsule is the part of the microphone that turns sound into signal, and the two types behave differently enough to decide whole purchases. A condenser capsule is light, thin, and electrically charged, so it responds to the smallest changes in air pressure. That gives it detail: breath, warmth, the edge of a consonant, the low end of a voice. It also gives it appetite: it eats room echo, fan noise, and keyboard clicks with the same enthusiasm. A dynamic capsule is a heavier coil moving in a magnetic field. It needs more sound pressure to move, so it hears your voice up close and ignores the rest. That gives it forgiveness, at the cost of some fine detail.
Here is the decision in plain form. Choose a condenser if you record in a quiet room with soft furnishings, you sit close to the mic, and you want the richest voiceover sound. Choose a dynamic if your room has hard floors, bare walls, a fan, traffic, or family noise, if you type while you talk, or if you record live and cannot re-take. The picks in this guide split five condensers to two dynamics. The Yeti X is a condenser, and the MV7+ and the Q2U are the two dynamics. A hybrid mic is bought by people who want to upgrade later, and the dynamic capsule is the safer start.
Polar pattern is the second half of the same choice. Almost every mic in this guide is cardioid, which means it hears what is in front of it and rejects what is behind it. That is the pattern you want for a desk: point the front at your mouth, and the room behind the mic stays quiet. The Yeti X is the exception, with four patterns, and its bidirectional pattern is the only honest way to record two voices on one USB mic. The site’s guide to microphone patterns and placement explains each pattern with placement diagrams.
Not for walking around: what a USB mic cannot do
A USB microphone is a desk microphone. It needs a computer, a cable, and a still position. The moment you walk, travel, or film outside, you need a wireless lavalier, an on-camera shotgun, or a recorder, not a USB mic.
This is the warning that saves a vlogger from buying the wrong tool. A USB mic plugs into a laptop or a desktop. It has no battery, no wireless link, and no wind protection worth the name. Hold it in your hand and walk down a street, and you get handling noise, cable noise, wind noise, and a recording that no software will rescue. Mount it on a camera and you get the same problems plus a mic that was never designed to ride on a hot shoe. USB microphones are the at-home half of a vlogger’s audio kit. The other half lives on the camera or on the person.
Here is the split in one paragraph. Voiceover, talking-head, tutorials, and livestreams at a desk: USB mic. Walking, travel, interviews on location, and anything outside: a wireless lavalier kit that clips to the speaker and sends audio to the camera or phone, or an on-camera shotgun microphone with a furry wind cover. The site’s guide to the best wireless microphone for vlogging covers the lavalier side in full, with the kits that work for one person and for two. For interviews and moving shots, the wireless kit solves more real problems than any desk mic ever will, because the microphone travels with the speaker instead of sitting on a desk the speaker has left behind.
The hybrid mics in this guide blur the line a little, and it is worth saying exactly how far. The Samson Q2U and the Shure MV7+ both have XLR outputs, so they can plug into a recorder or a mixer away from a computer. That makes them useful for a sit-down interview at a table, with the mic on a stand between two people. They still need a cable, a stand, and a still position. If your videos are mostly shot on the move, spend the money on a wireless kit first and buy a USB mic later, when the desk work starts to matter.
Set up your USB mic in 10 minutes
Plug the mic in, select it in your recording software, put on headphones, set the level so normal speech peaks around -12 to -6 dBFS, and record a 30-second test before the real take. That is the whole setup, and the test is the step most people skip.
Start with the cable and the port. Use the cable that came with the mic, or a good-quality replacement of the same type. USB-C mics want a USB-C port or a proper adapter, and a cheap adapter is a common source of hum and dropouts. Plug the mic directly into the computer, not into an unpowered hub shared with a hard drive and a webcam. Plug headphones into the mic’s headphone jack, not into the laptop, so you hear the mic’s own monitoring with no delay.
Next, set the input in software. On Windows, open Sound settings, pick the mic as the input, and set the level so your normal voice peaks in the top third of the meter without touching the red. On a Mac, open Sound in System Settings and do the same. In your recording software, OBS, Audacity, Descript, or your editor, select the same mic as the input device and check the meter there too. Two meters that disagree usually mean one of them is reading a different device, which is the most common setup mistake in this whole guide.
Then place the mic. Put it on a boom arm or a desk stand, 15 to 20 cm from your mouth for a condenser, 5 to 10 cm for a dynamic, slightly off to one side so your breath passes beside the capsule. Put a pop filter between you and the mic if your mic does not have one built in. Keep the keyboard behind the mic, not beside it, so the cardioid pattern rejects the typing. Turn off anything that hums for the length of the take. Record 30 seconds, play it back on headphones, and listen for three things: echo, hum, and clicks. Fix what you hear before you record the real take, not after.
Finally, save a preset. In your recording software, save the input device, the level, and any processing as a named preset for voiceover, talking-head, or stream. Next time you sit down, you load the preset and you are recording in a minute. The site’s guide to recording better vlog audio covers levels, monitoring, and room treatment in more depth.
Five things to check before you buy
Check the headphone jack, the gain control, the pop filter, the USB connection, and the mount. A mic that fails any of these costs you time or money after the purchase, and the fix is always more expensive than choosing right.
First, the headphone jack. A 3.5 mm jack on the mic gives you zero-latency monitoring, which means you hear your own voice the instant you speak, with no echo or delay. Without it, you monitor through your computer, which delays your voice by a fraction of a second and makes natural speaking very hard. The FIFINE K669B is the only mic in this guide without a headphone jack, and it is the honest reason it is a first mic rather than a forever mic. If you record long takes, a jack is not optional.
Second, gain control. Gain is the volume of the mic itself, and it decides whether your recording is clean or noisy. A physical knob on the mic, like the Yeti X smart knob or the K669B volume dial, lets you fix a quiet or loud voice in a second. A mic with no gain knob, like the NT-USB+ or the NT-USB Mini, sets gain in software or on the computer, which works fine but is slower when a guest sits down and speaks softly. The MV7+ splits the difference with Auto Level, which adjusts gain for you as you move.
Third, the pop filter. Hard P and B sounds send a puff of air into the capsule and make a thump that editing cannot fully remove. A built-in pop filter, like the NT-USB Mini’s grille filter or the MV7+’s digital filter, solves it with no extra purchase. A detachable filter in the box, like the NT-USB+’s, solves it too. A mic with neither, like the Yeti X or the K669B, needs a foam cover or a clip-on screen.
Fourth, the USB connection. Check the cable type and the port on your computer. USB-C mics are the current standard and work with modern laptops directly. USB-A mics need an adapter on a laptop with USB-C only, and a bad adapter is a source of noise.
Fifth, the mount. A mic on its own desk stand is ready in a minute. A mic that needs a boom arm, like the MV7+, needs that arm in the budget. Check the thread size and the weight: a heavy mic on a cheap arm sags, and a sagging mic drifts from your mouth mid-take. The NT-USB Mini’s magnetic base is the most flexible mount here, detaching for a boom arm in seconds.
How to make a noisy room sound better without buying a new mic
Get closer to the mic, soften the room, and silence what you can. A five-dollar curtain and five centimeters of distance beat a five-hundred-dollar microphone in a bare room.
Start with distance, because it is free. Move the mic closer until your voice fills the recording and the room falls behind it. For a condenser, 15 cm instead of 30 cm halves the room sound relative to your voice. For a dynamic, 5 cm instead of 15 cm does the same. Speak across the mic, not straight into it, and keep the same distance for the whole take. A voice that drifts in and out sounds amateur even in a good room.
Next, soften the room. Hard surfaces reflect sound, soft surfaces absorb it. Hang a curtain over the window behind you, put a rug on a bare floor, fill a bookshelf, hang a thick blanket on the wall behind the camera. Record with a wardrobe full of clothes behind you, or with a mattress leaned against the wall out of frame. You do not need acoustic panels to start. You need soft, uneven surfaces that break up reflections, and most homes already have them.
Then silence what you can. Turn off the fan and the air conditioner for the length of the take. Move the computer tower off the desk or behind a barrier. Put the phone on silent and the notifications off. Record at the quietest time of day, and close the door. If traffic is the problem, record with the window closed and a curtain drawn, and accept that some days are simply louder than others.
Finally, use the software that is already on your computer. A noise gate in OBS or your editor silences the mic between sentences, so the fan disappears in the pauses. A high-pass filter cuts the low rumble of traffic and handling noise. The Denoiser in the MV7+ and the noise gate in the Rode apps do the same work inside the mic. None of these replace a quiet room, but stacked together, distance plus soft furnishings plus a gate, they turn a normal bedroom into a workable studio.
USB vs XLR: when to upgrade
Stay on USB until you need more than one microphone at once, or a mic that USB does not make. A single voice at one desk is a USB job, and the money is better spent on the room, the mount, and the headphones.
A USB microphone has the preamp and the converter built in, so it plugs into a computer and works. An XLR microphone needs a separate audio interface, which adds cost, cables, and setup time, and buys you two things: a lower noise floor in a treated room, and the ability to run several microphones at once. For a vlogger recording one voice at one desk, neither matters much. The USB mics in this guide already sound clean enough for YouTube, and the audience cannot hear the difference between a good USB recording and a good XLR recording.
Upgrade when the job changes. Two people recording a video podcast at one desk need two microphones, and two USB microphones on one computer is a routing headache that XLR solves cleanly with an interface. A broadcast mic that only exists in XLR, or a room that is finally treated well enough to hear the difference, is the other honest reason. Until then, the hybrid mics in this guide, the Shure MV7+ and the Samson Q2U, are the smart middle step: use them on USB today, and when the interface arrives, the same mic plugs into it over XLR with no new purchase.
Frequently asked questions
Short answers to the questions vloggers ask most about USB microphones, from which mic to buy first to whether a USB mic works on the move.
What is the best USB microphone for vlogging?
The best USB microphone for vlogging is the Rode NT-USB+ for voiceover in a quiet room, and the Shure MV7+ for talking-head videos in a normal room. There is no single best mic for every vlogger, because the room decides the pick. A quiet room rewards the NT-USB+ condenser. A noisy room rewards the MV7+ dynamic. If you only buy one mic and your room is average, buy the MV7+.
Is a USB microphone good enough for YouTube videos?
Yes. A good USB microphone sounds clean enough for YouTube, and the audience cannot hear the difference between a good USB recording and a good XLR recording when both are placed well. What the audience hears is the room, the distance, and the level. A USB mic placed close in a soft room beats an expensive XLR mic placed far away in an echoing room.
Do I need an audio interface for a USB microphone?
No. A USB microphone has the preamp and the converter built in, so it plugs straight into a computer and works. You need an audio interface only when you choose an XLR-only microphone, or when you want several microphones connected at once. The hybrid mics in this guide, the Shure MV7+ and the Samson Q2U, work over USB today and over XLR later if you add an interface.
Can I use a USB microphone for walking around and filming outside?
No, not well. A USB microphone needs a computer, a cable, and a still position, and it has no wind protection. Walking with one gives you handling noise, cable noise, and wind noise. For walking, travel, and anything outside, use a wireless lavalier kit that clips to the speaker, or an on-camera shotgun microphone with a wind cover. The USB mic stays on the desk.
What is the difference between a condenser and a dynamic USB microphone?
A condenser microphone is sensitive and detailed, and it hears the room as well as your voice, so it suits quiet rooms and voiceover. A dynamic microphone is less sensitive and forgiving, and it hears your voice up close while leaving the room behind, so it suits normal rooms, noisy rooms, and live streams. Pick the capsule that fits your room.
Do USB microphones pick up keyboard noise?
Condenser USB microphones pick up keyboard noise easily, because they hear the whole desk. Dynamic USB microphones pick up far less, because they hear only what is close and in front of them. To cut keyboard noise further, keep the keyboard behind the mic, use the cardioid pattern, get closer to the mic, and use a noise gate in your recording software.
Do I need a pop filter for a USB microphone?
Yes, unless your mic has one built in. Hard P and B sounds send a puff of air into the capsule and make a thump that editing cannot fully remove. The Rode NT-USB Mini has a pop filter built into its grille, the NT-USB+ ships with a detachable one, and the Shure MV7+ has a digital one. The Blue Yeti X and the FIFINE K669B have none, so add a foam cover or a clip-on screen.
Can I record two people with one USB microphone?
Yes, with the Blue Yeti X on its bidirectional pattern, which hears the front and the back of the mic. Sit opposite your guest with the mic between you. For two voices on separate tracks, or for a video podcast with guests, two microphones and an interface work better than one USB mic. One USB mic per computer does not scale well to multi-person recording.
Why does my USB microphone sound echoey?
Echo means the mic hears the room more than it hears you. Move closer, 15 cm for a condenser or 5 cm for a dynamic, and soften the room with curtains, a rug, books, or a blanket on the wall. A condenser in a bare room will always sound echoey, and no software fully removes echo after the fact. If the room stays echoey, a dynamic mic is the fix.
Is the Blue Yeti still worth buying in 2026?
The Blue Yeti is still a good microphone, and the Yeti X is the version to buy, with USB-C, a smart knob, and an LED level meter. But Logitech has launched the Yeti 2, a newer multi-pattern USB mic with automatic voice tracking and noise reduction, and it has replaced the Yeti X on some Logitech stores. If you are buying new, look at the Yeti 2 first.
Is the Elgato Wave:3 or the Wave:3 MK.2 the one to buy?
Buy the Wave:3 MK.2. It is the current version, with an LED ring around the dial, onboard DSP effects, Clipguard 2.0, VST insert support, Auto Gain, and Voice Tune. The original Wave:3 is out of stock on Elgato’s own store, and search results can still show the older model. Confirm the LED ring and the MK.2 name on the listing before you order.
What is the cheapest good USB microphone for a beginner vlogger?
The FIFINE K669B is the cheapest credible start in this guide. It is a metal condenser with a volume knob, and it sounds like a real microphone for very little money. Its honest gap is the missing headphone jack, so you cannot monitor while you record. If you can stretch a little further, the Samson Q2U adds a headphone jack, a dynamic capsule that rejects room noise, and an XLR output for later.
Can I use a USB microphone with my phone?
Many USB microphones work with phones and tablets that support USB audio, with the right cable or adapter. The Rode mics in this guide are class-compliant and work with computers, phones, and tablets. Check the cable type and your phone’s port before you buy.
Do I need a boom arm for a USB microphone?
A boom arm is not required, but it is the best accessory you can buy for a desk mic. It holds the mic a few inches from your mouth, out of frame, and off the desk, so typing and mouse clicks do not vibrate into the recording. A desk stand works for voiceover. For talking-head videos and livestreams, a boom arm is worth the money.
How close should I sit to a USB microphone?
Sit 15 to 20 cm away from a condenser microphone, and 5 to 10 cm away from a dynamic microphone. A hand span is a good measure for a condenser: thumb on your mouth, pinky on the mic. Speak slightly off-axis, so your breath passes beside the capsule, and keep the same distance for the whole take. Record a 30-second test at each distance and listen back before the real take.
This guide is research-based curation: we compared manufacturer specifications, published reviews, and current prices. Read how we choose.
Keep exploring
Good desk audio is only half the vlog. Here is the rest of the kit, from the camera to the edit.