
Last updated: November 2026
A gaming vlog fails in a different place than most vlogs. The gameplay is usually fine. What breaks the video is the facecam covering the minimap, the voice buried under the game audio, commentary that talks over every story scene, and a 90 minute session uploaded with nothing cut. This guide works through the answers in order: the format choice, the capture chain, the facecam, the commentary, the audio balance, console recording, and the edit that turns a session into a video worth watching.
Contents
- Recorded first, live second
- The capture chain that never loses a session
- Facecam framing for recorded videos
- Live commentary that says something
- Post-recorded commentary: watch, mark, speak
- Game audio versus voice: the balance system
- Console recording without the common traps
- Editing a long session into a watchable vlog
- Your first gaming vlog checklist
- Questions readers ask
Recorded first, live second
Record your first gaming videos. Do not start by streaming them. A recording lets you fix the facecam, the audio, and the commentary after the fact, and that safety net is what turns a rough first video into a good one.
A stream archive and a vlog are different products, and confusing them is the most common reason a new gaming channel looks messy. A stream is a long, unshaped recording of everything that happened, including the loading screens, the lobby waits, and the twenty minutes spent stuck on one puzzle. A vlog is a shaped video: a hook, a setup, a few strong beats, and a payoff, with everything that does not serve the story removed. Viewers forgive a stream for wandering because they were there live. They do not forgive a recorded video for the same wandering, because the creator had every chance to cut it.
That distinction drives one practical choice. If you record, you get three powers a live streamer does not have. You can record your commentary after you have seen the gameplay, which means you can say the smart thing instead of the first thing. You can cut any stretch that bores you on rewatch, which is the most reliable test of whether it will bore a viewer. And you can fix an audio mistake, a facecam mistake, or a bad take without losing the session. Start recorded. Go live later, once you know which parts of your commentary work, because by then you will have a format instead of a hope.
There is one honest exception. If your goal is building a live community rather than a video library, streaming first is a fair choice. Streaming itself is a different setup, covered in the live production guide. Just know what you are trading: you give up the edit, and the edit is where most gaming videos are actually made.
The capture chain that never loses a session
Capture the game, the microphone, and the facecam as separate tracks, record in a crash-safe format, and make a 30 second test recording before every session. Those three habits prevent nearly every lost-session story.
On a PC, the simplest reliable chain is a game capture source for the game, a video capture source for the camera, and two audio sources: desktop audio for the game and a microphone for your voice. The camera audio arrives with the video capture source, giving a third track as a scratch reference. Prefer game capture over display capture. Game capture records only the game window, so a notification, a chat popup, or a settings window never lands in your footage. Display capture is the fallback for games that refuse game capture, and if you use it, close everything private first, because the whole screen is the recording.
The recorder terms in this section (advanced output, game capture, remux) are OBS Studio terms, named as the example; other recorders offer the same ideas under different names. Set the recorder to advanced output and split the audio. One track for game audio, one track for your microphone, and one track for the facecam camera audio as a scratch reference. Mixed audio is a one-way door: once voice and game sound share a track, you can never turn one down without turning the other down too. Separate tracks cost nothing at record time and save the video at edit time. If your recorder offers a crash-safe format, use it. Recording to MKV and remuxing to MP4 afterwards protects a long session from a crash in a way that recording straight to MP4 does not, because a crash during an MP4 recording can leave the file unplayable.
Storage is simple arithmetic, and it is worth doing before a long session. A recording bitrate of 50 megabits per second works out at about 22 gigabytes per hour: 50 divided by 8 gives megabytes per second, times 3,600 seconds gives 22,500 megabytes, or about 22 gigabytes. At 100 megabits per second, double it. Check free space before you press record, not after the recorder stops itself halfway through a boss fight. And always make the 30 second test recording first: play the loudest part of the game, say a few sentences, stop, and watch it back with headphones. That one habit catches a muted mic, a missing game track, and a facecam covering the health bar before they cost you a session.
Resolution advice is deliberately boring. Record at 1080p60 until your machine proves it can do more without dropping frames. A smooth 1080p60 video with clean audio beats a stuttering 4K video every time, and viewers notice dropped frames far more than they notice extra pixels. If the game stutters once recording starts, first drop to 1080p60 if you are recording higher, then drop the recording frame rate to 30, switch to a hardware encoder if your graphics card offers one, and close anything else using the graphics card. Stability first, resolution second.
Facecam framing for recorded videos
Put the facecam where it covers nothing the viewer needs, size it to the job it is doing, and light your face with one soft light. A facecam that hides the minimap or the subtitles is not a style choice. It is a blocked view.
Size follows purpose. A reaction facecam, the small box most viewers picture, should be about 15 to 20 percent of the frame width: big enough to read your expression, small enough to leave the game alone. A story facecam, for games where your reaction is half the video, can run 22 to 28 percent, because the viewer is watching you as much as the game. A talking facecam, for an intro, an outro, or a section where you explain something to the camera, can go full frame, because the game is not on screen at that moment. The mistake is using one size for everything: a 30 percent box during a shooter match hides too much, and a 15 percent box during a story reaction shows too little.
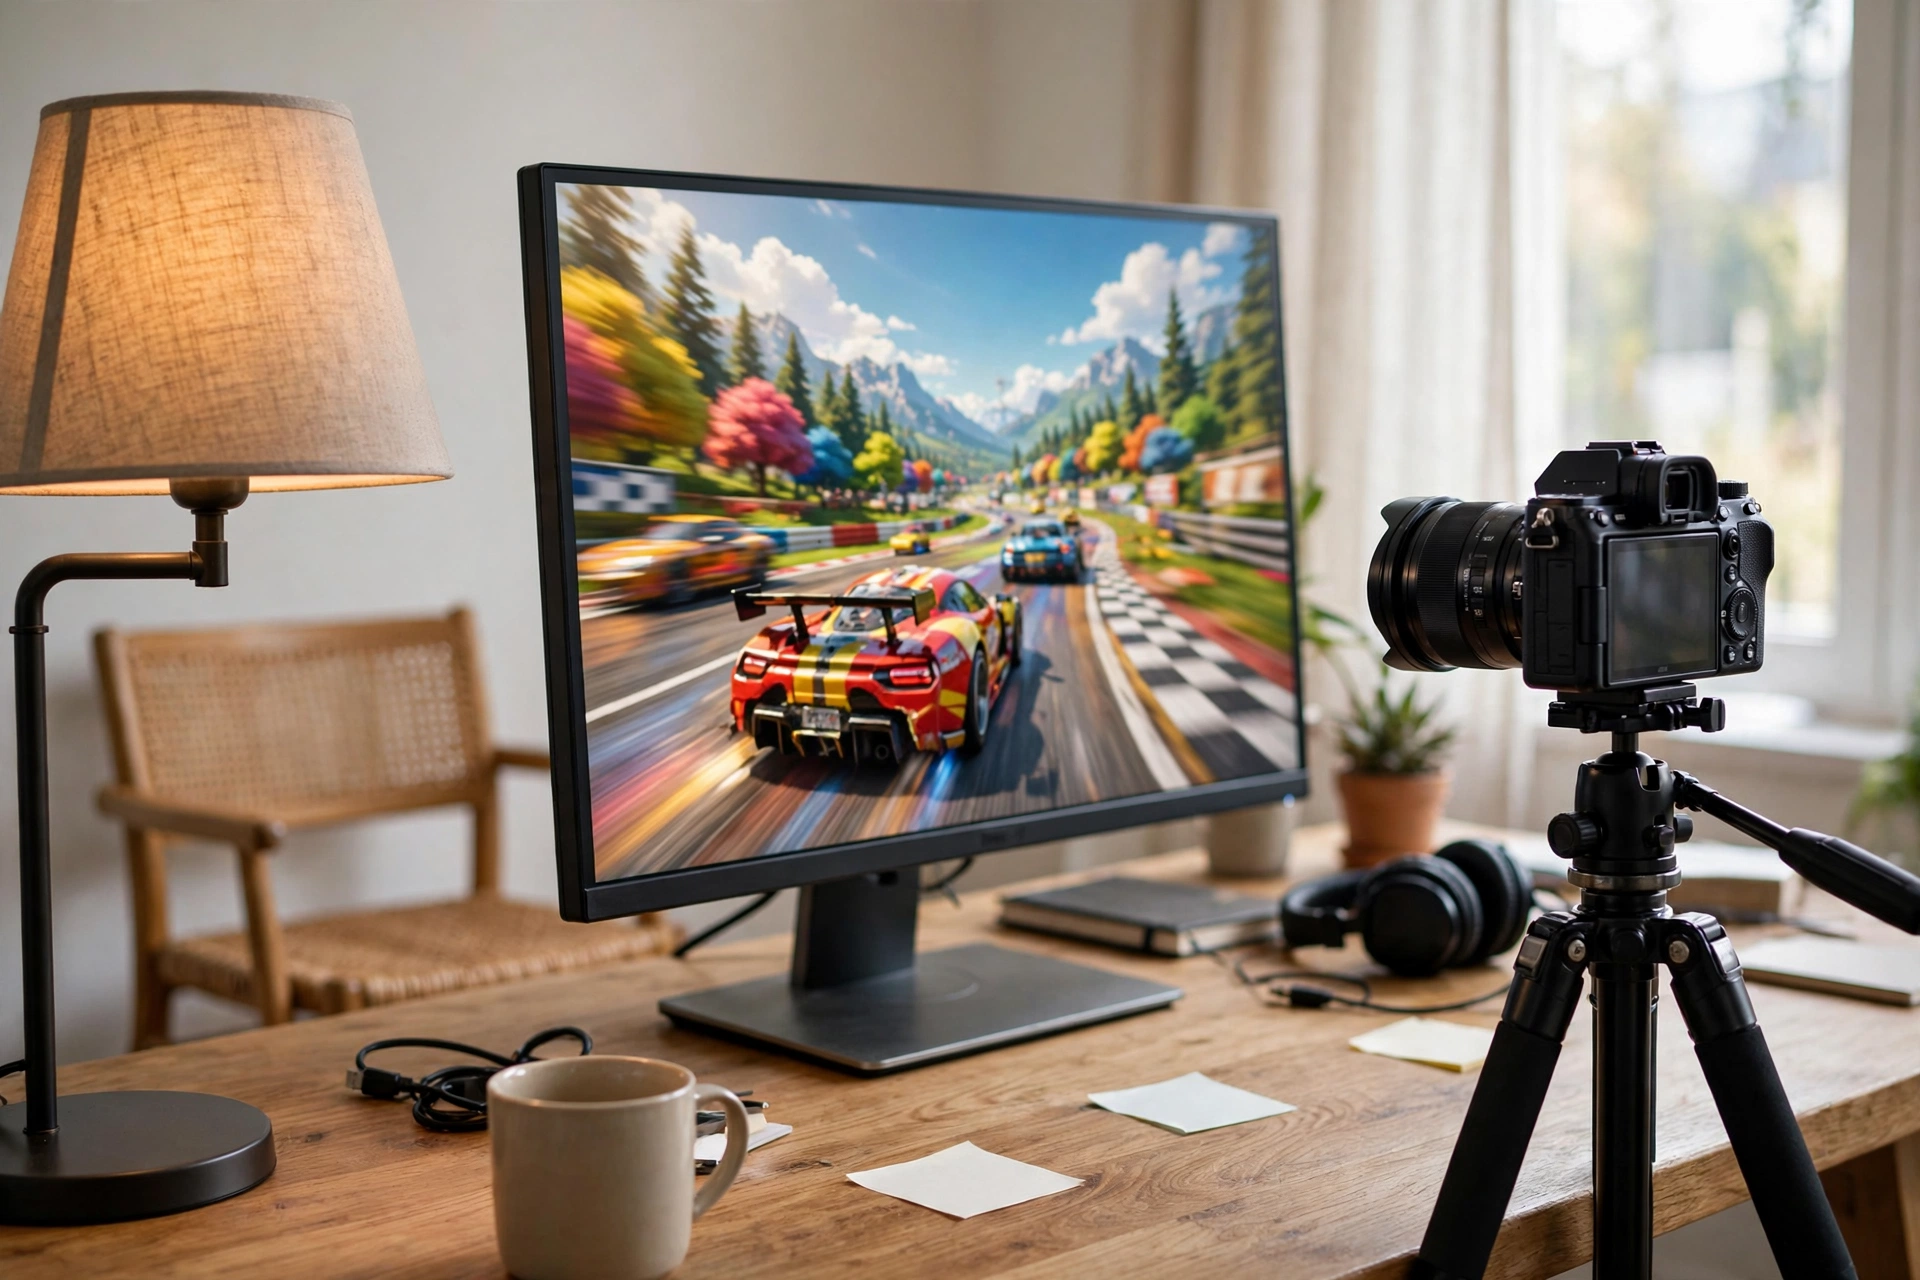
Position follows the game, not habit. Before you fix a corner, play five minutes and write down where the information lives: minimap, health, ammo, objective text, subtitles, dialogue choices. Then put the facecam in the corner that holds the least of it. The table below gives the usual answer per genre, but your game outranks the table, because HUD layouts vary even inside one genre.
| Genre | Protect first | Usual facecam corner | Usual size |
|---|---|---|---|
| Shooters and battle royale | Minimap, health, ammo, kill feed | Bottom corner opposite the minimap | 15 to 20 percent |
| Story and adventure | Subtitles, dialogue choices | Top corner, away from dialogue text | 22 to 28 percent |
| Strategy and builders | Resource bars, build menus | Corner opposite the main menu panel | 15 to 20 percent |
| Racing and sports | Speed, lap, position HUD | Bottom corner away from the speed readout | 15 to 20 percent |
| Horror | The dark frame itself | Bottom corner, larger than usual | 22 to 28 percent |
In horror, the larger box is a deliberate trade: the reaction is the content, so a bigger facecam is worth the frame it covers, kept in the bottom corner where it hides the least of the scene.
Two framing rules matter as much as the corner. First, eye-line. Put the camera at your eye level, just above or beside the monitor, and look at the lens for intros, outros, and any moment you speak directly to the viewer. While you play, look at the game. Viewers accept eyes on the game during play, and forcing yourself to stare at the lens while driving or aiming looks wrong and plays worse. Second, lighting. One soft light at about 45 degrees to your face, slightly above eye level, is the whole system for most desks. A monitor alone is not a light: it lights your face unevenly and changes color with the game. A window behind you is worse, because it turns you into a silhouette. If your room has one lamp, put it in front of you, not behind you.
On camera choice, be honest about what each option buys. A webcam is fine to start with: it is already framed, already focused, and one less thing to fail. A vlogging camera earns its place when you want a wider, cleaner image, better low-light behavior, and a lens you control. If you use one, feed it into the recorder over clean HDMI, lock the exposure by hand so the picture does not breathe with the game, turn off any sleep or auto-off timer, and use the flip screen to check your framing before you record. A camera that switches itself off mid-session, or that slowly brightens and darkens as the game scene changes, is worse than a webcam that simply works. The composition guide covers the framing basics behind these positions, including headroom and the rule of thirds, which apply to the facecam box as much as to any shot.
Live commentary that says something
Good live commentary is decision narration plus honest reaction, not a running description of what the viewer can already see. Say what you plan, why you chose it, and what it cost you. That is the commentary viewers cannot get from the gameplay alone.
The most common live commentary failure is play-by-play: describing every action the viewer is watching. “I am walking down this corridor, now I am opening this door, now I am picking up this item” adds nothing, because the picture already says it. Decision narration replaces it. Before a risky move, say the plan in one sentence: “I am going to skip the big enemy and take the side path, because I am low on health and the side path has cover.” After it, say what it cost: “That worked, but it used my last healing item, so the next fight has to be clean.” The viewer now understands your thinking, and the commentary has a reason to exist.
Reaction still matters, but it needs discipline. React to what actually happened, once, and then move on. A genuine laugh, a groan at a missed shot, or a short “I did not see that coming” lands. Five minutes of shouting about one death does not, and neither does a reaction to every small event, because when everything is exciting, nothing is. The rule that keeps reaction honest is simple: if your reaction is longer than the moment that caused it, cut it short and get back to the game.
Quiet sections and loud sections need opposite handling. In a quiet section, an empty landscape, a slow walk, a puzzle with no timer, the viewer has attention to spare, and that is where you do your best talking: explain a plan, read a piece of lore aloud and react to it, or answer a question you expect viewers to have. In a loud section, a boss fight, a chase, a timed escape, the game is doing the talking, and your job shrinks to short calls: the plan, the danger, the result. Talking over a loud section at full length forces the viewer to choose between your voice and the game, and they will resent whichever one loses.
Dead air is the fear behind most bad commentary, and the fix is not to fill every second. A few seconds of silence during a story beat, a reveal, or a beautiful shot is good directing, not a mistake. When silence stretches too long during ordinary play, use one of three tools instead of filler noise. Ask the viewer a real question: “Would you have taken that fight or run?” Recap the situation in one sentence: “So I have no healing, one weapon, and a long walk back.” Or preview the next move: “Next I am going to try the route past the tower.” Each tool gives the viewer something to think about, which is what filler never does. The filler to avoid is the worst habit in gaming commentary: narrating your controller inputs, repeating the same catchphrase, or laughing at nothing to prove you are having fun. Viewers can tell.
Post-recorded commentary: watch, mark, speak
Post-recorded commentary is recorded after you have seen the gameplay, in short passes, from beat notes rather than a script. It is the best choice for story games, tutorials, and any video where the smart line matters more than the first line.
The method has four steps, and skipping the first one is why most voiceovers sound flat. First, watch the session once with no microphone. Just watch, and mark the moments worth talking about: the decision that mattered, the mistake, the surprise, the place where a new viewer would be lost. Eight to twelve marks are plenty for a 15 minute video. More marks than that, and the voiceover becomes a lecture over every second of footage.
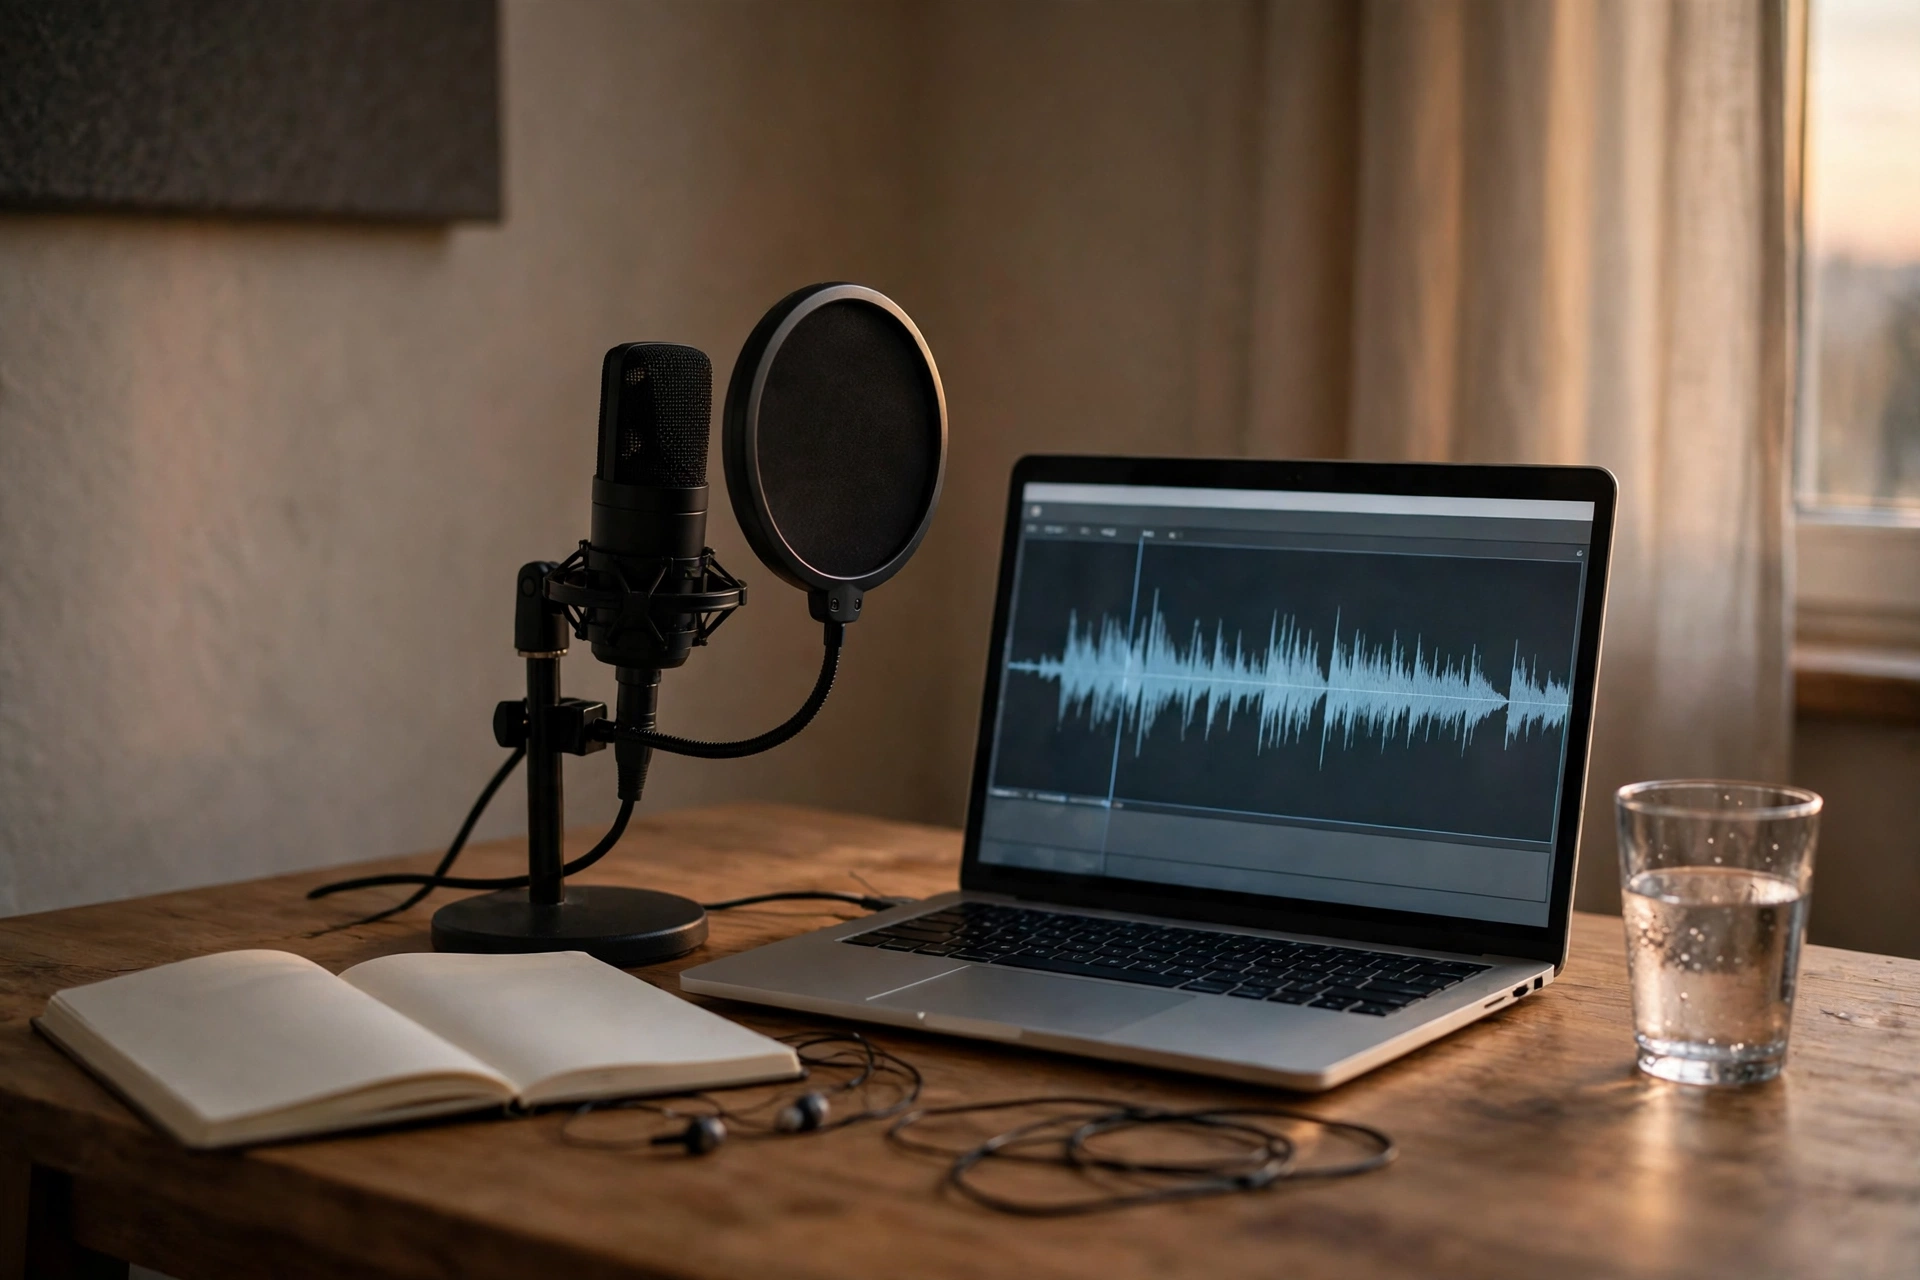
Second, write beat notes, not sentences. A beat note is a short prompt: “explain why I skipped the boss”, “admit the wrong turn”, “point out the hidden path”. A full script read aloud sounds like a full script read aloud, with flat pacing and no room for the game. Beat notes keep your voice natural, because you are still thinking out loud, just with a plan. Third, record in passes. Record the intro and the first beat, stop, listen back, and then record the next. Short passes are easier to redo than one long take, and a bad line costs you a minute instead of a session.
Fourth, mix the voiceover over the game, not instead of it. Keep the game audio low underneath your voice during explanations, and let it rise in the gaps between your lines, so the viewer still hears the world. Cut your own pauses ruthlessly in the edit: a voiceover with every breath and hesitation left in sounds hesitant, while the same words with the gaps trimmed sound confident. Post-recorded commentary also solves the hardest live problem for free. You already know how the session ends, so you can foreshadow it in the intro, promise the payoff honestly, and never spoil a surprise by reacting to it before it happens.
Choose between live and post-recorded commentary by game type, not by habit. Live suits fast, reactive games where your real-time decisions are the content: competitive matches, speedrun attempts, challenge runs. Post-recorded suits story games, tutorials, reviews, and anything where the viewer needs to understand something, because understanding is easier to deliver when you have already seen the answer. Many good gaming vlogs mix the two: live reactions kept for the big moments, post-recorded voiceover for the explanations between them. The mix works only if the two voices sound like the same person, so record the voiceover in the same room, on the same microphone, and at the same distance as the live takes.
Game audio versus voice: the balance system
Record game audio and voice on separate tracks, set the voice clearly above the game, and duck the game under your words. If the viewer has to strain to hear you, or to hear the game, the balance has failed, and no editing trick fixes a mixed track.
The balance target is a relationship, not a single number, because games vary wildly in loudness. Aim for your voice to sit clearly on top: when you speak, the game should drop to a bed underneath you, audible but never competing. When you stop speaking, the game comes back up. In editor meters, a workable starting point is voice peaks in the upper part of the meter with headroom to spare, and game audio roughly a third to a half as loud as your voice while you talk. Test with the loudest part of your game, not the menu music. A balance set on a quiet menu falls apart the moment a battle starts.
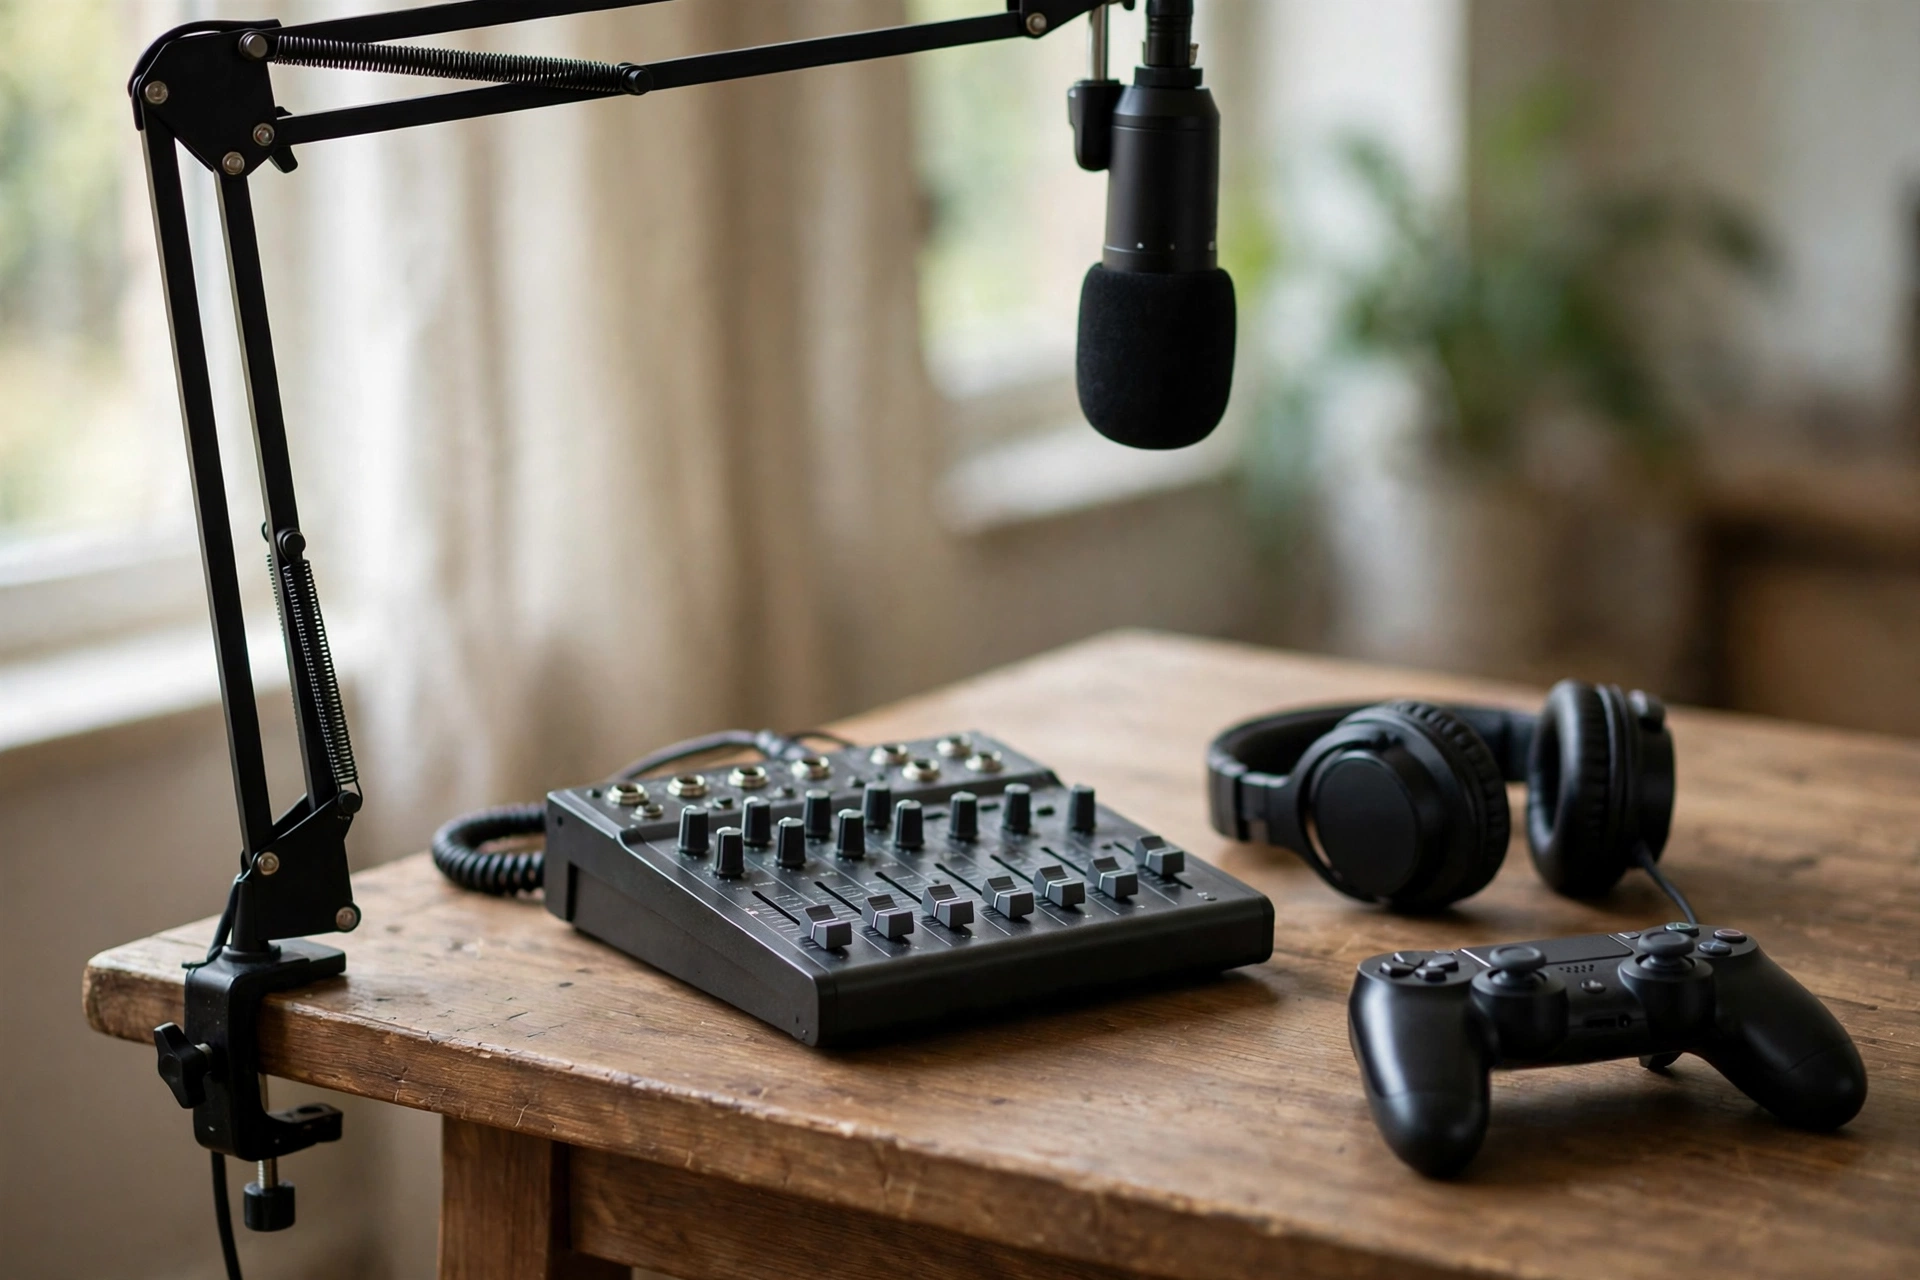
For recorded videos, manual ducking gives the most control. On the game track, drop the level wherever your voice speaks, and raise it again in the gaps. It takes longer than automatic ducking, but every dip is a choice you make, not a guess the software makes, and it lets you keep a dramatic game sound loud on purpose when the moment deserves it. For live recording, where manual ducking is impossible, use a compressor on the game track keyed to your microphone, so the game dips automatically when you speak. Set it gently: a small dip that the viewer never notices beats a heavy pumping effect that draws attention to itself.
Three audio traps catch almost every new gaming creator. The first is echo: hearing the game twice, once from the recording and once leaking from speakers into the microphone. Wear closed-back headphones while recording, and never monitor through speakers with a live mic. The second is controller and keyboard noise. A microphone on the desk picks up every button press through the wood. Put the microphone on a boom arm or a shock mount, off the desk surface, and keep it closer to your mouth than to the controller. The third is other people’s voices. If you play with friends over voice chat, their voices are part of your recording. Either get their clear permission to include them, or keep party chat out of the recording and keep your video to your own voice. Recording someone who did not agree to be in your video is not a technical problem. It is a trust problem, and it is avoidable before you press record. For the microphone side in more depth, the better vlog audio guide covers mic choice and placement for quiet rooms, which is the other half of clean voice.
Console recording without the common traps
Console recording needs one extra box in the chain, a capture card, and one extra check, your own voice routing. Get those two right and console footage is as clean as PC footage.
The chain is: console HDMI out into the capture card HDMI in, capture card HDMI out to your TV or monitor, and capture card USB to your recording computer. You play on the TV as normal, and the computer records what passes through the card. This is why the site has a full capture card guide, and the card choice itself belongs there rather than here. What belongs here is the routing around the card, because that is where console sessions actually fail.
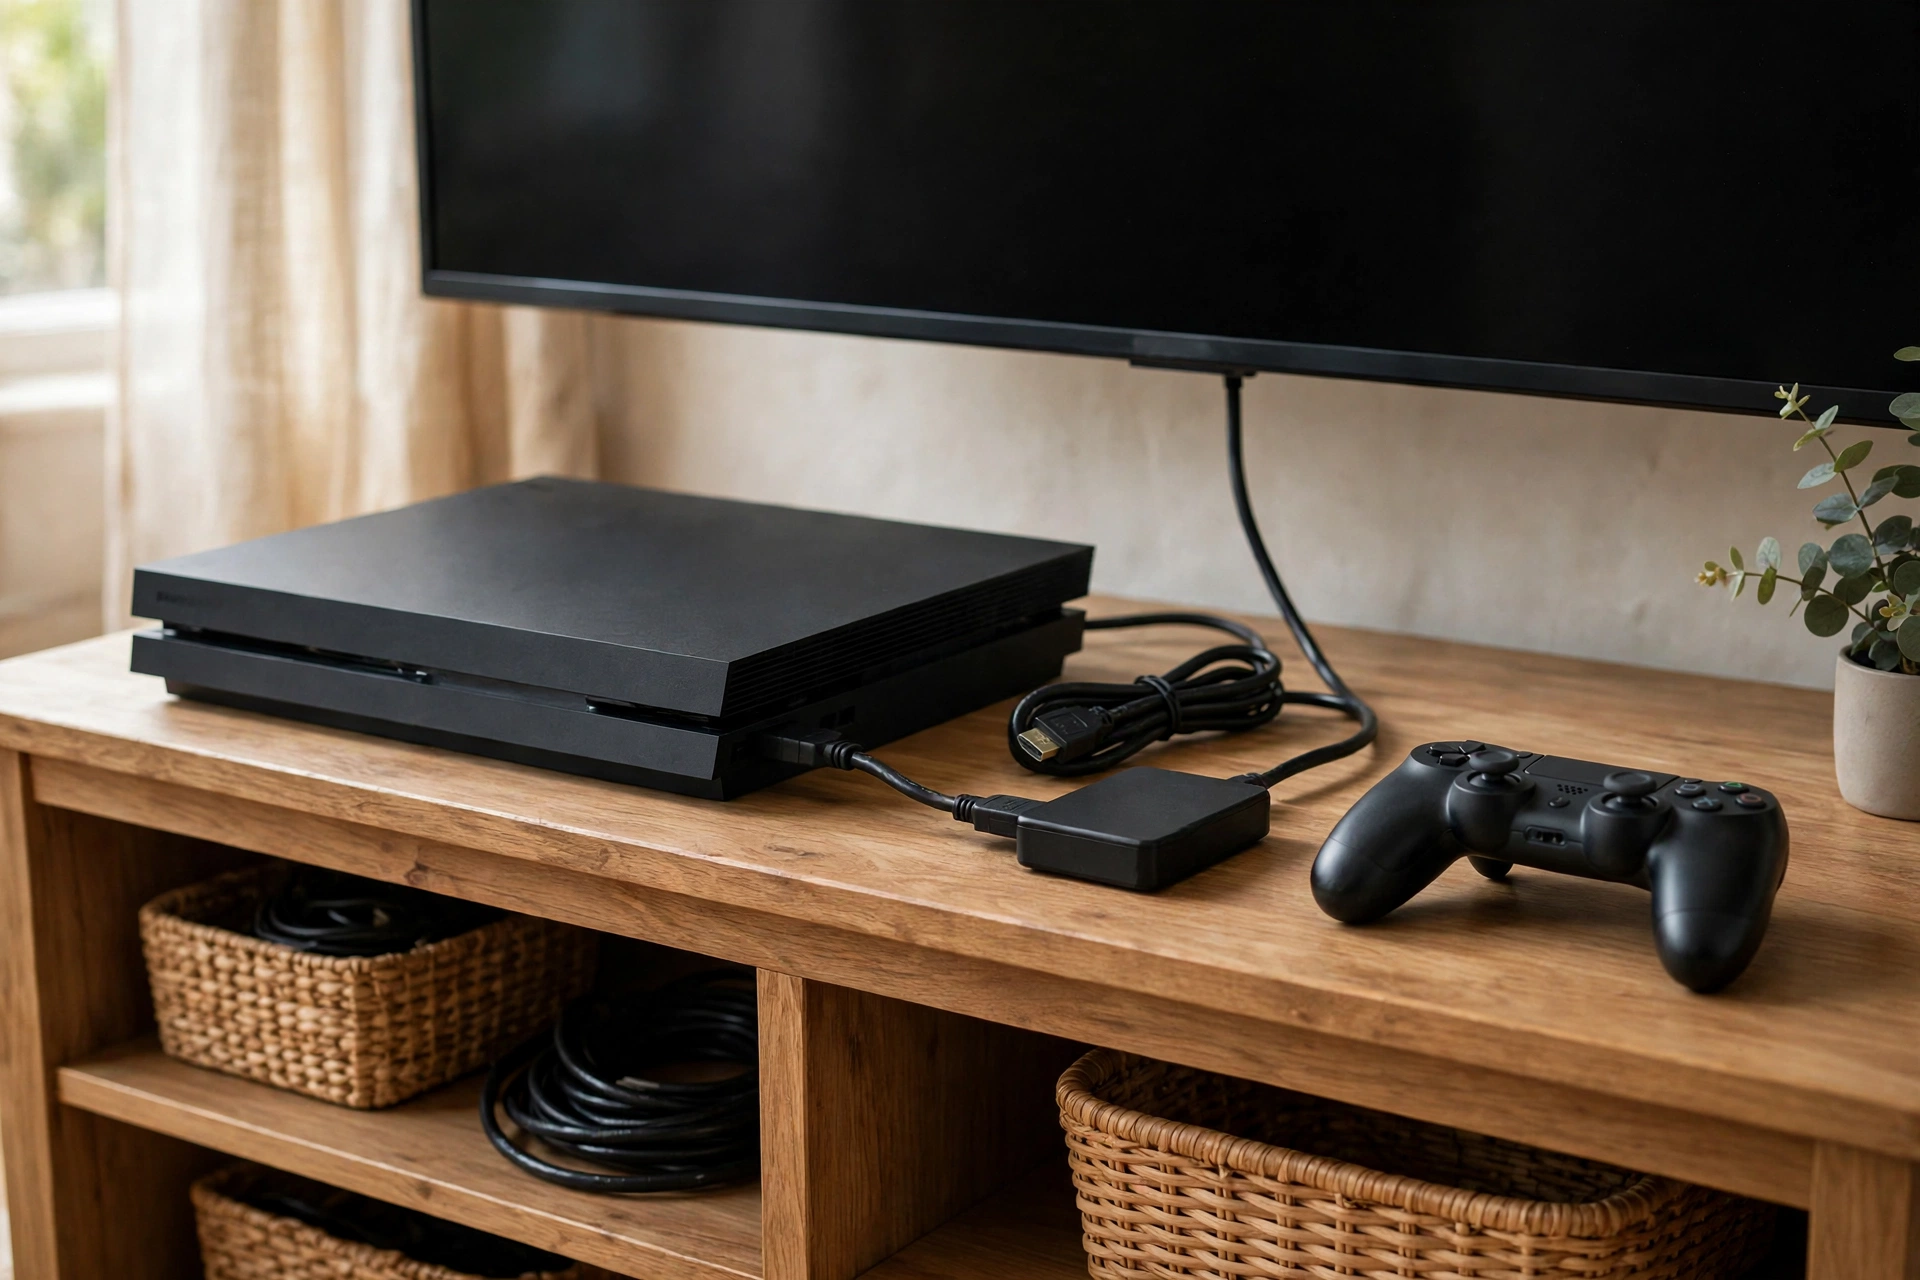
Voice is the trap. On a PC, the microphone plugs into the same machine that records. On a console, your voice lives on the controller headset, and the capture card does not hear it unless you route it there. The reliable routes are: a microphone plugged into the recording computer and recorded as its own track alongside the capture card footage, or a capture card with a dedicated microphone input used for live commentary. The computer-microphone route is the one that guarantees separate tracks: a card microphone input often mixes your voice into the capture audio instead of keeping it apart. Either way, test before the session: record 30 seconds of play with commentary, then check that the recording holds game audio and your voice on separate tracks, and if the card route mixed them, switch to the computer-microphone route. The failure mode to avoid is discovering after a two hour session that the recording holds beautiful game audio and no voice at all.
Two more console checks save sessions. First, built-in console recording is fine for short clips, usually capped at minutes rather than hours, but it is not a session recorder, and it does not capture a facecam or a separate voice track. Use it for highlights, not for a vlog. Second, some games and apps block capture over HDMI for protected content. If the capture shows a black screen for one game while others work, that game is blocking the signal, and no setting on your card fixes it. Record a different title, or capture that section another way, rather than fighting the protection.
Editing a long session into a watchable vlog
Mark moments while you play, cut everything that does not serve the story, and keep one full uncut set-piece so the viewer trusts that the skill is real. A 90 minute session should become a 12 to 18 minute vlog, not a 90 minute upload.
Marking while you play is the single habit that makes editing fast. Many recorders let you drop a marker with a hotkey. Press it at every moment that made you react: the clutch play, the mistake, the surprise, the line you want to comment on later. When you open the edit, you do not watch 90 minutes. You jump from marker to marker and build the video from the moments that already proved they matter. If your recorder has no marker key, keep a notebook and write the clock time at each moment. The method is the same, only slower.
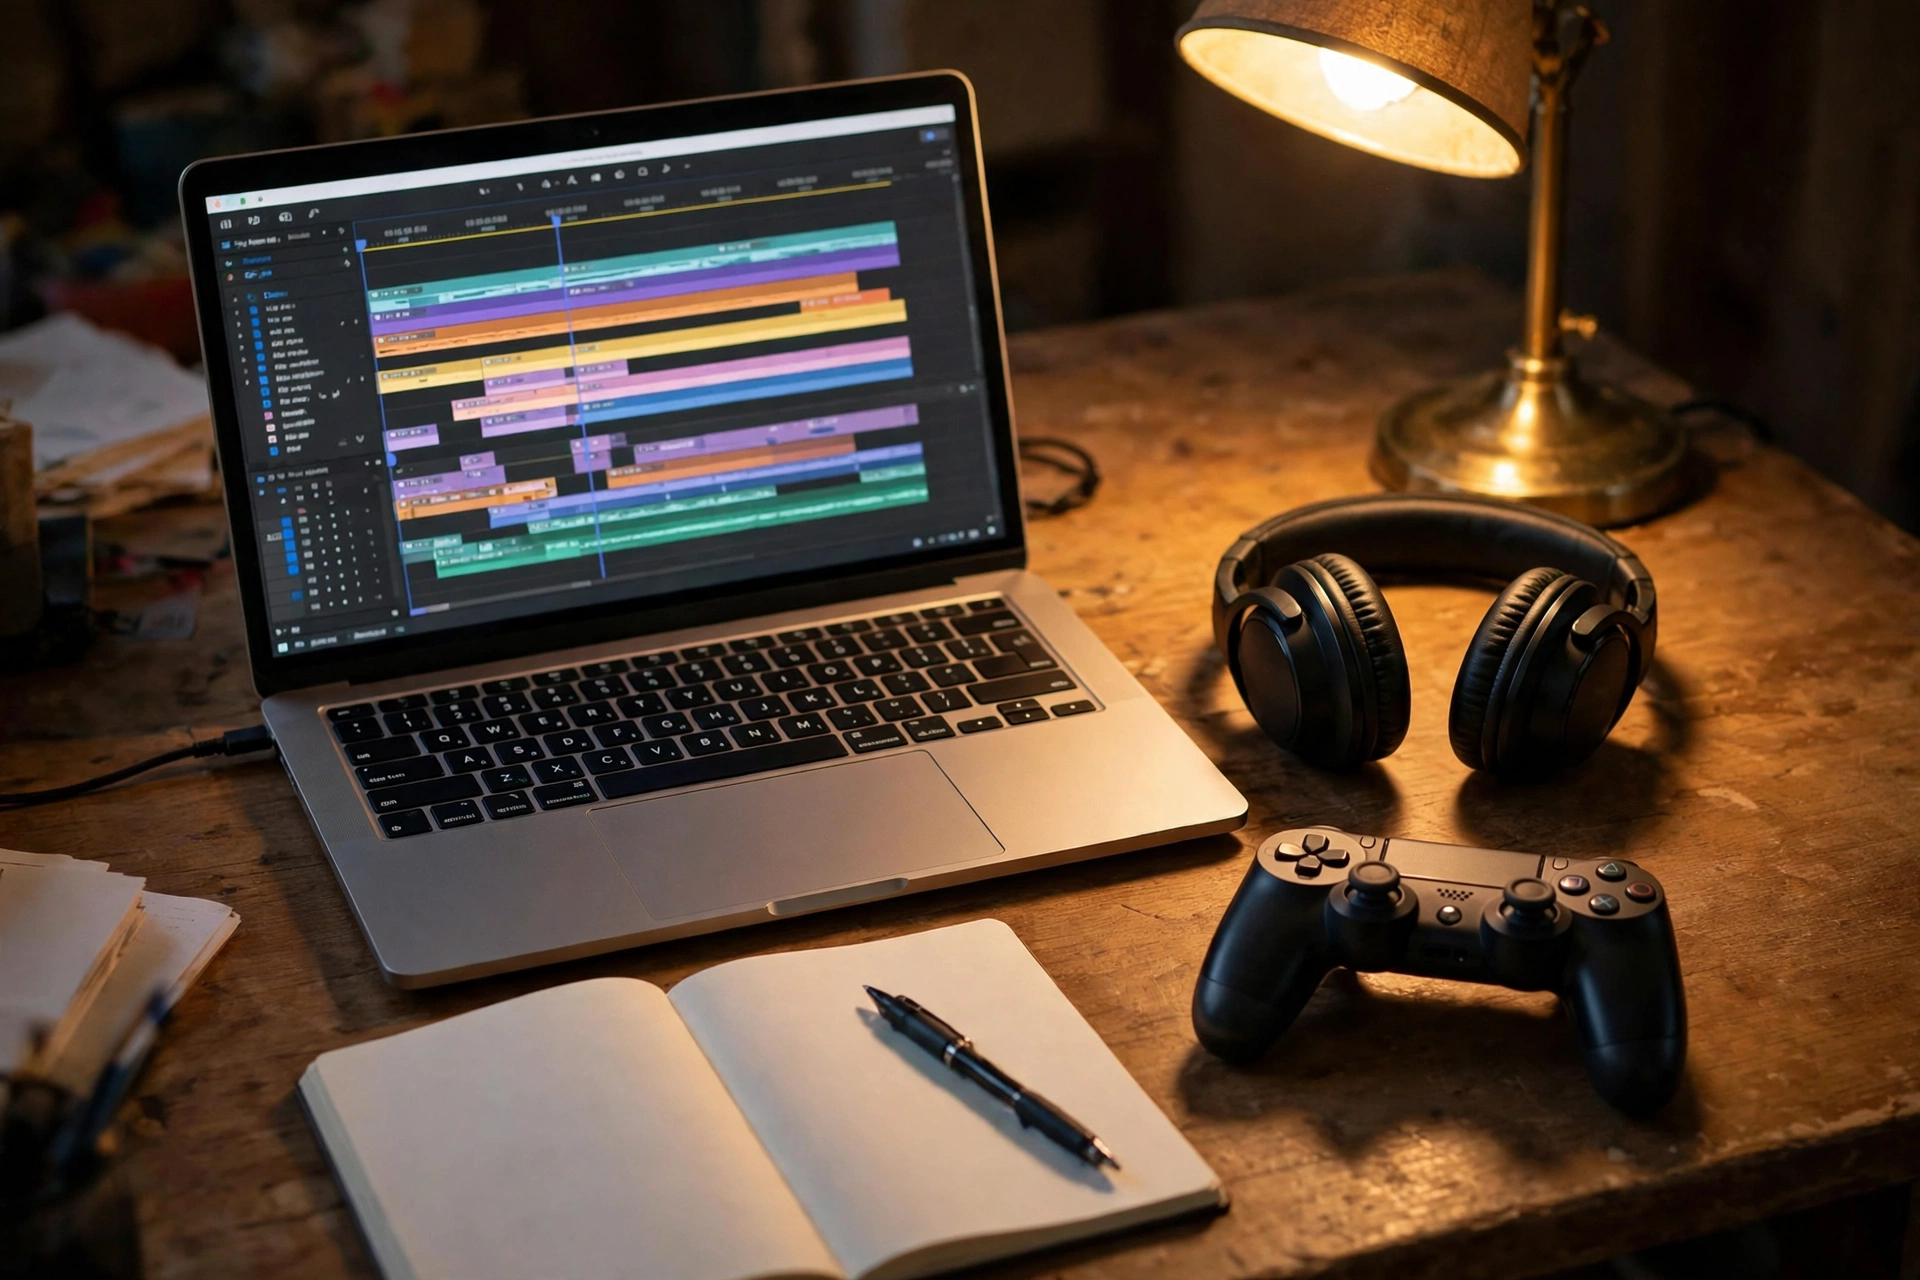
The cut plan for a session vlog has five parts. First, a hook in the first 30 seconds: the best moment of the session, or the question the video answers, with no long intro before it. Second, a setup of one or two minutes: the game, the goal, and the stakes, in plain words. Third, three beats: the attempt, the setback, and the payoff, in that order, because a payoff without a setback feels unearned. Fourth, one full uncut set-piece, a tight fight or sequence with no dead time inside it, shown start to finish with no cuts to the play itself, so the viewer knows the skill on display is real and not assembled from lucky fragments. Fifth, an outro under a minute: what happened, what comes next, and one reason to watch the next video.
What gets cut is just as fixed. Loading screens, lobby waits, menu navigation, repeated failed attempts after the first one, and grinding that repeats the same action with no new information. Keep the first failed attempt, because it sets up the payoff. Cut the second attempt onwards, because a repeat teaches nothing the first did not. Keep travel only when something happens during it: a plan explained, a story beat, a surprise encounter. Cut silent travel entirely. And keep the game audio honest in the edit: if you cut a section, cut its audio with it, and never paste a reaction sound over a moment it did not come from. Viewers forgive a short video. They do not forgive a video that feels assembled from moments that never happened together.
A stream recording can become a vlog, but only through the same cut plan, and most stream recordings resist it. A stream has long stretches of chat interaction, dead time, and repetition that made sense live and drag on rewatch. If you convert a stream, expect to cut at least three quarters of it, re-record the intro and the explanations as post-recorded voiceover, and accept that some sessions simply do not have a vlog inside them. That is not a failure of the session. It is the difference between a live event and a video, and knowing it saves you from uploading a 90 minute archive and calling it a vlog.
Your first gaming vlog checklist
Do this list in order before your first session, and you will avoid most of the failures in the table below it. The whole list takes about ten minutes, and it is the difference between a session you can edit and a session you have to throw away.
- Pick the format: recorded video, not a stream, with a goal for the session in one sentence.
- Set the recorder to separate tracks: game audio, microphone, and facecam scratch audio.
- Set the recording format to a crash-safe option and check free disk space for the session length.
- Place the facecam by the HUD rule: play five minutes, note where the information lives, and put the box where it covers the least.
- Set the camera at eye level, lock exposure by hand, and switch off any sleep timer.
- Put one soft light in front of you at 45 degrees, and close the curtains behind you if the window is behind your chair.
- Wear closed-back headphones, put the microphone on a boom arm off the desk, and decide how other players voices will be handled.
- Record 30 seconds of the loudest part of the game with commentary, play it back with headphones, and fix anything wrong before the real session.
- Clap on camera at the start of each take, so voice and lips can be synced to that frame in the edit.
- During play, mark every moment that made you react, and note the clock time if your recorder has no marker key.
- After the session, back up the raw files before you edit, and edit from the markers, not from the start of the timeline.
| Problem | Usual cause | Fix |
|---|---|---|
| No game audio in the recording | Desktop audio track muted or wrong device chosen | Check the audio mixer before recording, and test with the 30 second clip |
| Voice buried under the game | Single mixed track, or game level never ducked | Record separate tracks, and duck the game under your words in the edit |
| Echo or double game sound | Speakers feeding the microphone | Wear closed-back headphones for every recording |
| Facecam covers the minimap or subtitles | Corner chosen by habit, not by the HUD | Map the HUD first, then place the box in the emptiest corner |
| Game stutters once recording starts | Recording settings above what the machine handles | Drop to 1080p60 first, then to 30 frames per second if stuttering persists, use a hardware encoder, close other graphics-heavy apps |
| Recording lost after a crash | Straight to MP4 recording | Record crash-safe and remux to MP4 afterwards |
| Voice and lips out of sync | Separate devices drifting, or a long take | Clap on camera at the start of each take, and sync to that frame |
| Black screen for one game only | Protected content blocking capture | Nothing on the card fixes it; record a different title |
One last note on showing games at all. Most publishers allow gameplay videos with commentary, and many publish creator policies saying so, but the details differ by publisher and by game. Check the policy for the game you plan to feature, especially for story-heavy titles, and be careful with licensed music inside games: a song on a radio station or in a club scene can trigger a content claim even when the gameplay itself is fine. Where a game offers a streamer mode that replaces licensed tracks, use it for recorded videos too. It costs nothing and removes the most common claim source in gaming videos.
Questions readers ask
Do I need a capture card to record gaming videos on a PC?
No. On a PC, game capture software records the game directly, and a capture card is only needed when the video comes from outside the PC, such as a console, or when you want a second machine to handle the recording. For a PC-only setup, spend the effort on separate audio tracks and a test recording instead.
Should I use a webcam or a vlogging camera for my facecam?
Start with a webcam. It is already framed and focused, and it removes one failure point from your first videos. Move to a vlogging camera when you want a wider, cleaner image and better low-light behavior, fed over clean HDMI with exposure locked by hand and any sleep timer switched off.
Where should I put the facecam?
In the corner that covers the least information in your game. Play five minutes first, note where the minimap, health, ammo, objective text, and subtitles live, and put the box where it hides none of them. The corner changes by game, so check it for every new title rather than reusing one corner forever.
How big should the facecam be?
About 15 to 20 percent of the frame width for reaction videos, 22 to 28 percent when your reaction is half the video, and full frame only for intros, outros, and talking sections where the game is not on screen. A box bigger than the job it is doing hides the game for no benefit.
Is live commentary or post-recorded commentary better?
It depends on the game. Live commentary suits fast, reactive games where your real-time decisions are the content. Post-recorded commentary suits story games, tutorials, and reviews, where the smart line matters more than the first line. Many good gaming vlogs mix the two: live reactions for the big moments, voiceover for the explanations between them.
Why is my voice so quiet under the game audio?
Almost always because voice and game share one mixed track, or because the balance was set on a quiet menu instead of a loud scene. Record separate tracks, set the balance on the loudest part of the game, and duck the game under your words in the edit. With a mixed track, no fix can raise your voice without raising the game too.
How do I stop talking over story scenes and cutscenes?
Treat loud and quiet sections differently. During story scenes, let the game speak and limit yourself to short reactions between lines, or say nothing at all. Save your explanations for the quiet sections that follow, or record them as post-recorded voiceover over later, non-story gameplay. Silence during a story beat is good directing, not dead air.
How long should a gaming vlog be?
As long as the story needs, and no longer. As a working target, a 90 minute session usually becomes a 12 to 18 minute vlog once loading, lobbies, repeated failures, and silent travel are cut. A cut of 19 to 24 minutes is fine if every minute earns its place. If your cut runs past 25 minutes, check whether it holds two videos instead of one long one.
Can I turn a stream recording into a vlog?
Yes, but only through the same cut plan: hook, setup, three beats, one uncut set-piece, short outro. Expect to cut at least three quarters of a stream recording, re-record the intro and explanations as voiceover, and accept that some sessions have no vlog inside them. A stream archive uploaded unchanged is not a vlog, however long it is.
Can I show any game I want in my videos?
Most publishers allow gameplay videos with commentary, but the details differ by publisher and by game, so check the policy for the title you plan to feature. Be careful with licensed music inside games: songs on radio stations or in club scenes can trigger content claims even when the gameplay is fine, and a streamer mode that replaces licensed tracks removes the most common claim source.
This guide is research-based: we compared published guidance and creator resources.
Keep exploring
Want your gaming videos to hold viewers longer? These guides cover capture, audio, commentary, and the edit.
- Best Capture Cards for Streaming and Recording in 2026
- Best Cameras for Streaming in 2026
- How to Stream on Twitch for Beginners: A Vlogger’s Guide to Going Live
- How to Livestream on YouTube in 2026: A Vlogger’s Setup and Settings Guide
- Live Production for Vloggers: OBS, Encoders, Bitrate and Backups
- Dual-Format Livestreaming: How to Stream Vertical and Horizontal at Once in 2026
- How to Record Better Audio for Vlogs in 2026
- Sound Design for Vlogs: Ambience, SFX, Music Editing, Ducking and Loudness
- How to Record Voiceovers for Vlogs
- Best Headphones for Video Editing in 2026: 7 Picks Compared
- How to Edit Vlogs Faster in 2026
- YouTube Hooks and Audience Retention Editing: Hold Viewers Past 30 Seconds