
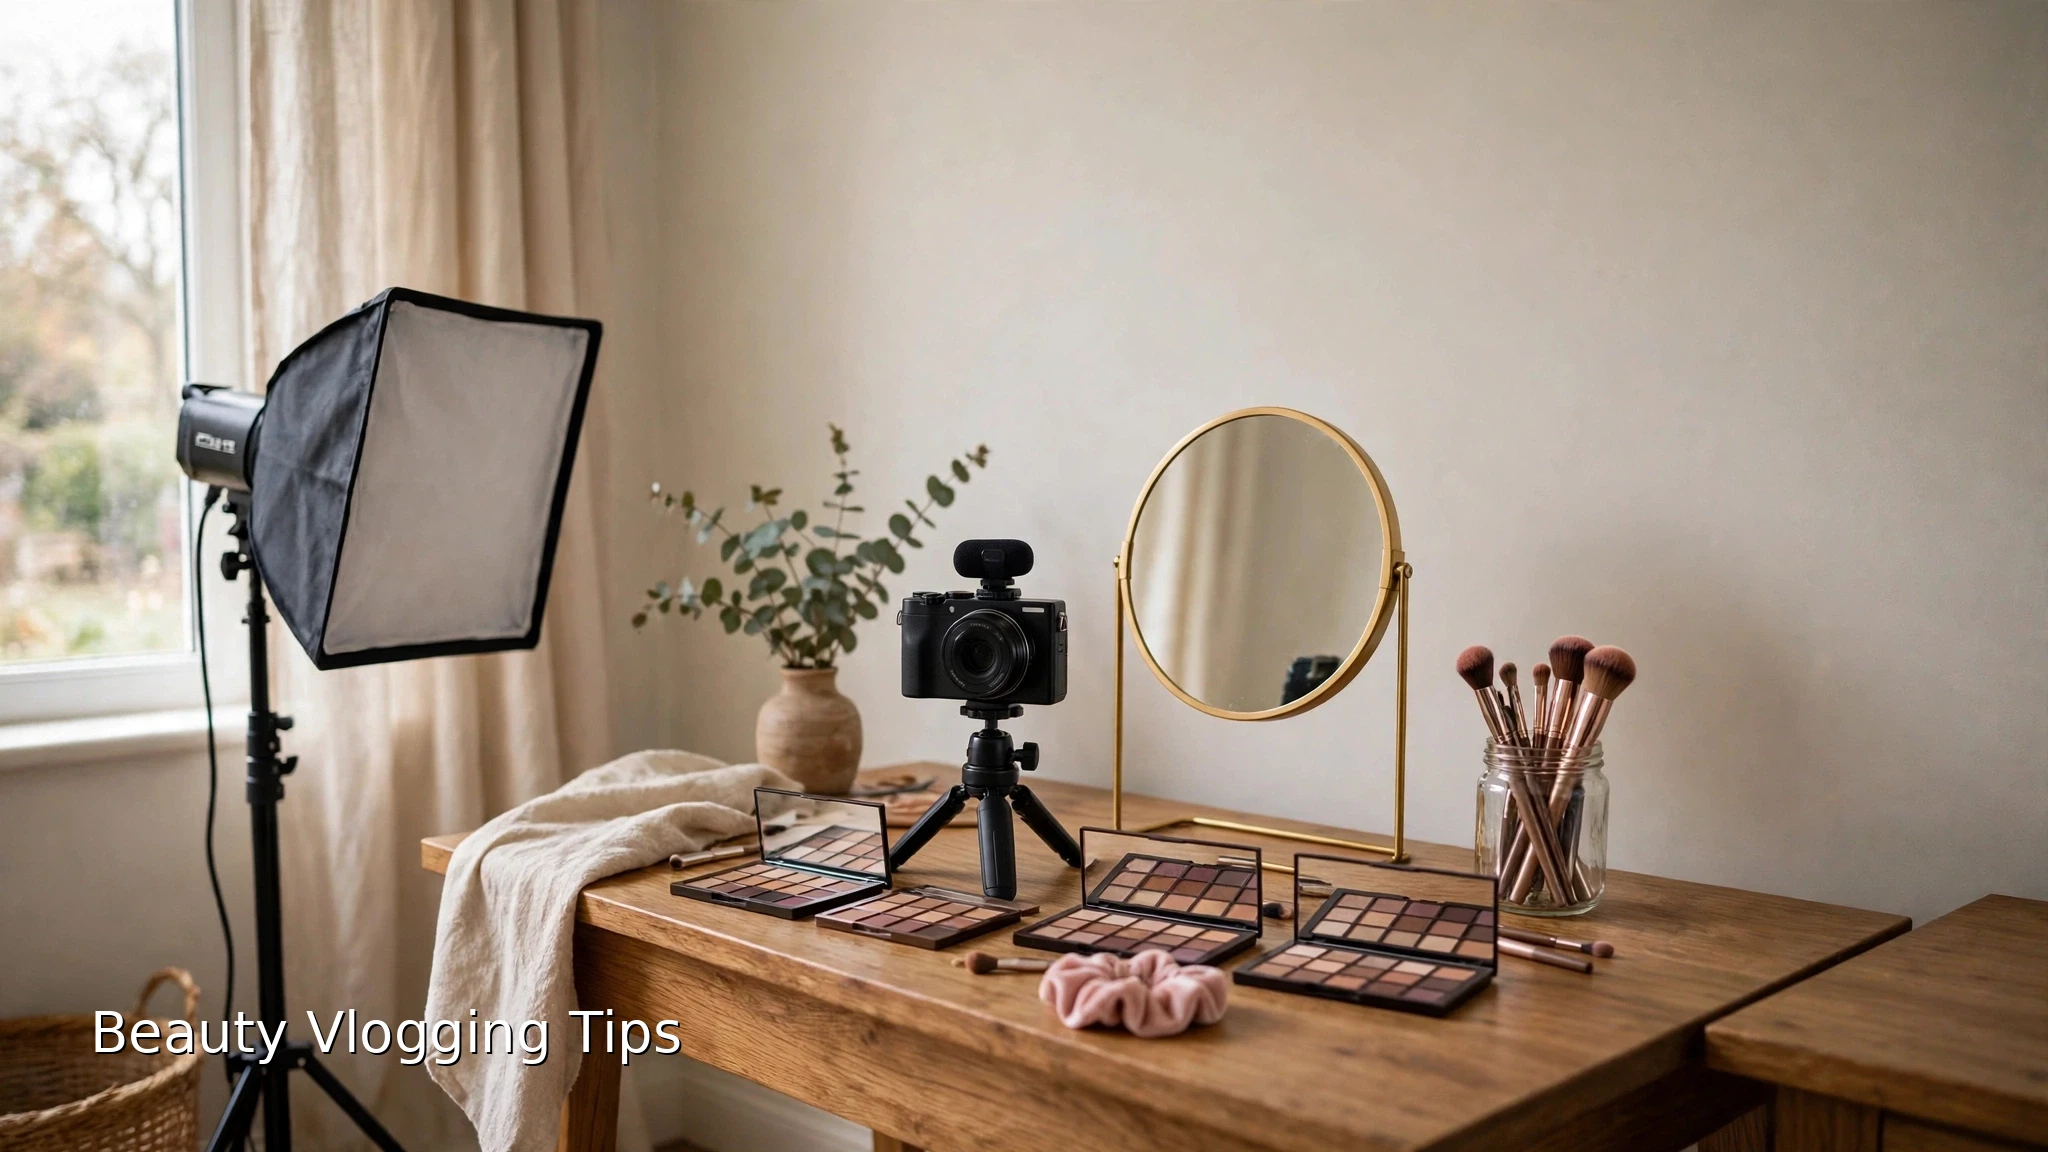
Last updated: November 2026
A beauty video fails in a different place than most vlogs. The makeup is usually fine. What breaks the video is the foundation turning orange on camera, the blush disappearing under a flat light, the eye look going soft exactly when the viewer leans in, or a ring reflection sitting in every eye close-up. This guide works through the answers in order: a color-truth test, lighting for different skin tones, the daylight baseline, catchlight control, macro close-ups, the vlogging-camera workflow, and an edit that keeps color honest.
Contents
The color-truth test: does your camera show what the mirror shows?
Film a 30 second test clip under your filming light, holding the product and a swatch beside your face, then compare the clip with the mirror and with daylight by a window. If the three do not agree, your light or your camera settings are lying, and no preset will fix that later.
Most beauty color problems are discovered too late, after a full tutorial is filmed. The test clip moves the discovery to the start. Set up exactly as you will film, apply the base you plan to show, and record for 30 seconds: a few seconds face forward, a few seconds in profile, and a few seconds holding the product and a swatch card beside your cheek. Then watch the clip on the camera screen, and again on a larger screen if you have one. Compare three things: the foundation on your skin, the blush and lip shade, and the swatch beside your face. If the swatch looks right but your skin looks wrong, the problem is exposure or white balance on skin. If the swatch looks wrong too, the problem is the light itself.
The window check is the second half of the test. Take the same swatch card to a window in indirect daylight and look at it there, then look at your face in the same light. Daylight is the reference every other light is judged against, because it is the light viewers see makeup in every day. A foundation that matches by the window but turns orange under your filming light is not a shade problem. It is a light problem, and the fix is in the lighting section below, not in a different foundation.
Run the test clip every time anything changes: a new light, a new room, a new camera setting, or a new season, because window light in winter is not window light in summer. The clip costs 30 seconds. A re-filmed tutorial costs an afternoon. Keep the test clip habit even when you feel experienced, because color drift creeps in through small changes: a bulb swapped for a different temperature, a curtain opened a little wider, a camera setting knocked back to auto.
Lighting for different skin tones
There is no single beauty light setting that suits every complexion. Deep skin needs a large soft source close by, exposed for the skin rather than the room average. Fair skin needs the same soft source pulled back or diffused further, so highlights on the forehead and nose do not blow out. Judge exposure on skin detail, never on the room.
The one-setting-fits-all advice is the biggest gap in beauty lighting guides. They all say the same thing: daylight-balanced light, even coverage, accurate color. That advice is not wrong, but it is incomplete, because the same light behaves differently on different skin. Skin reflects light, and how much it reflects depends on how deep it is. A light that flatters one complexion can flatten or wash out another, and the fixes are different in each direction.
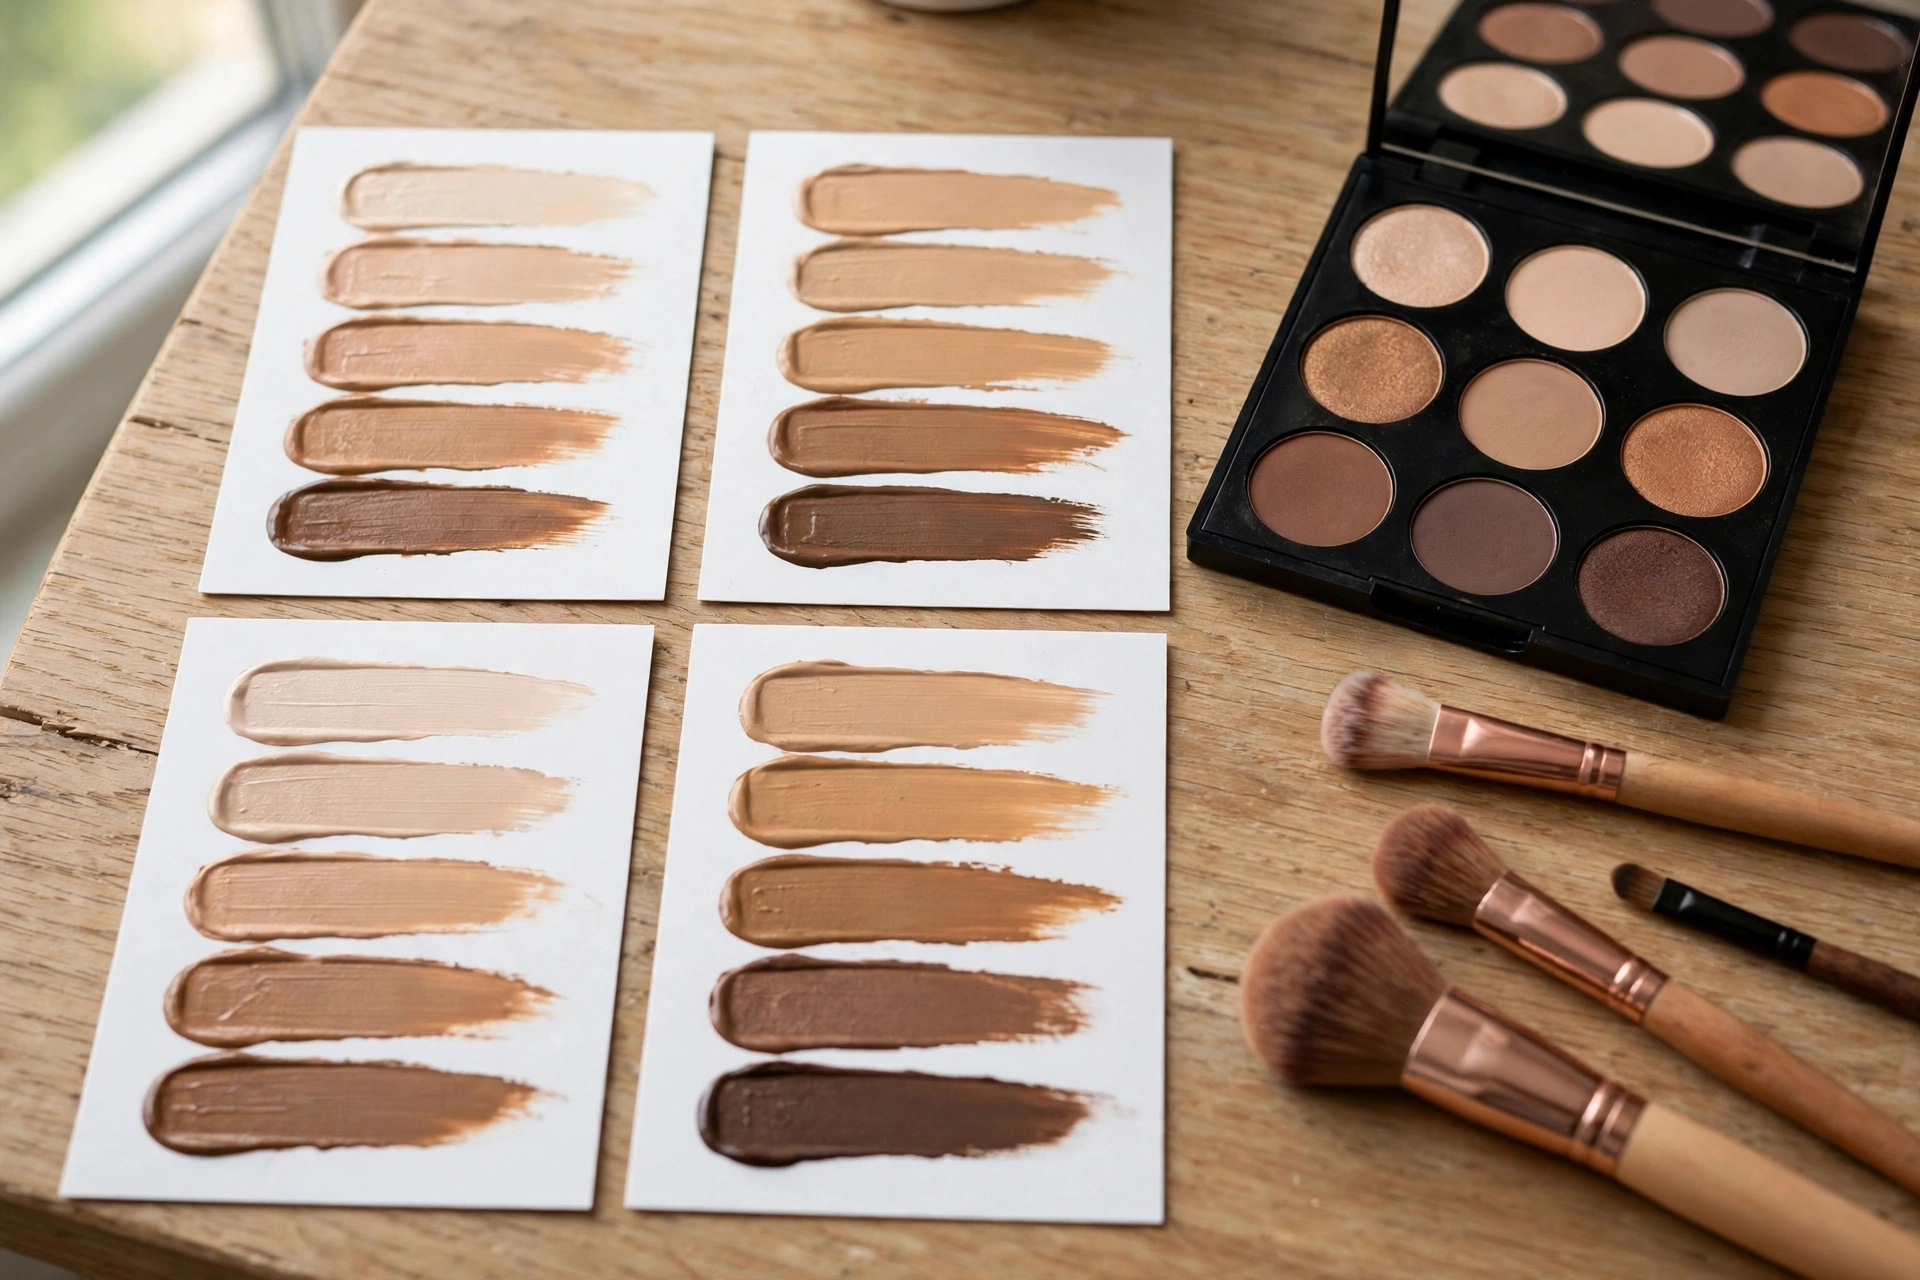
For deep skin, the working rule is a large soft source, close. The working rule is to position a large soft source so its reflection shapes the face: a broad softbox near the face gives deep skin a shape and a glow that a small hard light cannot, because a small hard source makes a single hot spot and leaves the rest flat. Keep the source close enough that it wraps the face, and expose for the skin, not for the room average. Camera meters average the whole frame, and a bright background or a white top will drag the exposure down and push deep skin dark. Expose so skin detail stays visible in the shadows of the face, and keep some contrast: fill light should lift the shadows, not erase them, or the face goes flat.
Two extra cautions apply to deep skin. First, very deep skin can pick up a cool or blue cast under cool light, which reads as ashy on camera. Warming the light slightly, or adding a warm-toned diffusion, brings the skin back to its natural warmth. Second, avoid bright white clothing or a bright white background close to the face when you are exposing for deep skin: if you let the camera meter the whole frame, bright whites drag the exposure down and push deep skin dark, which is another reason to lock exposure on the skin. A mid-tone top and a neutral background give the exposure room to sit where the skin needs it.
For fair skin, the failure runs the other way. The same bright soft light that shapes deep skin can blow out fair skin, turning the forehead and nose into featureless white and making blush vanish. The fix is distance and diffusion, not a different light: pull the key light back, add diffusion, or turn it down, until the brightest skin holds detail. Fill light stays lower for fair skin, because the skin already reflects plenty. Check the blush specifically, because blush is the first thing to disappear when fair skin is overexposed, and a tutorial where the blush is invisible is a tutorial that teaches nothing.
The table below is the fastest diagnosis when a test clip looks wrong. Match the symptom, check the likely cause, and change one thing at a time, re-testing after each change.
| What you see | Likely cause | Fix first |
|---|---|---|
| Skin looks gray or ashy | Cool light, or a grade that desaturates skin | Warm the light slightly and check the grade on skin, not on the room |
| Skin looks orange | Warm light, or foundation oxidizing over the session | Move to daylight-balanced light and re-check the shade at the end of filming |
| Deep skin looks flat and dark | Small hard source, or exposure set for the room average | Move a large soft source closer and expose for skin detail |
| Fair skin looks washed out | Key light too bright or too close | Pull the key back, add diffusion, and check that blush stays visible |
| One side of the face is a different color | Mixed light temperatures in the room | Turn off the odd light or match every bulb to one temperature |
One more rule covers every complexion: keep every light in the room at one color temperature. A warm lamp on one side and a cool window on the other splits the face into two colors, and no filter repairs that cleanly. If you film by a window, either match your artificial lights to daylight or block the window and light the scene yourself. Mixed light is the hardest beauty problem to fix in the edit, and the easiest to prevent on set.
The daylight baseline, done properly
Set every light to daylight, around 5500 to 6000K, choose lights with a color rendering index of 95 or higher, and lock white balance by hand for the session. That baseline is worth getting right before you add anything fancier.
Color temperature is measured in Kelvin. Warm household light sits around 2700 to 3200K and adds yellow. Daylight sits around 5500 to 6000K and shows colors closest to how they look outdoors. For beauty work, daylight is the target, because foundation, blush, and eyeshadow are all judged against how they look in daylight. A light at 3200K will warm every shade; a light at 6500K will cool them. Either shift makes a shade comparison video untrustworthy, because the viewer cannot tell whether the shade or the light changed.
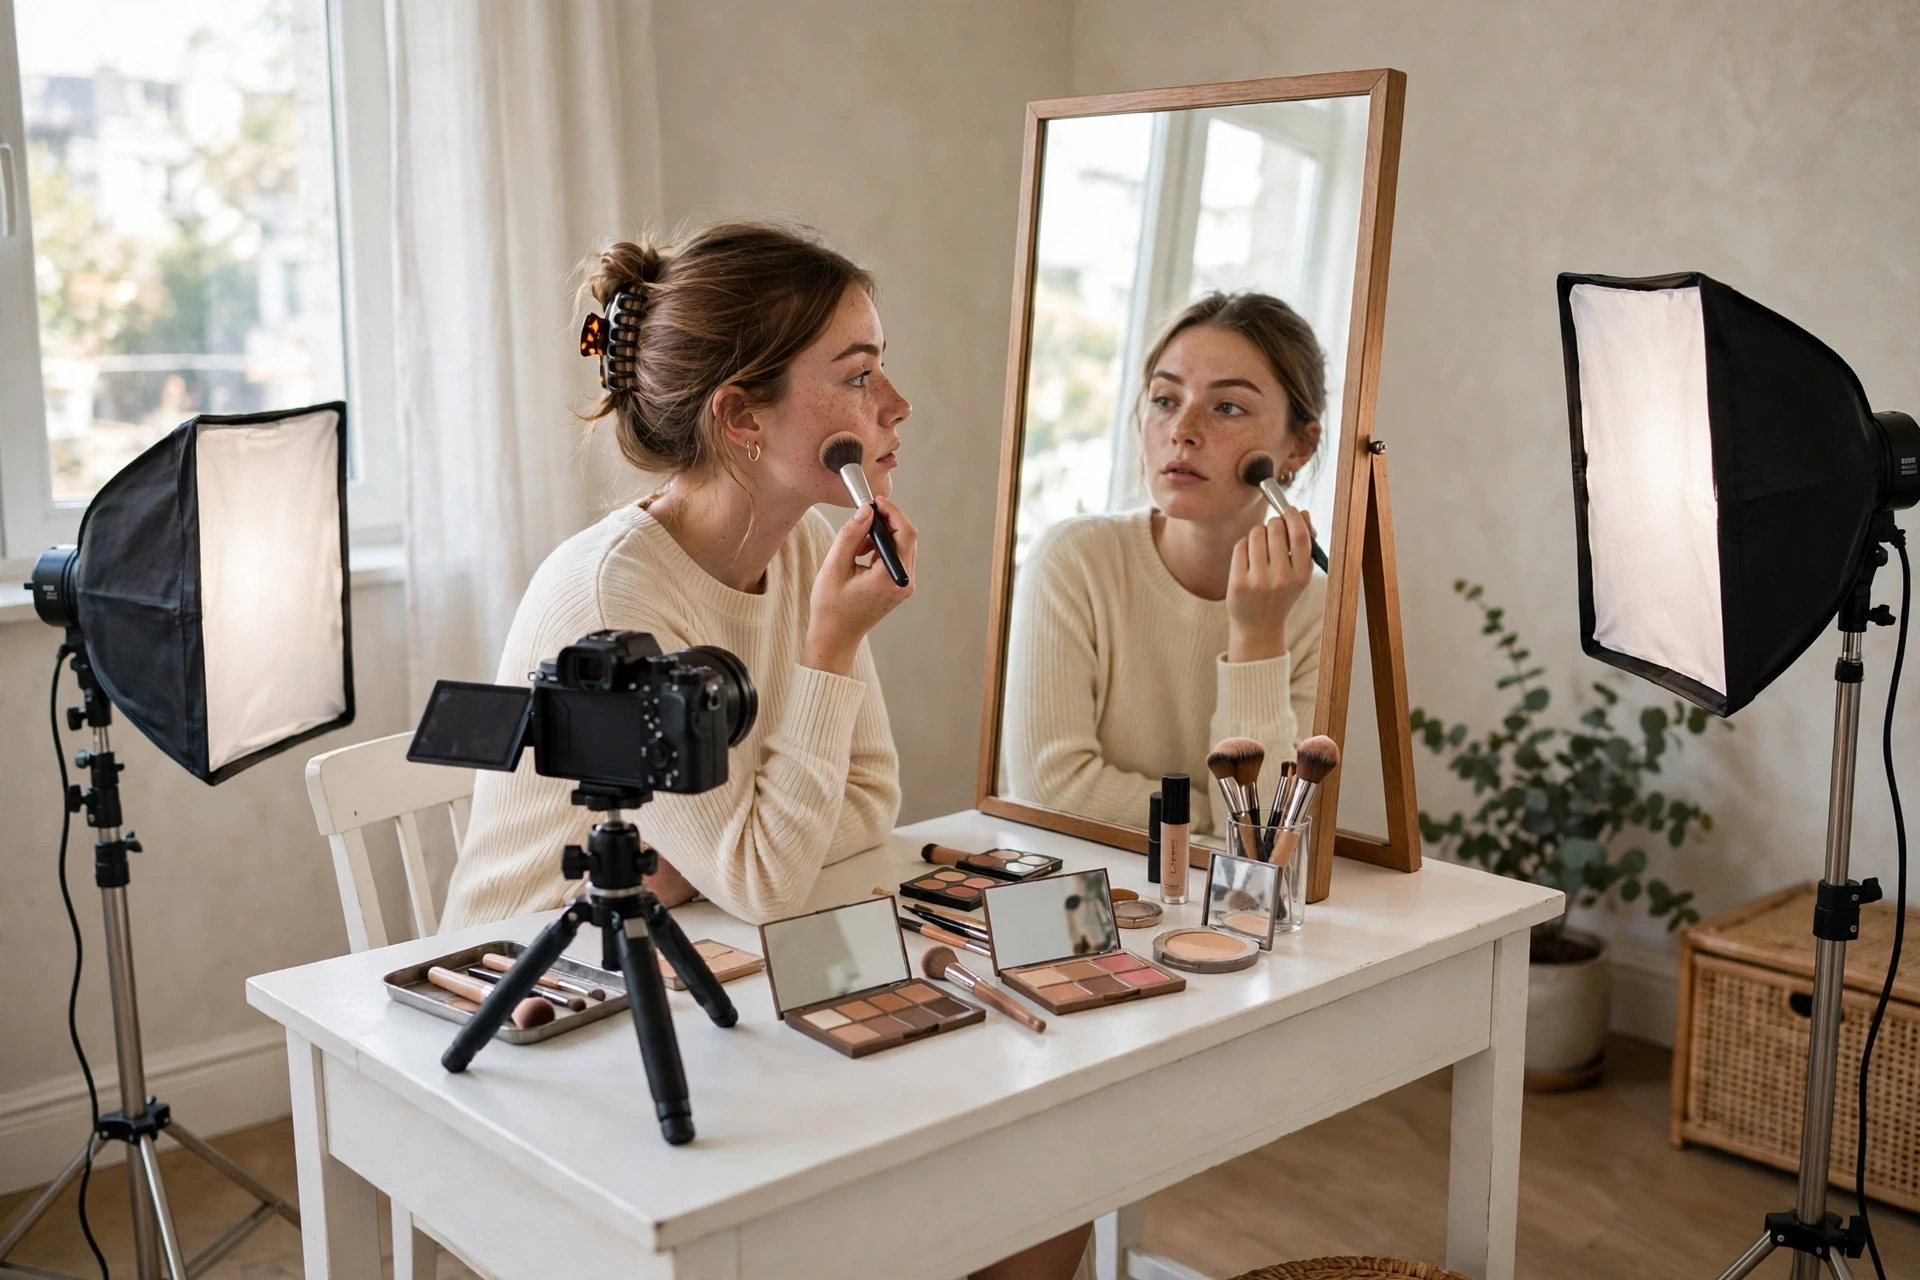
Color rendering index, or CRI, is the second number that matters. It measures how faithfully a light shows colors compared with daylight, on a scale to 100. Cheap LEDs can sit in the 80s and still look white to the eye while shifting reds and skin tones on camera. Aim for 95 or higher for beauty lights, and treat 90 as the floor below which you should not go. CRI is a headline spec on good lights, and it is worth checking before buying, because no camera setting recovers color information a low CRI light never produced.
Manual white balance is the habit that holds the baseline together. Auto white balance shifts during a session as the scene changes, so one cut looks warm and the next looks cool, and the viewer reads that shift as a shade change. Set white balance by hand at the start of the session, under the exact lights you will film with, and leave it alone. If you change a light or move to a different room, set it again. The white balance guide covers the method in full, including how to set a custom value on a vlogging camera.
Natural window light can be excellent and it can also betray you. Indirect light through a sheer curtain is soft, flattering, and free, and it is a fine main light for a short video. But window light moves. Over a long session the color and brightness shift, and a tutorial filmed across that shift will not cut together cleanly. If you rely on window light, film in consistent overcast or consistent indirect light, and plan to finish before the light changes meaningfully. For anything longer, treat window light as a supplement and let your artificial lights carry the scene, because their color does not drift.
Ring-light catchlights: feature or fault?
A ring light puts a circular reflection in the eyes. That sparkle flatters a talking-head shot and ruins an eye close-up. Use the ring for face-forward work, switch to a panel or move the light off axis for eye detail, and keep one catchlight shape within each section of the video.
Every light makes a catchlight, the small reflection of the light source in the eye. A ring light makes a circle, a softbox makes a rectangle, a window makes a soft oblong. In a normal face-forward shot, a catchlight brings the eyes alive, and the ring shape has become a familiar beauty look in its own right. Most advice praises it and stops there. The problem starts in close-up, where the same circle grows large, sits over the iris, and competes with the eye makeup the viewer is trying to study.
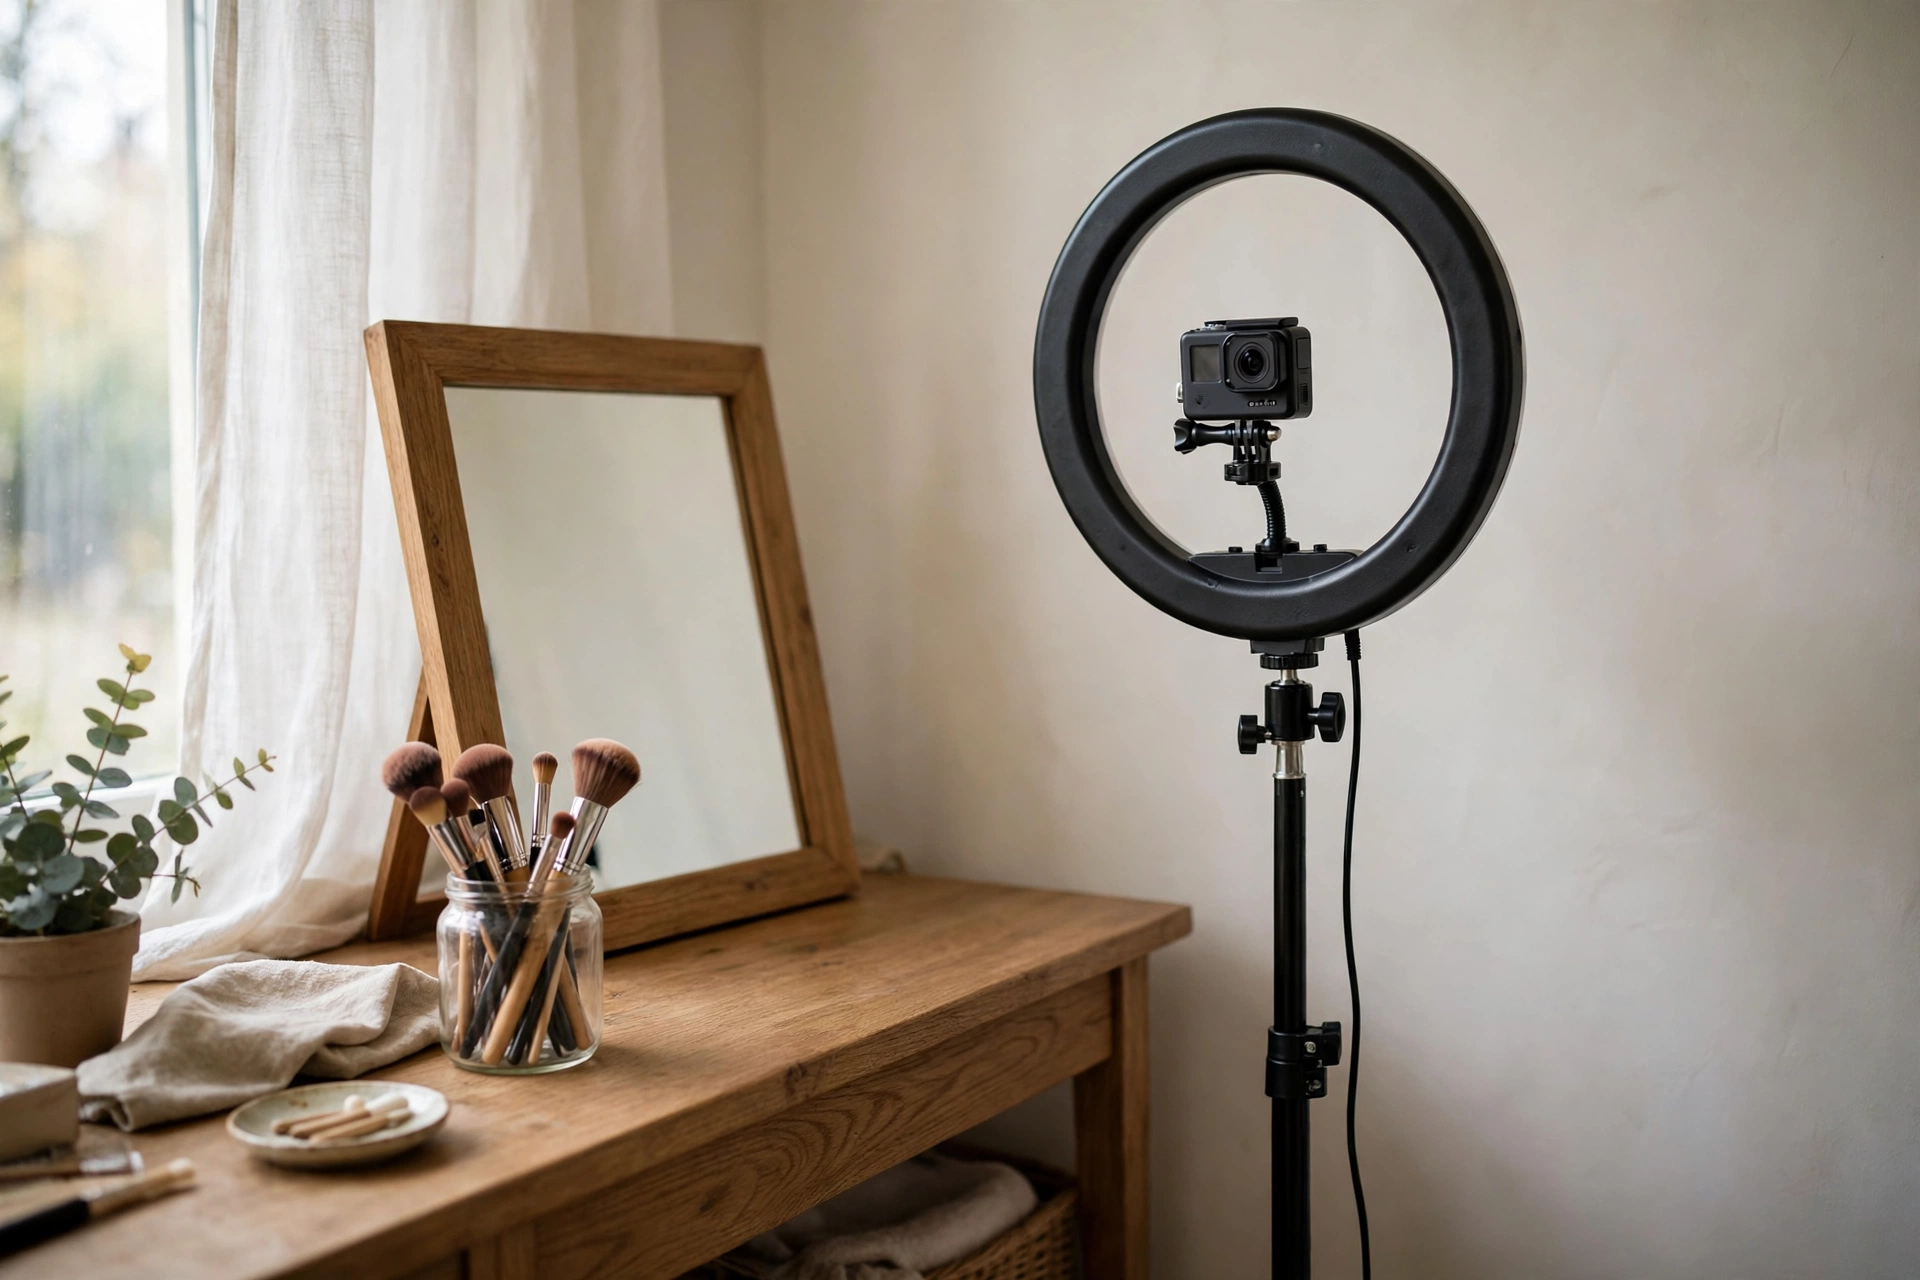
The fix is not to throw the ring light away. It is to choose the catchlight per shot. Keep the ring for face-forward talking and base work, where its even light and its sparkle both help. For eye close-ups, switch to a softbox or panel, or move the light off axis so its reflection slides out of the iris. Moving the light to the side is the simplest fix of all: the reflection follows the light, so moving it off axis slides the reflection out of the iris. A polarizing filter on the lens is a further tool for cutting glare and reflections, and it is worth knowing about for shiny lids and glossy lips, though it only cuts reflections at certain angles and costs some light, so test it against your own lights before a full session.
Consistency matters as much as shape. If one cut in a section shows a ring catchlight and the next shows a rectangle, the viewer notices the change even if they cannot name it, and the section feels patched together. Pick one catchlight for each section and keep it within that section. A face-forward section and an eye close-up section will rightly use different lights, but mixing shapes inside one section is what makes a video feel patched together. And check the catchlight in the test clip, not in the edit, because a reflection that looks charming on a small camera screen can dominate a large one.
Close-ups that actually show the work
Use a lens that focuses close enough for the shot, keep enough working room to light the subject, and pull focus to the exact plane you are demonstrating. A close-up that is soft, shadowed by the lens, or framed on the wrong feature teaches nothing.
Beauty close-ups have three subjects: eyes, lips, and swatches. Each one needs a different decision, and the common advice of “get close and use a macro lens” hides all three. Start with the lens. A kit zoom often cannot focus close enough for a real eye detail shot, and the result is a soft image that no amount of sharpening rescues. A macro lens, or a close-focusing prime, solves the focus distance problem. Check two numbers before you buy or borrow: the minimum focus distance, measured from the sensor, and the working distance, the free space left in front of the lens at closest focus. They are not the same number, and the working distance is the one that decides whether you can light the shot.
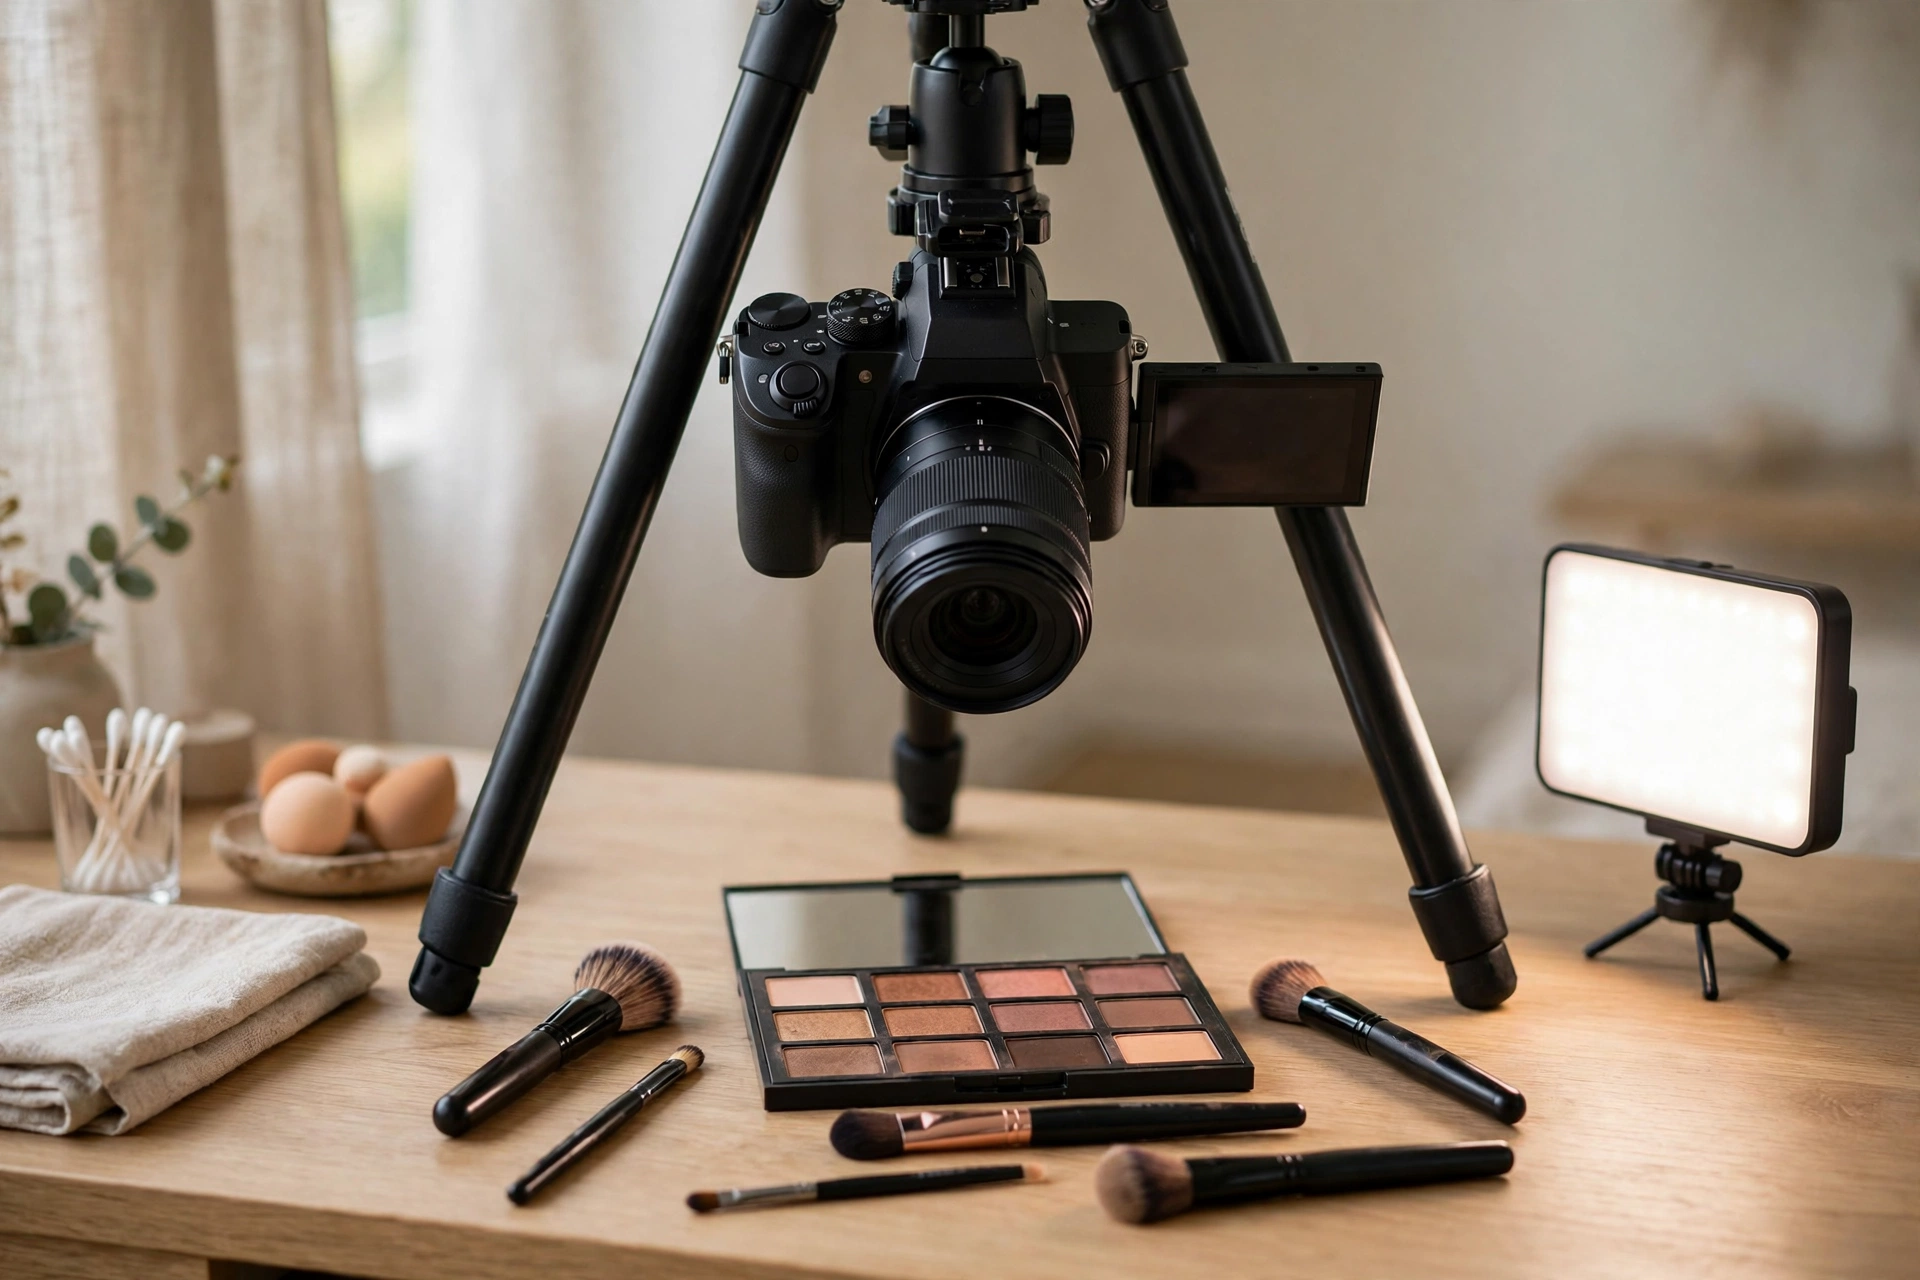
At full 1:1 magnification, working distance shrinks fast. A compact 50mm macro can leave only a few centimetres of free space in front of the lens, which is fine for a palette on a desk and tight for a face, because the lens itself starts blocking the light. A longer macro, around 90 to 105mm, keeps more room between lens and subject at the same magnification, which is why it is the usual choice for beauty close-ups on a face. You rarely need full 1:1 for a beauty video anyway. A full eye look fills the frame well before life-size magnification, though a single-eye detail gets close to it, and backing off a little buys light, depth of field, and comfort for the person being filmed.
Focus pulling while applying product is the skill nobody writes down. You cannot watch the mirror, apply product, and pull focus at the same time, so the method has to be planned. Pre-focus on the plane you will demonstrate, the lash line for an eye look or the lip edge for a lip look, and then move yourself into that plane rather than chasing focus after you move. If your camera offers focus peaking, turn it on: it outlines the sharp plane in color on the screen and makes the pre-focus check instant. If you use autofocus, let it settle before you start applying, move slowly, and expect it to hunt when the distance changes fast. Slow movement is not just steadier footage. It is what keeps the focus where it belongs.
Swatches deserve the same care as the face, because the swatch is where the viewer checks whether your words match the product. Film swatches under the same light as the face, in the same session, and keep the swatch card in the same plane as the product. A swatch filmed by a window while the face was filmed under artificial light will never match, and the viewer will blame the product. Arm swatches and card swatches both work, but they behave differently: skin shows how a shade sits on a real surface with texture and warmth, while a white card shows the shade at its cleanest, without skin undertone shifting it. Show both when the shade itself is the point of the video, and say which one the viewer is looking at, so nobody mistakes a card swatch for a skin match.
Angle is the last close-up decision, and it follows the subject. Overhead suits palettes, swatches, and hand work, because the camera looks straight down at a flat surface and nothing blocks the light. A mirror angle suits face application, because the camera films the face in the mirror’s reflection, which keeps the framing natural, though the mirror image is reversed, so check that left and right read correctly. Straight-on suits eyes and lips, because it shows both sides evenly and keeps the makeup symmetrical in frame. Film each section from the angle that serves it, and do not be afraid to change angles between sections. A tutorial that stays on one angle for the whole video is a tutorial that hides half its own work. The composition guide covers the framing basics behind these angles, including headroom and how much of the face to keep in frame.
The vlogging-camera workflow: flip screen, eye AF, and leaning in
Frame on the flip screen before you record, lock exposure by hand so leaning in does not change the brightness, and let face and eye autofocus settle before you apply product. Most beauty focus and exposure problems come from the camera reacting to movement that was entirely predictable.
A vlogging camera earns its place in a beauty setup through three features, and each one needs a deliberate habit. The flip screen lets you see your own framing while you film, which is the whole reason to use a vlogging camera instead of a camera that only faces away. Use it before every section: check that the face sits where you want it, that the product is in frame when you hold it up, and that the mirror is not catching the light. A framing check takes five seconds and prevents a common beauty reshoot, a perfect take framed on the forehead.
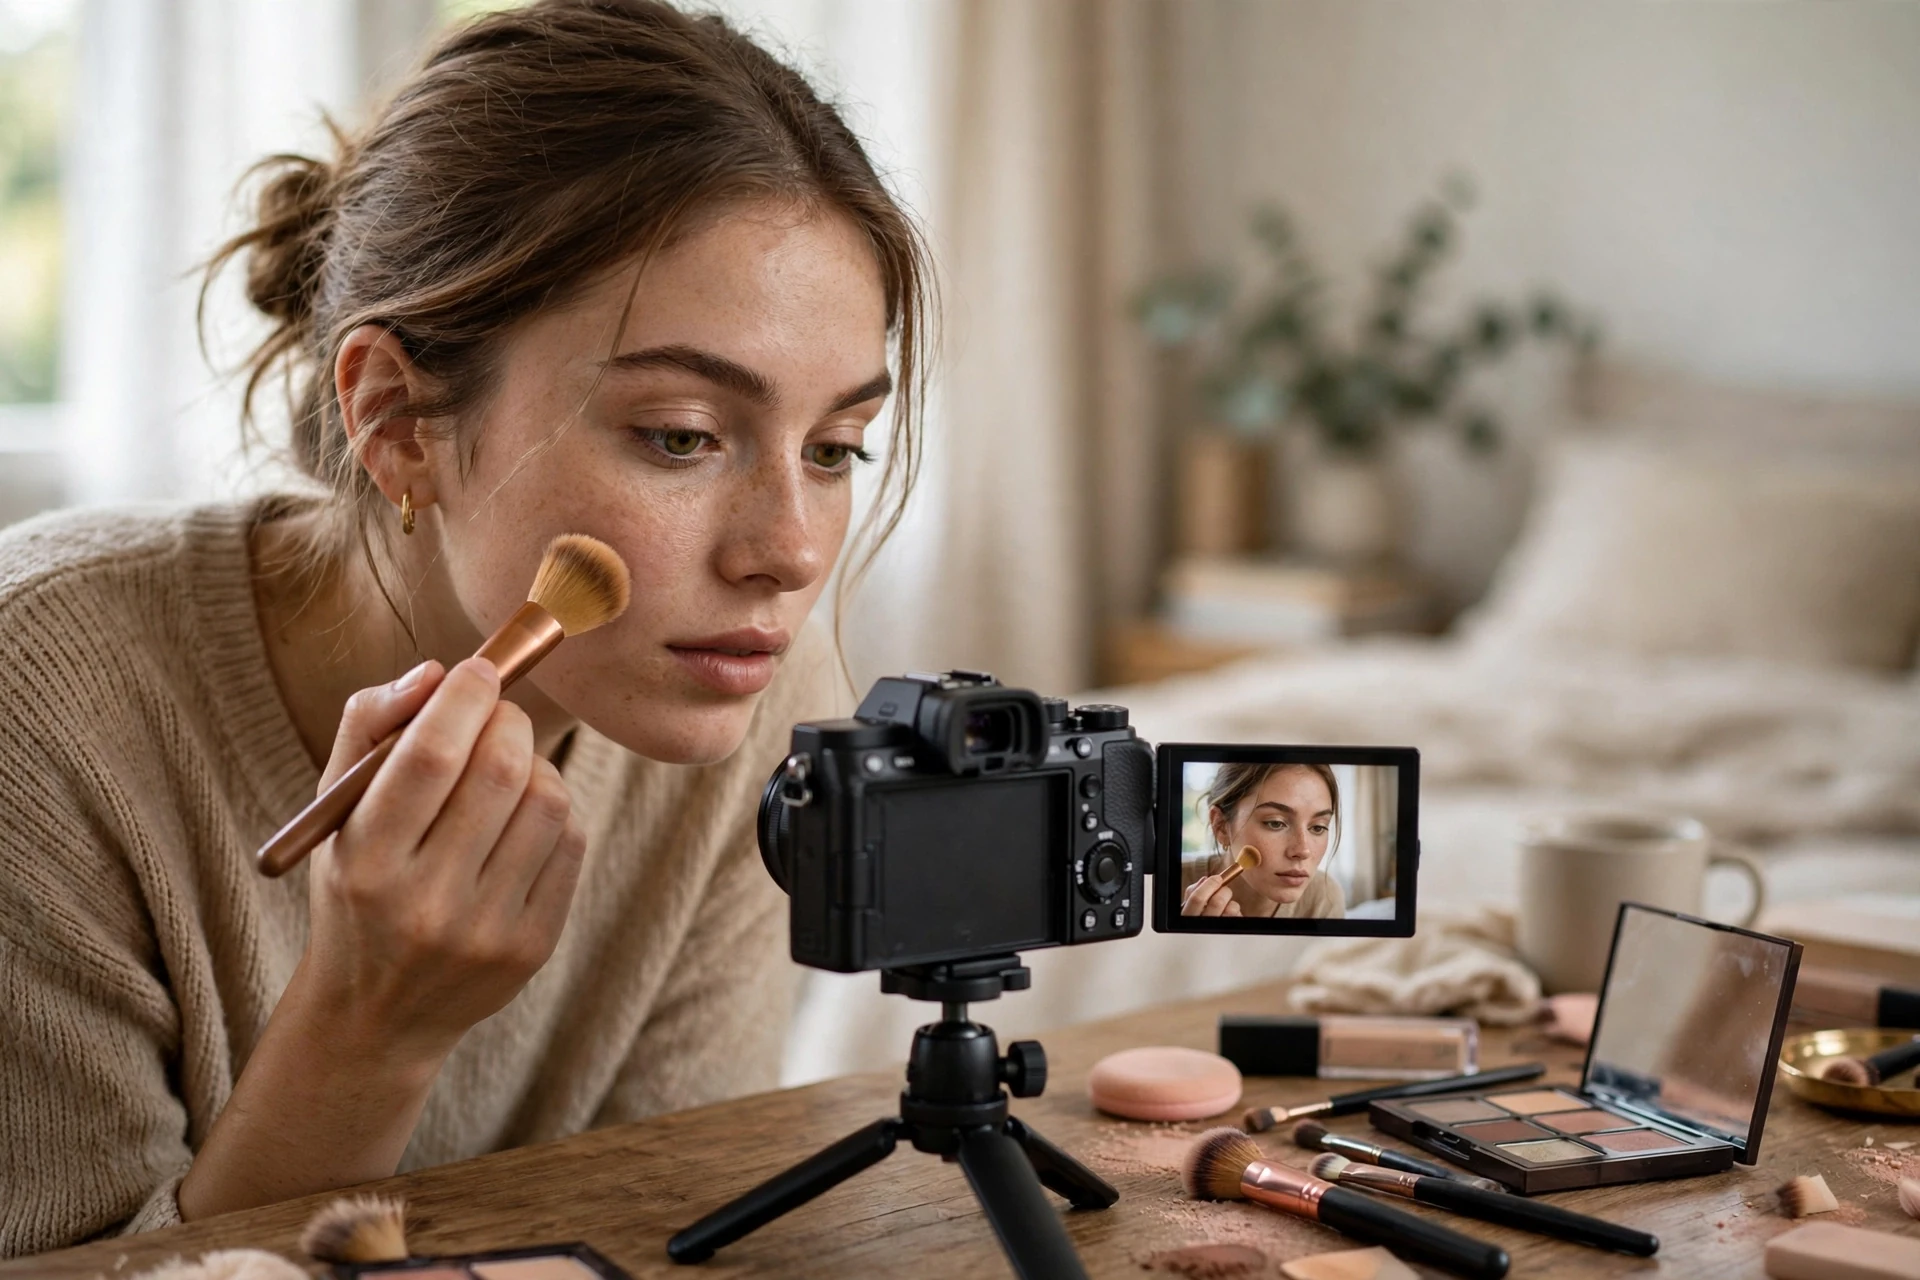
Face and eye autofocus is the second feature, and it is only as good as the way you move. When you lean in to apply product, the distance to the camera changes fast, and autofocus hunts. Lean slowly, keep your face in the frame, and give the system a beat to settle before you start the delicate part. If your camera lets you adjust autofocus sensitivity, a slower, steadier setting suits beauty work better than a fast, twitchy one, because a beauty shot changes distance gradually rather than jumping between subjects. And if autofocus keeps missing a specific shot, switch to manual focus for that shot and pre-focus on the plane, as described in the close-up section. Manual focus is not a failure. It is the right tool for a shot that does not move.
Exposure lock is the third habit, and it is the one most creators skip. On auto exposure, leaning in fills the frame with skin and the camera brightens or darkens the whole shot to compensate, so the same foundation changes brightness mid-take. Lock exposure by hand for the scene, so the picture stays constant while you move. The camera settings guide covers manual exposure and autofocus settings on a vlogging camera in full.
Mounting choice affects how easily you change angles between sections. A tripod holds one angle rock steady and suits a creator who films each section from a fixed position. A flexible arm clamped to the desk lets you swing the camera from face-forward to overhead without rebuilding the setup, which suits a creator who changes angles often. Whichever you use, lock it off before each section and do not touch the camera while applying product, because a bumped camera during a close-up ruins the shot and the take. If your desk is small, a compact tripod on the desk itself keeps the camera close and stable without a floor stand eating floor space.
Two more workflow points finish the setup. Audio first: a lavalier microphone clipped close captures clean narration while you move, while a camera microphone picks up the room and every brush tap on the desk. The better audio guide covers placement and room treatment. Resolution second: filming in 4K lets you crop a close-up out of a wider shot in the edit, which is a genuine safety net for eye and lip detail if you deliver in 1080p. It is not a substitute for filming the close-up properly, but it rescues a section where the dedicated close-up went soft, and that rescue is worth having.
Editing for true color, not a preset look
Judge every grade on skin, swatch, and lip color together, keep any preset at partial strength, and never let a look desaturate deeper skin tones or push warm skin orange. A grade that flatters one shot and shifts the next is not a style. It is a color error.
Presets and LUTs are the most oversold tool in beauty editing. One-click filters promise flawless skin, yet the cost shows up in the results: cool presets that desaturate deeper skin, warm presets that push caramel tones orange, and saturation moves that make bold lips overpower the face. The rule that prevents all three is simple: judge the grade on three things at once, skin, a swatch of the product, and the lip or blush shade. If any one of the three shifts away from how it looked in daylight, the grade is wrong, however pretty the frame looks overall.
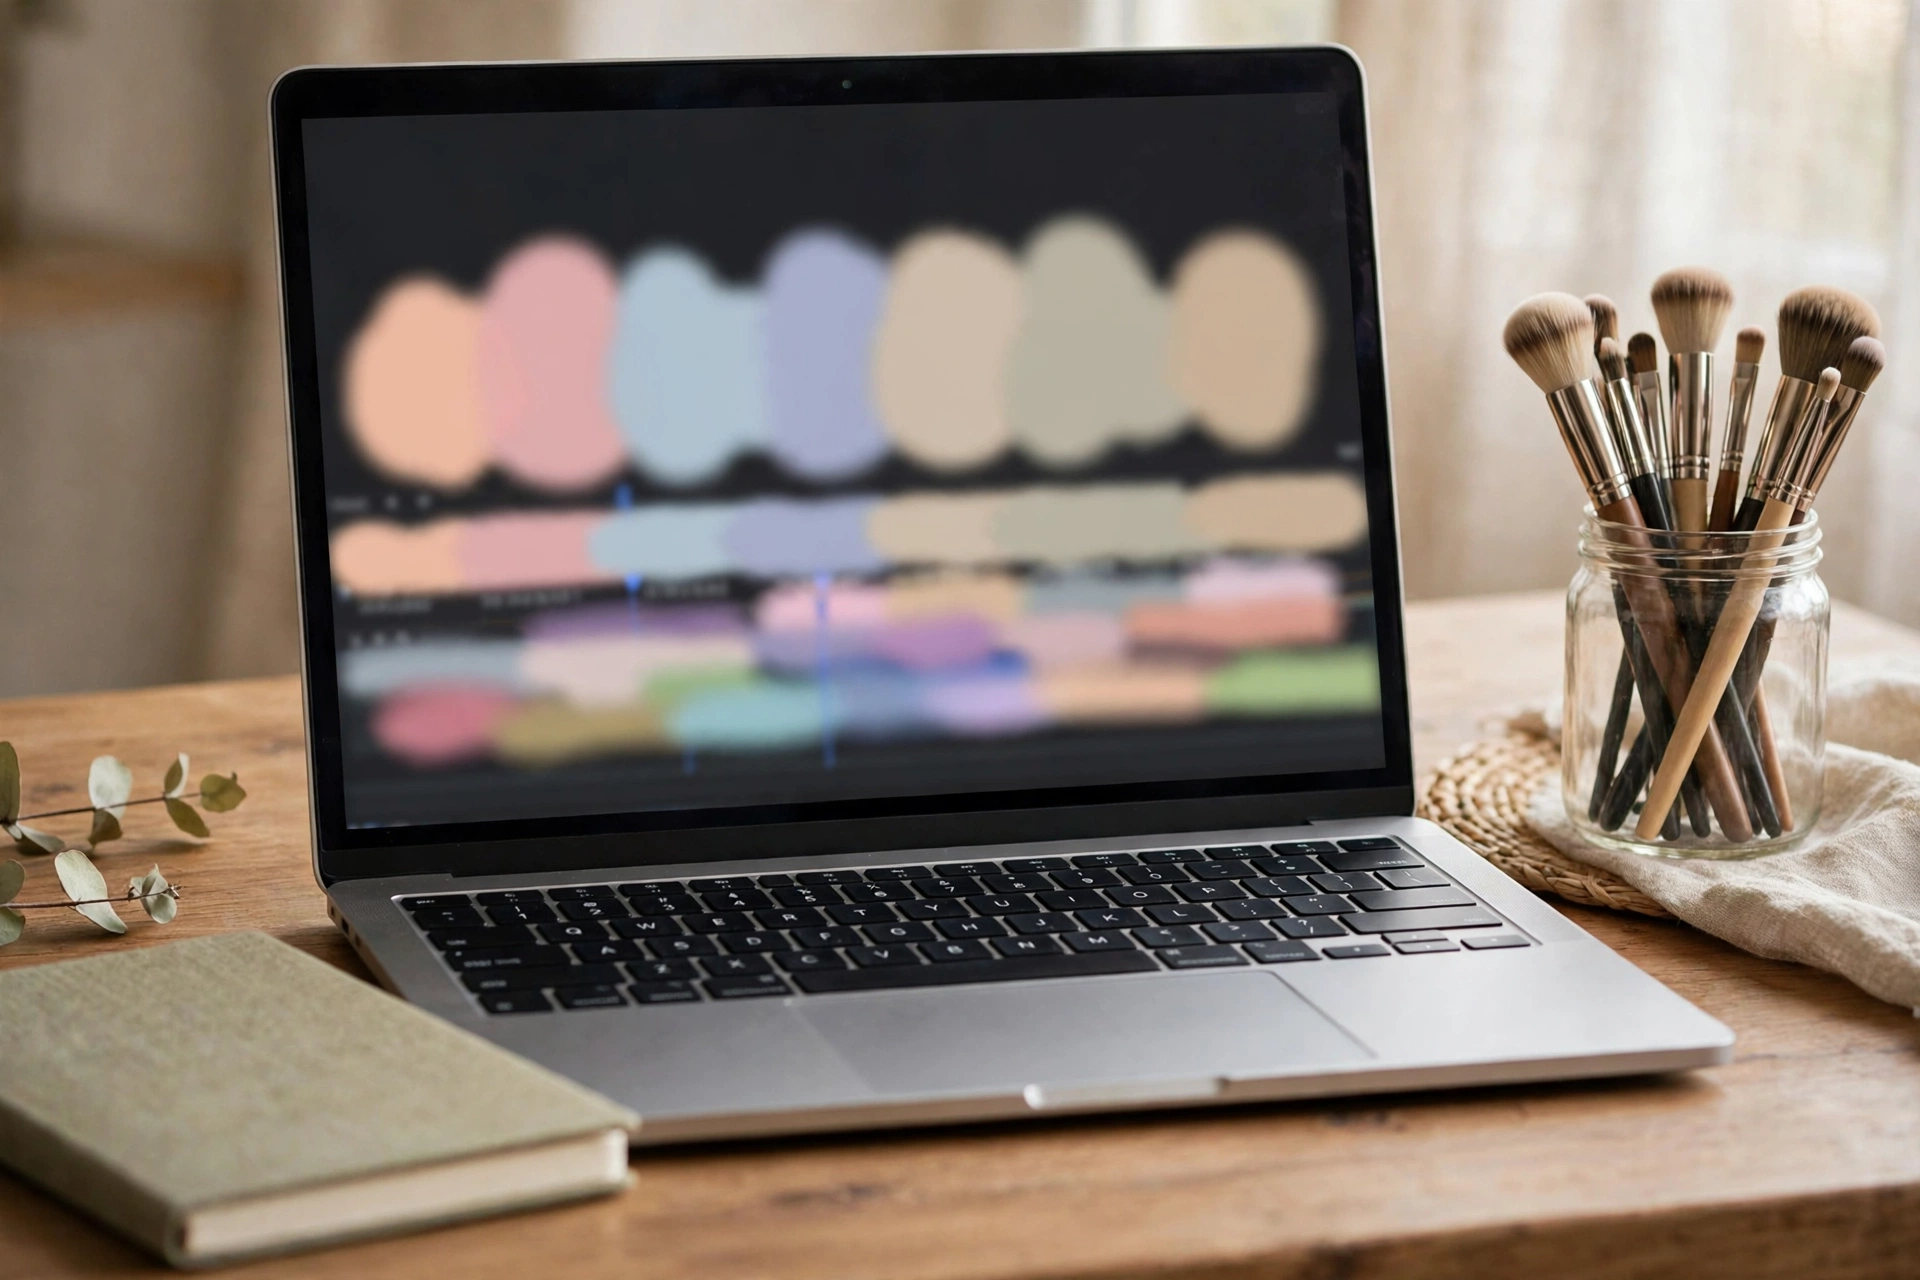
Keep presets at partial strength. A filter applied at full strength is a look imposed on the footage; the same filter at around 60 to 70 percent is a gentle direction that leaves the makeup readable. Test the preset on a short sequence that includes a face shot, a hand swatch, and a product hold-up before applying it to the whole video, because a preset that flatters a face can still wreck a swatch, and the swatch is where the viewer checks your honesty. Save the combination that passes that test as your own preset, and use it consistently, because consistency across videos is what makes a channel look professional.
Check the finished grade on a second screen before you export, and include a phone screen in that check. Most beauty viewers watch on a phone, and a grade that looks rich on a large monitor can look dark or muddy on a small bright phone display. If the makeup reads clearly on both, the grade is done. If it only reads on one, adjust until it reads on both, because the phone is where the audience actually lives.
Two diagnosis skills belong in the edit as well. Flashback is a white or gray cast caused by light-reflecting minerals, usually titanium dioxide or zinc oxide in sunscreen or primer, bouncing a bright light straight back at the lens. It is mainly a photo and flash problem, but the same minerals can read ashy under a bright video light, and the fix is a formula change, not more powder or a brighter grade. Oxidation is the other one: foundation darkening or turning orange over hours as it reacts with skin oils and air. If your shade looks right at the start of filming and orange at the end, the foundation changed, not your light. Note it honestly in the video rather than grading it away, because viewers who buy that shade deserve to know how it wears. The color grading guide covers the tools behind these checks, including scopes and skin-tone lines, for creators ready to go further.
Your first beauty video checklist
Run the color-truth test, set one light temperature, lock white balance and exposure, pre-focus your close-ups, and film in sections. That checklist is the whole system on one page, and it prevents nearly every first-video color failure.
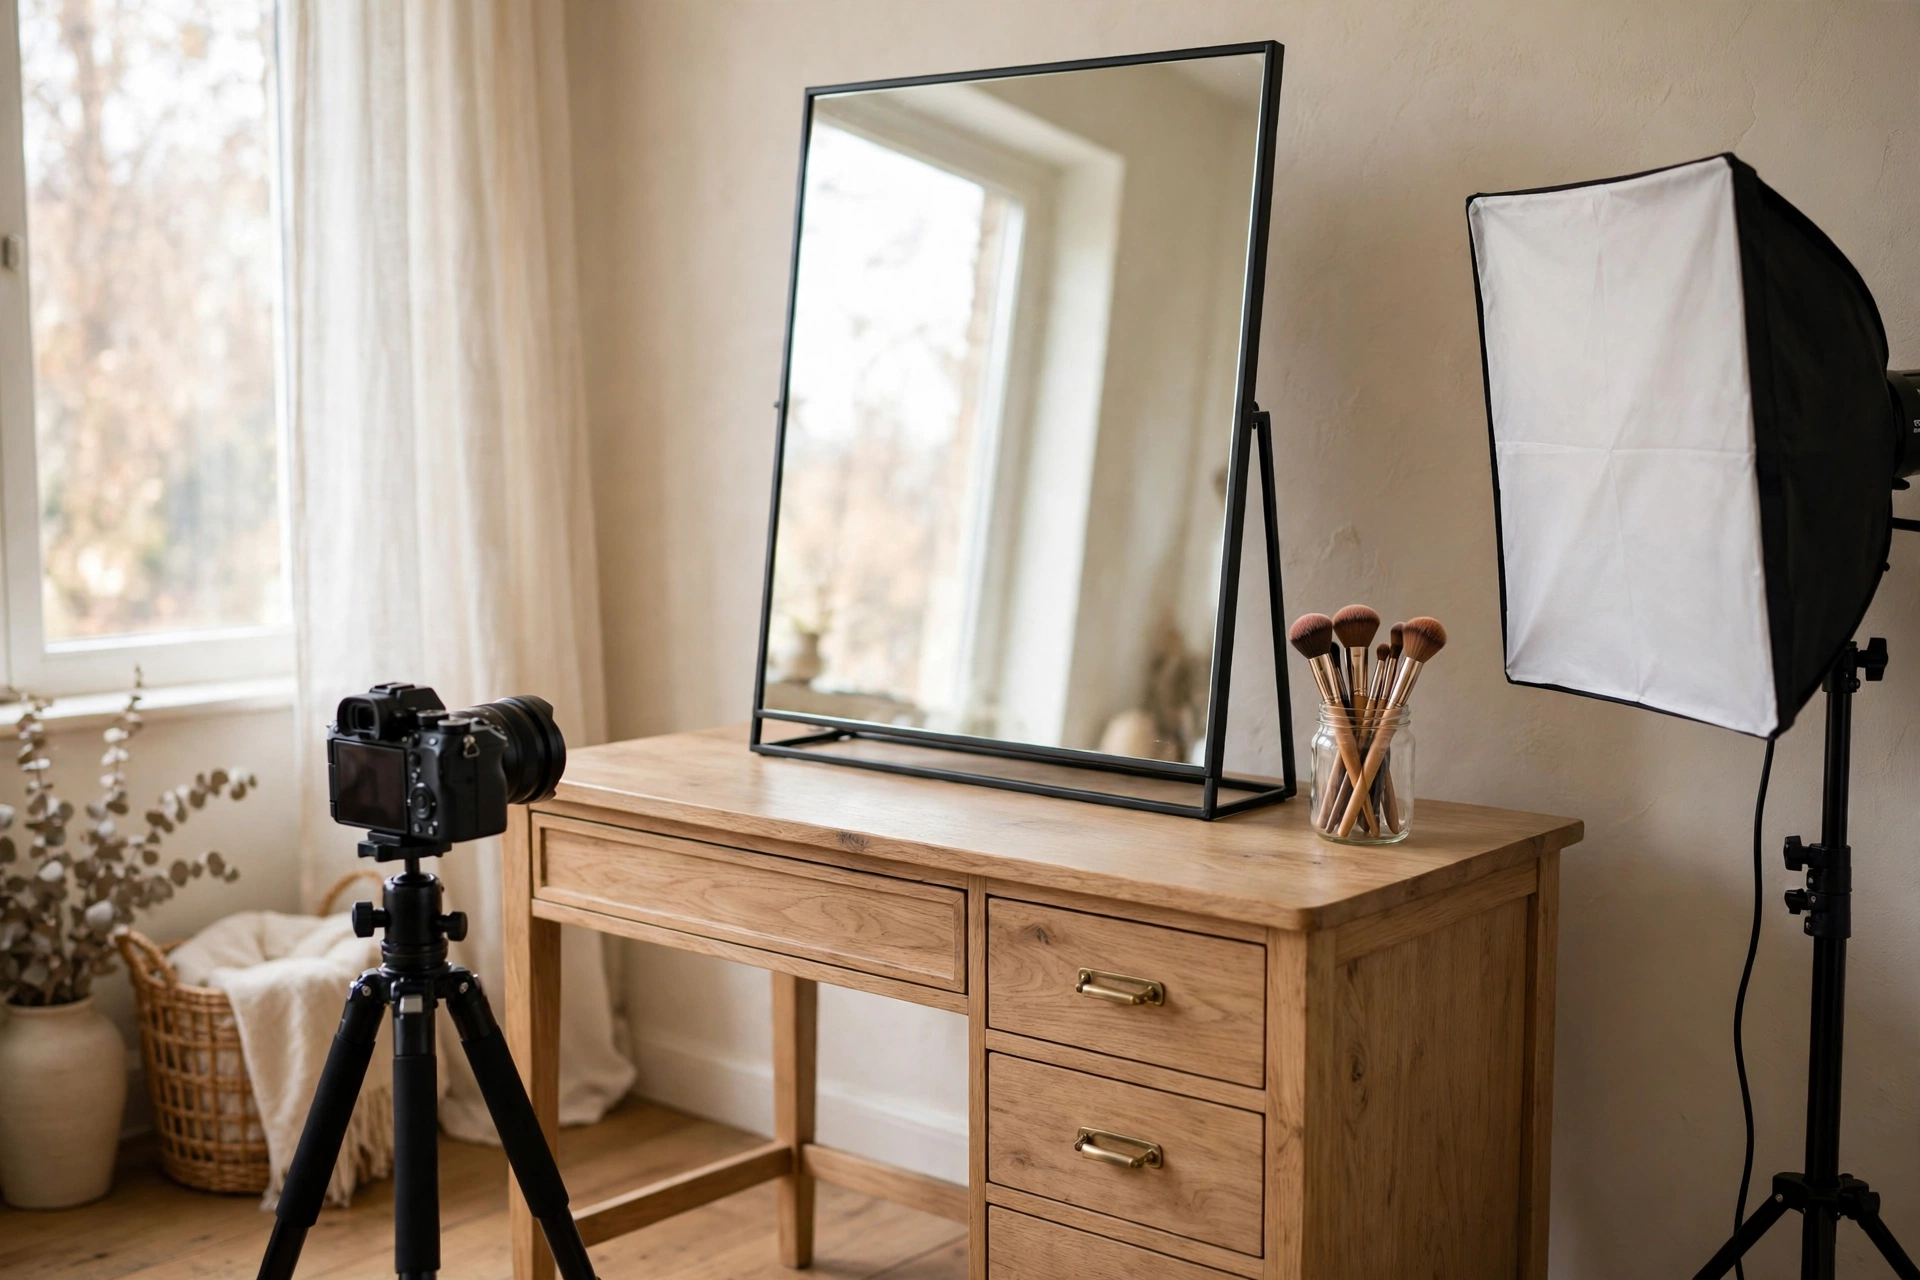
Before you press record, work through this list in order. Each item takes a minute or less, and each one catches a failure that is expensive to fix later.
- Test clip filmed and compared with the mirror and with daylight by a window.
- Every light in the room set to one color temperature, daylight around 5500 to 6000K, CRI 95 or higher.
- White balance set by hand under the filming lights, and exposure locked by hand for the scene.
- Face and eye autofocus tested with a slow lean in, or manual focus pre-set for close-up sections.
- Close-up angles planned per section: overhead for palettes and swatches, mirror angle for face work, straight-on for eyes and lips.
- Catchlight chosen and kept consistent within each section: ring for face-forward work, panel or off-axis light for eye detail.
- Audio checked with a lavalier close by, and a 30 second clip watched back with headphones before the full session.
- Sections planned in order: base, then eyes, then lips, then the reveal, so the edit follows the filming order.
- Grade tested on a face shot, a swatch, and a product hold-up before it goes on the whole video.
- Final check on a second screen, including a phone, because a grade that looks right on one display can shift on another.
If something still goes wrong, use the troubleshooting table in the skin-tone section before changing anything else. Change one thing, re-test, and only then move on. Beauty lighting rewards patience more than gear, and a creator who tests methodically will out-shoot a creator with better lights and no test clip. The face lighting guide is the companion read for the general lighting setups behind this checklist, including key and fill placement for a talking-head frame.
Questions readers ask
The questions beauty vloggers ask most, answered short.
Should I use a ring light or a softbox for makeup videos?
Use both, for different shots. A ring light gives even face-forward light and a familiar sparkle in the eyes, which suits base work and talking segments. A softbox or panel gives more directional control and a natural rectangular catchlight, which suits eye close-ups and editorial looks. If you buy one light first, a softbox is the more flexible choice, because you can move it off axis and shape the light, while a ring light’s shape and look are fixed.
Why does my foundation look orange on camera but fine in the mirror?
Two causes cover most cases. Warm light, around 2700 to 3200K, adds yellow to every shade, so a neutral foundation reads orange. Or the foundation has oxidized during the session, darkening and warming as it reacts with skin oils and air. Check the light temperature first, then compare the shade at the start and the end of filming. If it changed over the session, the formula changed, not your light.
Why does my foundation look gray or ashy on video?
Cool light is the usual cause, especially on deeper skin, where a cool cast reads as gray. A grade that desaturates skin has the same effect, as does a bright light bouncing off light-reflecting minerals in primer or sunscreen. Warm the light slightly, check the grade on skin rather than on the room, and test the primer under your filming light before the session.
What CRI should my beauty lights be?
Aim for 95 or higher. CRI measures how faithfully a light shows colors compared with daylight, and beauty work lives or dies on that faithfulness. Treat 90 as the floor. A light in the 80s can look white to the eye while shifting reds and skin tones on camera, and no camera setting recovers color a low CRI light never produced.
How close can I film an eye look?
As close as your lens focuses cleanly with room left to light the shot. Check the minimum focus distance and the working distance, the free space in front of the lens at closest focus. A compact 50mm macro can leave only a few centimetres at full magnification, which makes lighting hard. A longer macro, around 90 to 105mm, keeps more working room. You rarely need full magnification for a beauty video, and backing off a little buys light and depth of field.
Why do I see a ring reflection in my eyes?
That is the catchlight, the reflection of your light source in the eye. A ring light makes a circle, and in a close-up that circle grows large enough to compete with the eye makeup. For eye detail, switch to a panel or move the light off axis so its reflection slides out of the iris. Keep one catchlight shape within each section, so the edit feels consistent.
How do I light deep skin without washing it out?
Use a large soft source close to the face, expose for skin detail rather than the room average, and let the fill lift shadows without erasing them. Avoid bright white clothing or backgrounds close to the face, because if the camera meters the whole frame, bright whites drag the exposure down and push deep skin dark. If the skin reads cool or gray, warm the light slightly. Keep contrast in the face, because a flat, fully filled frame is what makes deep skin look flat and dark, losing the shape that shows the makeup.
Why does my camera lose focus when I lean in?
Leaning in changes the distance fast, and autofocus hunts. Lean slowly, keep your face in the frame, and give the system a beat to settle before the delicate part. A slower autofocus setting suits beauty work better than a fast one. For a shot that keeps missing, switch to manual focus and pre-focus on the plane you will demonstrate, the lash line or the lip edge, then move yourself into that plane.
Should I use a LUT or preset for beauty videos?
Yes, but at partial strength and tested first. Apply the preset at around 60 to 70 percent, and test it on a face shot, a hand swatch, and a product hold-up before it goes on the whole video. Judge it on skin, swatch, and lip color together. If any one shifts away from daylight, the preset is wrong for that video, however good it looks on the face alone.
Why does my makeup look white or chalky in photos but fine on video?
That is flashback, a white cast caused by light-reflecting minerals, usually titanium dioxide or zinc oxide in sunscreen or primer, bouncing a bright flash straight back at the lens. Video lights are continuous and weaker than a flash, so the effect is milder on video. The fix is a formula change to a product without those minerals, not more powder and not a brighter grade.
This guide is research-based: we compared published guidance and creator resources.
Keep exploring
- How to Light Your Face for Videos: Indoor Lighting Setups for Vloggers in 2026
- Understanding Light Quality: Soft vs Hard Light, CRI, TLCI and Mixing Color Temperatures
- Best Lights for Vlogging in 2026
- Video Composition and Shot Types for Vloggers in 2026
- How to Film Yourself: Talking-Head Tips for Vloggers in 2026
- How to Edit Vlogs Faster in 2026