
Last updated: November 2026
Most listing videos show rooms. A walkthrough vlog sells the walk itself: the agent on camera, talking while moving through the home, so the buyer feels the flow between rooms instead of guessing it from a slideshow. The difference is not the camera. It is the host. This guide covers what no listing-video guide teaches properly: talking while you walk with a gimbal, filming yourself alone with a vlogging camera, handling an occupied home with real privacy care, keeping color steady from room to room, and cutting one shoot into a listing cut and a vlog cut.
Contents
- A hosted tour, not a silent slideshow
- Talking while you walk
- The solo backwards walk
- Gimbal moves that work inside a real home
- Occupied homes and privacy in practice
- Room-to-room light without color shifts
- Sound that keeps up with you
- One shoot, two cuts
- Your first walkthrough shoot, start to finish
- Questions agents ask first
A hosted tour, not a silent slideshow
A walkthrough vlog is a hosted tour: the agent talks on camera while moving through the home, so buyers learn the flow, the light, and the feel of each room from a person they can trust. A listing video without a host shows rooms. A vlog shows the home through a guide.
Buyers already expect video: listing guides now tell agents to film as standard practice. That advice alone does not explain why most agent videos still feel flat: the agent films the home the way a photographer shoots it, room by room, silent and empty of people. The buyer sees rooms but never meets the agent or learns how the rooms connect when you actually walk them.
A hosted walkthrough fixes that with one change: the agent stays on camera and talks through the whole walk. The buyer hears the street go quiet when the front door closes. They hear that the kitchen opens straight onto the garden, while they watch it happen. They hear the agent pause at the top of the stairs and say the light lands there in the morning, while the camera shows it. That combination of voice and movement is what makes a viewer feel they have visited, and it is also what makes them remember the agent. A silent tour is forgettable.
There is a second reason to host the walk. A listing video has a short life: once the home sells, the tour stops earning views. A vlog cut of the same walk keeps working. The same shoot produces both: a short, clean listing cut and a longer, hosted vlog cut.
None of this needs a film crew. The standard solo kit is a vlogging camera or a phone, a three-axis gimbal, and a small wireless lavalier microphone. The camera matters less than the method: a steady walk, a clear voice, and a route planned before you press record. If you already own a vlogging camera with a flip screen and face detection, you own the right tool for the solo method in this guide. A phone on a phone gimbal works too, and the method transfers, with phone settings standing in where this guide names camera settings.
Before the techniques, one framing rule. A walkthrough vlog must show the home honestly. Wide lenses make small rooms look bigger, and buyers notice the gap at the showing. A wide view that shows the whole room is fair, but a stretched corner that doubles the floor space is not. Say the room sizes in words when they matter. Honest framing protects you twice: buyers arrive pre-sold instead of disappointed, and sellers trust you with the next listing.
Talking while you walk
Talking while you walk works when you slow down, breathe between rooms, and give each room one sentence before you describe anything in it. The sentence tells the viewer where they are and why the room matters. Everything after it is detail.
Most agents either talk over their walkthrough later or stay silent during it. Both choices waste the walk. A voiceover recorded later can describe a room, but it sounds like narration laid over pictures, not a host reacting in the moment: the light in the hallway and the quiet of the street land differently when the voice is live in the room. Silence is worse: the viewer watches rooms slide past with nothing to hold their attention. Talking while you walk is the skill that turns a tour into a vlog, and it is a physical skill before it is a speaking skill. Your breath, your pace, and your feet decide whether it works.
Start with pace. Walk at half the speed you would use on a real showing. A normal pace makes the gimbal work hard, rushes doorways past, and makes your voice bounce with every step. A slow walk keeps the footage smooth, gives the viewer time to read each room, and keeps your voice level. Practice empty-handed first: walk a hallway at the speed where you could read book titles as you pass. That is the pace.
Next, breath. The mistake is talking continuously from the front door to the back garden: you run out of air halfway through the kitchen, and the sentence collapses. Instead, breathe at every doorway. Doorways are natural pauses: you finish a room, you step through, you breathe, you start the next room. The edit will often cut at the doorway anyway, so the pause costs nothing and buys you a full breath for every room. If a sentence runs long, stop the sentence, not the walk.
Use the sentence-per-room rule. When you enter a room, give one sentence that names the room and its best honest point, then stop talking for a few seconds while the camera shows it. “This is the kitchen, and it opens straight onto the garden.” Then let the viewer look. After the pause, add one or two details: the light, the storage, the way the room connects to the next space. The pause matters as much as the words. Viewers need time to look, and the pause gives the edit a natural place to breathe.
Eye-line is the part nobody practices. When the camera points at you, look at the lens, not at the room. When it points at the room, do not look at the camera. Mixing the two looks uncertain. Decide before each shot which one it is. For a talking shot, the lens is your buyer: stand still, face it, and deliver the sentence. For a walking shot, the camera follows the room and your voice carries over it.
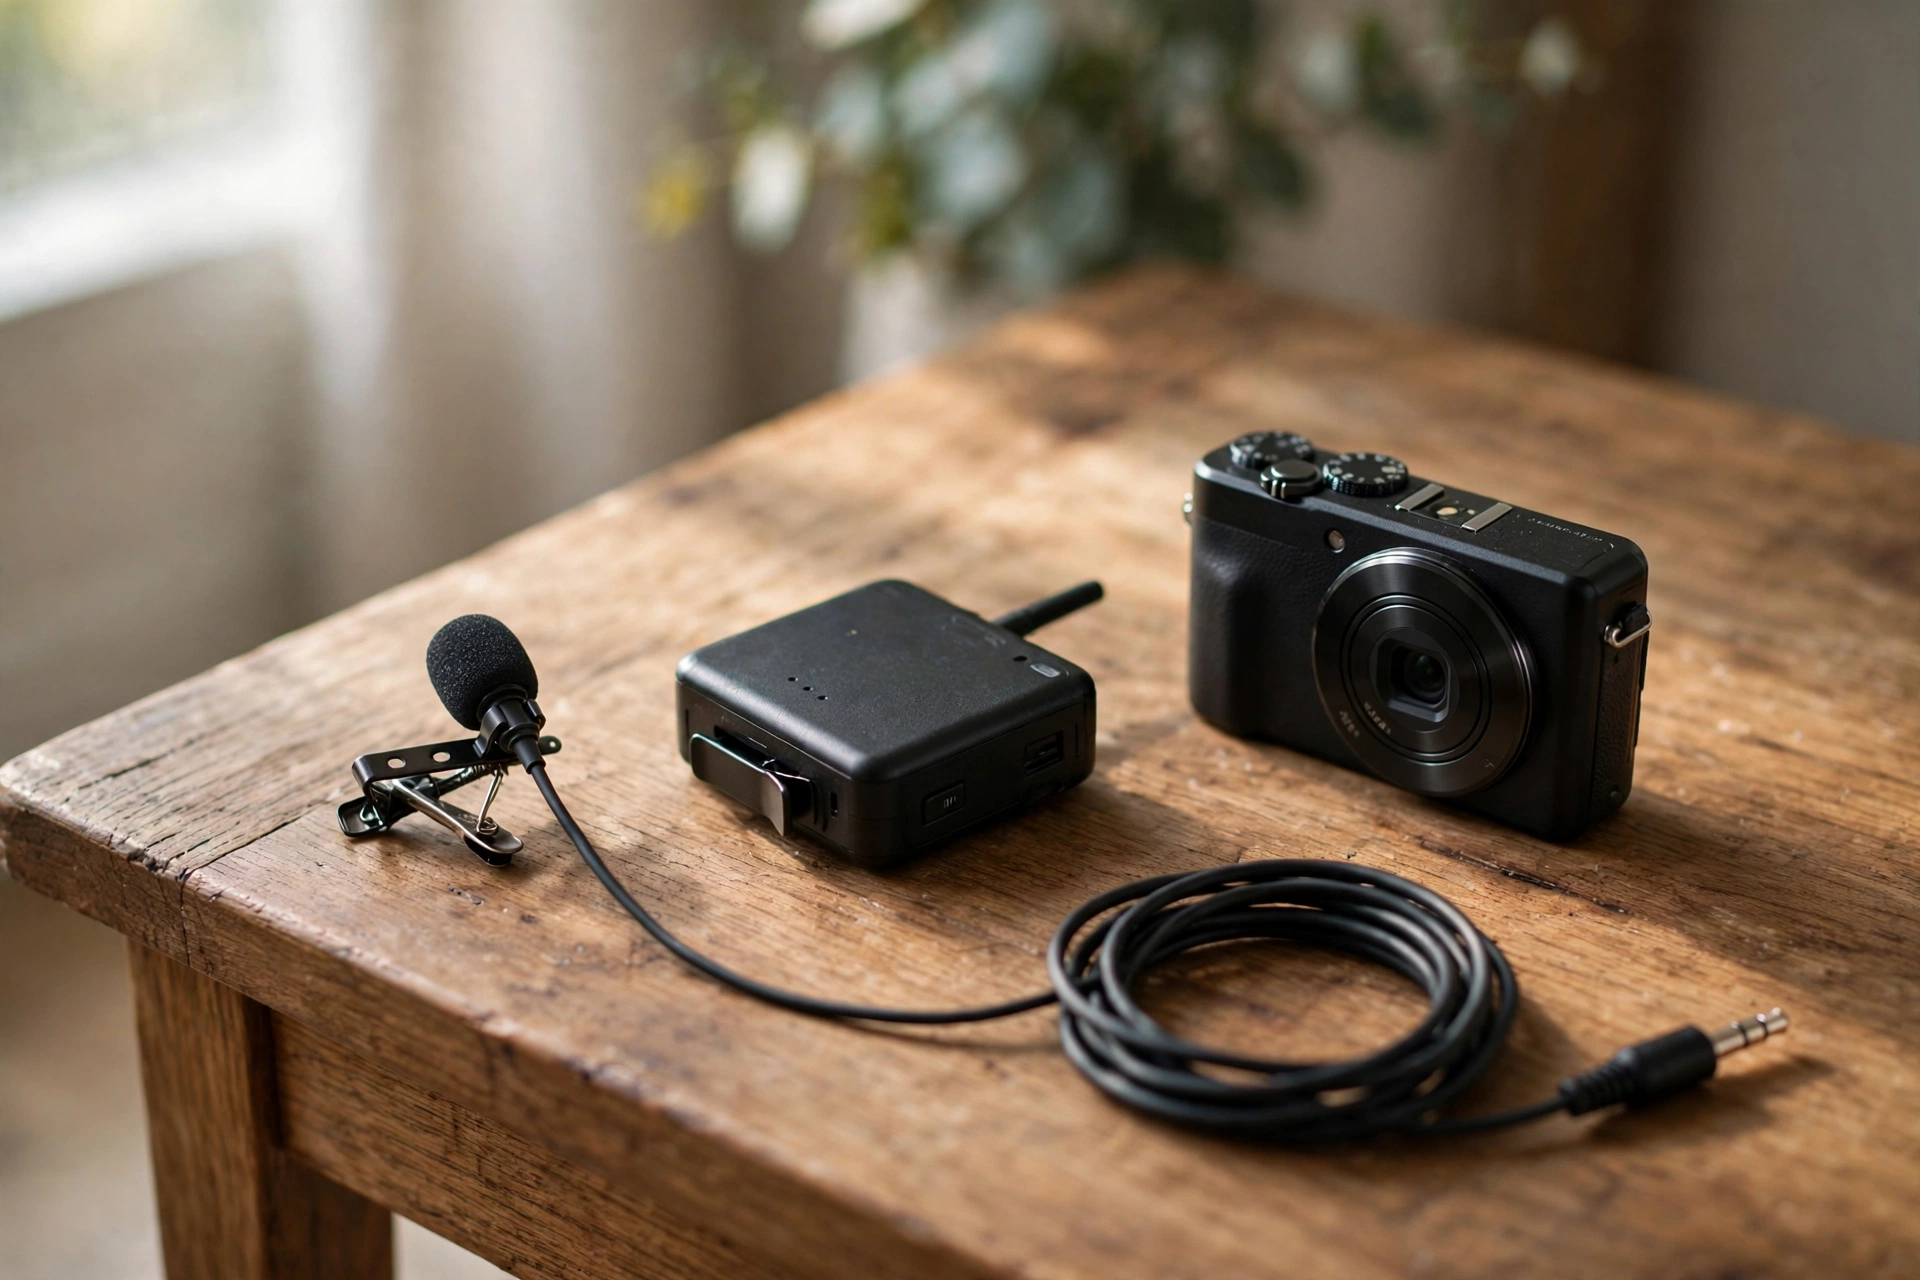
Mic handling while moving is simple once you stop touching the mic. A lavalier clipped to your chest, with the transmitter in a pocket, needs no attention during the walk. Clip it once, check it with a ten-second test recording, and leave it alone. A lavalier is the safer choice for a walking host because your voice stays close no matter where the camera goes.
Finally, plan the words lightly. Write three to five highlights for the whole home, not a script. Before you film, walk the route once without the camera and say the highlights out loud in each room. If a highlight feels forced in the room, drop it.
The solo backwards walk
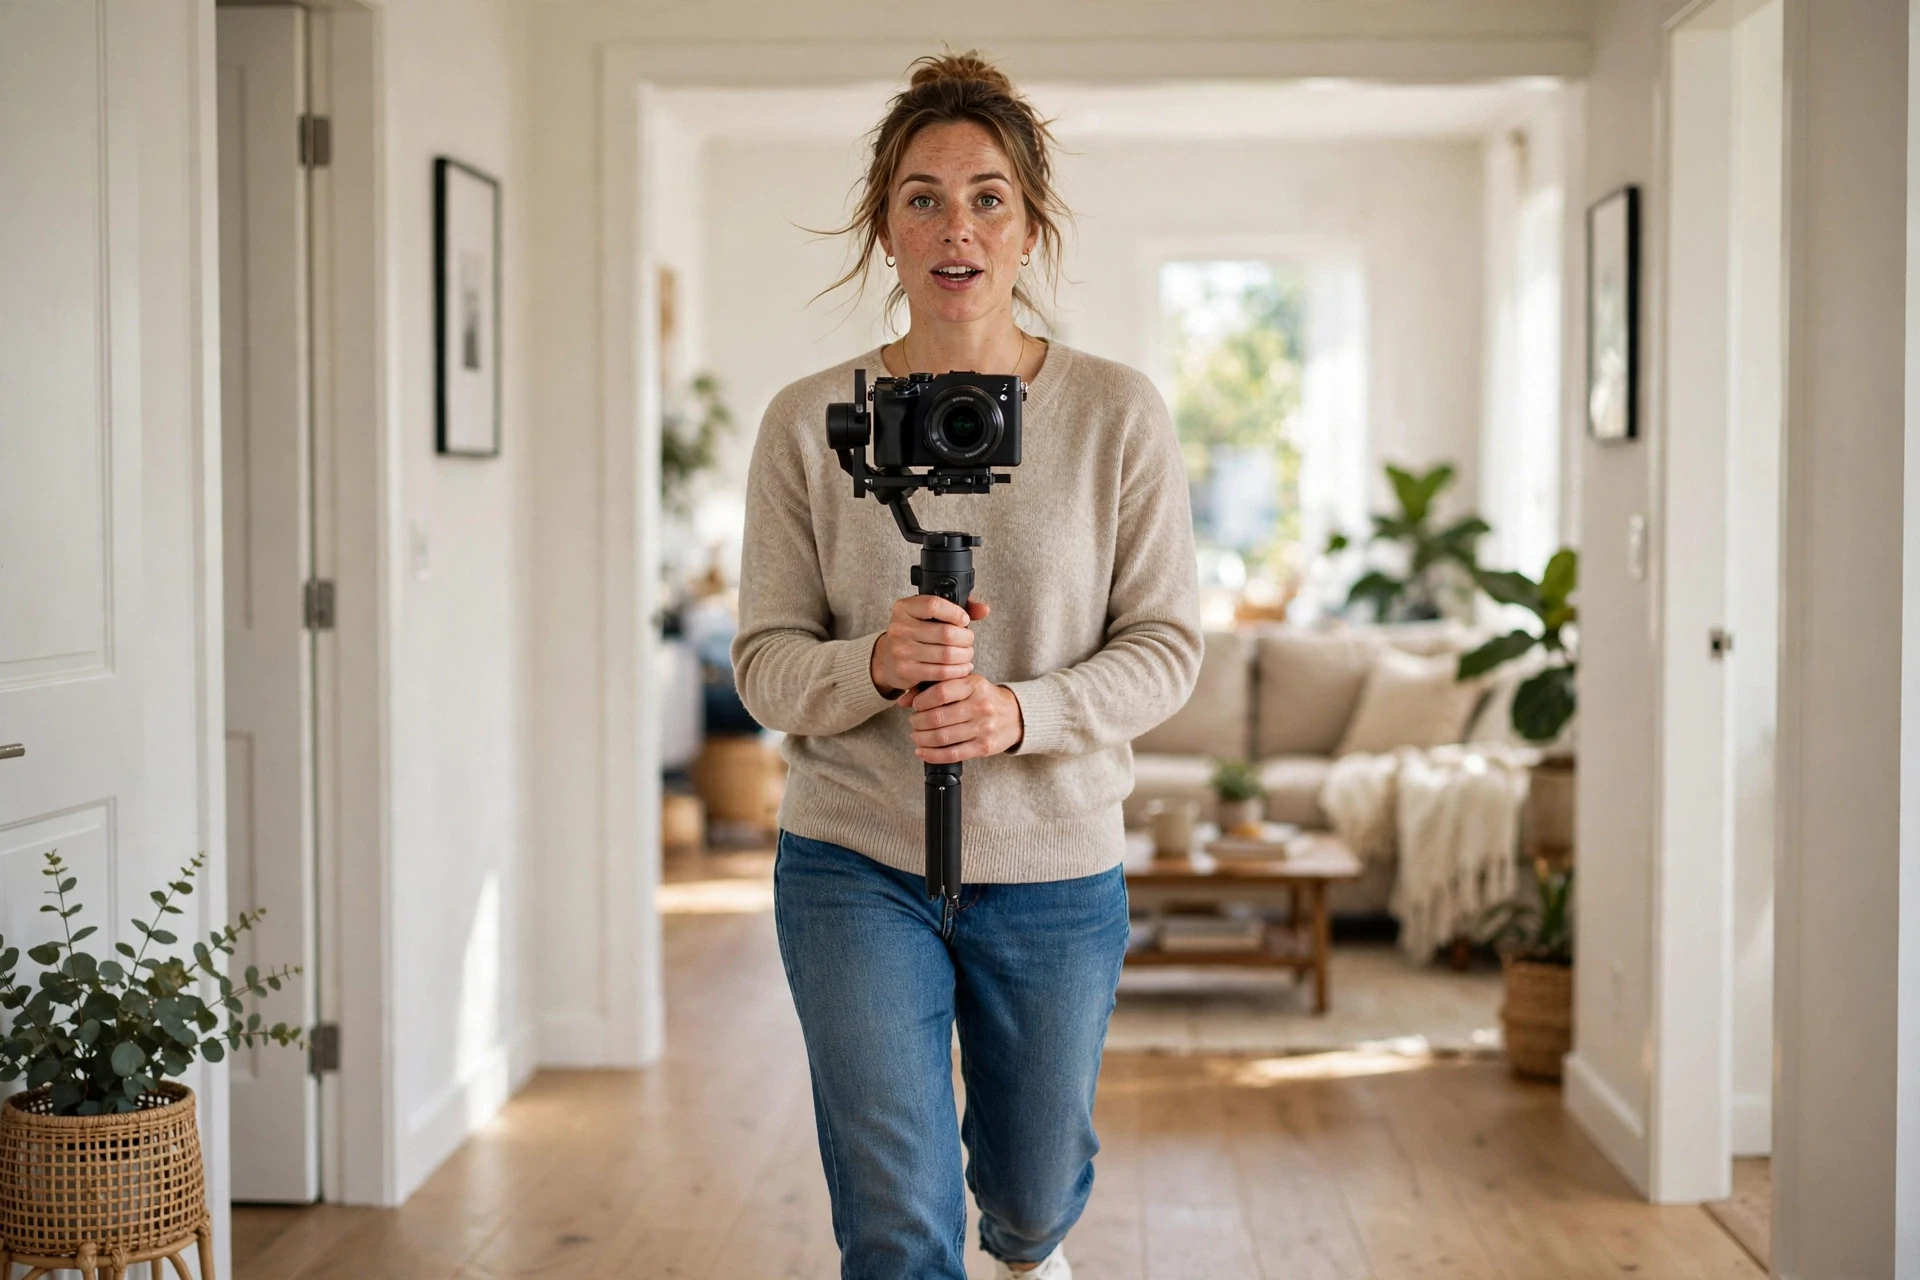
Filming yourself alone works when you walk forwards behind a camera that travels backwards ahead of you on a gimbal, while you watch the flip screen, on a route you have already walked once. The backwards walk is never improvised: you check the route, clear the path, and plan every doorway before you press record.
Here is the problem every solo agent hits. A gimbal cannot put you on camera and walk the camera at the same time unless a second person holds it. Tracking mounts solve part of this: you set the mount down, step away, and it follows you. But a tracking mount stays in one room, and a walkthrough moves through many. For the solo host walk, the method that covers a whole home is the backwards walk: the camera faces you and travels backwards through the home, and you walk forwards behind it, holding the gimbal out ahead of you and watching the flip screen to check your framing. It sounds awkward. With a planned route it is steady, repeatable, and it is the closest a solo agent gets to a two-person shoot.
Start with the route, not the camera. Walk the home forwards once and note every hazard: the step down into the living room, the rug that slides, the narrow doorway, the staircase turn. Then walk the route once more, slowly, without filming, so the ground is known before you film. Clear the path before you film: roll up loose rugs, move the dog gate, close the doors you will not pass through. If a stretch cannot be filmed with the camera traveling backwards safely, do not force it. Film that stretch forwards with the camera pointing at the room, and record your talking piece standing still at the end of it.
Set the camera for the walk. A vlogging camera on a small gimbal, held at chest height, with the flip screen turned out so you can see yourself, is the standard setup. Set face detection on, so focus stays on you while you move; framing is your job, not the camera’s. Set the lens wide enough to show you and the room behind you: you are the guide, but the room is the subject. Check the framing in the first doorway before you commit to the whole route.
Walk the route in sections, not in one take. Film from the front door to the kitchen, stop, check the clip, then film the next section. Sections let you fix framing before you waste an hour, give you natural edit points at doorways, and give you a rest between walks. The finished video looks continuous because the sections join at doorways, where the viewer expects a cut.
Doorways deserve their own technique. A doorway is narrow, and a backwards walk through one is where the camera clips the frame or the agent stumbles. Slow to half your walk pace three steps before the doorway. Push the gimbal through first while you pause at the threshold, then step through and resume. The pause reads on camera as a natural beat: the viewer crosses the threshold with you. The same rule works for stairs. Never walk backwards down stairs while filming. Film stairs forwards, never walking backwards down them. Shoot the stairwell from the top looking down, or from the bottom looking up, and record your talking piece standing still at the top or the bottom. Safety outranks any shot, and a stair fall ends the shoot and possibly the listing.
Use the flip screen actively. Glance at it every few seconds, not constantly. A glance checks two things: you are in frame, and the room behind you is visible. If you drift to the edge of frame, steer your path back to center rather than fiddling with the gimbal mid-walk. The gimbal steadies the shot and the autofocus holds focus. Your job is the route, the framing, and the words.
When the backwards walk is not the right tool, switch. A tracking mount beats it for a single-room reveal, because you can step away and let it pan while you talk. A static tripod shot beats it for a room you want to show slowly. The backwards walk is for the journey between rooms: the hallway, the turn into the kitchen, the walk from the front door to the light at the back.
Gimbal moves that work inside a real home
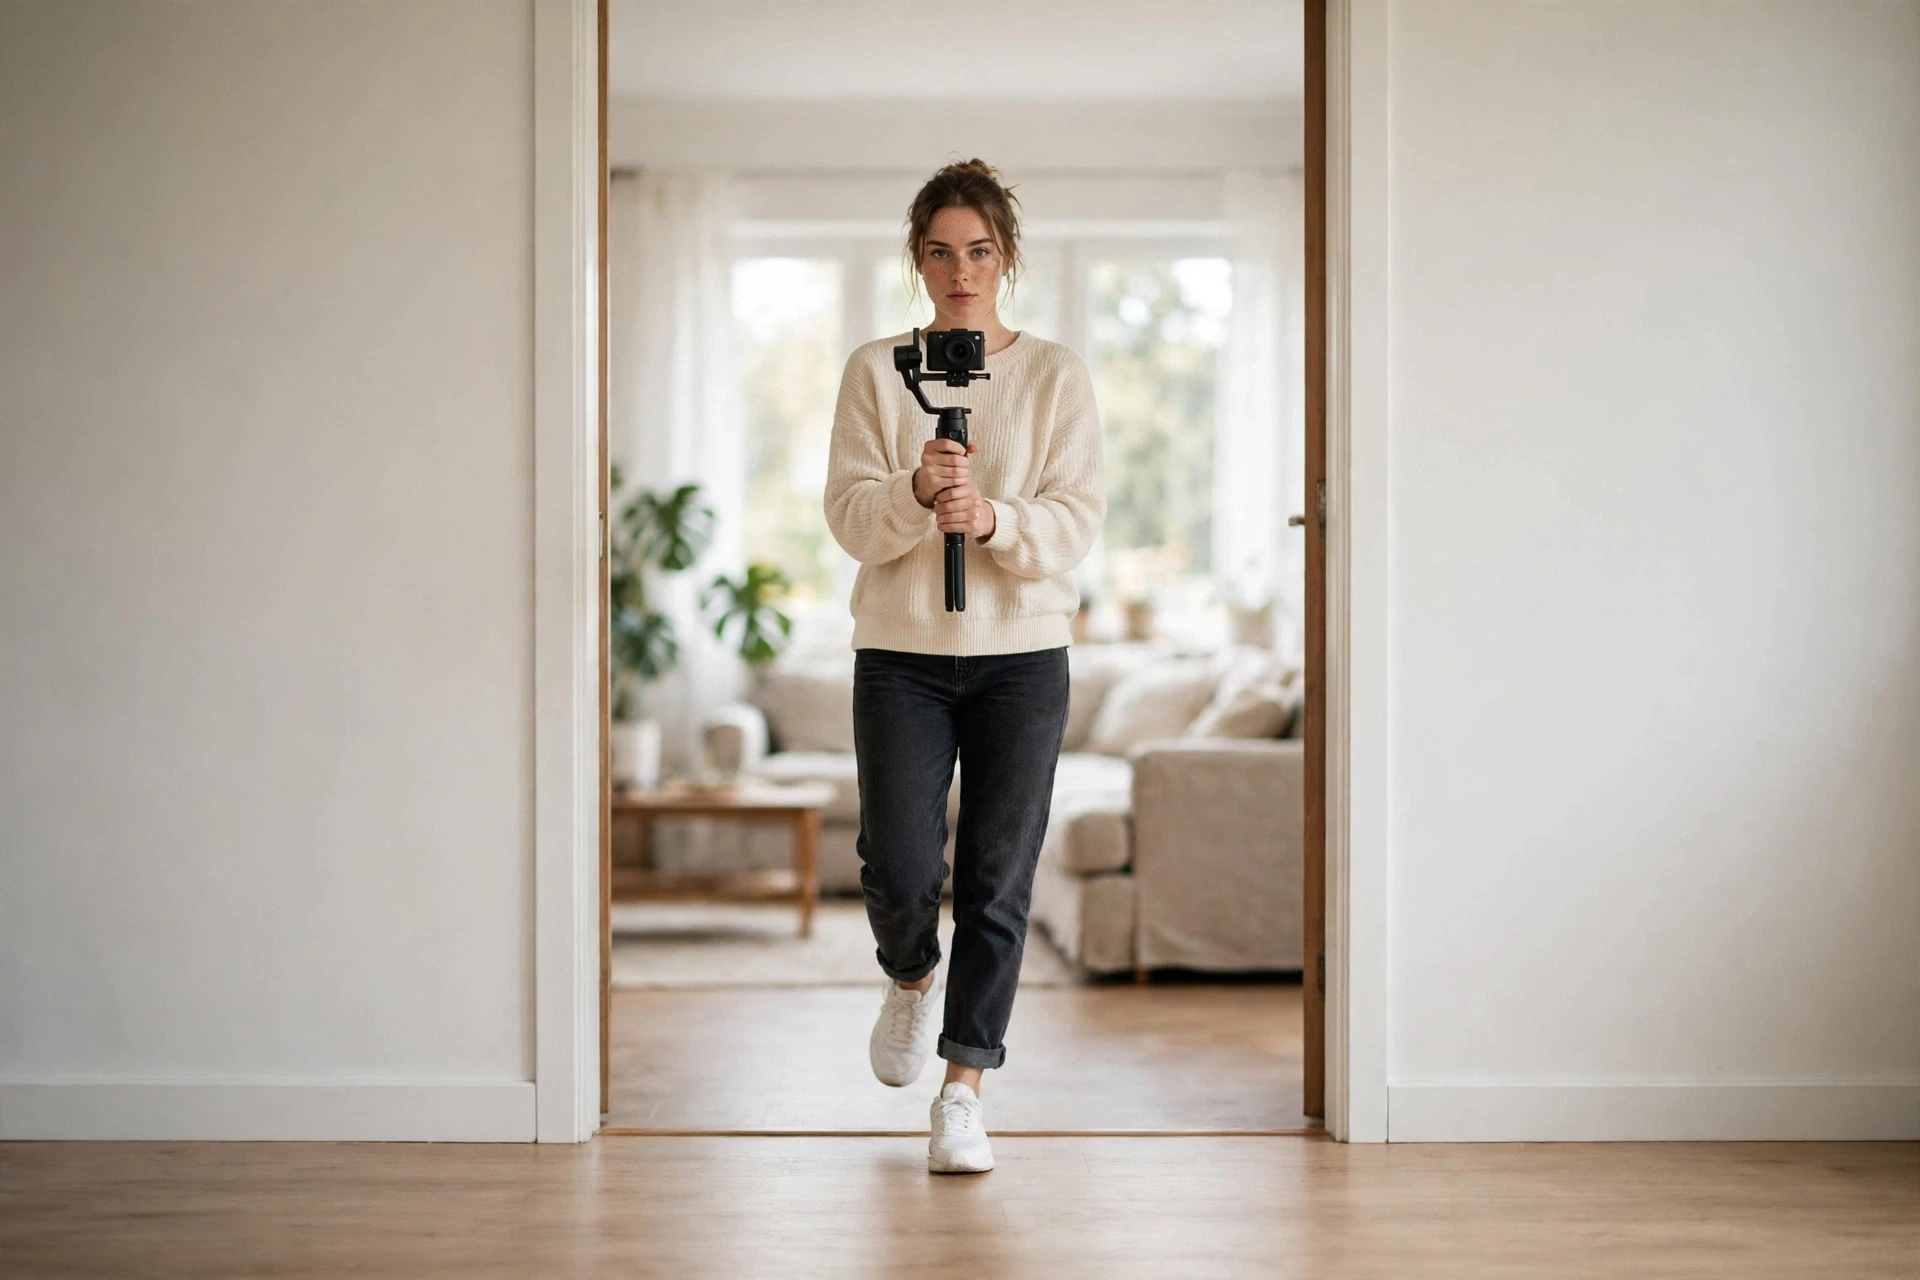
Inside a home, four gimbal moves cover almost everything: a slow push-in through a doorway, a reveal from behind a wall or door, a lateral slide along a kitchen or window wall, and a gentle rise from a low detail to the full room. Every other move is a variation of these four.
Gimbal guides love dramatic moves. Homes punish them. A full orbit needs space a bedroom does not have. A fast sweep makes a hallway feel like a funfair ride. A low swoop under a table looks clever once and silly twice. Inside a real home, the moves that work are slow, short, and motivated by the room. The camera moves because the buyer would move, not because the gimbal can.
The push-in is the workhorse. Start in the doorway, frame the room, and walk slowly forward for three to five seconds. The push-in does what a buyer does on a showing: step in and look around. Keep it slow enough that the viewer can read the room as it grows. End standing still for two seconds so the edit has a clean out point. Inside each room, most of your shots will be push-ins joined at doorways; the walk between rooms is the host walk. Consistency reads as professionalism.
The reveal uses a wall or a door as a curtain. Start with the camera close to the wall beside a doorway so the room is hidden, then step sideways into the doorway and let the room open up. Use it for the room the seller is proudest of: the kitchen, the garden room, the view. One reveal per home is a moment. Five reveals is a trick, and the viewer starts watching the trick instead of the home.
The lateral slide runs along a feature wall: a kitchen counter, a window wall, a bookshelf. Walk sideways, slowly, keeping the camera at the same distance from the wall. The slide shows length and connection: how the kitchen runs into the dining space, how the windows line up along the back wall. Sideways walking on a hard floor is noisy, and the mic hears it. Soft shoes and a slow pace fix most of it. If the floor is noisy, keep the slide silent and lay a standing talking piece over it as a fallback voiceover.
The rise starts low on a detail and lifts to the full room: from the worktop to the kitchen, from the fireplace to the living room, from the bed to the bedroom. The rise tells the viewer that the detail belongs to a bigger space, and it is the best move for ending a room before the doorway cut. Keep the rise slow and straight. A wobbling rise looks like a mistake. Practice the rise without recording first: lift the gimbal from waist height to eye height in four seconds without tilting. If the horizon stays level, you have it.
Two moves to avoid indoors. Skip the orbit in small rooms: you will hit furniture, and the background will spin. Skip the fast whip-pan between rooms: it disorients the viewer and hides the flow you are trying to show.
Settings for the gimbal walk are worth locking before you start. Follow the 180-degree shutter rule: a shutter speed roughly double the frame rate, so 1/50 for 25 frames per second or 1/60 for 30. Use an aperture around f/4 to f/5.6 in bright interiors, which keeps the room sharp without forcing the ISO too high; in a dim room, open up rather than forcing the ISO, as the light section covers. Cap the ISO where your camera still looks clean. Lock the white balance per room instead of leaving it on auto, as covered in the light section. Test these in the first room and adjust once, then leave the aperture and ISO cap alone; white balance and exposure still get reset in every room.
Occupied homes and privacy in practice
Privacy in an occupied home is a shoot-day practice, not a line in the listing: written seller permission, a room-by-room pass that removes or covers personal items before filming, no children or identifiable strangers on camera, and a rule that anything you would not want filmed in your own home stays out of frame.
Every listing guide says to remove personal items. Almost none says how, and the gap matters because an occupied home is full of things that should never reach a listing video: family photographs, children’s schoolwork on the fridge, a laptop screen with email open, medication on a bedside table, a diary on a desk, a whiteboard with phone numbers. A buyer does not need to see any of it, and a seller should never discover it in the video after publication. Privacy is the part of the shoot where carelessness does real harm, so treat it as a job with steps, not a reminder.
Start with permission in writing. Before shoot day, get the seller’s written permission to film and market the property, including where the video will appear. If tenants live in the home, check the lease and get their agreement too. If children live there, agree in advance that children will not be filmed and will not be in the home during the shoot if that can be arranged. Written permission protects everyone and takes five minutes.
On shoot day, do a privacy pass before the camera comes out. Walk every room you will film with the seller or a checklist, and deal with each item in one of three ways: remove it, cover it, or keep it out of frame. Photographs and children’s artwork come off walls or turn face down. Laptops close. Papers go in a drawer. Medication goes in a cabinet. Mirrors deserve special attention: a mirror shows the room behind the camera, including you, your kit, and anything you thought was out of frame. Check every mirror shot on the flip screen before you record it. The same goes for glass doors, television screens, and shiny appliances. Reflections leak more privacy than direct shots do.
People are the hardest privacy question. Never film an identifiable person without consent in a home: a neighbor visible through a window, a cleaner in the next room, a family member passing through. If someone must be in the home during the shoot, keep them out of every shot or pause filming while they pass. Children are a hard line in this method: no children on camera in a listing video as a working rule, and any exception needs the seller’s written agreement first. If a child appears in a clip by accident, cut the clip. Do not blur and keep it.
Neighbors deserve the same care. Do not film into a neighbor’s garden, windows, or private spaces, and do not film the street in a way that identifies people. A wide exterior shot is fine. A shot that lingers on a neighbor’s garden is not. The same rule covers cars: frame number plates out of driveway shots.
Finally, review the footage for privacy before you edit for beauty. Watch every clip once with privacy as the only question: what personal item, person, or reflection is visible? Cut or reframe anything that fails.
Room-to-room light without color shifts
Color stays steady when you lock the white balance in each room instead of leaving it on auto, expose for the window rather than the lamp, and add one small LED fill light in dark corners instead of turning on every light in the house.
Walk through a home with the camera on auto white balance and the color will drift at every doorway. The kitchen goes warm under ceiling lights. The hallway goes cool under daylight. The bedroom goes orange under bedside lamps. The viewer feels the shift even if they cannot name it, and the home looks inconsistent. The fix is not more light. It is decided light, room by room.
Lock the white balance in each room. When you enter a room, set the white balance for that room’s dominant light and lock it: daylight for a daylight room, tungsten or the matching preset for a warm interior room. The lock stops the camera from re-deciding at every doorway, which is what causes the drift. When you move to the next room, set it again. This takes fifteen seconds per room and is the single highest-value habit in this guide.
Expose for the window, not the lamp. The brightest thing in most rooms is the window, and a camera that exposes for the room will blow the window out to white and lose the view. Set the exposure so the window holds detail, then lift the room with a small LED panel placed out of frame, set to the room’s color temperature. This is the opposite of the common advice to turn on every light. Every light on mixes color temperatures wherever the lamps differ, and mixed temperatures make a room look uneven and hard to fix in the edit.
Mixed temperatures inside one room need a decision, not a compromise. A room with daylight from the window and warm lamps on the wall cannot look right under both at once. Choose the dominant light and match the fill to it. If daylight dominates, turn the warm lamps off or set the fill panel to daylight and let the lamps stay off. If the lamps dominate, close the curtains partway to reduce the daylight and set the white balance for the lamps. That is a compromise: the daylight is reduced, not removed, so check the result on the flip screen. The rule is one color temperature per room, with the fill light matched to it. Viewers accept a room that is warm or cool. They notice a room that is both.
Dark rooms need a different answer than more light. A big light in a small room creates harsh shadows and hot spots. Use a small panel bounced off the ceiling or a wall, which spreads the light softly. Keep the ISO as low as the room allows, and accept a slightly darker look rather than pushing the ISO until the image goes noisy. A clean, slightly dark bathroom looks professional.
Time of day is a lighting decision too. Shoot interiors in the middle of the day when daylight is even, and exteriors in the morning or late afternoon when the light is softer. If the front is dark at midday, film the exterior first or last and the interiors in between.
Sound that keeps up with you
Sound stays clean while you move when your voice rides on a lavalier clipped to your chest, the room tone is recorded for thirty seconds in each room while it is empty of people, and noisy moments are covered by a standing-still talking piece instead of a walking one.
Buyers forgive a slightly soft shot. They do not forgive sound they cannot understand. The voice is the host’s main tool, and a walkthrough lives or dies on whether the viewer can follow it without straining. The good news is that walking sound is a solved problem: a lavalier, a room tone, and a rule about when to stop walking.
The lavalier is the default for a walking host for one reason: distance. A camera mic hears the room as loudly as it hears you, and picks up every footstep and handling noise between you and the lens. A lavalier clipped to your chest hears you at the same level everywhere, because it moves with you. Clip it high on the chest, clear of jackets and scarves, with the cable run inside your clothing. Do a ten-second test recording in the first room and listen back on headphones before the real shoot.
Empty houses echo. A room with hard floors, bare walls, and no furniture turns every word into a second word arriving late. The fix is partly the lavalier, which hears less room than a camera mic, and partly technique: speak slightly slower, and pause between sentences so the echo dies before the next one starts. If a room echoes badly, record your talking piece standing close to a soft surface, like a curtained window.
Record thirty seconds of room tone in each room while it is empty of people: just the room, silent, no talking. Room tone is the sound of the room itself, and the edit needs it to cover cuts. Without it, every cut has a tiny silence that feels like a glitch. With it laid under the cuts, the edit sounds continuous. Label each clip as you record it, or you will spend the edit guessing which silence belongs to which room.
Noisy moments need a different rule. A washing machine, a busy road outside the front door, a neighbor’s building work: these are not problems to talk over. They are moments to stop walking. Record the talking piece standing still, away from the noise source, and lay it under the walking footage as a fallback voiceover. The viewer hears you clearly, sees the room moving, and never knows the noise existed. Talking over noise while walking is the one sound mistake that cannot be fixed later, because the noise and the voice are on the same track at the same level.
Music has one job in a walkthrough: to sit under the silent stretches, not to compete with the host. Choose royalty-free or properly licensed music, keep it low enough that it disappears when you speak, and use the same track across the whole video. Never use a commercial song you do not have rights to: a copyright claim can mute a listing video or take it down.
One shoot, two cuts
One shoot gives you two videos: a short listing cut that is clean, lightly branded or unbranded as your listing rules require, and built for buyers; and a longer vlog cut where you stay on camera, with captions, a clear next step, and the personality that wins the next listing.
Most agents edit one video and post it everywhere. That single video is always a compromise: too long for a listing page, too impersonal for a channel, too branded for a listing system that forbids branding, or too plain for social media. Cutting twice from one shoot costs little extra time, because the footage is already shot, and it removes every compromise. The two cuts serve different viewers, and they should be edited as different videos.
The listing cut is for buyers and for listing systems. Keep it short: sixty to one hundred and twenty seconds for most homes, up to two or three minutes for a large property. Open on the front of the home, follow the logical route through it, and end on the best outdoor space. Keep branding light or absent, because some listing systems require unbranded video or a link instead of an embed. Check your own MLS rules before you publish, and make an unbranded version if your system requires it. Captions are not optional: many buyers watch on mute. End with the listing facts, not with yourself.
The vlog cut is for your channel and your future sellers. Keep it longer: two to five minutes, with you on camera throughout. Open with you at the front door, talking to the viewer, and close with you at the best spot in the home, with a clear next step: how to book a showing, or what to watch next. Keep your talking pieces in, including the small honest moments: the light at the top of the stairs, the quiet street, the room that surprised you. Those moments are why a viewer trusts you. Add captions, and chapter markers if your platform supports them, so a viewer can jump to the kitchen or the garden.
Cutting order matters. Edit the listing cut first. It forces you to choose the best shots and the cleanest route, and it gives you a finished video even if you run out of time. Then edit the vlog cut from the same selects, adding back the talking pieces and the personality the listing cut removed. If you edit the vlog cut first, the listing cut becomes a chopped-down version of it, and it shows. Two deliberate cuts beat one cut and one afterthought.
Keep transitions simple. A clean cut or a short crossfade between rooms is almost always better than a fancy effect. The viewer should notice the home, not the edit. The one effect worth using is a speed ramp on a long hallway walk: a brief faster stretch mid-corridor, returning to normal speed at the doorway. Used once, it keeps the pace up. Used everywhere, it looks nervous.
Color and sound finish the edit. Match the color across rooms so the video feels like one home, not a collection of clips. Lay each room’s own tone under its cuts so the sound never drops to silence. Keep the music at one level throughout. Export each cut in the format its destination accepts. Name the files by address, cut type, and date, so you can find them in six months.
Your first walkthrough shoot, start to finish
A first walkthrough shoot fits in about an hour on site: fifteen minutes of prep and a privacy pass, thirty minutes of filming in sections, and fifteen minutes of checks before you leave. The plan below is the whole shoot, in order.
Arrive early and walk the home without the camera. Note the route, the hazards, the light in each room, and the three to five highlights you will actually say. Do the privacy pass with the seller or your checklist. Open the curtains, turn on the lights you will use, and turn off the ones you will not. Close the doors you will not pass through. Silence the washing machine if you can, or plan to cover its noise with a standing talking piece. Charge everything the night before and bring a spare card and battery.
Film in this order. First, the exterior: front, street, garden, and any outdoor space, in the best light of the shoot, or last if the interiors have the better light first. Second, the talking intro at the front door, standing still, facing the lens. Third, the walkthrough in sections, doorway to doorway, with the backwards walk where you are on camera and forward walking where the room is the subject. Fourth, the detail shots: the worktop, the fireplace, the view, the storage. Fifth, the closing piece at the best spot in the home. Sixth, thirty seconds of room tone in each room, recorded while each room is empty of people. This order means the hardest work, the walk, happens while you are fresh.
Check before you leave. Play back one clip from each section on the camera and listen on headphones. Check framing, focus, and sound. Check that the playback showed you centered in the backwards sections. Check that no private item, person, or reflection slipped into a clip. If a section failed, reshoot it now, while you are still in the home. Reshooting later means another visit, another round of permission, and a home that may already be staged differently. The ten-minute check at the end saves the shoot more often than any piece of kit.
After the shoot, back up the footage twice before you edit: once to a drive you keep, once to a second location. Name the folders by address and date, with subfolders for raw footage, selects, and exports. Edit the listing cut first, then the vlog cut. Review the listing cut for privacy once more before publication, because the edit can surface a reflection you missed on site.
Your first walkthrough will not be perfect. The second will be better, because the route planning, the backwards walk, and the doorway pauses become habit. After five walkthroughs you will have a format: the same intro shape, the same section structure, the same two cuts. Sellers hire the agent whose videos look consistent, because consistency reads as care.
That is the whole method: a hosted walk, a planned route, a clean voice, honest framing, and two cuts from one shoot. The home changes every time. The method stays the same.
Questions agents ask first
Ten questions come up before almost every first walkthrough. The short answers are below; the sections above cover each one in full.
Do I need a gimbal for a real estate walkthrough?
For walking shots, yes. Handheld walking footage looks shaky, and a three-axis gimbal gives a walkthrough its smooth, floating feel. For static room shots, a tripod does the same job for less money. Most solo agents use both.
Can I film a walkthrough alone?
Yes, with the solo methods in this guide. The backwards walk covers the journey between rooms, a tracking mount covers a single-room reveal, and standing talking pieces cover the rest. Plan the route, walk it once without filming, and film in sections. Never walk backwards down stairs while filming.
How long should a walkthrough video be?
It depends on the cut. A listing cut works best at sixty to one hundred and twenty seconds for most homes, stretching to two or three minutes for a large property. A vlog cut can run two to five minutes, because the host carries it.
Do I need the seller’s permission in writing?
Get it in writing before shoot day, including where the video will appear. If tenants live in the home, check the lease and get their agreement too. Written permission protects everyone and takes five minutes. It is also the moment to agree that children will not be filmed.
What if the home is occupied?
Do a privacy pass before filming: remove or cover personal items, close laptops, turn photographs face down, and check mirrors and glass for reflections. Keep children and identifiable strangers out of every shot.
Can I use the same video on the MLS and on my channel?
Not always as one video. Some listing systems require unbranded video or a link instead of an embed, while your channel video should carry your branding. Cut twice: a clean listing cut for the listing system, and a hosted vlog cut for your channel. Check your own MLS rules first.
How do I handle dark rooms without making them look noisy?
Bounce a small LED panel off the ceiling or a wall instead of pointing a big light at the room, and keep the ISO as low as the room allows. Accept a slightly darker look rather than pushing the ISO until the image goes noisy. A clean, slightly dark room looks professional.
Phone or vlogging camera for walkthroughs?
Both work, and the method transfers, with phone settings standing in where this guide names camera settings. A phone on a phone gimbal is the cheapest start and is fine for most listings. A vlogging camera adds a flip screen you can see while it points at you and face detection, and larger-sensor models usually handle low light better, which is why this guide leans on it for the backwards walk.
Do I need a drone for a listing video?
No, unless the property has land or views only an aerial shot can show. Commercial drone work follows aviation rules, including certification in many countries, so check your local rules before you fly. A ground-level walkthrough is the core asset. Aerial footage is an add-on.
How do I avoid making rooms look bigger than they are?
Keep the lens honest. A wide view that shows the whole room is fair, but a stretched corner that doubles the floor space is not. Keep vertical lines straight, avoid extreme wide angles that bend walls, and say the room sizes in words when they matter. Buyers who arrive pre-sold are worth more than buyers who arrive disappointed.
This guide is research-based: we compared published guidance and creator resources.
Keep exploring
Ready to film your next walkthrough? These guides cover smooth movement, clean sound, good light, and the business of client video.
- How to Film Yourself: Talking-Head Tips for Vloggers in 2026
- On-Camera Delivery and Teleprompter Technique
- Best Gimbals for Vlogging in 2026
- How to Get Smooth Handheld Video Without a Gimbal: IBIS, OIS and EIS Explained
- How to Light Your Face for Videos: Indoor Lighting Setups for Vloggers in 2026
- Understanding Light Quality: Soft vs Hard Light, CRI, TLCI and Mixing Color Temperatures
- How to Record Better Audio for Vlogs in 2026
- Best Wireless Microphones for Vlogging in 2026
- Freelance Videography for Creators: Turn Vlogging Skills Into Paid Client Work
- Wedding Videography for Vloggers: From Vlogs to Weddings
- How to Edit Vlogs Faster in 2026
- Video Composition and Shot Types for Vloggers in 2026