
Last updated: November 2026
A pet does not take direction, hit a mark, or repeat a good moment just because your last take failed. That is what makes pet vlogging fun to watch and hard to film. The animal sets the pace, the camera has to keep up, and the whole shoot only works when the animal is still enjoying itself. This guide covers the craft other pet guides skip: reading stress early, holding focus on a moving subject, talking to camera while your pet moves, recording bark-proof sound, and using a pet POV mount well.
In this guide
- Read the animal first: stress signals and stop rules
- Get down to pet level
- Focus that keeps up with a moving animal
- Talking to camera while your pet moves
- Sound without distortion: barks, purrs, and wind
- Pet POV mounts in practice
- Safety beyond heat and leashes
- The edit: cut on movement, keep the story
- Your first pet shoot, step by step
- Questions vloggers ask about pet vlogging
Read the animal first: stress signals and stop rules
The first skill in pet vlogging is not camera work. It is knowing when to stop. A stressed animal gives you bad footage anyway: stiff body, turned head, flattened ears, and a viewer who can tell something is wrong even if they cannot name it. Learn the signals, read them as a cluster rather than one clue at a time, and set stop rules before you press record.
Most guides tell you to watch your pet’s mood and leave it there. That advice is too vague to use on a shoot. A dog that yawns after a nap is just waking up. A dog that yawns while a stranger leans over it, licks its lips, and turns its head away is asking for space. Context decides the meaning every time, so read several signals together, in the situation, instead of reacting to one gesture on its own.
Start every shoot by watching your animal for a few minutes before the camera comes out. How do they move when they are relaxed? Where do their ears sit? That relaxed baseline is your reference. Without it, you cannot tell a stress signal from a habit.
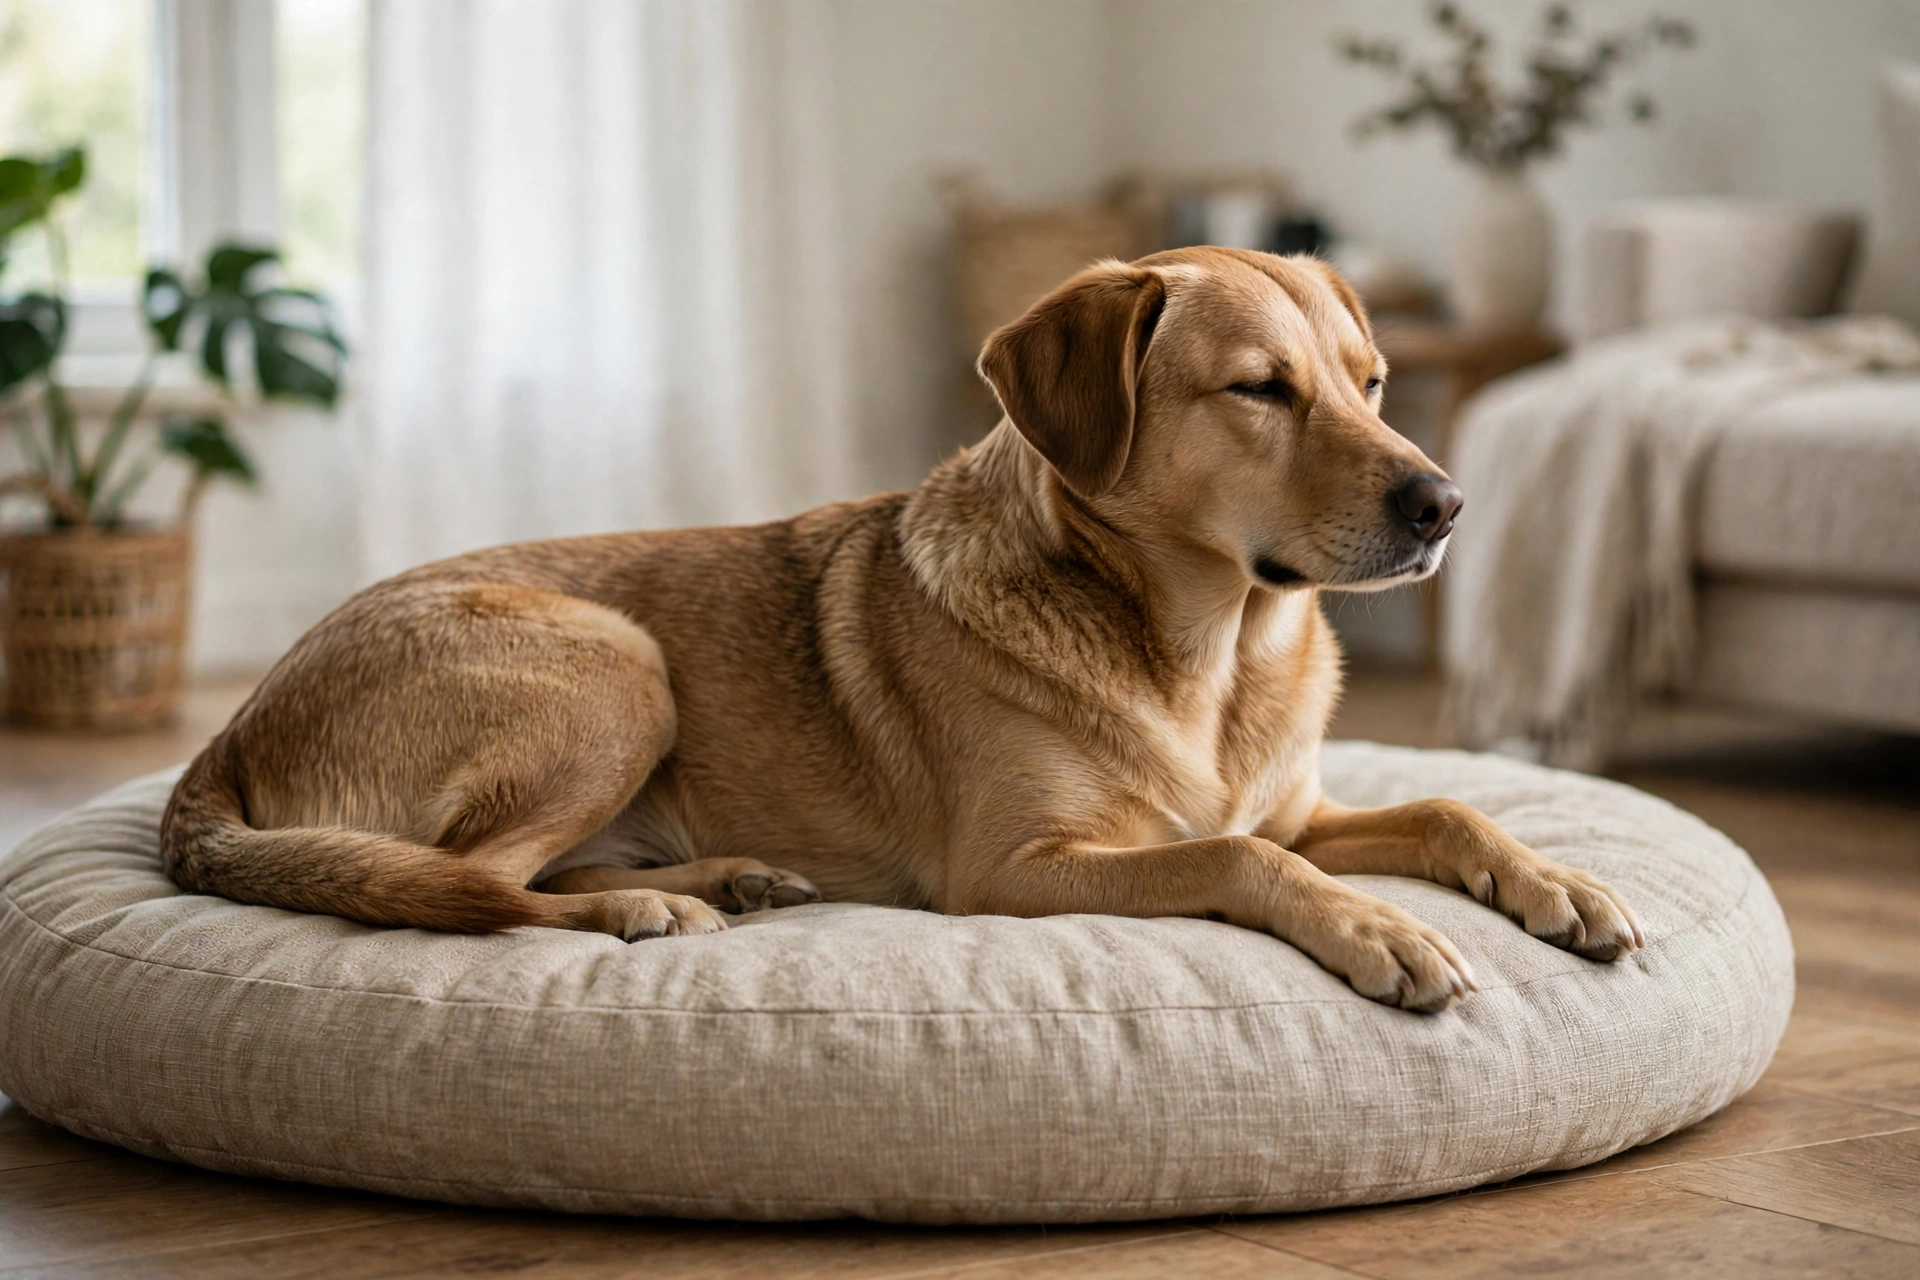
Dog stress signals, from early to serious
Early signals are quiet. They are easy to miss while you are thinking about framing, and they are the ones that matter most, because stopping at the early stage means the shoot can resume after a break instead of ending for the day.
| Signal | What it looks like | What it usually means |
|---|---|---|
| Lip licking | Quick tongue flicks with no food or treat nearby | Unease or a request for space |
| Yawning out of context | A big yawn when the dog is not tired and has not just woken up | Stress management, not sleepiness |
| Turning away | Head turned aside, gaze averted, or body angled away from the pressure | A polite attempt to defuse the situation |
| Whale eye | Head turned away while the eye stays fixed, showing the whites of the eye | Clear discomfort; the dog is unsure whether it needs to move away |
| Sudden scratching or sniffing | Scratching with no itch, or intense ground sniffing in a tense moment | Displacement behavior: a stalling move while stressed |
| Shake-off when dry | A full body shake as if wet, when the dog is not wet | Releasing tension after a stressful moment |
| Stiffening or freezing | Body goes rigid, weight shifts back, movement stops | Escalation: the dog wants out of the moment |
| Tucked tail, pinned ears | Tail clamped down, ears flat back, body low | Fear; stop the shoot, do not push through it |
One more dog signal is widely misread: a wagging tail does not always mean a happy dog. A loose, wide, sweeping wag is relaxed. A high, stiff, fast wag is arousal or tension. Read height, speed, and stiffness together before you decide what a wag means.
Cat stress signals
Cats say less and hide more, which makes their signals easier to miss and more important to respect. A cat that walks out of frame has voted. Let it go. Chasing it with the camera is how a relaxed cat becomes a stressed one, and the footage gets worse just as fast.
- Ears flat or sideways. Ears pressed flat back, or rotated out to the sides like aeroplane wings, signal stress or irritation. Relaxed ears sit forward and loose.
- Tail lashing. A tail sweeping fast from side to side is not a dog wag. It is a warning that patience is running out.
- Dilated pupils in normal light. Wide pupils when the light has not changed point to arousal or fear.
- Crouching low and still. A cat pressed flat to the ground, body tense, is trying to be invisible. That is not a good filming pose. It is a cat asking to be left alone.
- Hiding, hissing, or growling. These are late signals. If you have reached them, the shoot went too far. End it, and plan shorter sessions next time.
- Slow blinks and loose posture. The relaxed end of the scale: soft eyes, slow blinks, kneading, a tail held up with a soft curve. This is the cat you film.
Other species have their own versions. A rabbit that freezes or thumps is alarmed, not posing. A bird that flattens its feathers, pins its eyes, or goes suddenly silent is stressed, not calm. If you film a species you know less well, learn its stress signals before the shoot, not during it.
Stop rules that protect the animal and the footage
Decide these before you shoot.
- Two early signals in a row, take a break. Lip lick plus a turn-away, or a yawn plus sudden scratching, means pause, offer water or a quiet minute, and only resume if the animal relaxes on its own.
- Any escalation signal ends the session. Freezing, growling, snapping, hiding, or a cat that leaves the room means the shoot is over for the day. Do not try one more take.
- Never push an animal past stress for a shot. No clip is worth it, and viewers notice stressed animals. The channels that last are the ones where the animal visibly enjoys filming.
- Keep sessions short. Ten to fifteen minutes of real filming, with breaks, beats an hour of coaxing. Short sessions also give you better footage, because the animal is fresh for all of it.
- Never use a stressed reaction as the joke. A frightened animal is not funny content. If a clip only works because the animal was scared, cut it.
Get down to pet level
Film from your pet’s eye level, not from your standing height. A camera looking down at the top of a head flattens the animal and breaks the connection with the viewer. A camera at the animal’s eye level puts the viewer inside the animal’s world, and it is the single biggest visual upgrade in pet vlogging.
This is the advice shelter videographers give first, and it holds for vlogs too. Shooting from above makes every animal look small and distant. Shooting at eye level makes the viewer feel like they are sitting on the floor with the animal, which is exactly where pet content works best. It also changes how the animal reacts to you: crouching down is less looming than standing over them with a camera, especially for shy cats and small dogs.
In practice, pet level means a small tripod or a camera held low, not a full height tripod bent down at an awkward angle. Set the camera on a low tripod, a bean bag, or a stable surface at the animal’s height, and let the animal come to it. If your pet moves, move the camera with them rather than zooming in and out while recording. Zooming during a shot looks restless and forces the autofocus to hunt. Moving the camera keeps the framing calm and gives the editor clean clips to cut between.
Build each scene from three shot sizes, the way experienced animal videographers do. A wide shot shows the animal in its space: the garden, the room, the walk. A medium shot shows the animal doing something: playing, eating, greeting you. A close shot shows the face, the paws, or a detail like ears perking up. Hold each shot for ten to thirty seconds before you cut or move. Short, shaky two second grabs are almost impossible to edit, while a held shot gives you room to trim and to let a funny moment breathe.
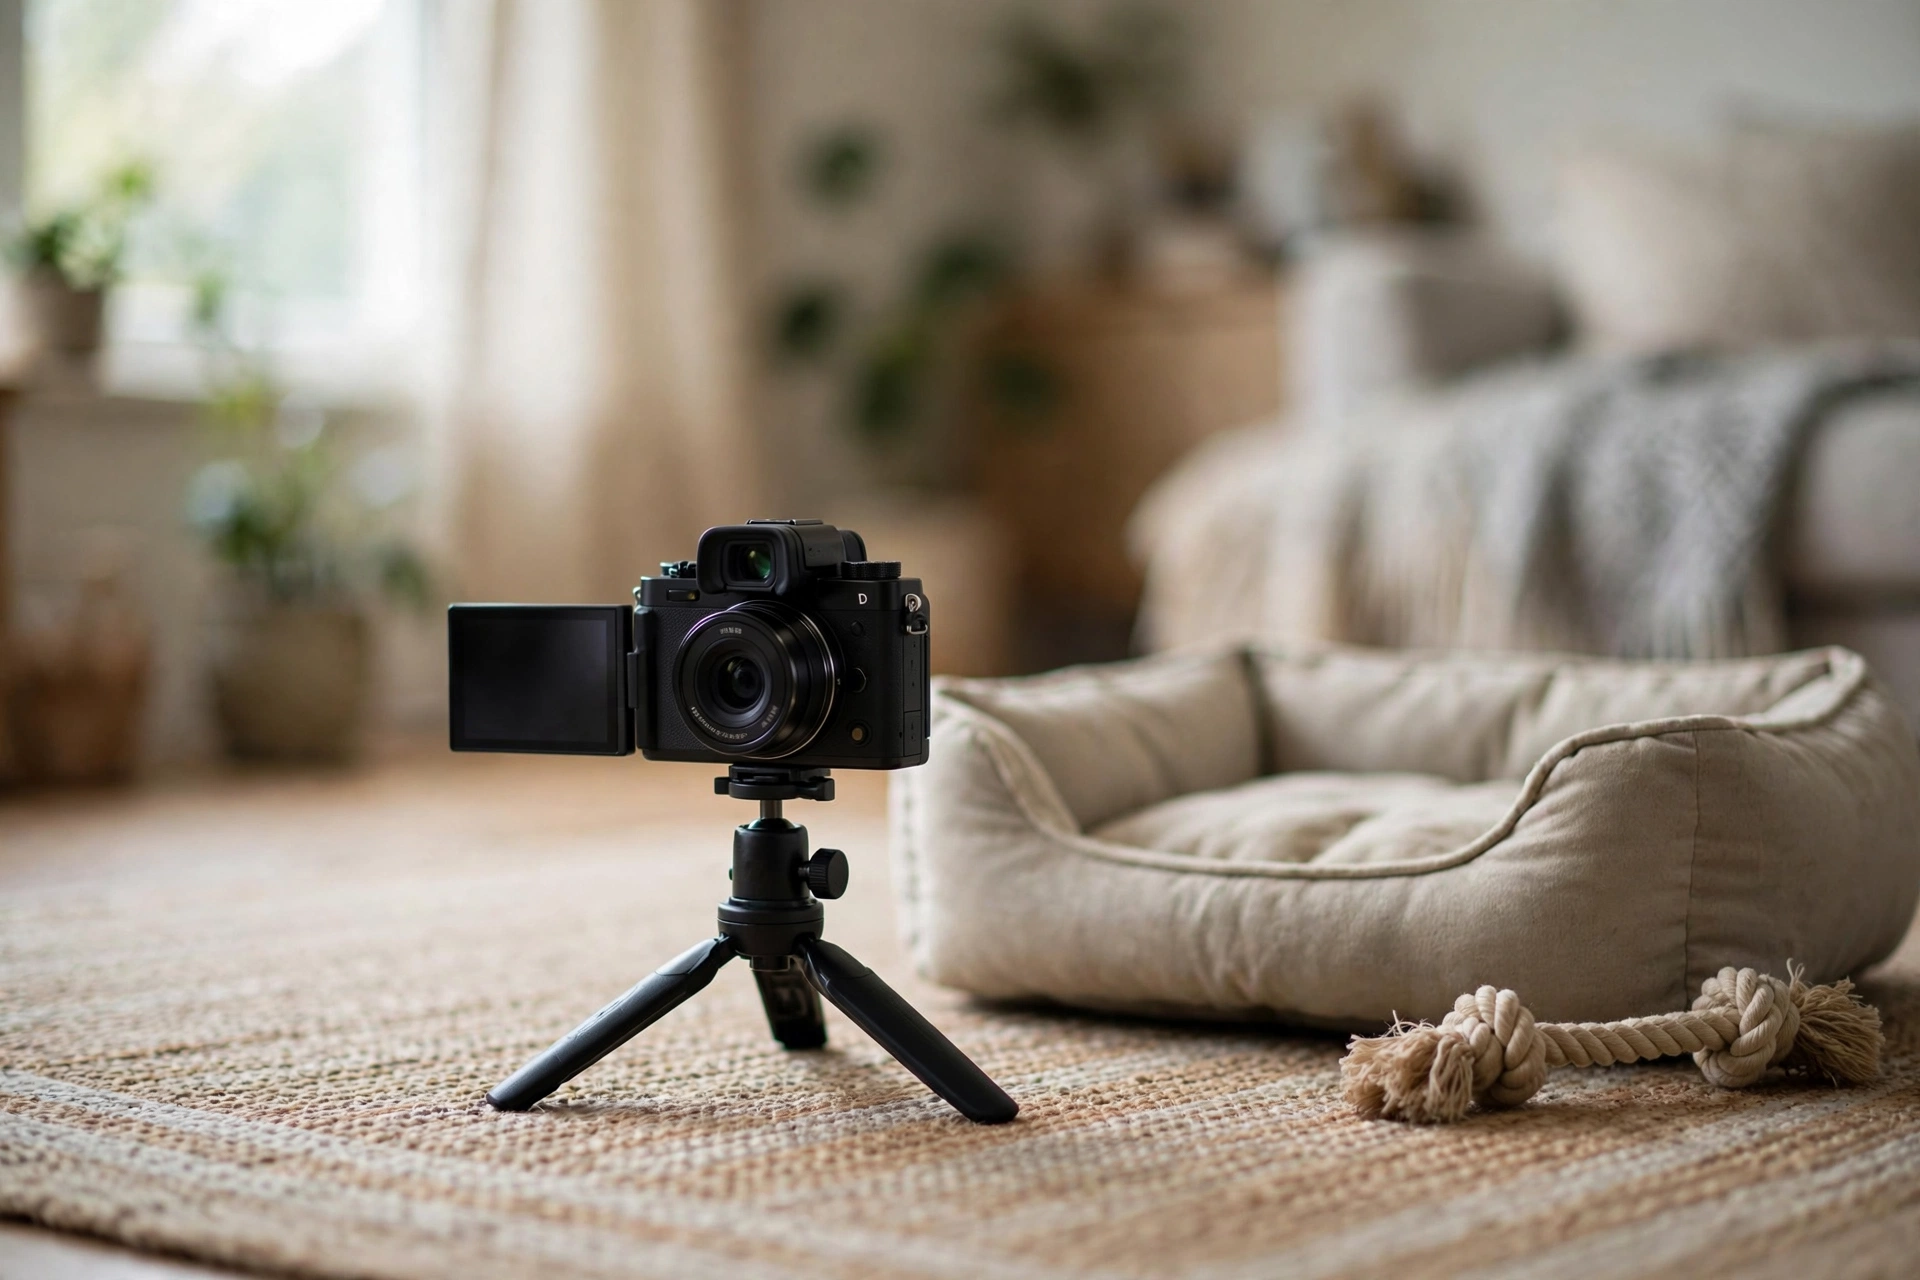
Light matters as much as height. Film near a window or outdoors in soft light, and face the animal toward the light so its eyes and expression are visible. Harsh midday sun makes animals squint and blows out light fur, so shoot in shade or in the softer light of morning and late afternoon when you can. Indoors, a room with a big window beats a room with a ceiling light. For the full lighting method, see our guide to lighting your face for video, which applies just as well to a pet’s face.
One framing habit to break: centering the animal in every shot. Leave space in the direction the animal is looking or moving toward. A dog looking out of frame with no space ahead of it looks trapped. The same dog with room to look into looks like it is about to do something.
How the three camera rules in this guide fit together: when you are only filming, move smoothly with the animal instead of zooming. When you are also talking to camera, use the fixed zone from the talking section, so the animal moves inside the frame while you stay put. In the edit, keep each clip free of mid-clip zooms and jerky re-framing. They are three jobs, not three contradictions.
Focus that keeps up with a moving animal
Turn on animal eye autofocus, set continuous autofocus, and give the camera a fast enough shutter to freeze motion. That trio handles most pet footage. The rest of this section is about what to do when the trio fails, because it will: dark fur against a dark sofa, a face half hidden by long hair, a sprint straight at the lens.
Animal eye autofocus is now built into most current mirrorless cameras and many vlogging cameras. On Canon’s R system it is called Animal Detection, and it covers dogs, cats, and birds. On Nikon it is an animal subject detection mode that looks for the faces and eyes of dogs and cats. On Sony it sits inside the subject detection menu as Animal. The names differ, but the job is the same: find the eye nearest the camera and hold it while the animal moves. Set it before the shoot, and test it on your own animal in your own light, because detection is weakest where pet footage gets hard: faces very large or very small in the frame, faces in dim light, and eyes hidden by fur.
Pair it with continuous autofocus, not single shot autofocus. Single shot locks focus once and stops, which is fine for a sleeping cat and useless for a running dog. Continuous autofocus keeps adjusting as the subject moves. If your camera offers a tracking mode that follows a subject around the frame once you start it, use that for moving animals, and tap or select the animal to start the track rather than letting the camera guess which moving thing matters. In a park full of dogs, the camera’s guess will often be wrong.
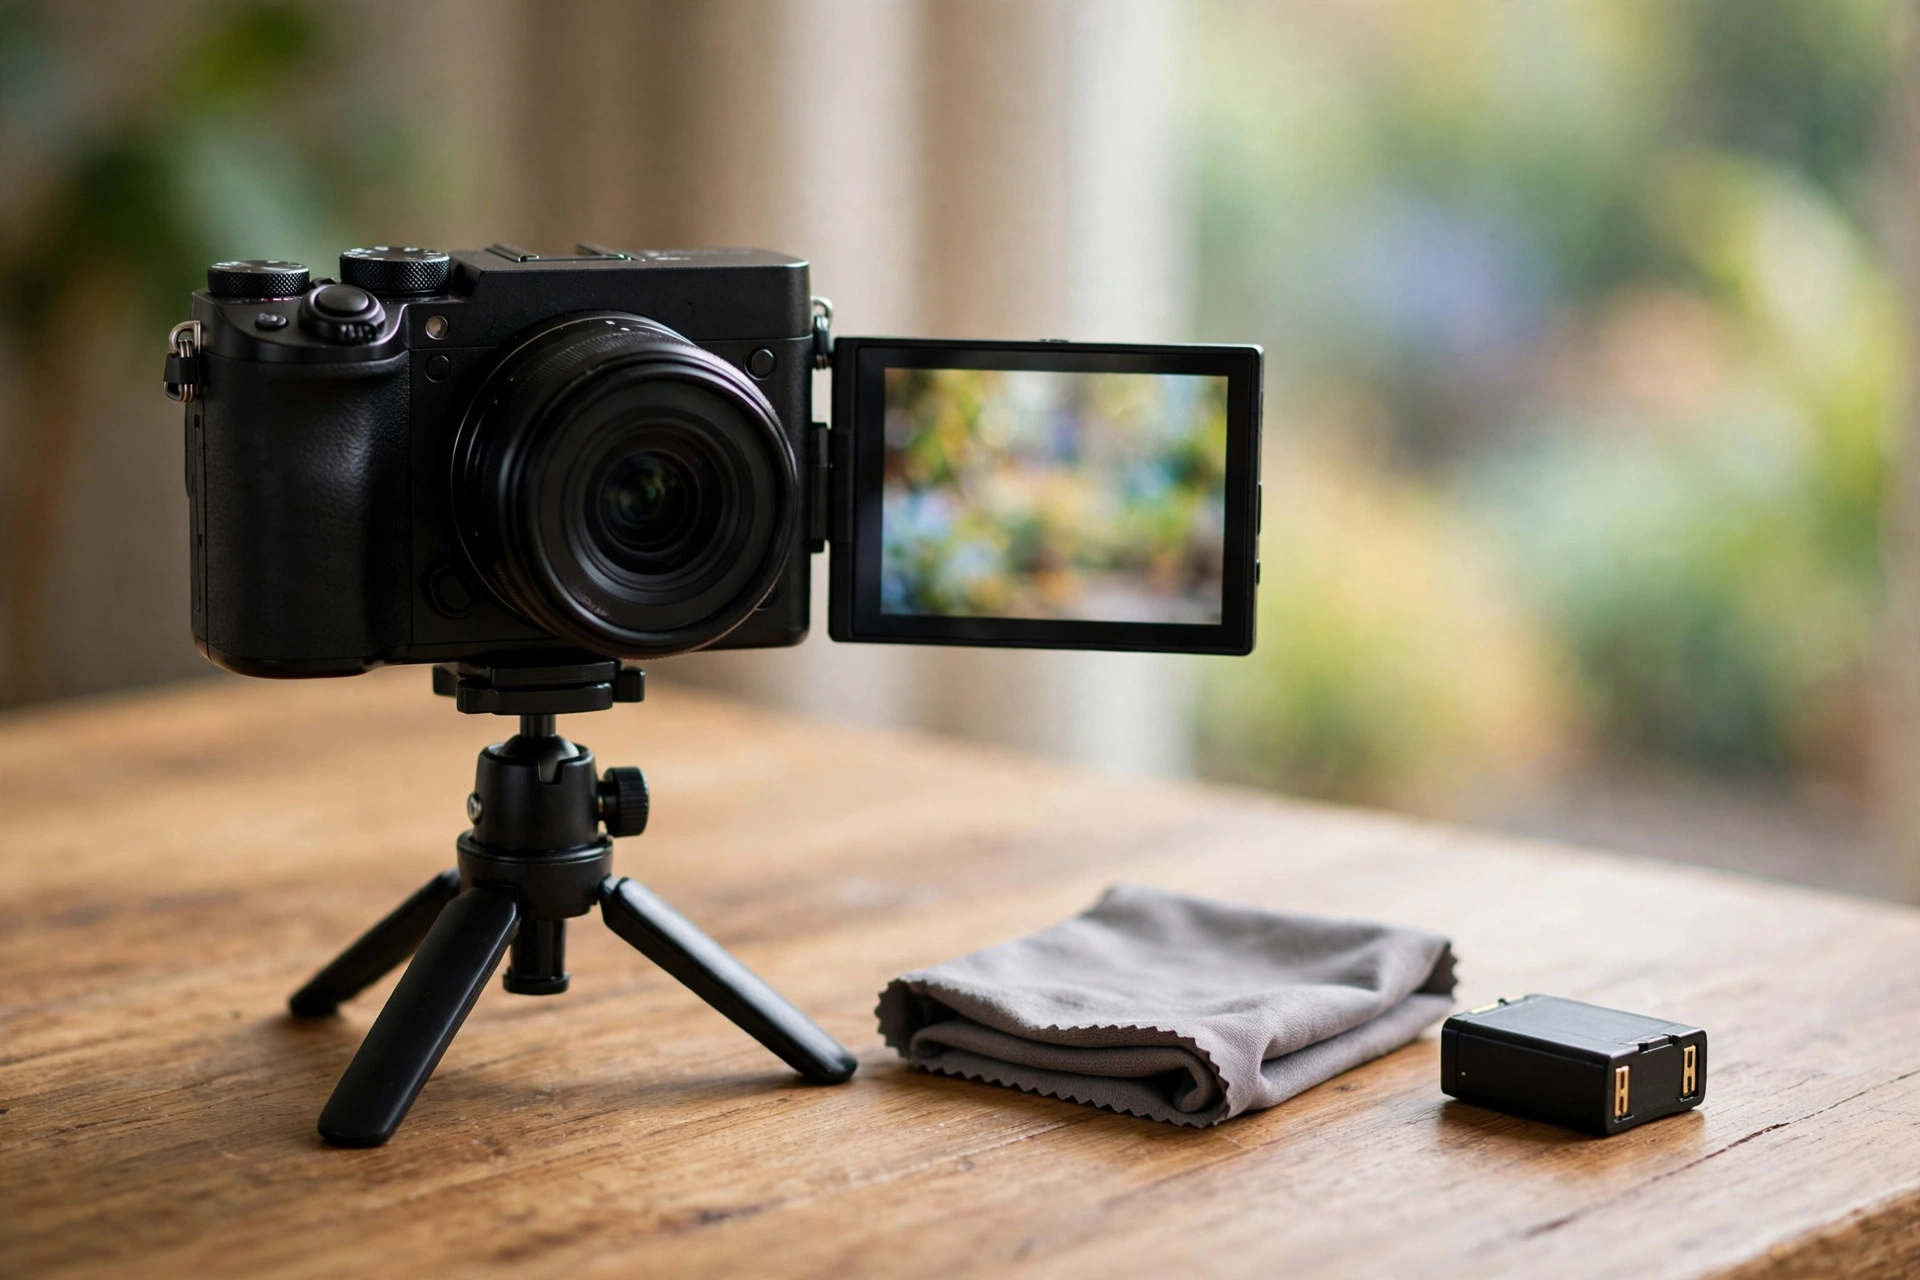
Shutter speed is the other half of sharp pet footage. In video, the usual rule is a shutter speed of about one divided by double your frame rate: at 60 frames per second that is about 1/120, which gives natural looking motion. The faster figures you see in stills advice, such as 1/500 for a running dog, come from photographs, where there is no motion blur to preserve. For video, shoot fast action at 60 frames per second and accept 1/120 for natural motion. If you want crisper motion, you can raise the shutter speed, but the movement turns staccato, so use a neutral density filter in bright light rather than stopping down and losing your background blur. Slow motion at 60 frames per second is also how you save a moment that was too quick to enjoy at full speed: a shake-off, a leap, a first swim.
When autofocus fails, have a fallback ready instead of fighting the camera while the moment passes. The simplest fallback is a smaller focus area: switch from wide area animal detection to a single point or a small zone, place it on the eye nearest the camera. The second fallback is depth of field: stop the lens down a little, so more of the scene is sharp and a small focus miss does not ruin the shot. The third fallback is manual focus set to a zone: pre-focus on the spot where the action will happen, a gate, a toy, a treat hand, and let the animal run into focus.
Two settings deserve a specific note. First, turn off the autofocus assist light. Camera makers warn that the little lamp can bother an animal’s eyes, and Nikon says so directly in its animal detection guidance. In dim light, use a small video light or move nearer a window instead of letting the camera flash its assist lamp at your pet. Second, watch exposure on light and dark coats. A white dog in sun comes out gray if the camera meters for the whole scene, and Nikon suggests adding positive exposure compensation for light coated animals in bright light. A dark dog has the opposite trap: against a bright background the meter darkens the subject further, so give the animal more light, or move it against a darker background, rather than trusting the meter. For the full focus system behind this section, see our guides to autofocus for vlogging and camera settings explained.
Talking to camera while your pet moves
Solo pet vlogging is a two job shoot: you are the presenter and the camera operator, and your subject will not wait while you do either job. The method that works is zone tracking, not chasing: pick a small area, frame it, let the animal play inside it, and talk in short lines between the animal’s moves instead of narrating nonstop.
The classic solo mistake is trying to follow a free running animal with a handheld camera while talking. The result is shaky footage, breathless narration, and an animal that has left the frame by the time you finish a sentence. The fix is to shrink the stage. A rug, a corner of the garden, a stretch of path between two trees: frame that zone from a tripod at pet level, and let the animal move inside it. You stand just behind or beside the camera, so you are close enough to talk clearly and the animal stays in frame. When the animal leaves the zone, stop talking, let the camera roll, and reset. The edit will hide the reset.
Talk in short lines, not paragraphs. Say one thing, then let the animal do something, then say the next thing. “This is what she does every morning” is a line. Then the footage shows it. A long explanation while the animal does nothing is the fastest way to lose a viewer, and it is also how you miss the moment, because you are thinking about your next sentence instead of watching the animal. If you need to explain something longer, record it as a separate piece to camera after the action, and cut it in over the footage.
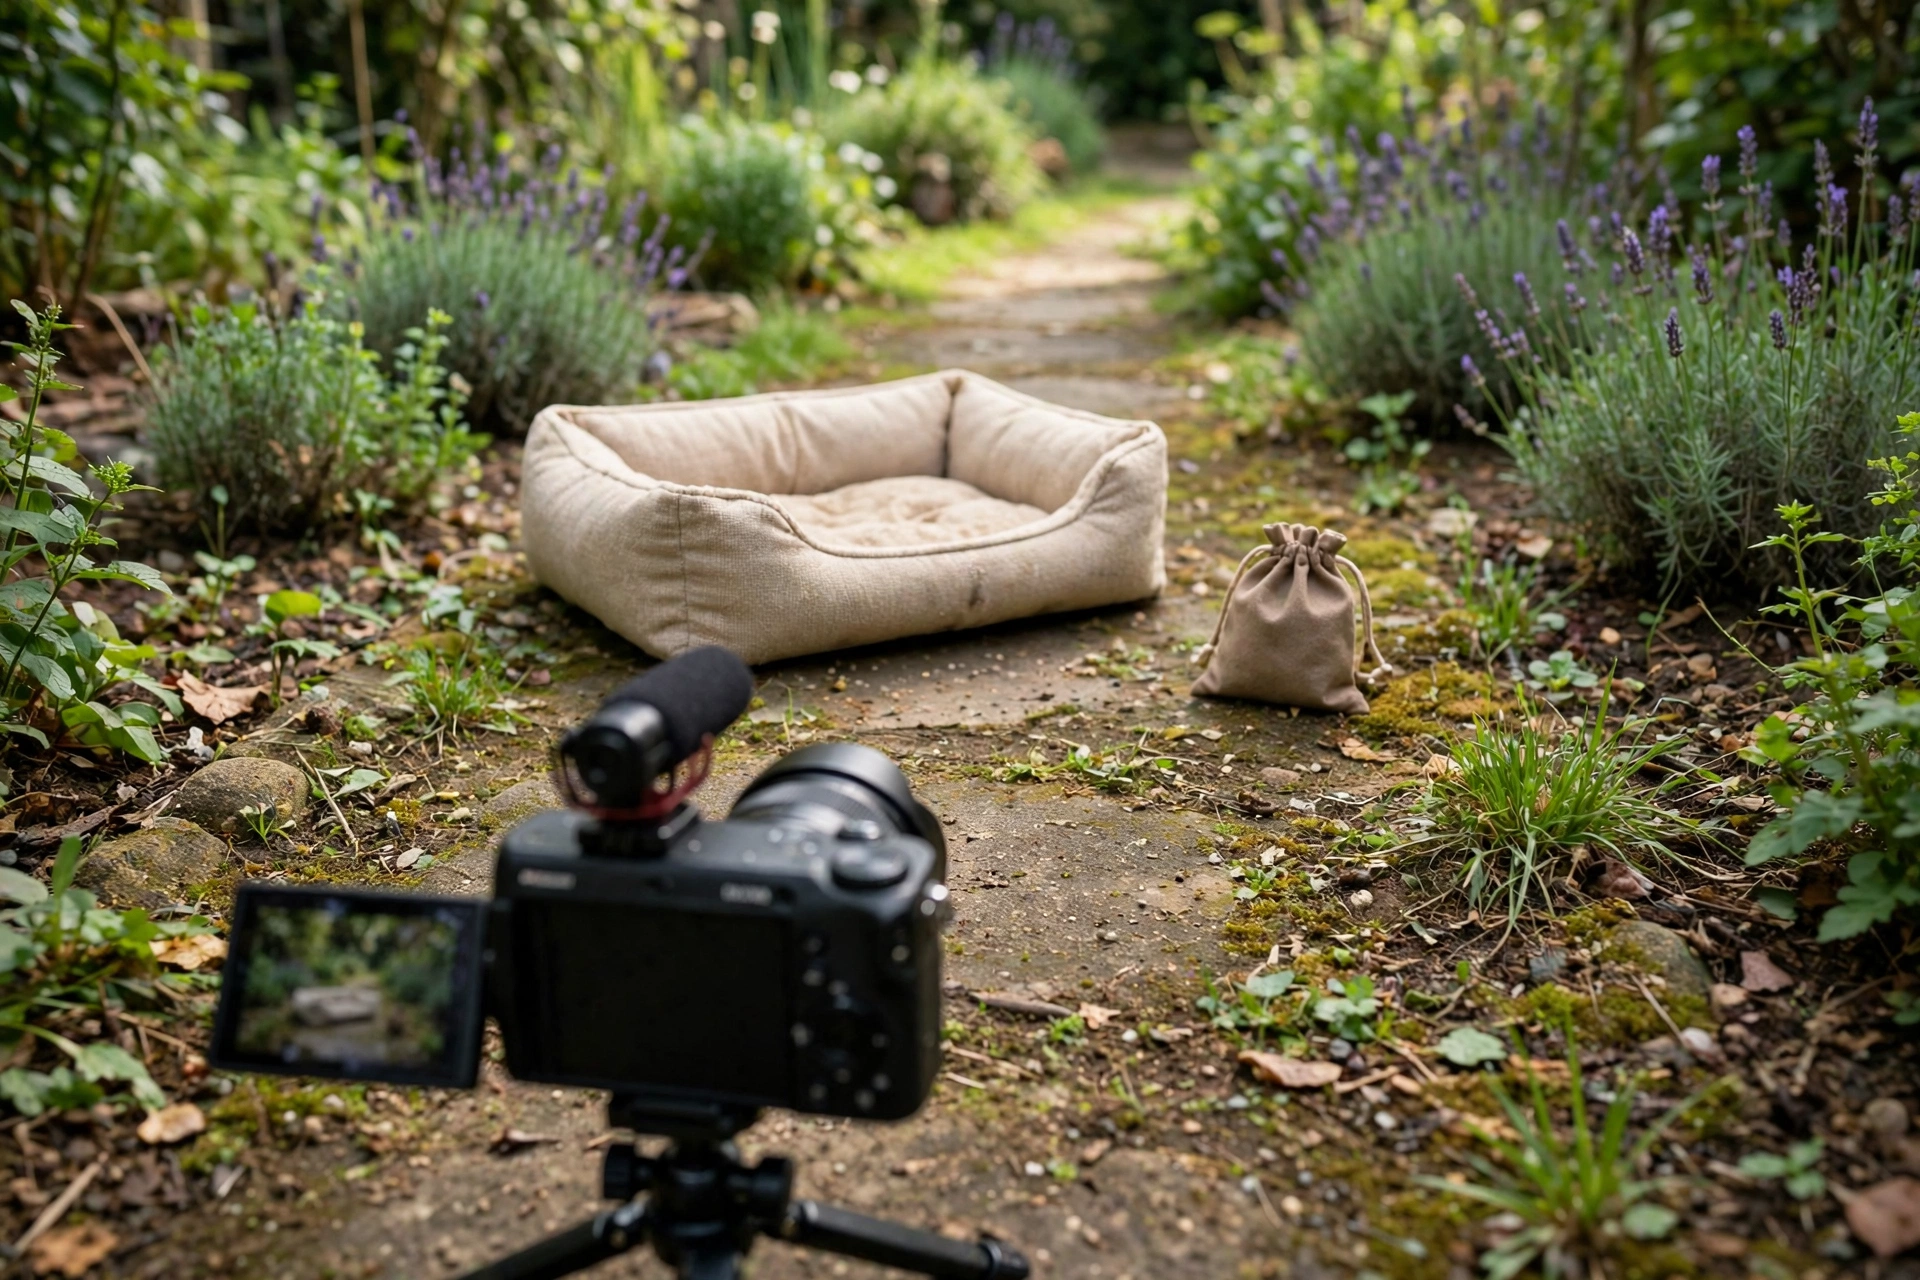
A second camera changes everything for solo shoots. A phone on a small tripod, set wide on the whole zone, gives you a safety angle. When the main camera loses the animal or you need to move it, the wide angle covers the gap, and the gap never reaches the viewer. If you only have one camera, shoot the action first and the talking second: film the animal doing the thing, then film yourself explaining it, and cut the two together. That order is less tiring for the animal too, because the talking parts need no animal at all.
Use a helper whenever you can. A second person holding a toy or a treat just out of frame is the oldest trick in animal filming, and it works because it gives the animal a reason to look the right way. The helper should stand near the camera, so the animal looks toward the lens. Keep cues short and happy: one word, one sound, one treat. Constant squeaking or calling desensitizes the animal fast, and after a few minutes they stop reacting at all.
Finally, plan for the animal to be uncooperative, because that is the normal case. Have a list of three or four small moments you want, not one big set piece that needs everything to go right. A good walk, a feeding routine, a play session, a nap in a sunbeam: each one is a complete video on its own, and each one survives an animal that refuses to cooperate.
Sound without distortion: barks, purrs, and wind
Pet sound fails in two opposite ways: barks clip into harsh distortion, and quiet sounds like purrs vanish under room noise. Fix both before you shoot by setting levels for the loudest sound, not the average one, and by getting the microphone close to the sound you actually want.
A bark is far louder than a human voice, and it arrives with no warning. If your levels are set for your narration, the first bark will slam into the top of the meter and distort, and a distorted bark cannot be repaired in the edit. It can only be turned down, and a quiet distorted bark still sounds distorted. Set your levels for the bark. Put the recorder on, get the animal to make its loudest sound, and set the peak around twelve decibels below the maximum. Your narration will sit lower, and that is fine: narration can be raised cleanly in the edit, but distortion cannot be removed. If your recorder offers a safety track at a lower level, turn it on.
Wind is the other destroyer of pet audio, because pet filming happens outdoors more than most vlogging. A foam cover handles a light breeze. A furry wind cover, nicknamed a dead cat in the industry because of its shaggy look, handles real wind. If you film in wind without one, the recording is unusable no matter how good the picture is. Keep a wind cover on outdoors, and check it is seated: a loose cover flapping in the wind sounds worse than no cover at all.
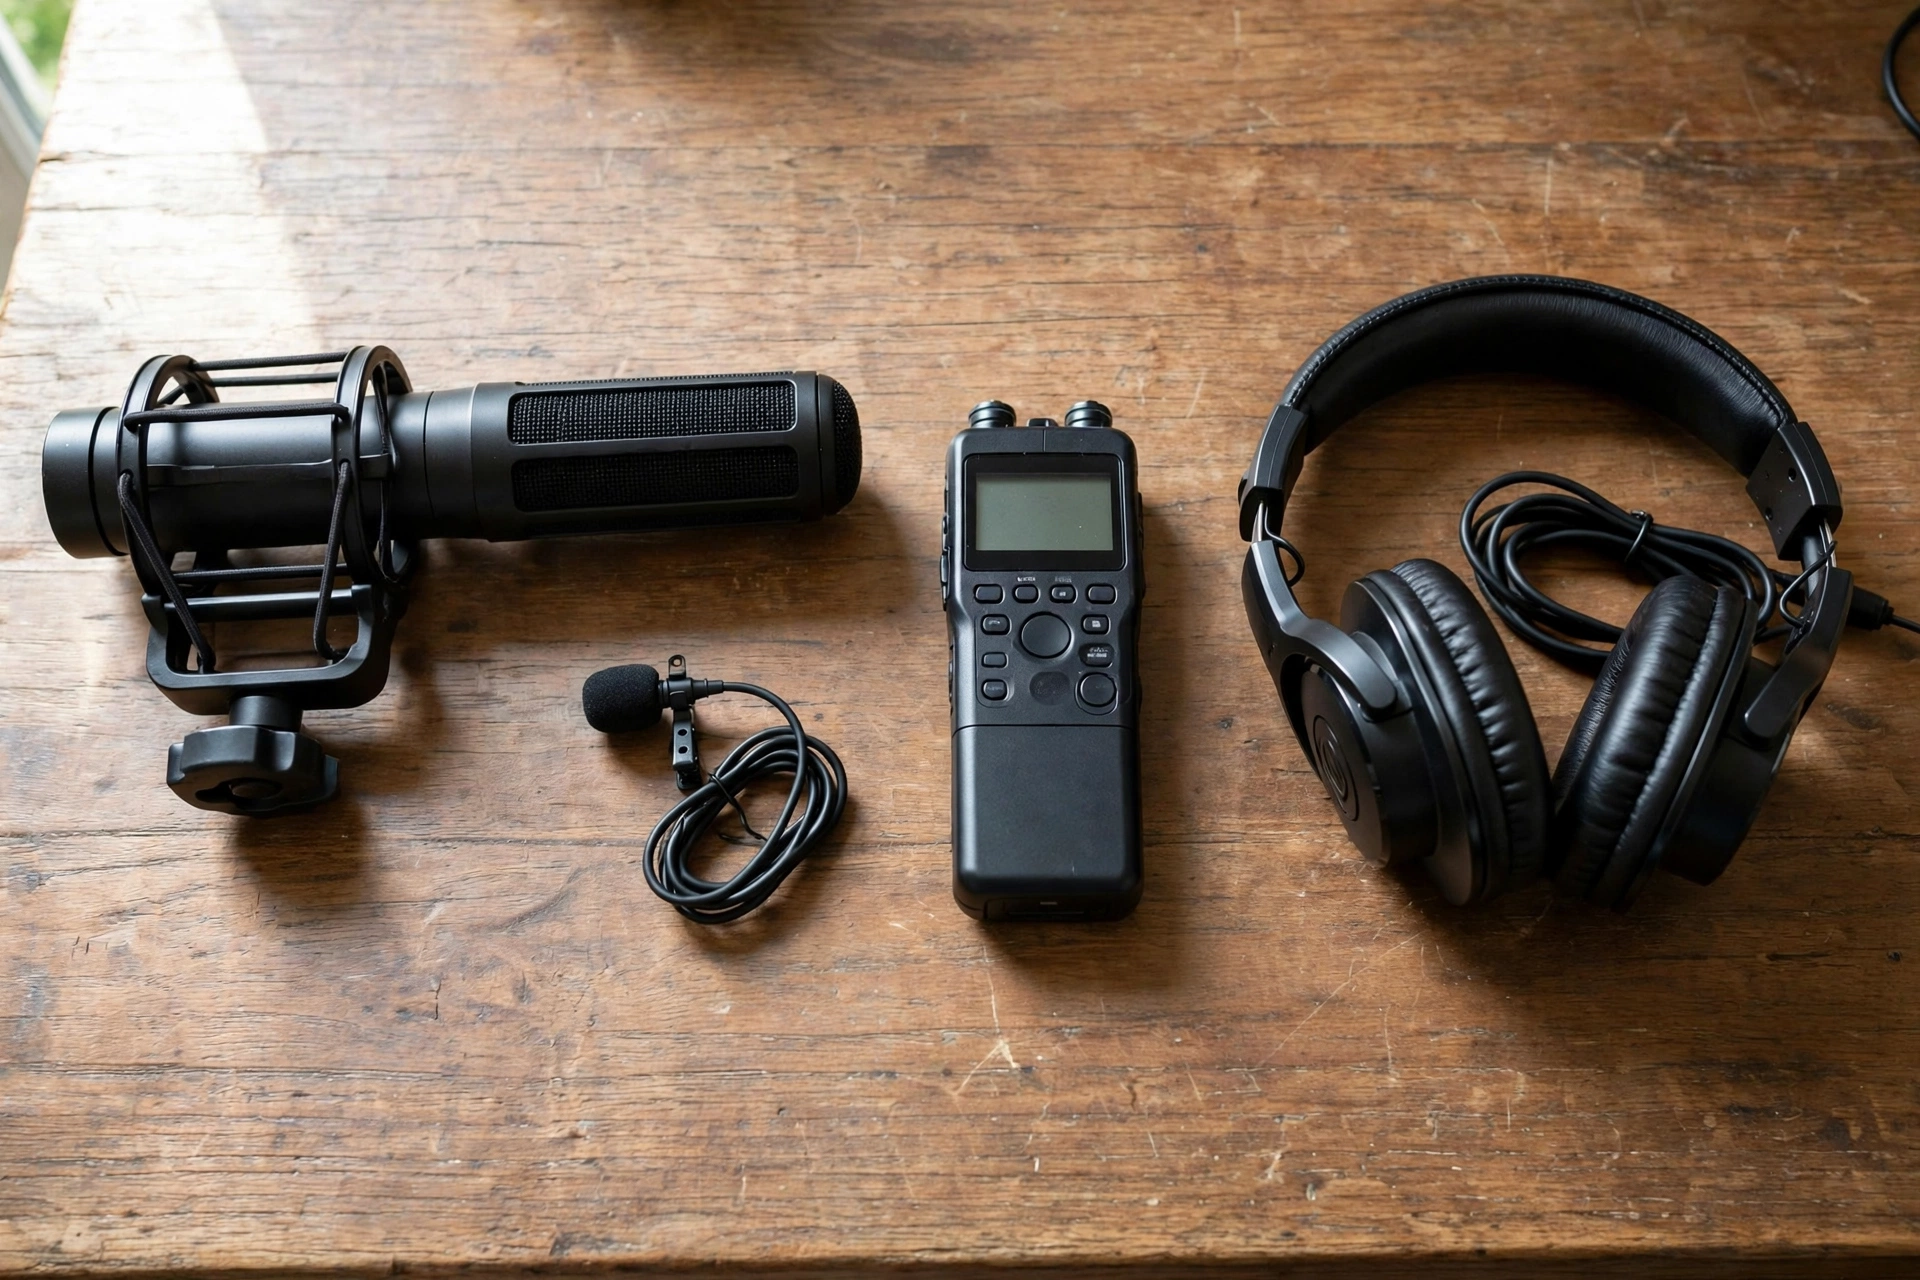
Microphone placement follows one rule: the microphone belongs near the sound, not near the camera. Your narration belongs on a lavalier clipped to your own chest, which keeps your voice steady while you move. The animal’s sounds belong on a shotgun microphone on the camera or on a recorder placed near the action, pointed at the animal. Never clip a microphone to the animal. It adds weight, it rubs, it stresses the animal, and the sound it picks up is mostly harness noise and panting.
Quiet sounds need a quiet room. A purr is soft, and it disappears under a fridge hum, a fan, or traffic through a window. Before you film a quiet moment, listen to the room for thirty seconds with headphones on and switch off what you can. Purrs need closeness more than volume: place the recorder a short distance from a resting cat, keep handling noise away, and in the edit resist the high-pass filter that cleans up voices, because it can strip the low body of a purr away. Record ten seconds of room tone, the sound of the empty room, at the start of every session: it lets the editor patch gaps and smooth cuts without the background noise jumping. For the full audio method, see our guides to recording better vlog audio and wireless microphones for vlogging.
In the edit, treat animal sound with respect. Keep the natural sounds: paws on a floor, a happy sigh, a purr under narration. Lower the music volume under the animal sound, so the animal stays audible instead of being buried by the track. Viewers came for the animal, and a music track that buries every bark and purr turns a pet vlog into a slideshow. If a bark is distorted despite your levels, cut around it and let the picture carry the moment. Lowering the volume does not repair distortion, it only makes the harshness quieter.
Pet POV mounts in practice
A pet POV shot, the world from your dog’s back, is the most shared kind of pet footage and the easiest to get wrong. Use a chest harness mount with a small action camera, only on an animal that already wears a harness happily, keep sessions short, and check the fit and the animal’s mood before and during every use.
Start with the mount, not the camera. A harness mount straps a small camera to the animal’s chest or back, looking forward. It works because the camera moves with the animal, so the viewer feels the run, the splash in calm shallow water, the climb. It fails when the mount is wrong: too heavy, too loose, sliding sideways, or bouncing so much the footage is unwatchable. A small action camera is the right tool here. A full vlogging camera is too heavy and too bulky to strap to an animal. Keep the whole mounted weight as light as you can, and check it against the animal’s size: a mount that is fine on a large dog is too much on a small dog, and most cats should never carry a mounted camera at all unless they already walk in a harness without a second thought.
Fit is a welfare issue before it is a filming issue. The harness should fit the way a good walking harness fits: snug enough not to slide, loose enough to fit two fingers under every strap, with no strap crossing the throat or pressing on the shoulders. Put the harness on without the camera first, and let the animal wear it around the house. If they freeze, flop, paw at it, or refuse to move, the mount is not happening that day. If they move normally, add the camera for a minute, then two, then five, over several days.
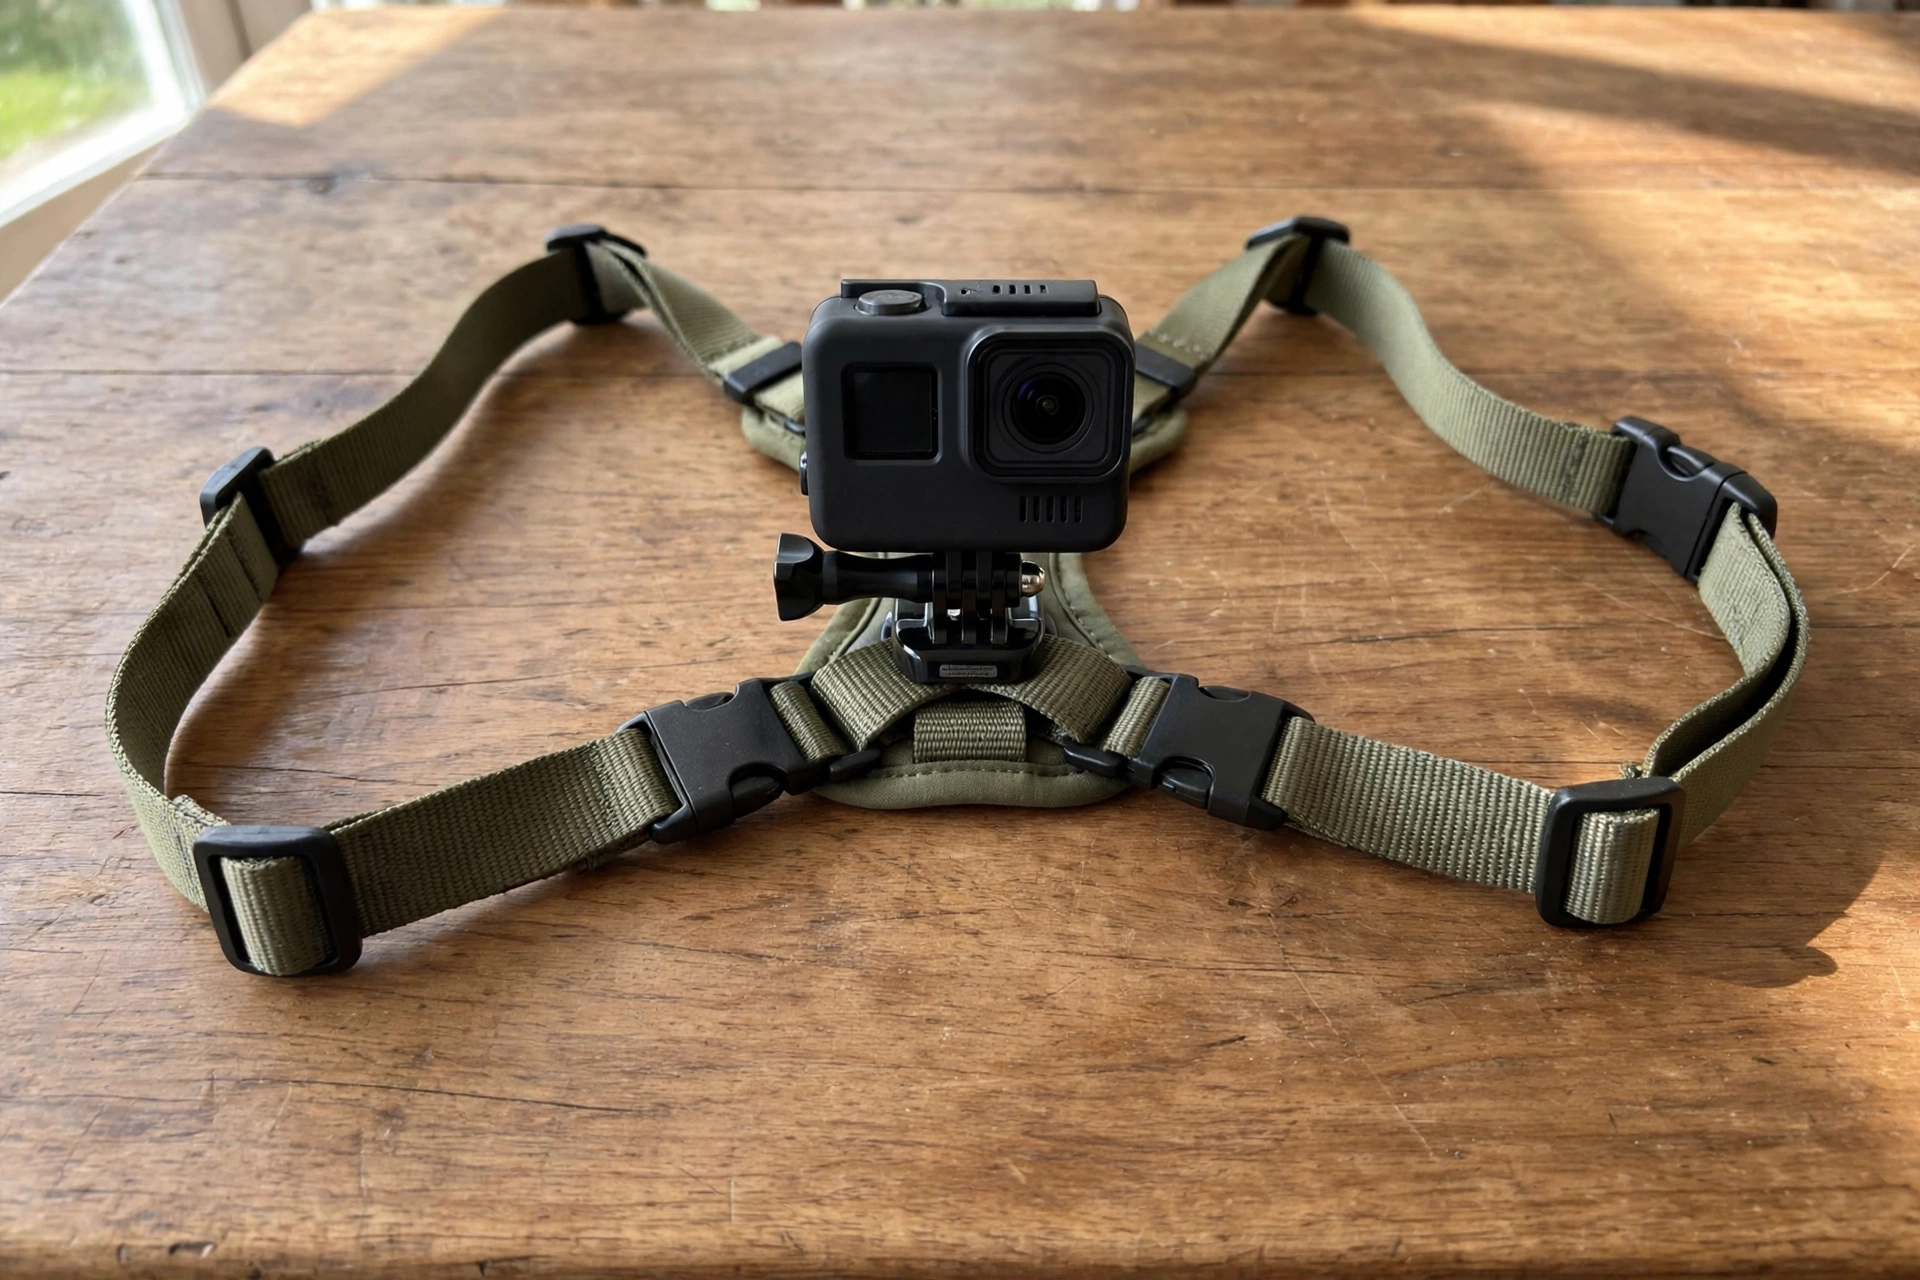
Shoot POV in short bursts. Five to ten minutes of mounted footage is plenty, and the first minutes are when the animal is freshest and keenest. Accept that the most energetic minutes will also be the bounciest: stabilization in the camera or in the edit smooths it, and short bursts keep the edit usable. Watch the animal, not the footage, during a POV session: if they start scratching at the mount, slowing down, or showing any early stress signal from the first section, take it off at once. And never mount a camera on an animal for a stunt, a jump, a swim in strong water, or any situation where the mount could snag.
POV works best as one flavor in a video, not the whole video. Cut a short POV burst into a mainly handheld video, and the POV moment feels exciting. A whole video of bouncing POV footage makes viewers seasick and hides the animal itself, which is the thing people came to see.
Safety beyond heat and leashes
Heat and leashes are the safety advice every pet guide repeats, and they are not enough. A filming day adds risks an ordinary walk does not: new locations, strangers, other animals, equipment on the ground, and an owner whose attention is on a screen instead of the animal. Plan for those, and the ordinary risks get easier too.
Start with the location, and visit it without the animal first when you can. A park that looks fine on a map can hide a busy road at one end, an off leash area where loose dogs rush newcomers, a pond with a steep bank, or a patch of ground treated with chemicals. Walk it, find the shade and water points, and pick your filming zone before the animal arrives. If you film somewhere that needs permission, get it before the shoot, not during it.
Other animals are the risk most vloggers underestimate. A loose dog that rushes yours can turn a filming day into a vet visit, and your camera makes it worse, because you are watching the screen instead of the approaching dog. In busy places, keep your animal on a lead even where the rules allow off lead, and keep your head up between takes. If another animal approaches and yours stiffens, freezes, or shows whale eye, move away at once. A brief stiffen that passes with distance is a pause, but freezing, growling, or hiding that persists ends the session for the day under the stop rules. No clip is worth a confrontation, and a fight on camera is content no responsible channel wants.
People are a filming risk too, especially children. A child running up to hug a dog, or grabbing at a cat, can frighten the animal and can also put the child at risk. If you film in a public place, keep a buffer between your animal and strangers, and be ready to step in politely. You also need to think about consent: filming strangers, and especially other people’s children, without asking is rude at best and a legal problem at worst, depending on where you are. Frame your shots to exclude people who have not agreed to be filmed, and ask before you include anyone. For the legal side of filming people and property, see our guide to filming people, places, and property legally.
Then the ordinary risks, which filming makes you forget. Heat: check the ground with your own hand before you let paws on it, carry water and offer it often, and use shade, not just a water bowl, as the real protection. Water: never film near fast water, steep banks, or deep water with an animal that is not a confident swimmer, and never let a harness mounted camera go near water where it could snag, or near fast, deep, or steep-banked water. Traffic: keep the animal away from roads while you are filming, because a filming owner is a distracted owner. Wildlife: do not film near nests, burrows, or dens, and do not use food to lure wildlife or your own animal into a risky spot. And equipment: keep cables, tripod legs, and bags out of the animal’s path.
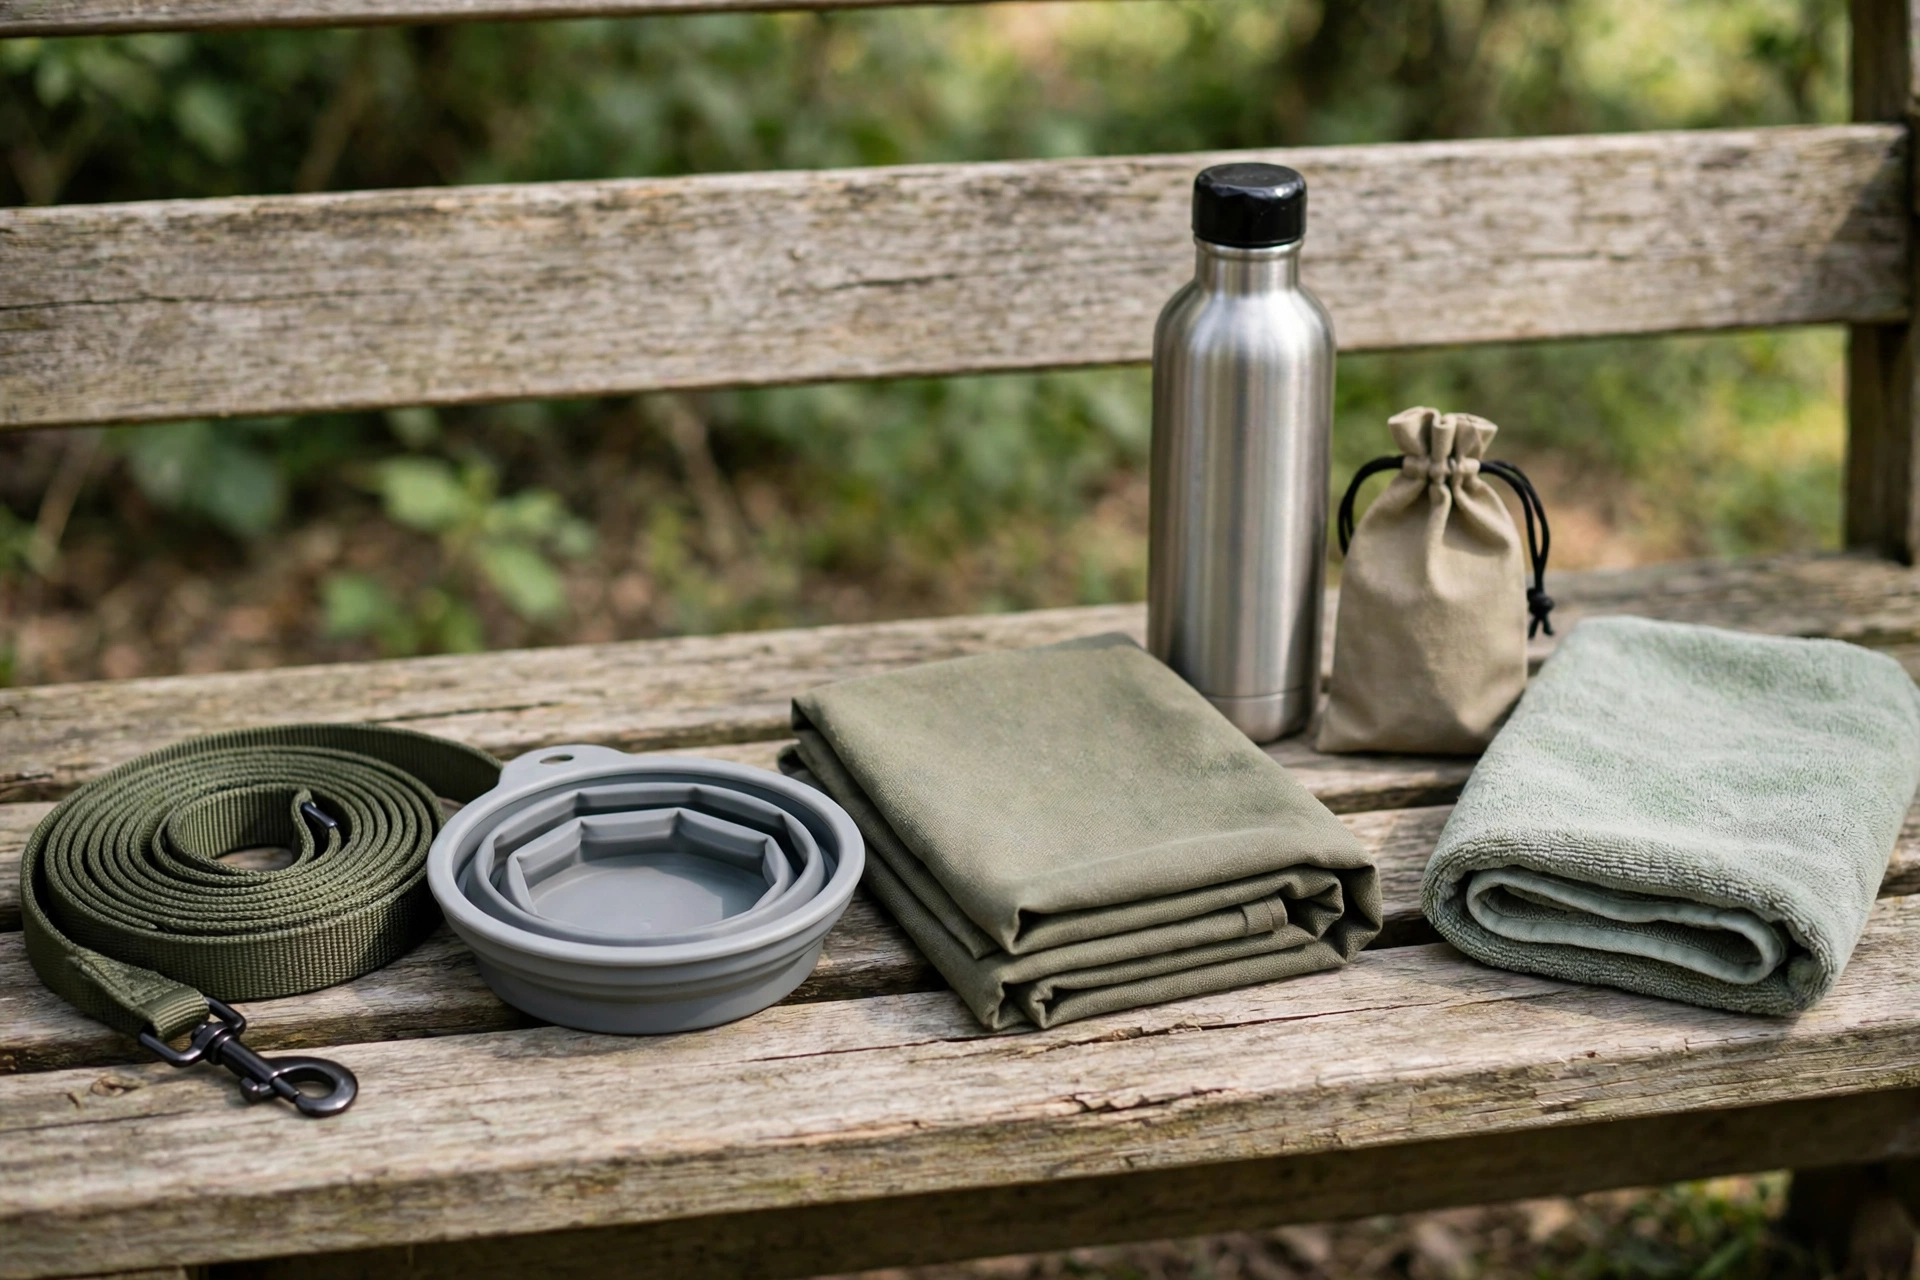
Pack a small safety kit and keep it in the same bag every time: water and a bowl, a lead even if you plan to film off lead, shade cloth, treats, a towel, and your vet’s number in your phone. Having it means you never have to choose between the animal’s comfort and the shot, because comfort is already packed.
The edit: cut on movement, keep the story
Pet footage edits itself if you cut on movement: end a clip as the animal starts to move, start the next clip mid movement, and the viewer feels continuous action even though you cut. Hold the best moments longer than feels natural, cut the dull middle out of everything else, and build every video around one small story.
Most pet guides stop at editing apps and music choices. That is the wrong order. The edit starts with the story, and the story for a pet video is small: a first walk, a morning routine, a new toy, a trip to a favorite place. One story per video, told in three beats: the setup, the thing happening, and the payoff. When you have that shape, the edit is just choosing the clips that serve it and cutting everything else, however cute.
Cut on movement, not on stillness. If a dog starts to run at the end of one clip, cut to the next clip where the dog is already running. The viewer’s eye follows the motion across the cut and never notices it. If you cut from a still dog to a still dog, every cut feels like a stop. The editor’s job is choosing moments, not rescuing shaky footage.
Captions and sound design do more for pet videos than effects do. Add captions for your narration, because many viewers watch with sound off, and add a few captions for the animal’s “thoughts” only if that is your channel’s style. Keep effects light: a simple cut beats a fancy transition, and a transition that draws attention to itself draws attention away from the animal. For music, pick one track that fits the animal’s energy and keep it low under the natural sound: brisk and bright for a playful dog, soft and slow for a sleepy cat, and always quiet enough that paws, purrs, and barks stay audible.
Finally, watch the finished video once as a stranger, not as the owner. Does the animal look happy throughout? Is there any moment where the animal looks stressed, and you kept it because it was funny? Cut those moments. Does the video make sense to someone who has never met your pet? If the answer is yes, and the animal enjoyed the shoot, you have a pet video worth posting. For framing and pacing craft that carries into the edit, see our guide to video composition and shot types and our guide to smooth handheld video.
Your first pet shoot, step by step
Your first pet shoot should be small, at home, and built around something your animal already enjoys. A ten minute session in a familiar room beats a full day at a new location, because the animal is relaxed, the light is known, and every mistake costs nothing.
- Pick one small story: a morning routine, a play session, or a favorite walk.
- Learn your animal’s relaxed baseline, then set your stop rules from the first section.
- Charge batteries, clear cards, fit the wind cover, and set animal eye autofocus and continuous autofocus before you leave the house. Choose 60 frames per second for action, or a normal frame rate for calm indoor moments. Test levels with the animal’s loudest sound before the first real take.
- Choose a familiar location with soft light and a small filming zone.
- Watch the animal for a few minutes first and confirm the relaxed baseline, with no camera pressure.
- Set the camera at pet level on a low tripod, add a phone as a wide safety angle if you have one, and let the animal settle again briefly before recording.
- Film in short bursts of a few minutes each, inside a ten to fifteen minute session in total, with breaks, water, and play between bursts.
- Talk in short lines between the animal’s moves, not over them.
- Check the animal’s mood after every burst, and re-check levels if anything changed.
- End on a good moment, while the animal is still happy, not when they are tired.
- Back up the footage the same day, and note which clips serve your one story.
- Edit for story first: setup, the thing happening, payoff, then captions and music last.
Do that three or four times before you try anything ambitious: a new location, a POV mount, a second animal, or a guest. Pet vlogging rewards patience more than gear. The creators whose animals visibly love filming are the ones who built up slowly, kept sessions short, and stopped when the animal said stop.
Questions vloggers ask about pet vlogging
Quick answers to the questions vloggers ask most about filming pets, from autofocus and session length to sound, mounts, and shy animals.
Do I need animal eye autofocus to film my pet?
No, but it helps a lot with moving animals. Without it, use continuous autofocus with a small focus area placed on the eye nearest the camera, stop the lens down slightly for more depth of field, and use the pre-focus fallback from the focus section: focus on the spot where the action will happen and let the animal move into focus.
How long should a pet filming session last?
Ten to fifteen minutes of real filming, with breaks, is a good session for most pets. Short sessions give you better footage because the animal is fresh for all of it, and they protect the animal’s enjoyment of filming, which is what keeps a channel going.
Why does my dog’s tail wag in one video but the comments say he looks stressed?
Because a wag alone does not mean happy. A loose, wide, sweeping wag is relaxed, while a high, stiff, fast wag signals arousal or tension. Viewers read the whole body, not just the tail, so check the ears, eyes, mouth, and posture together.
Can I put a camera mount on my cat?
Only if your cat already walks in a harness happily, and even then keep it to a very light action camera for a few minutes. Most cats dislike harnesses, and a cat that freezes, flops, or paws at a harness is telling you no. Never force a mount on an animal that does not accept a harness on its own.
How do I stop barks from distorting my audio?
Set levels for the loudest sound, not for your voice. Get the animal to bark during a level check, set the peak around twelve decibels below maximum, and turn on a safety track at a lower level if your recorder offers one. Narration recorded low can be raised cleanly in the edit, but a distorted bark cannot be repaired.
What frame rate should I use for pet videos?
Use 60 frames per second for fast action: running, jumping, and playing. It gives smooth half speed slow motion in the edit. For calm indoor moments, a normal frame rate is fine, and it keeps file sizes smaller.
Should I film my pet alone or with a helper?
A helper makes everything easier: one person handles the animal and the cues while the other handles the camera. If you film alone, use the zone tracking from the talking section, keep the camera on a tripod, talk in short lines, and add a phone as a wide safety angle so a lost moment never leaves you with nothing.
Is it OK to use treats and toys to get my pet to look at the camera?
Yes, when the animal enjoys it. Short cues, a toy, or a treat held near the lens are standard practice and keep filming fun. The line is forcing: if the animal is stressed, tired, or refusing, treats stop being a reward and become pressure. Use cues sparingly, reward generously, and stop when the animal’s mood says stop.
How do I film a shy or nervous pet?
Film in their safest place, usually home, keep sessions very short, and let them come to the camera instead of following them with it. Set the camera down at their level and ignore it for a while so it becomes furniture. Never corner a shy animal for a shot, and never use a stressed reaction as content.
Can I start a pet channel with just a phone?
Yes. A phone with good light, a steady hold or a small tripod, and a wind cover on its microphone will make a perfectly good pet video. The craft in this guide, pet level framing, held shots, stress awareness, clean levels, and story first editing, matters far more than the camera.
This guide is research-based: we compared published guidance and creator resources.
Keep exploring
Ready for your next pet shoot? These guides cover focus, audio, movement, and editing for animals that never sit still.
- Action Camera Vlogging Tips: Mounts, Settings and Waterproofing
- Best Action Cameras for Vlogging in 2026
- Camera Keeps Losing Focus Vlogging? Autofocus Settings That Stick
- How to Record Better Audio for Vlogs in 2026
- Best Wireless Microphones for Vlogging in 2026
- How to Get Smooth Handheld Video Without a Gimbal: IBIS, OIS and EIS Explained
- How to Stabilize Shaky Video in Editing in 2026
- Slow Motion for Vlogs: 60fps, 120fps, S&Q and Conforming
- How to Edit Vlogs Faster in 2026
- Vlogging Safety Tips: Stay Safe While You Film
- Filming in Bad Weather: Rain, Cold, Heat, Sand and Condensation
- B-Roll Ideas Every Vlogger Should Steal in 2026