Last updated: November 2026
Food looks simple on camera until you try it. The dish that smelled wonderful in the kitchen turns gray under your lights, the steam vanishes, the restaurant audio drowns your voice, and the overhead shot wobbles because the rig was built for a phone. This guide fixes those four problems in order: the camera and lens that suit food, light you can control, color and steam handled properly, and rigs that hold a real vlogging camera steady. It also covers the part most guides skip: how to film in restaurants and at street stalls without annoying the people around you.
In this guide
- The short answer: light, color, and sound, in that order
- The camera and lens that suit food
- Lighting food without a studio
- True color and steam: the two things photos forgive and video does not
- Angles that sell a dish: overhead, 45 degrees, and close-up
- Overhead rigging for a vlogging camera, not a phone
- Filming in a restaurant without ruining anyone’s evening
- Street food and markets: fast, handheld, and respectful
- Sound: the voice, the sizzle, and the music
- Editing food video: cut straight, color gently, pace by format
- Four format kits: what changes between home, restaurant, street, and market
- Your first food shoot: a checklist that prevents the usual regrets
- Questions food vloggers actually ask
The short answer: light, color, and sound, in that order
Put your dish beside soft side light, lock your white balance before you roll, and get your microphone close to your mouth. Those three habits fix most food videos. Everything else in this guide builds on them.
Beginners usually start by shopping for a better camera. A better camera helps, but it cannot rescue a dish filmed under a yellow ceiling light with the white balance drifting from shot to shot. Light decides whether food looks fresh. White balance decides whether it looks like itself. Sound decides whether anyone stays to hear about it. Get those three right with the camera you already own, and the rest of this guide becomes refinement rather than rescue.
Food video also punishes a habit that food photography forgives: leaving decisions to the camera. A photo lets you fix one frame. A video makes you live with hundreds of frames, and every automatic adjustment the camera makes mid-clip shows up as a flicker, a color shift, or a focus hunt. The theme of this whole guide is one sentence: lock things down before you press record, then move slowly.
The camera and lens that suit food
A mirrorless vlogging camera with a flip screen, in-body stabilization, a microphone input, and a fast prime lens covers nearly every food job. The lens matters more than the body: a fast prime gathers more light and throws the background softer than a slow kit zoom.
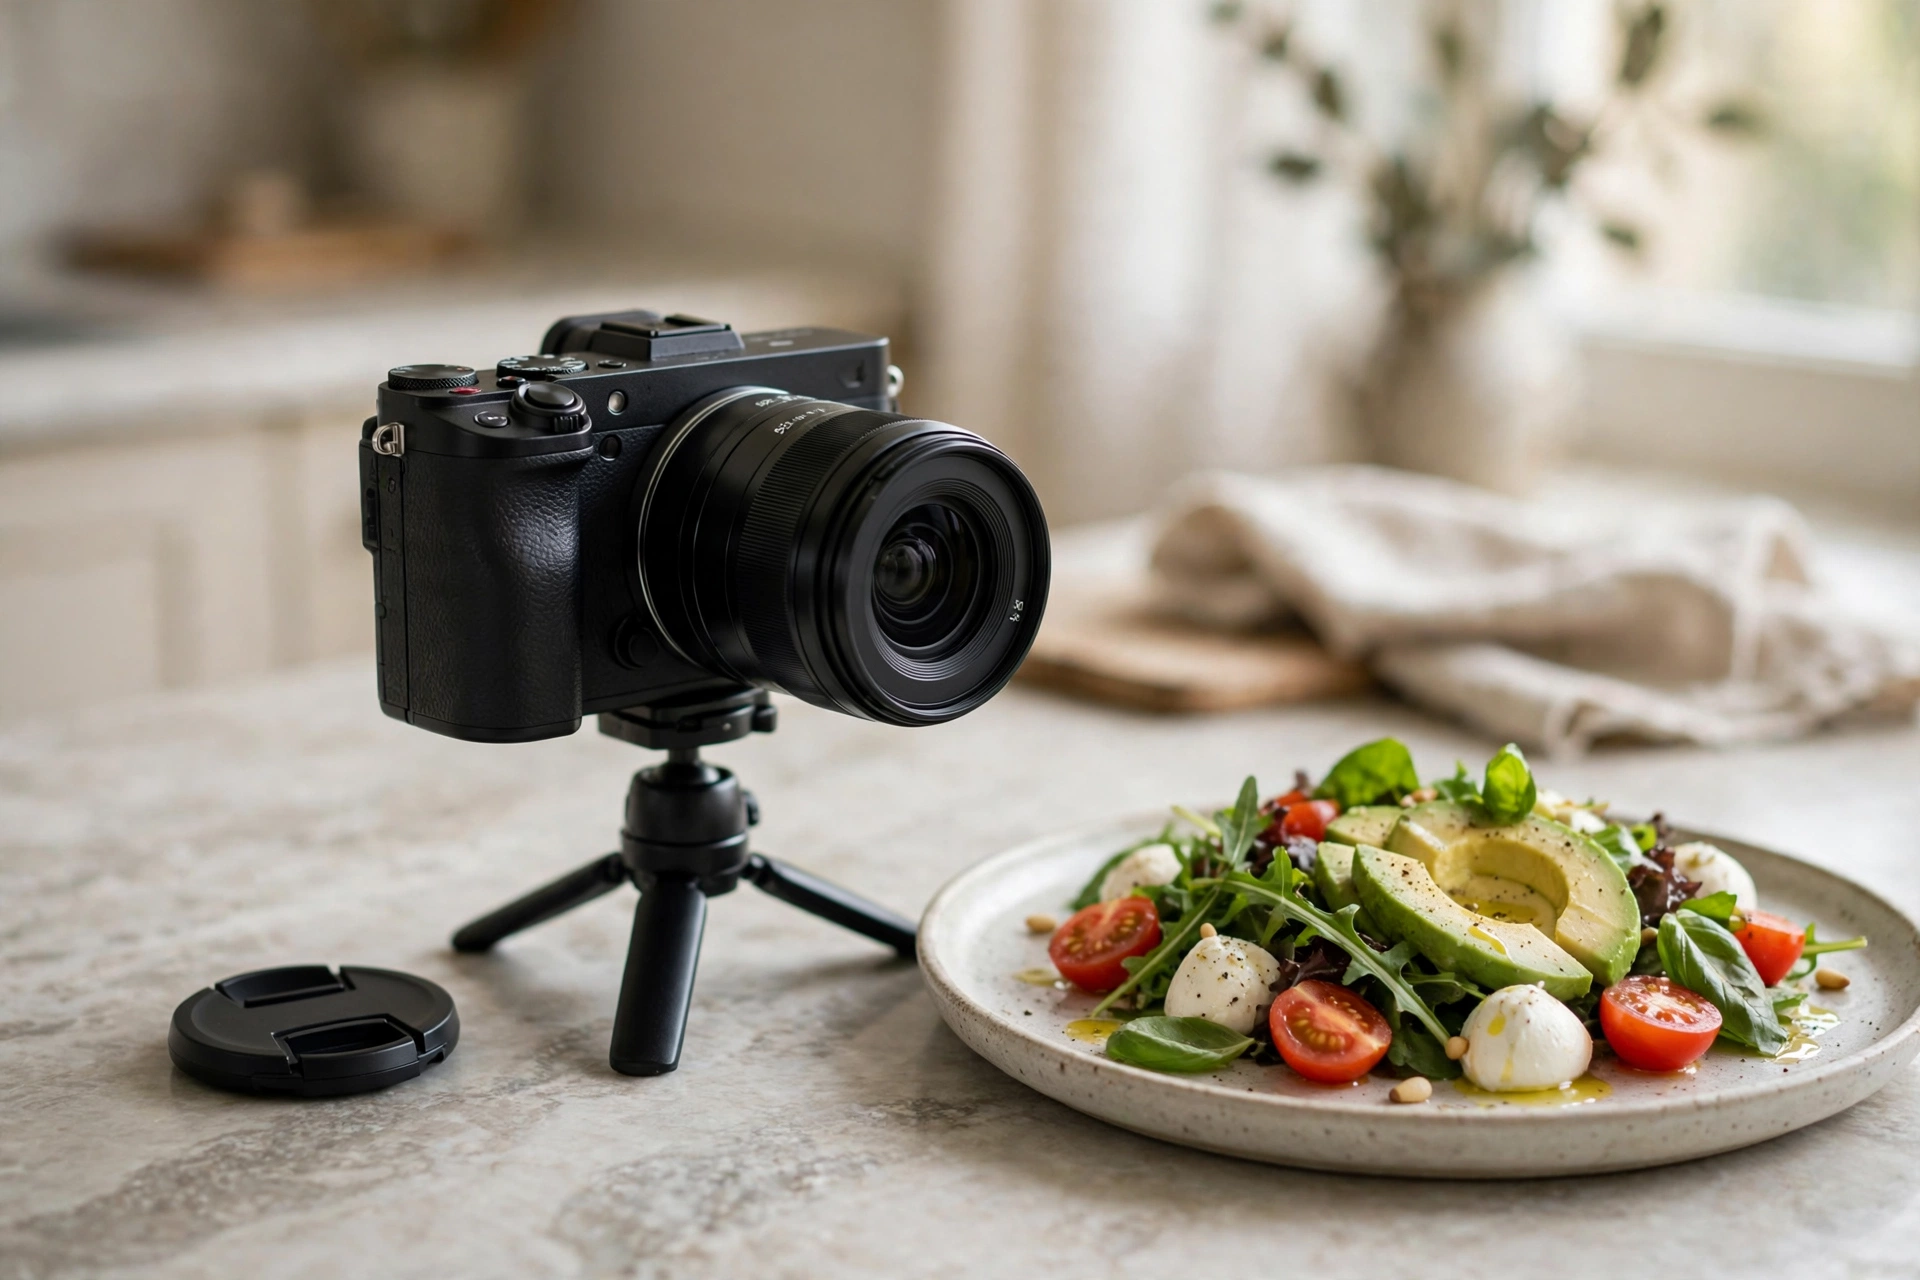
Start with the body features that actually change food footage. A flip screen lets you frame an overhead shot without climbing on a chair. In-body stabilization smooths the small handheld moves around a table. A microphone input matters because restaurant and market audio will defeat a built-in mic, and a headphone jack lets you hear the problem while you can still fix it. Low light performance matters more for food than for most vlogging, because restaurants are dim and kitchens at night are dim, so a larger sensor earns its keep here.
Then the lens. A fast prime in the 35mm to 50mm range is the workhorse: wide enough for a table scene, long enough for a plate without distortion, and fast enough to shoot in a dim room without pushing the sensor into noisy territory. A short macro lens, around 90mm to 100mm, earns its place for close-ups of texture: herb leaves, grill marks, sauce being poured, the edge of a cut. The kit zoom that came with the camera still works for wide room shots and market walks, but expect it to struggle exactly where food needs help most, in low light and close up.
Two things to avoid. First, do not buy a second body before you own a fast prime; the prime changes more footage than a new sensor does. Second, do not judge a food camera by its photo specs. Video autofocus behavior, stabilization, and heat handling during a long cooking session matter more than megapixels. A camera that overheats twenty minutes into a stew is the wrong food camera, however good its stills look.
Phones still have a place: quick vertical clips, behind-the-scenes cuts, and a second angle you can prop on the table. But phone advice does not transfer to a vlogging camera. Overhead rigs, low light settings, and audio chains all behave differently once a real lens and a real microphone are involved, and the rest of this guide is written for the camera, not the phone. If you are still settling the basics of your camera, our guide to vlogging camera settings explained is a useful companion to this one.
Lighting food without a studio
One soft side light beats three harsh ones. Put the dish beside a window with a sheer curtain, or place a single diffused panel at roughly 45 degrees to the dish, and keep every light in the scene the same color.
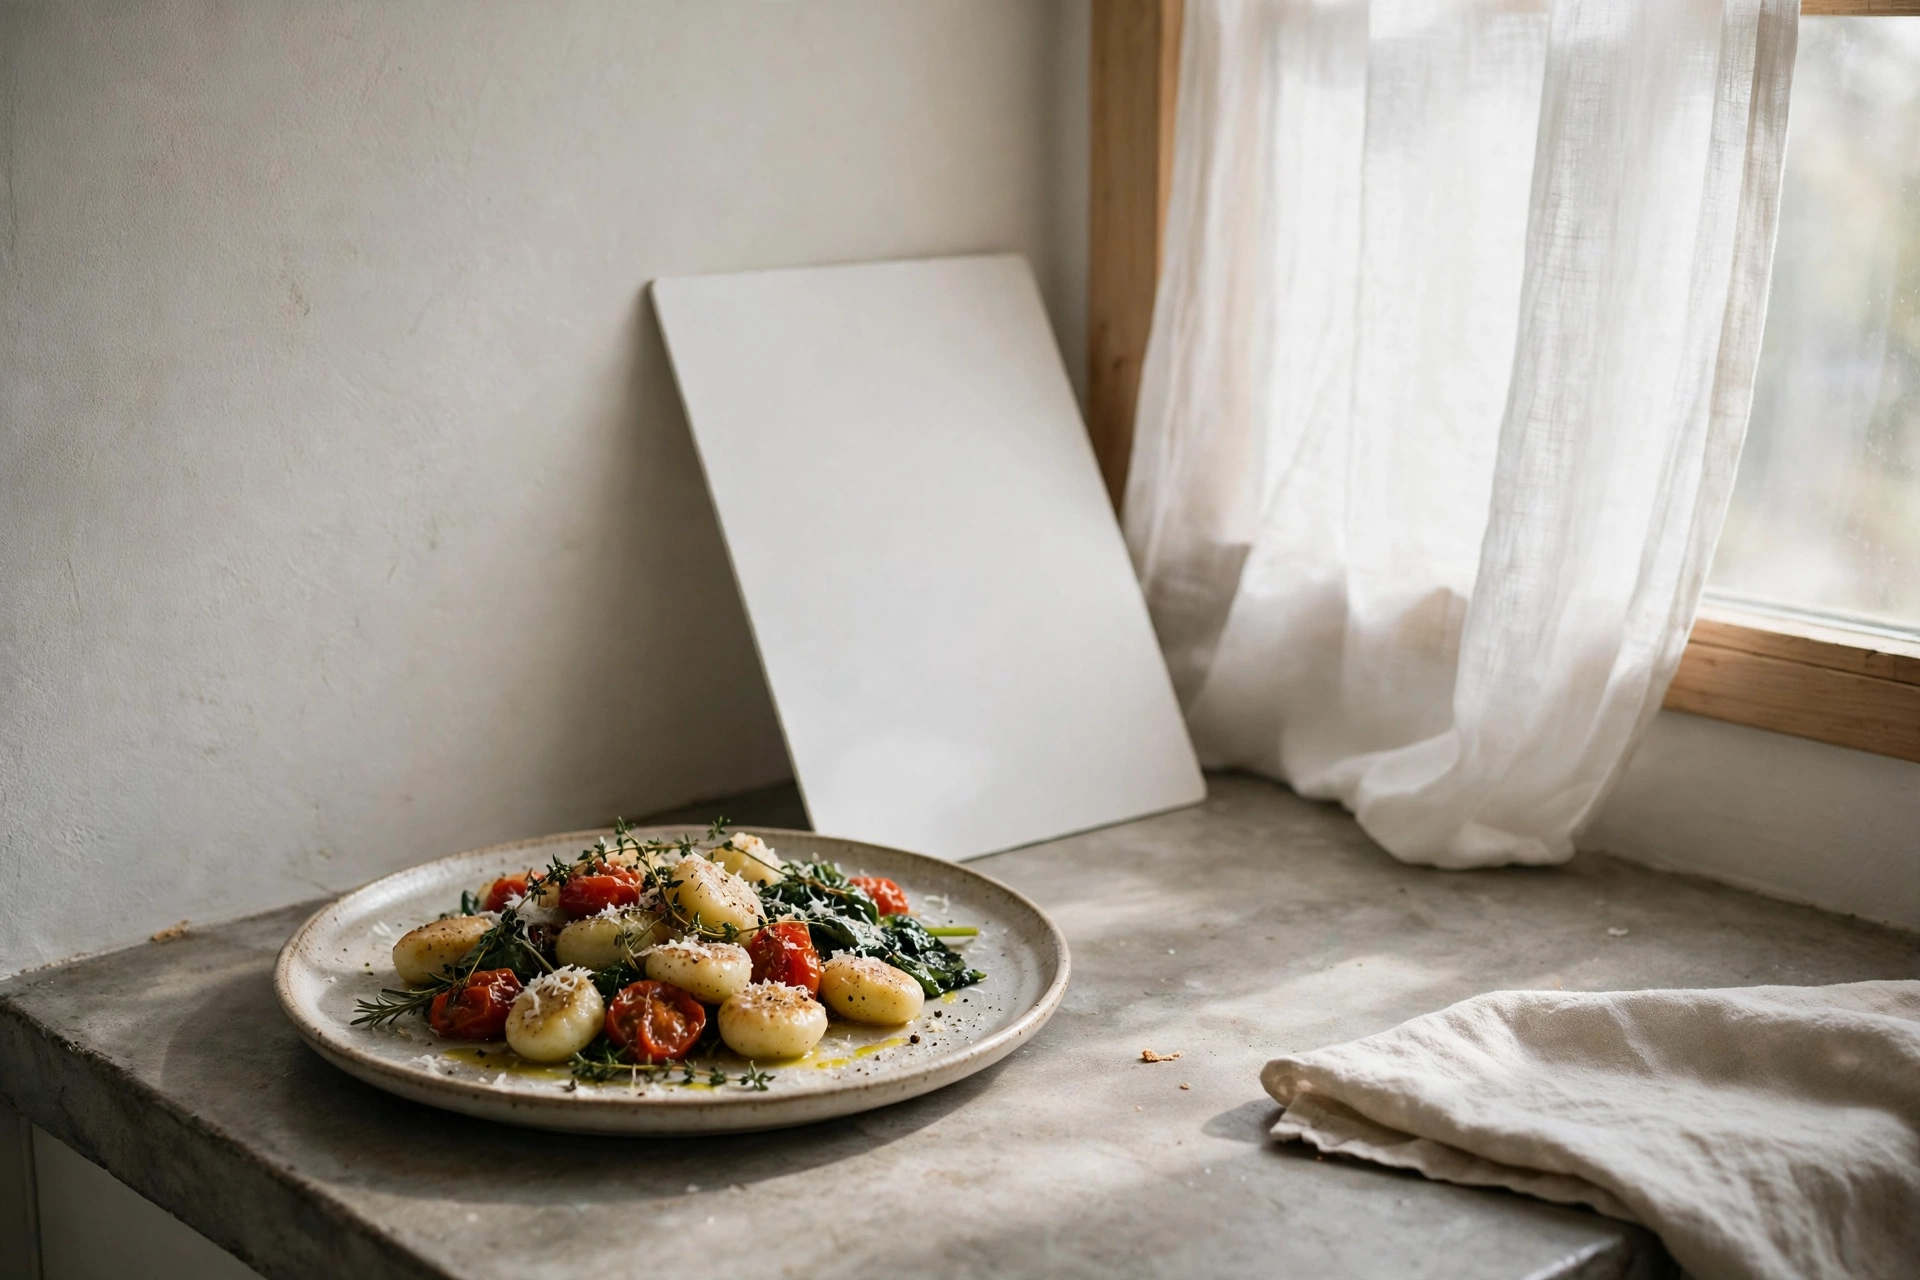
Window light is the best free light in food video, with one condition: it must be soft. Direct sun through a bare window throws hard shadows and blows out highlights on plates and sauces. A sheer curtain fixes it, and so does moving the dish a step back from the glass. Place the light to the side of the dish rather than behind you. Side light rakes across texture, so grill marks, crumbs, and sauce edges read on camera, while light from behind the camera flattens everything into a catalog shot.
When there is no good window, one panel does the job. Put a diffused LED panel at roughly 45 degrees to the dish and slightly above it, then fill the shadow side with a white reflector card, a sheet of white card, or even a white tea towel propped on a box. The reflector costs nothing and removes the hard shadow that makes food look staged. Keep the panel diffused: bare LEDs throw the same harsh shadows as direct sun, and a cheap softbox or a sheet of diffusion material in front of the panel changes the whole look.
The rule that saves more footage than any purchase is matching color temperatures. Mixing daylight from a window with warm kitchen bulbs makes the camera pick a compromise that flatters neither, and food picks up a sickly cast. If you must mix, turn off the odd light or gel the panel to match. In a restaurant, where you cannot control the room, this rule becomes a white balance job instead, which is the next section.
One light to avoid: the overhead kitchen light on its own. It shines straight down, throws shadows into bowls, and turns most food yellow. If it is the only light available, switch it off and use your panel, or move the dish to the window. And never use a phone flash on food. It kills texture, throws a hard shadow behind the plate, and announces to the whole restaurant that someone is filming. If you also appear on camera beside the food, our guide to lighting your face for videos covers the face side of the same problem.
True color and steam: the two things photos forgive and video does not
Lock your white balance to the light you are actually using, and shoot steam in its first minute against a dark background with light from the side or behind. Auto white balance drifts from shot to shot, and steam that looks obvious in person vanishes on camera without backlight.
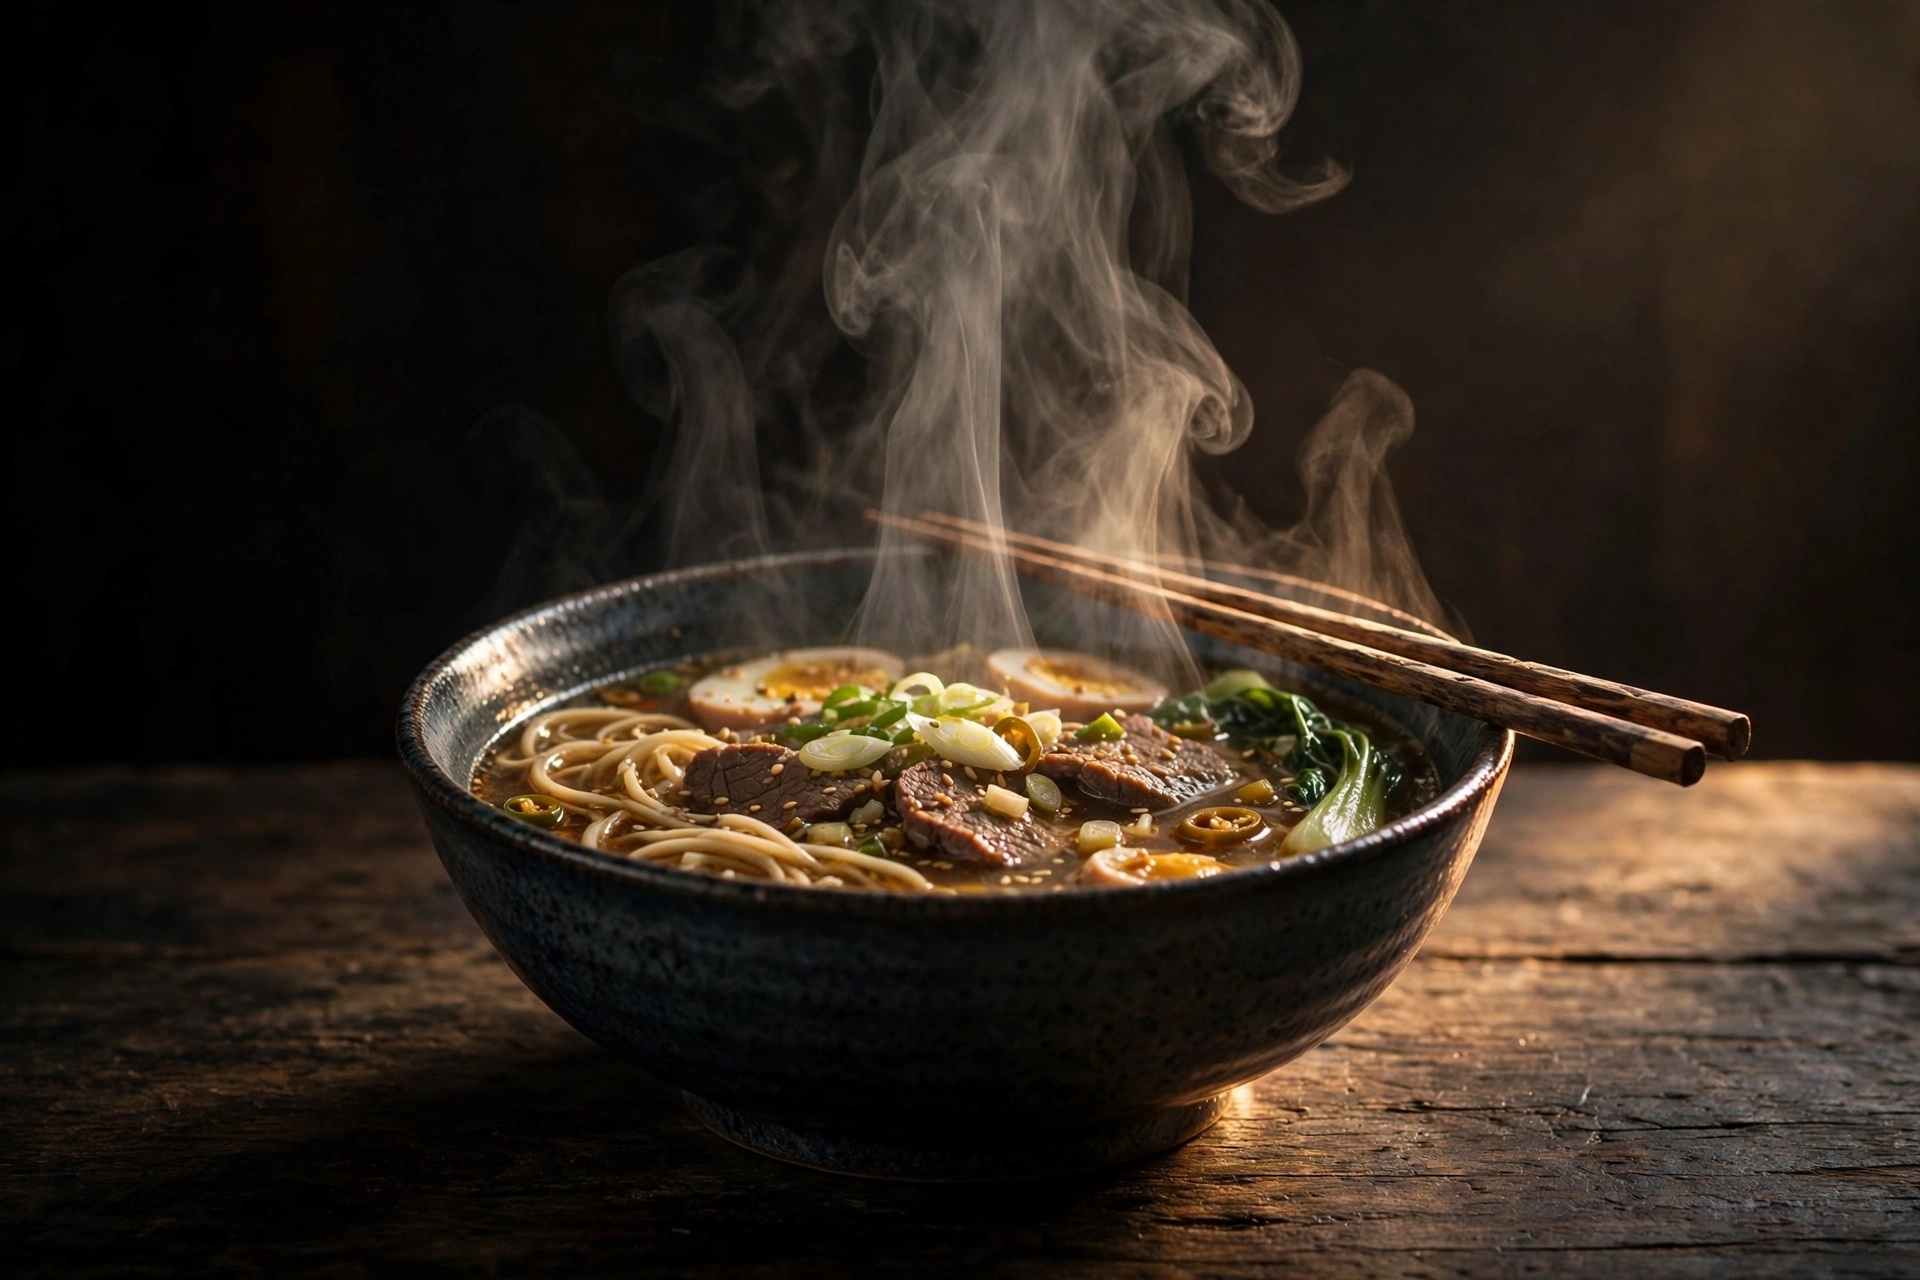
White balance is the single most skipped setting in food video, and it shows. On automatic, the camera rejudges the color of the light every time the framing changes, so the same dish looks warm in one shot and gray in the next, and no edit can fully hide the jump. The fix takes ten seconds: set the white balance to match the light. Daylight preset for window light, tungsten preset under warm bulbs, or a manual Kelvin value when your panel lets you set one. One working food creator’s rule is worth copying: set the lights and the camera to the same number. He uses 5000K for a clean, neutral look, so whites stay white and food colors stay true from shot to shot.
When the light is mixed, which is most restaurants, use a reference. Hold a white plate or a gray card in the dish light, set a custom white balance from it, and then leave the setting alone for the whole meal. Check the result on the flip screen before the food arrives, while you can still change it. If your camera shoots a flat or log picture profile, remember that the footage will look gray until graded; judge color after a basic correction, not straight out of camera.
Steam needs its own method, because steam is nearly invisible head-on. It shows when light crosses it, so place the dish so a window or a panel lights the steam from the side or from behind, and put something dark behind the dish. Shoot within the first minute of plating, while the steam is thickest, and keep the shot short: ten seconds of strong steam beats a minute of fading wisps. Wipe the lens between takes, because steam condenses on cold glass and softens everything after the first shot. Never fake steam in the edit with overlays; viewers often spot it, and it risks trust in a review.
On saturation, restraint wins. Correct the white balance first, fix exposure second, and only then lift saturation a little. Food that is pushed too far looks plastic, and skin tones in the same frame will betray you: if the hands holding the bowl look orange, the food grade has gone too far. Judge the grade on the food and on the hands together, and when in doubt, pull back. Our guides to white balance for video and color grading for vloggers go deeper on both halves of this job.
Angles that sell a dish: overhead, 45 degrees, and close-up
Use overhead for flat food and spreads, 45 degrees for bowls and tall dishes, and close-ups for texture and steam. One hero angle per dish, plus two or three cutaways, gives the edit everything it needs.
Overhead is the flat-lay angle: camera straight down, dish centered, table as the background. It suits bowls, boards, spreads, and anything arranged flat, because the viewer sees the whole composition at once. It fails on tall food, where a burger or a stacked dessert collapses into a circle, and on dishes whose appeal is height or layers.
The 45 degree angle is the restaurant angle: camera looking slightly down at the plate from across the table, roughly where a diner’s eyes sit. It suits bowls, burgers, stacked dishes, and anything with height, because it shows the front of the food and a little of the table setting. It is also the most forgiving angle for handheld work, since small moves read as natural rather than seasick.
Close-ups do the selling. A tight shot of a cut, a pour, a pull, or a garnish landing gives the viewer the texture that wide shots cannot. Shoot close-ups as separate short clips, not as zooms during a take: a slow push in on a tripod works, but a handheld zoom mid-sentence almost always wobbles. Keep focus on the food, not on the fork in front of it, and lock focus for close-ups rather than trusting continuous autofocus to pick the right plane.
For each dish, plan one hero angle and two cutaways: a detail and a context shot of the table or the room. That small shot list is the difference between an edit that flows and an edit padded with repeated angles. Move the camera between shots, not during them, and let the food sit still while the camera does the work.
Eye level deserves a mention too, because it is the angle most restaurant vloggers actually use: camera at plate height, looking straight at the dish, with the room falling away behind it. It suits tall food and drinks, and it keeps the viewer at the table with you. Match the lens to the angle as well as the dish: a wider lens for the overhead spread, a longer lens for the close-up, and the prime in the middle for everything else. Changing lenses between shots is normal; changing them mid-shot is a delay you will regret when the food cools.
Composition rules from general videography still apply here: keep the dish off dead center when the table offers something worth including, watch the edges of the frame for stray cutlery and elbows, and leave a little room in the direction the food faces. Our guide to video composition and shot types covers these choices in more depth.
Overhead rigging for a vlogging camera, not a phone
A vlogging camera needs a rig rated for its real weight, a counterweight on the boom, and a sag test before the food arrives. Phone rigs sag, creep, and in the worst case drop a camera toward the table.
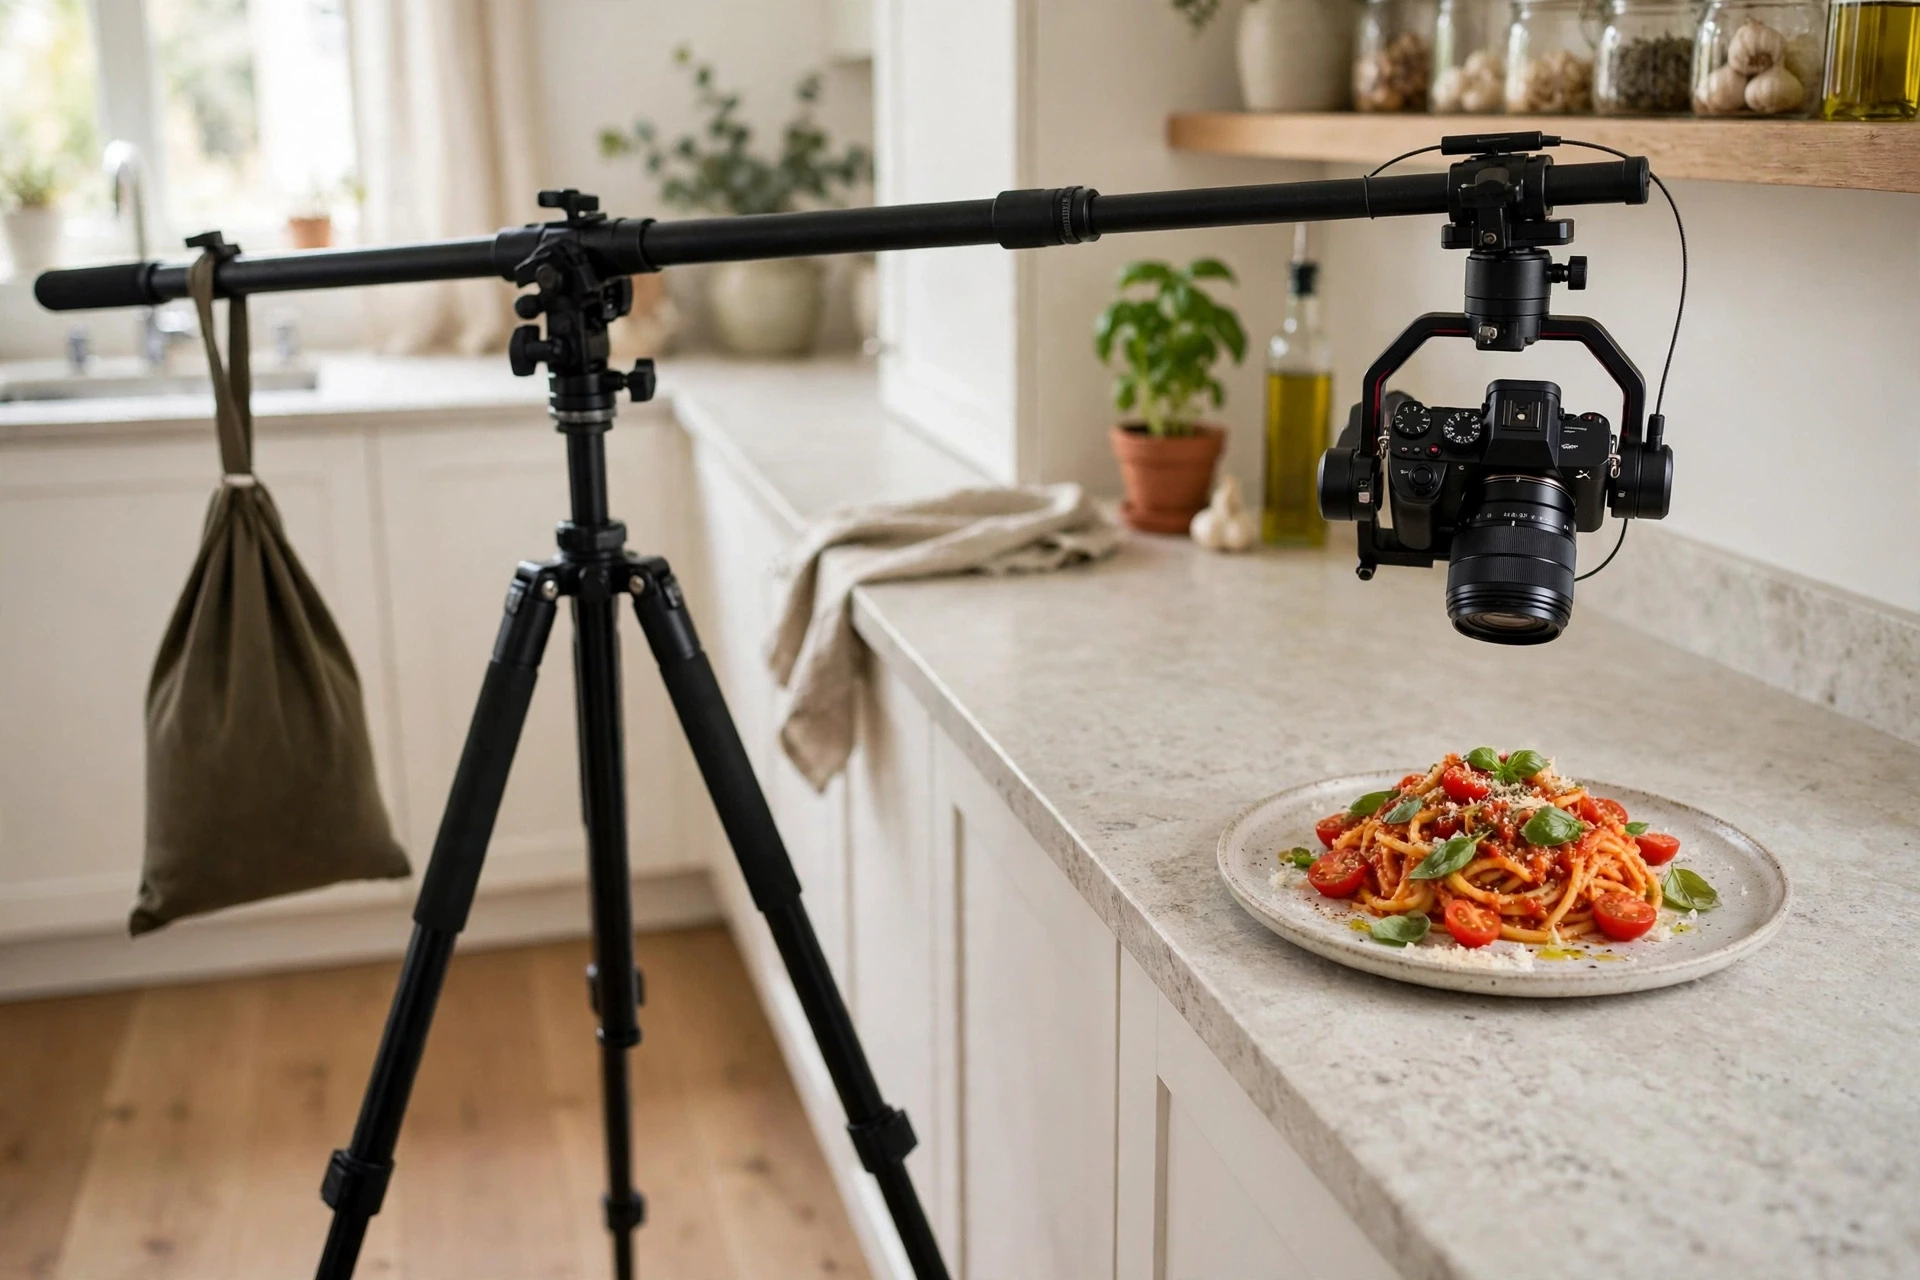
Most overhead rig guides are written for phones, and their weight ratings show it. A phone weighs a fraction of a mirrorless camera with a prime lens, so a clamp arm rated for a phone will slowly droop under a camera, and the droop shows up as a drifting frame halfway through a cooking sequence. Check the rating against the camera plus lens plus any microphone or monitor attached, and keep a margin: if the arm is rated for the exact weight of your setup, it is already at its limit.
Three rig types cover nearly every kitchen. A tripod with a horizontal boom arm is the most flexible: legs stay on the floor beside the counter, the arm reaches over the dish, and a counterweight on the far end balances the camera. A desk clamp arm suits small kitchens with a sturdy table edge, provided its rating clears your setup with room to spare. A C-stand with a grip arm suits a permanent corner, where the stand can live without blocking the kitchen. Whichever type you use, the camera must hang from a proper mount with a secondary safety: a strap or tether that catches the camera if a knob slips.
Before the food arrives, run the sag test. Frame the shot, lock every knob, press record, and leave the rig alone for ten minutes. Play it back and watch the edges of the frame. If the dish drifts, the rig is creeping and needs tightening, rebalancing, or a sturdier arm. Check the level too: a tilted overhead shot looks wrong in a way viewers feel before they can name, and most cameras show a level on screen. Check the corners of the frame for tripod legs, clamps, or cables before you roll, because an overhead frame has nowhere to hide them.
Safety is part of the craft. Never rig a camera above an open flame, a pot of boiling liquid, or a guest’s head. Weight the tripod or stand so a bumped counter cannot tip it, keep cables off walkways, and keep the rig out of the cook’s workspace so nobody knocks it reaching for salt. A rig that survives a bumped counter is worth more than a rig that frames perfectly for thirty seconds.
Filming in a restaurant without ruining anyone’s evening
Ask the staff on arrival, film only your own table, keep your kit small, and get your shots fast so you can eat while the food is hot. Permission first, footage second, and a gracious yes to any refusal.
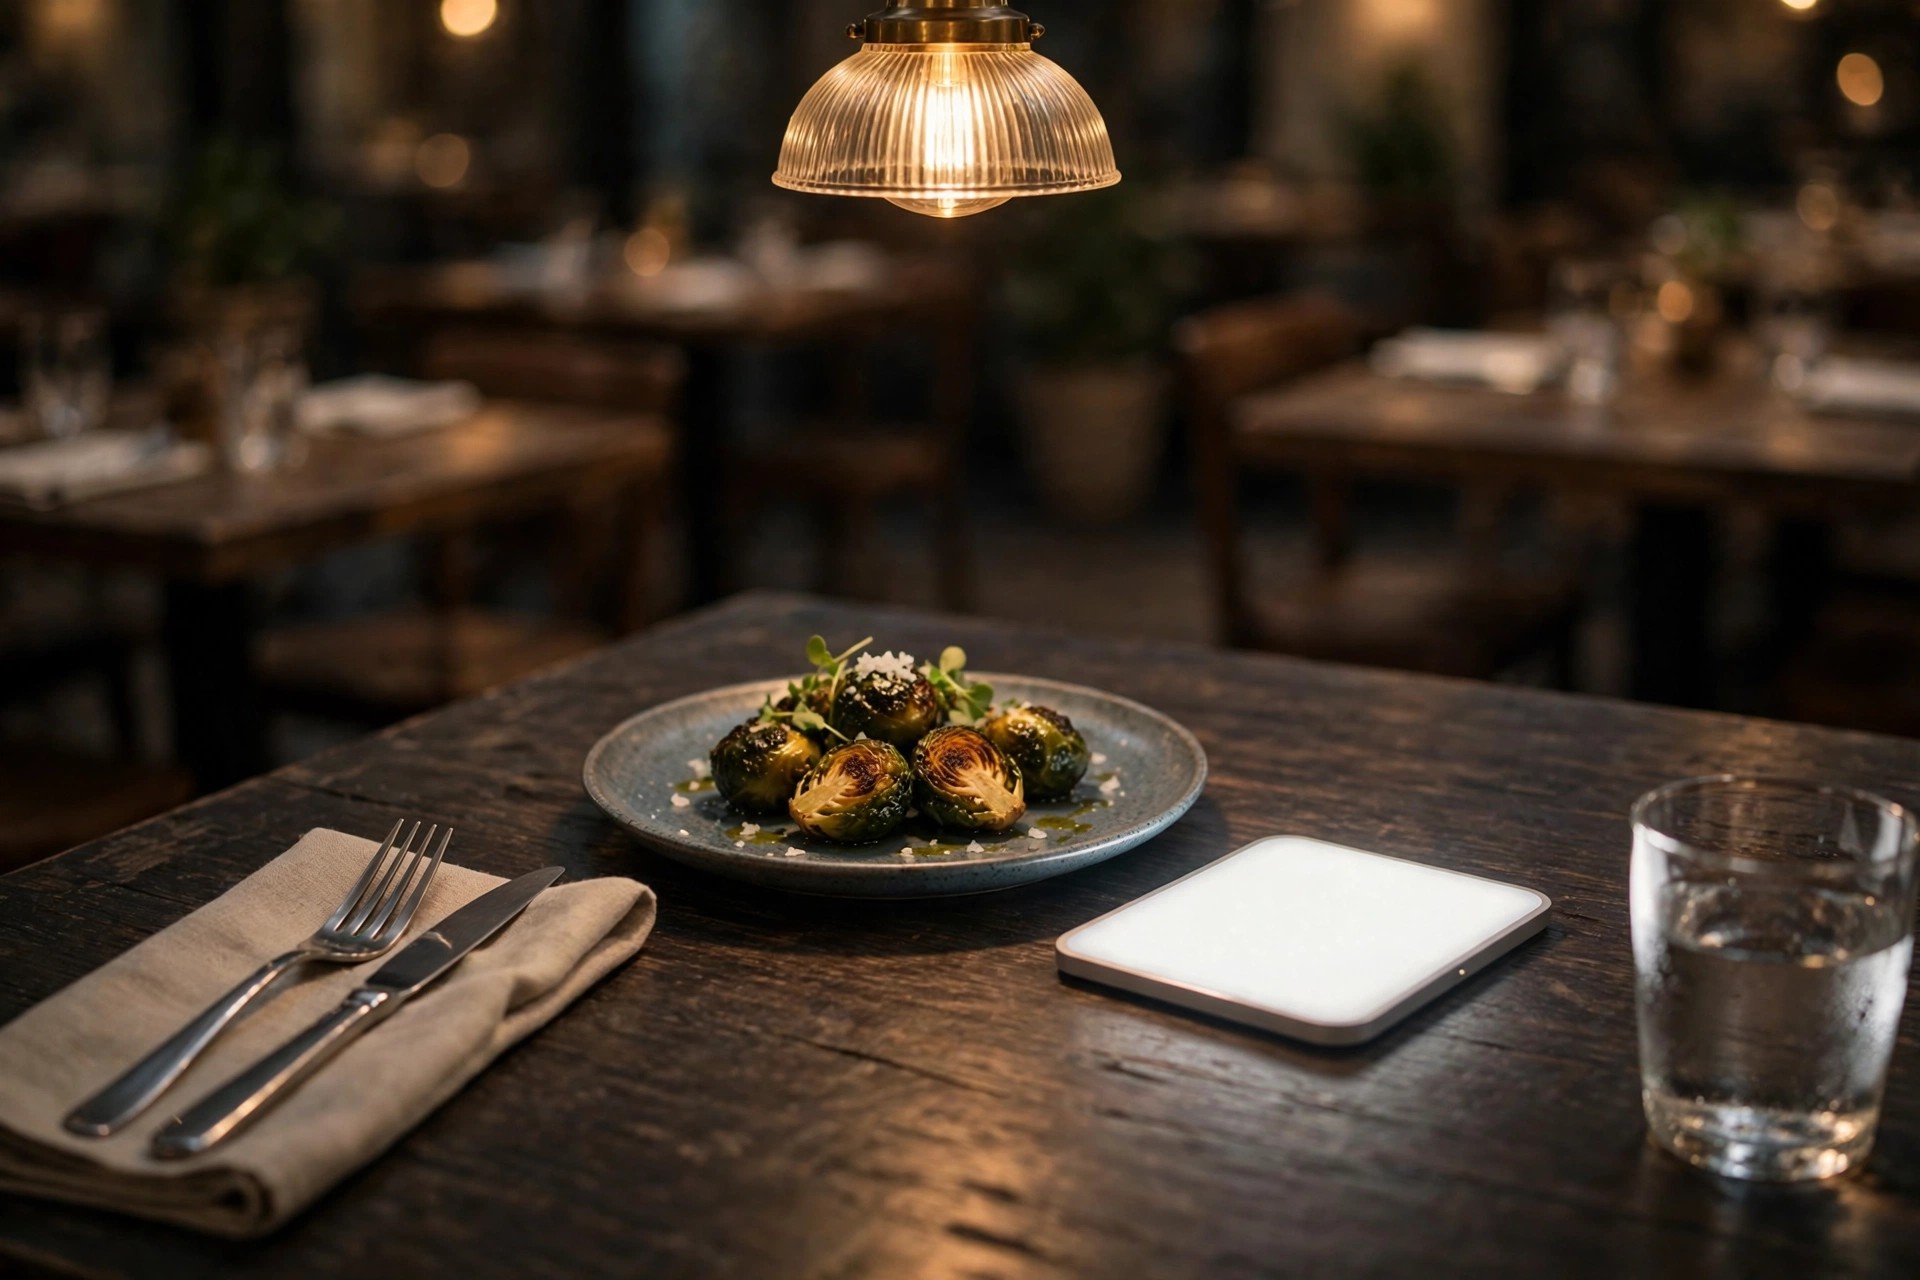
Permission is not optional, and it is easier than most vloggers fear. On arrival, tell the host or server plainly: you film food videos, you will film only your own table, you will keep it quick, and you are happy to credit the restaurant. Many places say yes when you ask plainly on arrival, and some will offer a better table for it. If the answer is no, accept it without argument and enjoy the meal without the camera; arguing burns a bridge and earns the exact reputation that makes the next restaurant say no too. Film only your own table, and never include other diners, staff faces, or children at nearby tables. Never let your shot list matter more than the room.
Choose your seat like a cameraperson. A window seat gives you free side light. A corner table gives you a clean background and keeps your kit out of the servers’ path. Avoid the middle of the room, where every angle includes strangers, and avoid sitting under a single harsh downlight that throws shadows into every bowl. Tell your server you may take a minute with each dish before eating; a heads-up prevents the awkward moment when a plate is whisked away mid-shot.
Low light in a restaurant is a kit problem with a small answer. A fast prime lens does most of the work. A pocket-sized LED panel, set low and to the side of the dish rather than blasted from the front, lifts the food without lighting the whole room or bothering the next table. Keep the panel dim: you are adding a kiss of light, not restaging the room. Lock the white balance to the room’s warm light before the first dish, and leave it there, because restaurant lighting rarely changes mid-meal.
Audio in a noisy room needs a plan before you sit down. A small lavalier microphone clipped close to your mouth beats any on-camera mic in a room full of voices, clatter, and music. If you cannot use a lav, record your voiceover later in a quiet room over the footage, and let the restaurant sound play quietly underneath for atmosphere. Record thirty seconds of room tone, just the room with no talking, before you start; it smooths every edit point later. Keep your voice down, keep takes short, and remember that the other tables paid for a meal, not a show.
Street food and markets: fast, handheld, and respectful
Buy first, ask second, shoot third. At a stall, your kit is a small camera, a fast lens, and a lavalier mic, and your best shots are the ones you get in two minutes without blocking the queue.
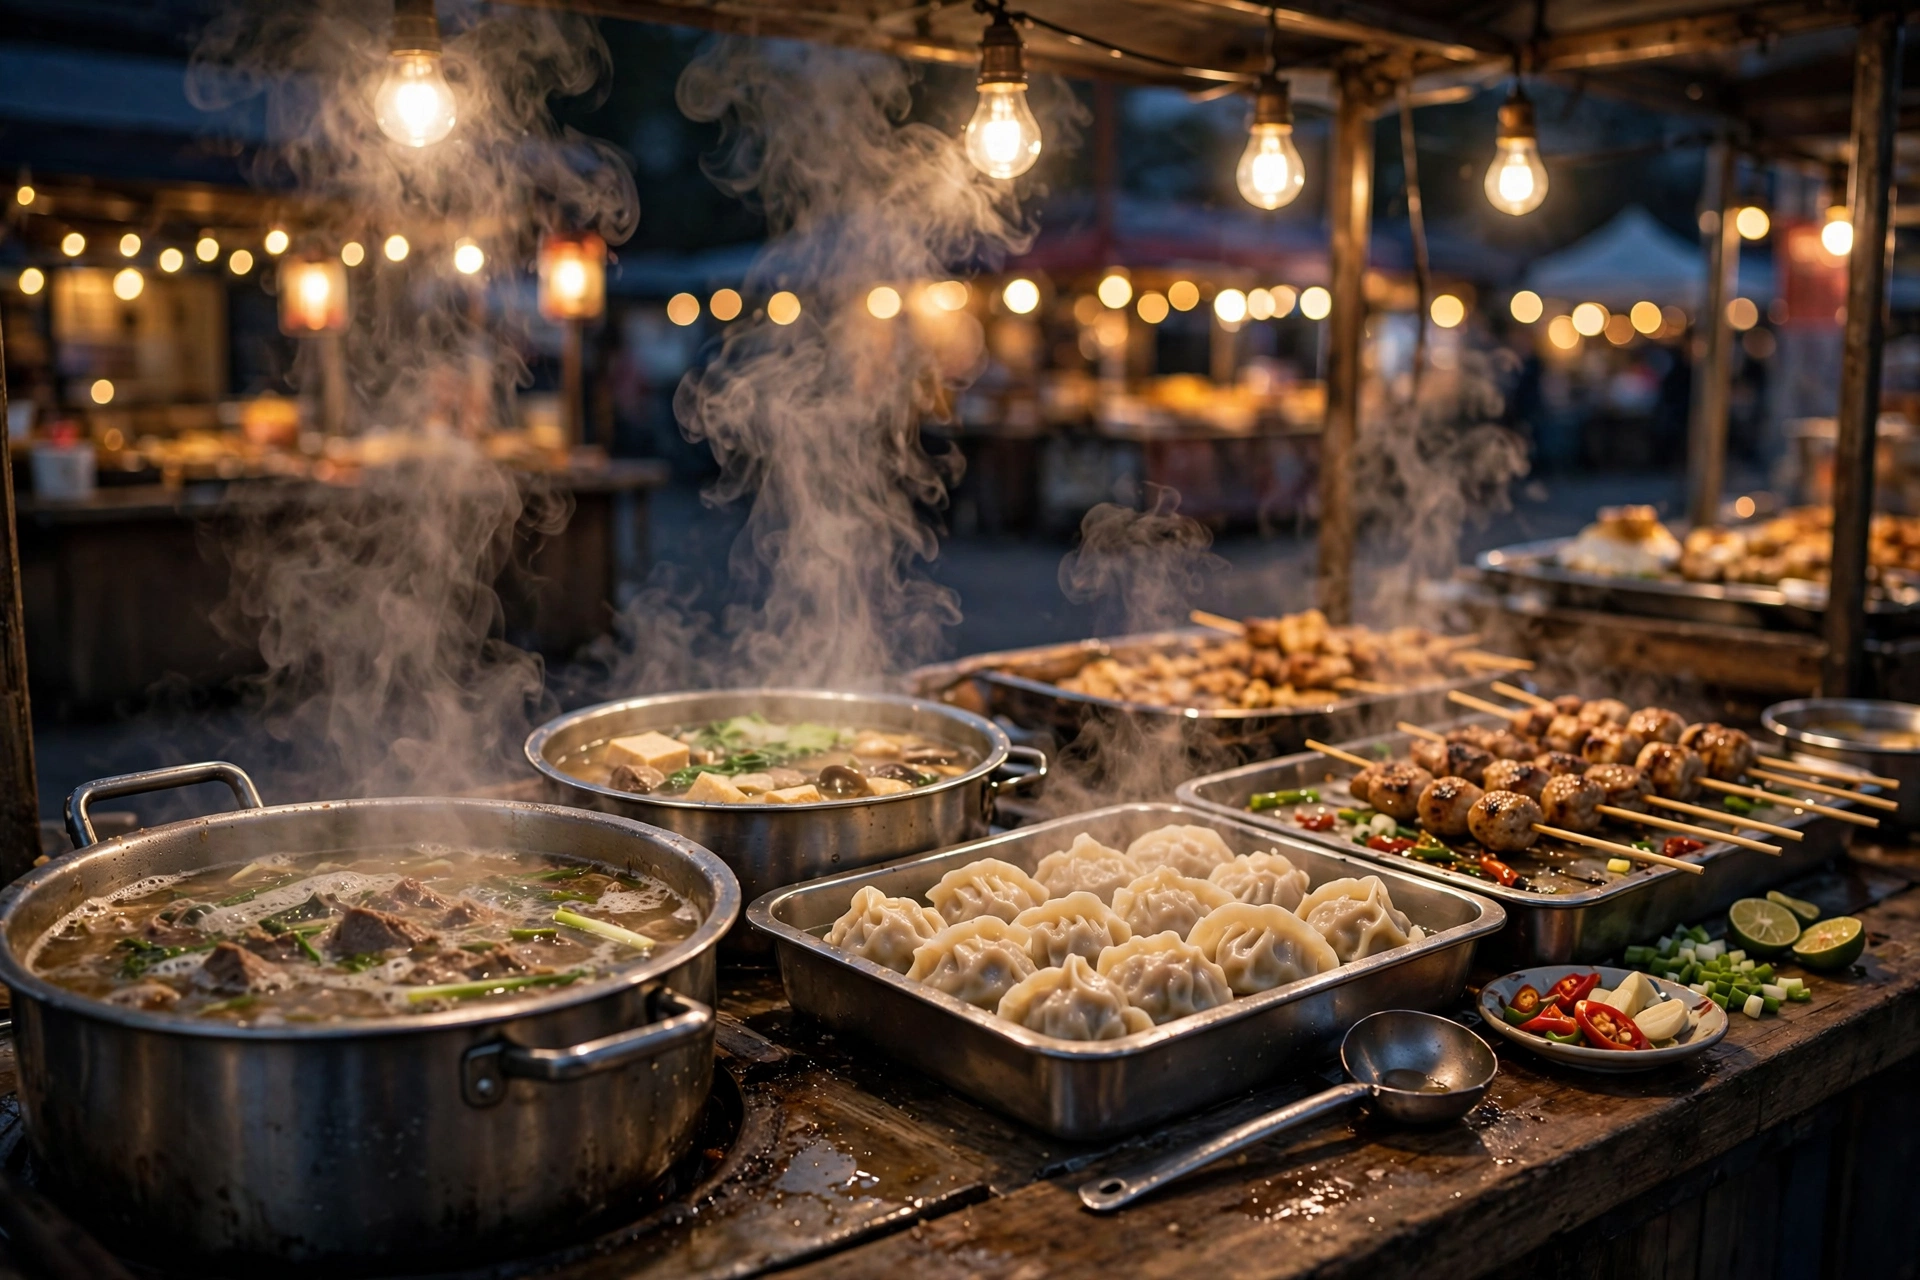
Stall permission works differently from restaurant permission: it is shorter and it starts with a purchase. Order the food, then ask the vendor if you may film the cooking for a short video. A paying customer with a small camera gets a yes far more often than a stranger pointing a rig at a stall. Keep the interaction short, thank the vendor on camera if they are comfortable, and never block the queue or the cooking area while you frame a shot.
Handheld is the right choice here, and it needs discipline. Tuck your elbows, move slowly, and let the stabilization do its job rather than fighting it with fast pans. Shoot the stall, the cooking, and the food in that order, and get the eating shot while the food is fresh. Lock the white balance to the stall lamps, which run warm, or your footage will swing between orange and blue as you move between stalls. A pocket light helps for the food itself, but keep it low and brief; a bright panel in a night market blinds the vendor and the queue. For steadier handheld work in general, our guide to smooth handheld video covers the body and movement habits that matter most.
Sound at a market is texture, not a problem to erase. Sizzle, chatter, and stall calls tell the viewer where you are, so let them sit quietly under your voice rather than stripping them out. A lavalier mic keeps your voice clear while the market stays audible behind it. Wipe the lens often: steam and grease drift onto glass at a food stall, and a smeared lens softens every shot after the first. Watch your footing, keep your bag closed, and keep one hand free; a market is a working place, not a studio, and your footage should never cost a vendor a sale.
Sound: the voice, the sizzle, and the music
Food video has three sound layers: your voice, the sound of the food, and the music. Record the voice close, capture the food sound deliberately, and keep the music low enough that it never fights the voice.
Your voice carries the video, so record it close. A lavalier mic clipped near your chest, or a small shotgun mic on the camera kept within arm’s length, both beat a built-in mic in any real room. Monitor with headphones when you can: a buzz, a hum, or a fan you stopped noticing will ruin a take you thought was clean. If the location defeats you, record the narration later in a quiet room. A clean voiceover over good footage beats a noisy live take every time, and viewers accept it without a second thought when the words match the picture.
Food sound is the layer most guides ignore and viewers love. A sizzle, a crunch, a pour, and a knife on a board all signal freshness better than adjectives do. Get close for these sounds, record them as separate short clips when the room is noisy, and lay them under the edit at a level where they flavor the scene without drowning the voice. If you are making ASMR-style food content, this layer becomes the whole video: kill background hum, get the mic close, and let the food do the talking.
Music needs two disciplines: licensing and level. Use music from a library that licenses it for video, never a chart track ripped from elsewhere, because a claim or a takedown can sink a video that took a day to shoot. Keep the music low under speech and let it rise only in gaps. A track that fits the dish and the place, quiet and steady, does more for a food video than a loud track that fights every word.
Outdoors, wind is the enemy of all three layers. A foam cover helps in a breeze, and a furry wind cover is worth carrying for market walks and street stalls, where even a light wind turns speech into rumble. Record a short test outdoors before the real take, and listen back on headphones: wind noise that seems minor on a small speaker can dominate the finished video. Our guide to recording better vlog audio covers microphone placement and wind handling in more detail.
Editing food video: cut straight, color gently, pace by format
Assemble first, cut the dead time, fix color before you grade it, and keep most cuts straight. Fancy transitions distract from food; a clean cut and a steady pace do the selling.
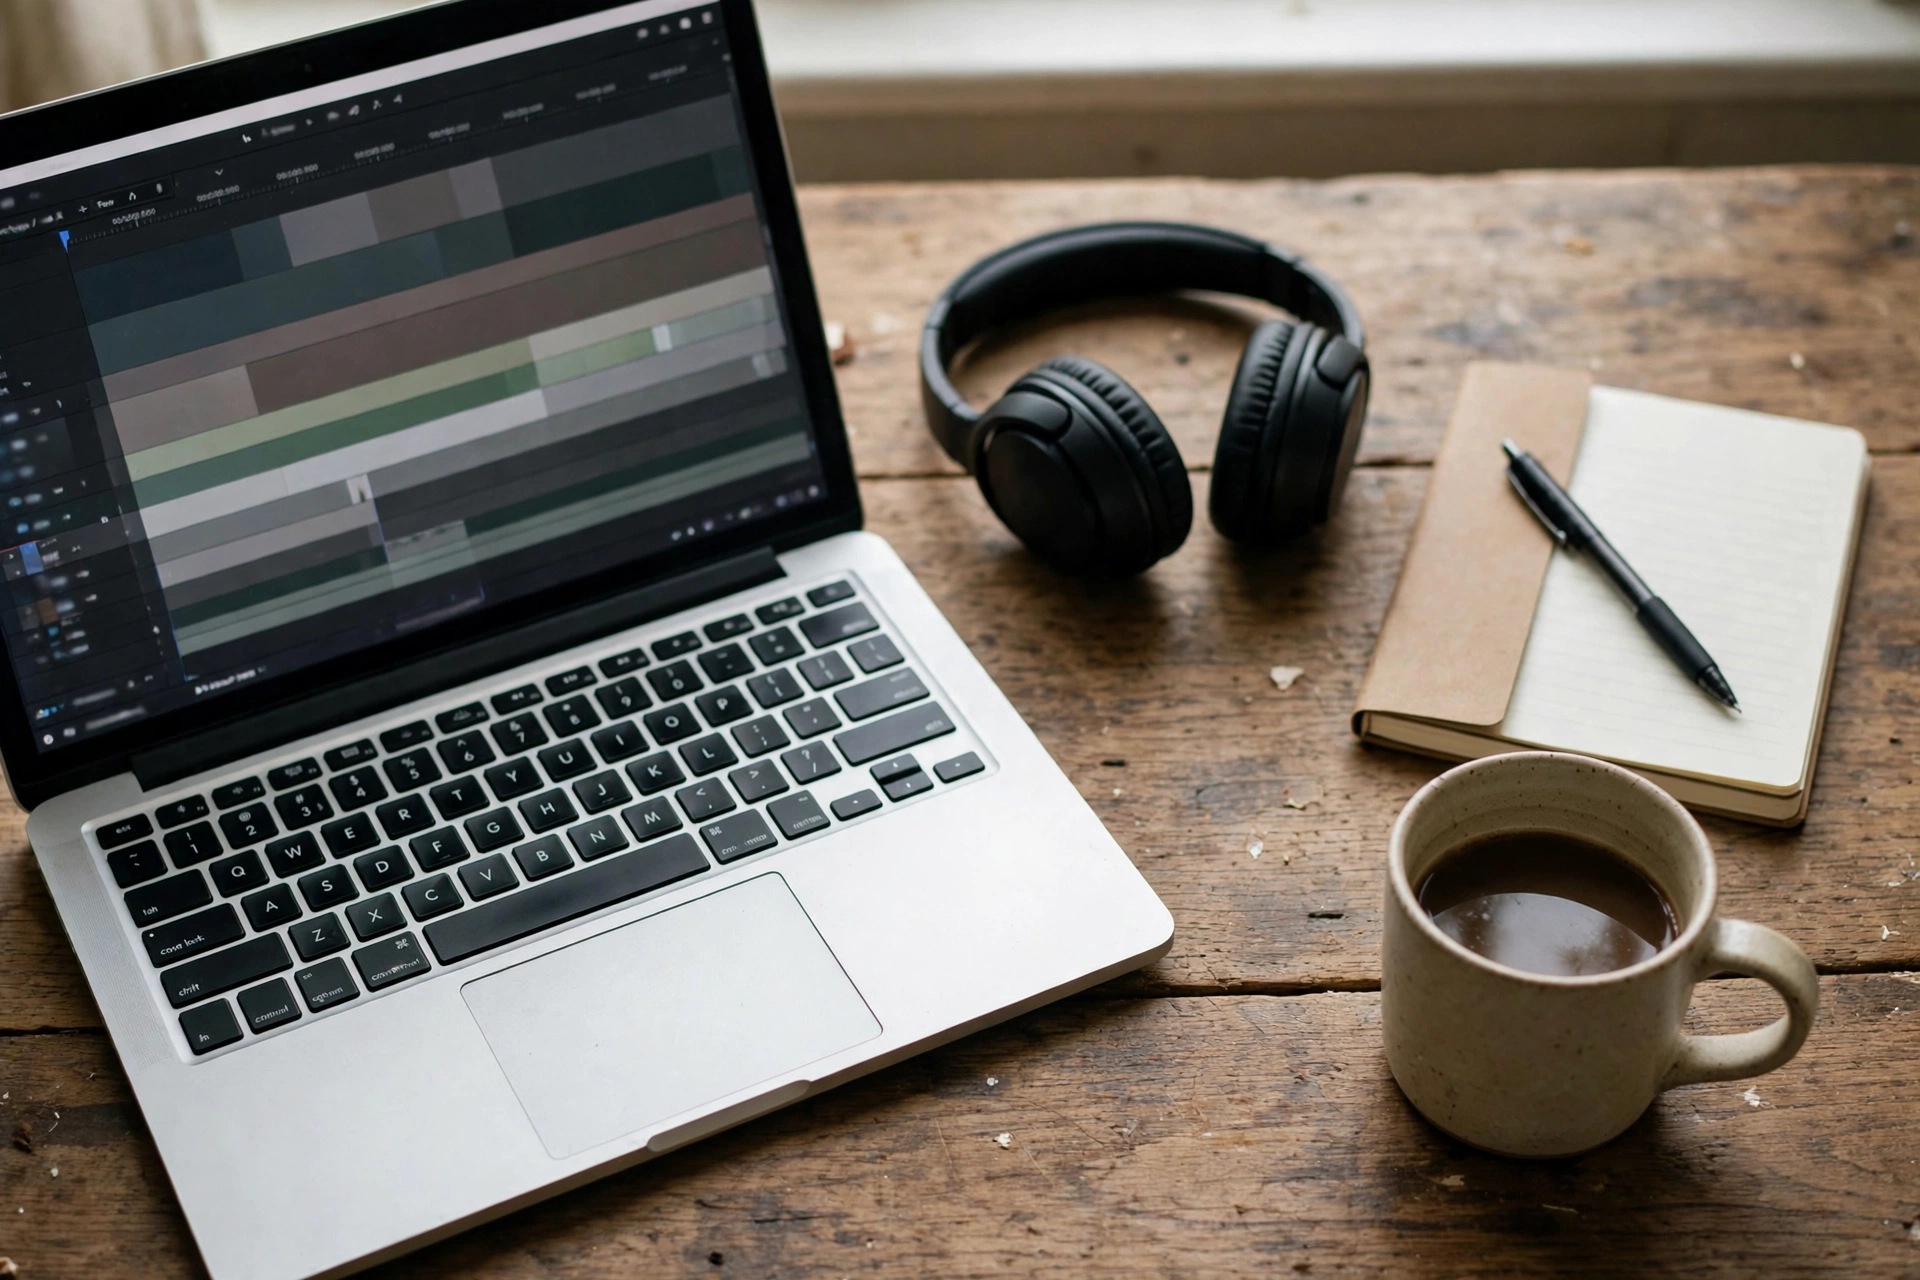
Work in order, because reordering costs time. Assemble the shots in story order first: the dish arriving, the hero angle, the details, the eating or cooking payoff. Then cut dead time: waiting, chewing with nothing said, hands hovering over a plate. Then color, then sound, then text. Color before sound matters because a shot you cannot fix in color may need cutting, and cutting after the sound mix means remixing.
On transitions, the honest guidance from editing guides is to keep the large majority of cuts straight, with no effect at all. A dissolve or a zoom transition now and then marks a scene change, but a video full of them looks like a slideshow and pulls attention off the food. Straight cuts also hide small mismatches between shots better than effects do. If a cut feels jumpy, the fix is usually a missing cutaway, not a fancier transition.
Color work follows a fixed order. Fix the white balance first if it drifted, then set exposure so highlights on sauces and plates are not blown out, then match shots of the same dish to each other, and only then add a gentle lift to saturation. Match before you stylize: two shots of one plate that disagree in color look like an error, while two matched shots with a light warm grade look deliberate. Check the grade on a phone screen as well as a computer monitor, because most viewers will watch it there.
Pace follows format. A short vertical clip wants a cut every few seconds and the payoff early. A long vlog can breathe: let a pour run, let a reaction land, let the room sound sit for a beat. Captions and labels go in clear space, never across the food, and stay short: a dish name, a place name, a single tip. Export a master copy at full quality and keep it, then make the platform versions from it, because re-exporting from a compressed upload throws away quality you cannot get back.
Four format kits: what changes between home, restaurant, street, and market
The kit changes with the place. Home cooking wants a rig and control, a restaurant wants small kit and manners, street food wants speed, and a market walk wants stamina and a free hand.
| Format | Camera angle | Light | Audio | Permission |
|---|---|---|---|---|
| Home cooking | Overhead rig plus a 45 degree angle for plating | Window side light or one diffused panel | Lavalier mic, voiceover later if the kitchen is loud | Your own kitchen, no permission needed |
| Restaurant review | 45 degree angle at your own table, close-ups of each dish | Fast lens plus a dim pocket light to the side | Lavalier mic, room tone recorded before service | Ask staff on arrival, film only your table |
| Street food | Handheld, stall then cooking then food | Stall lamps, white balance locked warm, pocket light for the dish | Lavalier mic, market sound kept low underneath | Buy first, ask the vendor, keep it to minutes |
| Market walk | Handheld wide shots plus close-ups of produce and cooking | Daylight, avoid harsh midday sun where you can | Lavalier mic, wind protection on the mic outdoors | Ask each stall, respect any refusal at once |
Notice what does not change: the white balance stays locked, the microphone stays close, and the food stays the subject. Formats change the kit and the manners, not the fundamentals. A vlogger who can run the home cooking kit can run the restaurant kit with a smaller bag and better manners, and the street kit with faster feet.
Your first food shoot: a checklist that prevents the usual regrets
Charge everything, clear the cards, lock the white balance, test the rig for sag, pack a lens cloth, and write a three-shot list before you leave. The regrets that ruin first food shoots are all preventable in ten minutes at home.
- Batteries and cards: a full battery, a spare, and a cleared card. Food shoots run long because cooking runs long.
- Lens cloth: steam, grease, and fingerprints soften footage silently. Wipe the lens before the first shot and between dishes.
- White balance: set it to the light you will shoot in, and check it on the flip screen before the food arrives.
- Rig test: frame the overhead shot, lock the knobs, record for ten minutes, and check the edges for drift.
- Audio check: record ten seconds, play it back on headphones, and confirm the voice is clear over the room.
- Shot list: one hero angle and two cutaways (a detail and a context shot) per dish. Three shots per dish is enough.
- Permission line: one short sentence ready for staff or vendors, so you ask confidently instead of mumbling.
- Room tone: thirty seconds of the room with no talking, recorded before you start, for clean edits later.
- Backup: copy the cards before you format them, and keep the master export after the edit.
The mistakes that recur in first food videos are worth naming plainly. Shooting under a single yellow ceiling light. Leaving white balance on automatic. Filming a whole meal from one angle. Using a phone flash in a restaurant. Forgetting the lens cloth. Editing with a transition on every cut. Pushing saturation until hands look orange. Every one of them is fixed by a habit in this guide, and none of them needs new gear.
Questions food vloggers actually ask
What is the best camera for food vlogging?
A mirrorless vlogging camera with a flip screen, stabilization, a microphone input, and a headphone jack, paired with a fast prime lens. The lens and the light change food footage more than the body does, so spend on a fast prime before a second body.
Can I film in a restaurant without asking?
Asking is the right move everywhere. Tell the staff you will film only your own table and keep it quick, and accept a refusal graciously. Filming other diners without asking is the fastest way to lose a location and damage your name with the next one.
How do I rig an overhead shot with a real camera?
Use a tripod boom arm with a counterweight, a desk clamp arm rated above your camera plus lens weight, or a C-stand with a grip arm. Add a safety tether, level the frame, and run a ten minute sag test before the food arrives.
Why does my food look orange or yellow on video?
Usually the white balance is wrong for the light, or two different lights are mixed. Lock the white balance to the light you are using, turn off the odd light where you can, and check the result on the flip screen before the food arrives.
Why does steam not show up in my food videos?
Steam is nearly invisible head-on. Light it from the side or behind, put something dark behind the dish, and shoot within the first minute of plating while it is thickest. Wipe the lens between takes, because steam condenses on cold glass.
How do I get clear audio in a noisy restaurant?
Use a lavalier mic close to your mouth, and record thirty seconds of room tone before you start. If the room still wins, record a clean voiceover later in a quiet room and let the restaurant sound sit quietly underneath.
What lens is best for food videos?
A fast prime in the 35mm to 50mm range for most shots, plus a short macro lens around 90mm to 100mm for texture close-ups. A kit zoom works for wide room shots but struggles in low light and close up, exactly where food needs help.
Can I shoot food videos on a phone?
Yes, for short clips, second angles, and behind-the-scenes cuts. A phone struggles where a camera shines: low restaurant light, overhead rigging for a heavy setup, and clean audio in noise. Treat the phone as a second camera, not a replacement, once food becomes your main subject.
How long should a food video be?
Let the format decide. A short vertical clip wants the payoff in the first seconds and a cut every few seconds. A long vlog can breathe and let a pour or a reaction run. In both cases, cut dead time first and keep the dish as the subject throughout.
What editing software is best for food videos?
Any editor you already know well beats a new one with more features. The work that matters is the same everywhere: straight cuts, color fixed before grading, sound mixed with the voice on top, and a master export kept at full quality.
This guide is research-based: we compared published guidance and creator resources.
Keep exploring
Hungry for more? These guides cover the light, color, sound, and editing that make food look great on camera.
- Beauty Vlogging Tips: Lighting, Color Accuracy, and Close-Ups
- How to Light Your Face for Videos: Indoor Lighting Setups for Vloggers in 2026
- Understanding Light Quality: Soft vs Hard Light, CRI, TLCI and Mixing Color Temperatures
- White Balance for Video: Kelvin, Custom WB and Fixing Mixed Light
- Video Composition and Shot Types for Vloggers in 2026
- How to Record Better Audio for Vlogs in 2026
- Best Wireless Microphones for Vlogging in 2026
- How to Color Grade Log Footage: Log Profiles and LUTs for Vloggers
- How to Edit Vlogs Faster in 2026
- How to Vlog in Public Without Feeling Awkward in 2026
- Filming People, Places and Property Legally: Permission, Releases and Permits
- B-Roll Ideas Every Vlogger Should Steal in 2026