
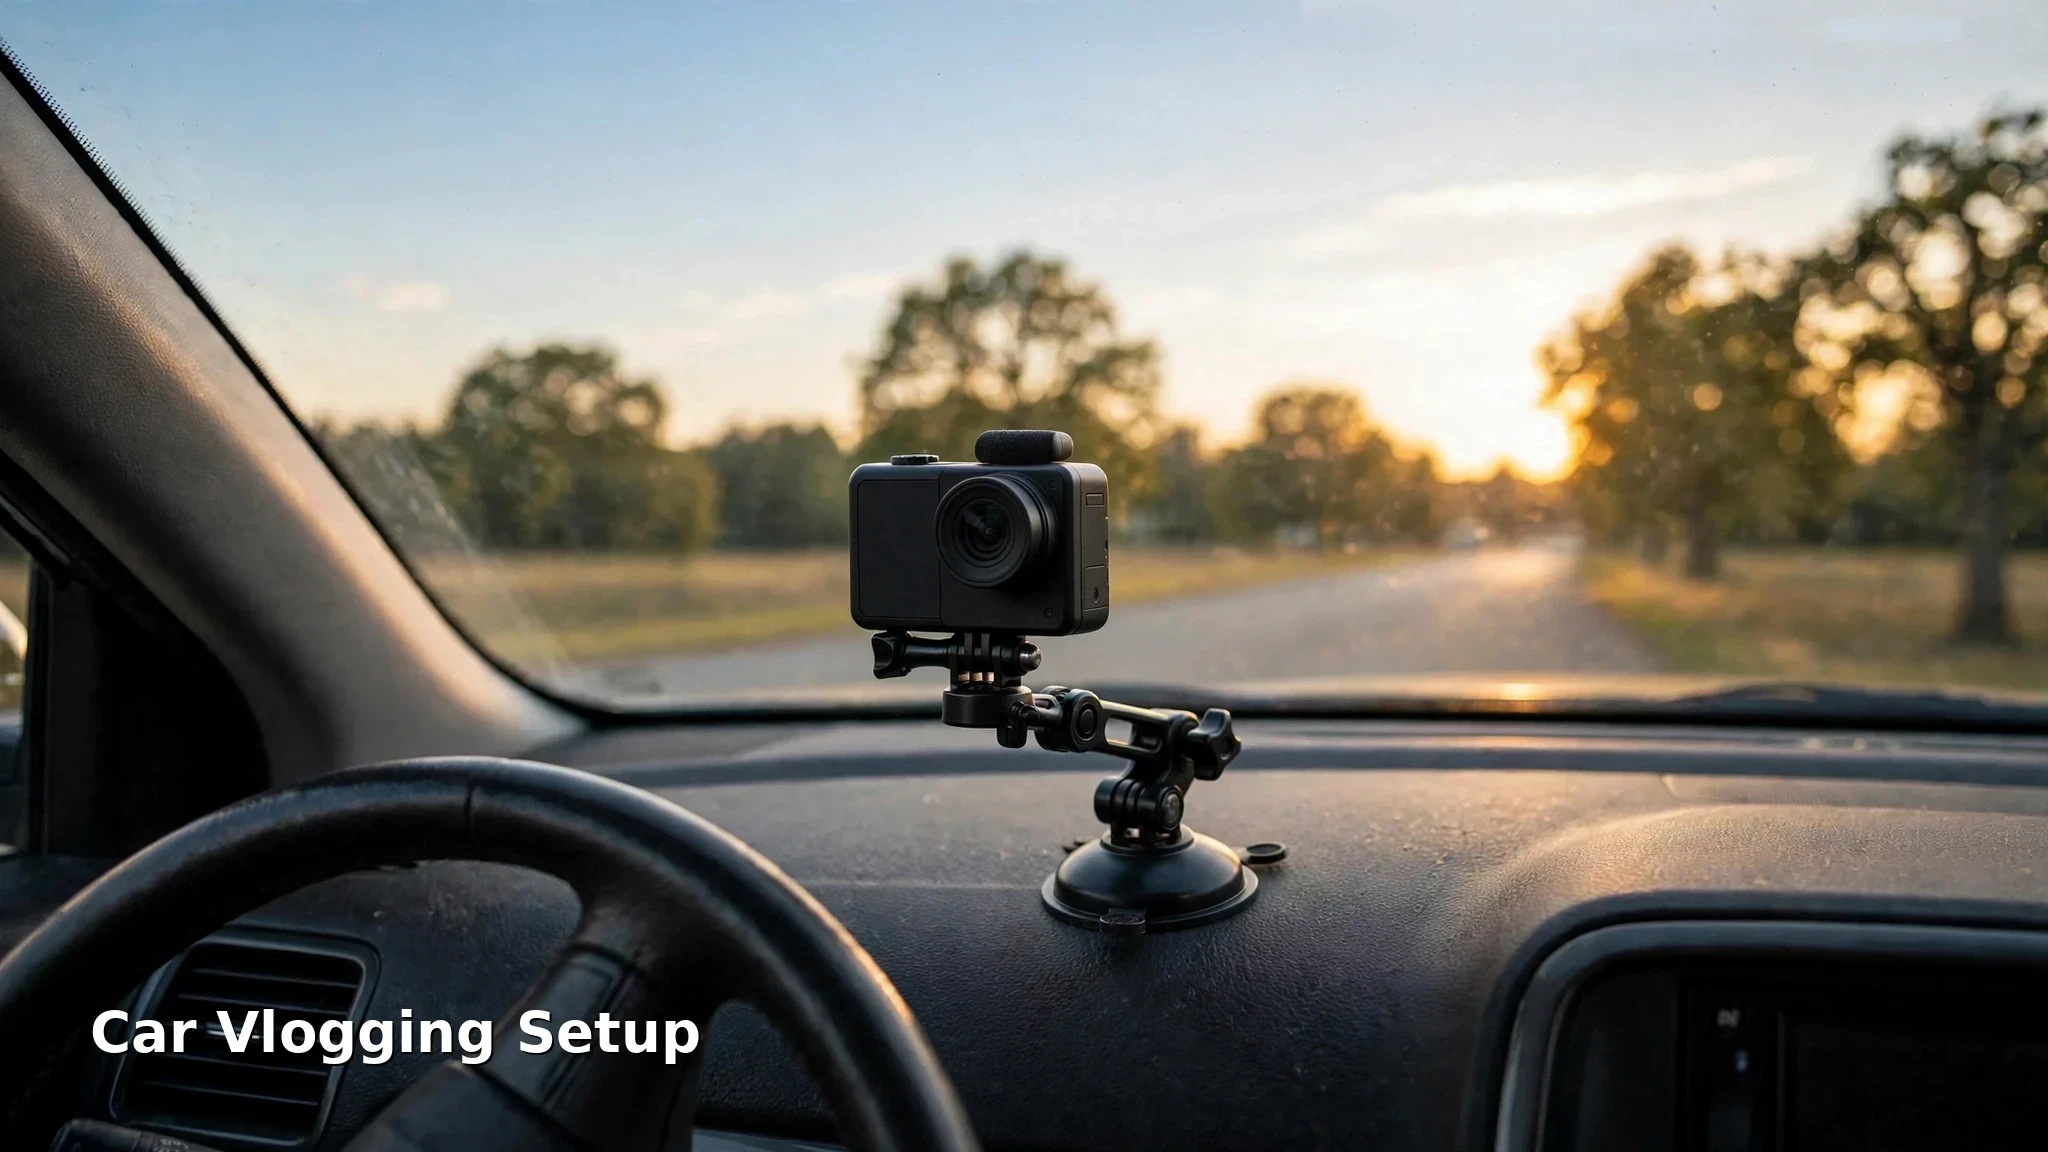
Last updated: November 2026
A car is a tempting studio. It is quiet when parked, private, and always there. It is also a machine that demands your full attention the moment it moves. This guide shows how to film car videos with a proper vlogging camera, starting with the formats that never ask you to divide your attention, and ending with a first-video checklist that pulls it all together.
In this guide
The parked-first rule
Every other decision in this guide follows from that one rule. A mounted camera you never touch needs no attention from you while you drive. A camera you adjust, check, or reframe while moving is a distraction, and in many places it falls under distracted-driving or handheld-device law even if you never hold it in your hand. Recording itself is generally legal; operating a device while driving often is not. The exact line varies by state and country, and windshield-mount rules vary too, so check the current rules where you drive rather than trusting any old table you find online. The 2017 state table quoted in older driving guides admits it is out of date. Laws change; your check should be current. For the permission and privacy side of filming in public and private places, see our guide to filming people, places, and property legally.
The rule has four practical parts. First, frame while parked. Sit in the driving seat, set the angle, check it on the flip screen, then close the screen before you move. A live screen in your sightline while driving pulls your eyes the same way a phone does. Second, start recording while parked. A rolling camera needs nothing from you. Third, give the job of operating to a passenger whenever one is available. The passenger can start and stop takes, check framing, and watch battery and card space. Fourth, plan the words before you move. A short list of points, rehearsed once while parked, keeps you from thinking about what to say next instead of watching the road.
Pull over for anything that needs real attention. A detailed explanation, a strong reaction, a segment where you need to look at the camera and think: those are parked segments. The best car channels are built this way even when they look spontaneous. The driving parts carry the journey; the parked parts carry the thinking. Viewers never notice the stops. They notice the video that sounds considered instead of scattered.
Two more lines never move. A mount never blocks your view of the road, your mirrors, or an airbag zone. If you have to lean around the camera to see, the position is wrong, however good the angle looks. And a mount never sits where a deploying airbag would throw it. Dashboard positions near the passenger airbag cover and A-pillar positions in the airbag path are out, even if the suction holds well there.
None of this makes driving footage dull. It makes it repeatable. A setup you can build the same way every time, in the same order, is a setup you can trust at motorway speed without a second thought. That trust is the whole point.
A vlogging camera in a car is not a phone on a mount
Most car vlogging guides assume a phone or an action camera. Both are light, both tolerate heat, and both are made to be stuck to glass. A vlogging camera is a different object. With a lens attached it can weigh several times what a phone weighs, which changes what a suction mount can hold and how much vibration reaches the picture. Its battery is smaller relative to its appetite, and its sensor and processor generate heat that a sun-baked dashboard makes worse. Its flip screen is a gift while parked and a hazard while moving. Its lens at the wide end sees more of the car than a phone’s main camera, so it can sit further back; at the long end it sees less, so it must sit closer. Check the frame while parked and move the mount until both seats read.
Weight comes first. Check the mount’s rated load against your camera plus lens, and keep a margin. A mount rated exactly at your camera’s weight will hold on a smooth road and let go on a pothole. Suction cups also lose grip slowly in heat and on textured dashboards, so a mount that held in the morning can fail in the afternoon. Test the loaded mount parked, on a rough road at low speed, and again after a short run in the sun, checking for heat warnings, before you trust it on a real drive. For anything mounted outside the car, add a tether as well. The tether is not decoration. It is what keeps a failed mount from becoming road debris.
Heat is the second limit. A vlogging camera on a dashboard in direct sun will overheat and shut down, and no setting fixes that. Shade the camera when you can, keep air moving across it, and shoot shorter takes with cooling breaks rather than one long take that dies halfway. USB power from the car solves battery life while you drive but does nothing for heat, and on many cars the accessory socket cuts power with the ignition, so it gives a parked session with the engine off nothing at all. For parked sessions, a power bank is the power source, not a backup. Carry one and check the battery between takes, not after the take you needed is gone.
Vibration is the third difference. In-body stabilization smooths small shakes but cannot erase the low-frequency vibration of a rough road transmitted through a stiff mount. Our guide to getting smooth handheld video covers the walking and handling technique that keeps that shake down. A longer mount arm magnifies vibration, so prefer the shortest arm that frames the shot and keep the mount on a rigid part of the car rather than a flexible panel. If the shot needs a longer arm, the parked and low-speed tests below are not optional. Electronic stabilization crops the frame, so frame slightly wider than you need when it is switched on. The settings behind all of this, stabilization modes, frame rates, and picture profiles, are covered in our vlogging camera settings guide.
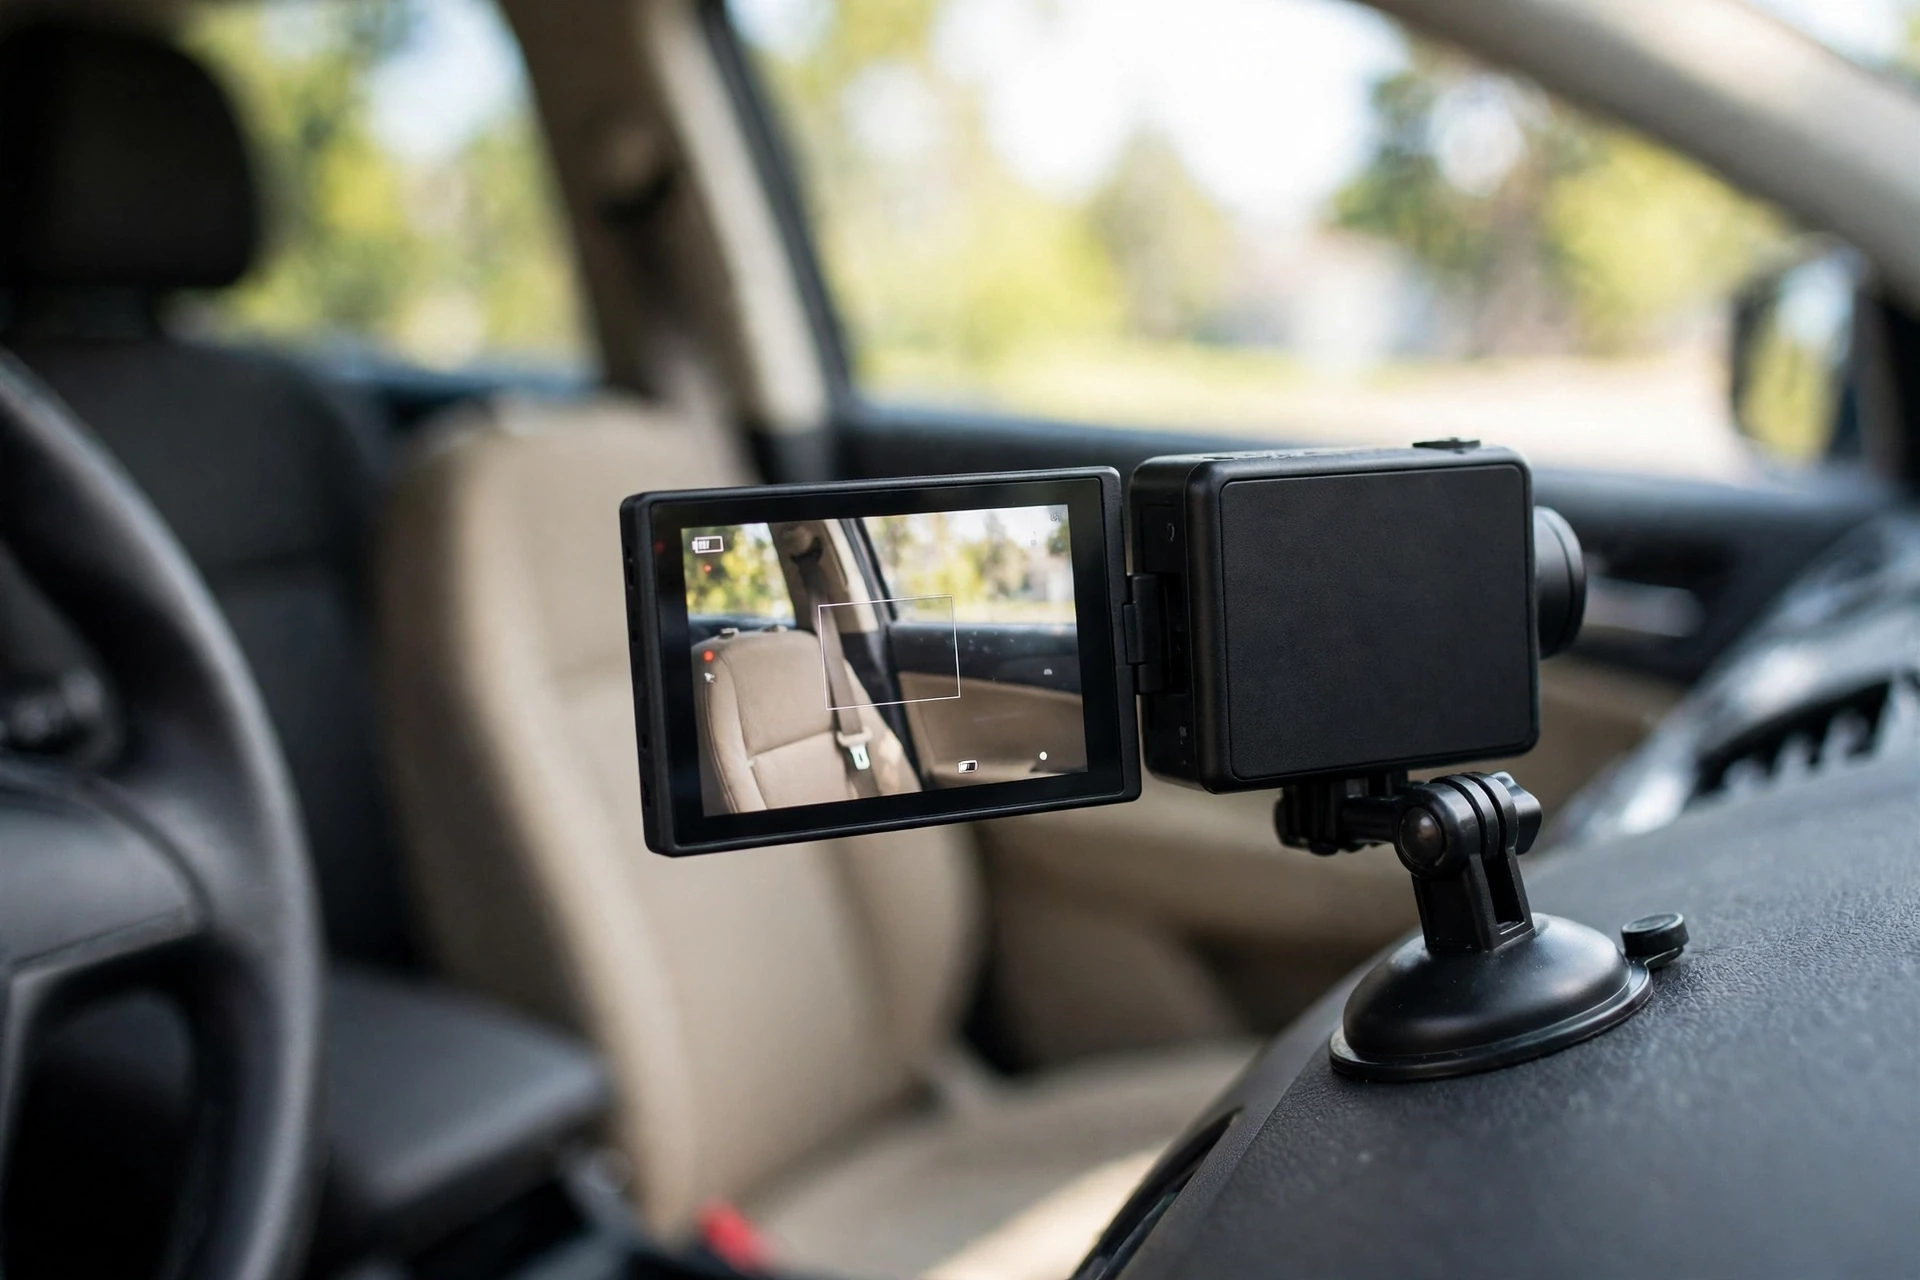
The flip screen deserves its own rule. Use it fully while parked: it is how you frame yourself without a second person, check focus on your eyes, and confirm the background is clean. Close it before you move. Framing is a parked job, and a screen glowing in your peripheral vision is a distraction even when you are not looking at it directly.
Mounts that hold a real camera
Dashboard suction is the workhorse for the driver-facing shot. It puts the camera at chest to eye height, close enough for a clean frame and a lavalier to sound good. It works best on a smooth, clean patch of dashboard. Textured or curved dashboards defeat suction, and the adhesive pad that fixes that is usually single use, so test the position first with the suction cup alone, then choose the spot deliberately before you stick the pad. Once the pad is stuck, re-run the low-speed check on the final setup; a failed final check means a fresh pad in a new spot. Keep the camera out of the passenger airbag zone and clear of your mirror line.
Windshield suction gives the road shot and the high driver shot. Mounted slightly above eye level near the rearview mirror, it frames you and the road together. Mounted low on the windshield, it frames the road and landscape with less dashboard in the picture. Both positions must leave your view and mirrors clear, and some places restrict what may sit on the windshield at all, so this is another rule to check locally rather than assume. Suction on glass holds better than suction on a dashboard, but it still fails in heat, so the same load-margin and tether thinking applies.
Headrest mounts cover the passenger and the back-seat view. A mount clamped between the front headrest posts looks back at the rear seats or forward over the driver’s shoulder, depending on which way it faces. It is the natural mount for interviews and reactions, and it keeps the camera out of the driver’s sightline entirely. Check that the clamp fits your headrest posts before you plan a video around it.
Seat-rail and clamp mounts cover the low angles: gear lever, pedals, center console detail, and the low road view through the footwell. A small clamp on a rigid rail or a magic arm on a stable point gives angles the suction mounts cannot reach. Keep clamps off anything that moves, like a seat adjuster or a steering column, and off anything hot. Keep any footwell camera and its mount clear of the pedals, and press every pedal through its full travel with the mount in place before you drive.
Whatever mount you choose, run the same three tests. Parked test: full weight, full lens, shake the car gently by hand and watch for creep. Low-speed test: a rough side street, checking the frame at the end, not during. Heat test: a short run parked in the sun with the camera running, checking for heat warnings, then a cooling break before any real drive. A mount that passes all three is a mount you can stop thinking about, which is exactly what a driving shot needs.
Parked-car videos: the safe core
Start here, and build a channel here before you add driving footage at all. Three formats carry most parked-car content, and each one has its own setup.
The parked review. Film the car itself first, then yourself talking about it. Walk-around and detail shots are filmed with the camera in hand, engine off, doors open, no time pressure. A gimbal steadies those walk-around shots; our gimbal guide covers the choice. The talking parts are filmed seated, camera on the dashboard mount or a small tripod on the passenger seat, framed on you with the interior behind you. Window light is your key light: park facing the light so it falls on your face rather than behind you, and if the light is too hard on one side, turn the car a few degrees so it falls more evenly. Our guide to lighting your face for videos covers the same window-light method in detail. Audio is easy here. The engine is off, the road is quiet, and a lavalier or even the camera microphone sounds clean. Review structure beats review length: one clear verdict per section, one detail shot per claim, and the driving impressions saved for a short, set-and-forget driving segment if you want one at all.
The parked talking-head. This is the diary, opinion, and story format, and the car makes it better than a room because the background is simple and the space forces a close, direct frame. Frame from the dashboard mount at eye level, slightly wide so your hands and the steering wheel read in the picture. The framing itself follows the same shot discipline as our video composition guide. Check the background through the windows: a plain car park wall beats a busy street, and a moving background behind you distracts from every sentence. Sound is the same story as the review. Engine off, windows up, lavalier clipped where it will not rub the seatbelt. The seatbelt is the detail most parked talking-heads get wrong. Clip the microphone above the belt line, run the cable under the belt, and test a full sentence with the belt on before you record the take.
The parked reaction and question session. Read the question or watch the clip on a device held below the frame, then answer to the camera. The trick is the pause. Parked reactions fail when the creator answers instantly and rambles. Read, pause, think for a beat, then answer in one clear shape: what you think, why, and what you would do. That beat is invisible to viewers and it is what makes the answer sound considered. Film questions in batches. Ten answers in one parked session is ten videos banked, and batching is what makes a car channel sustainable.
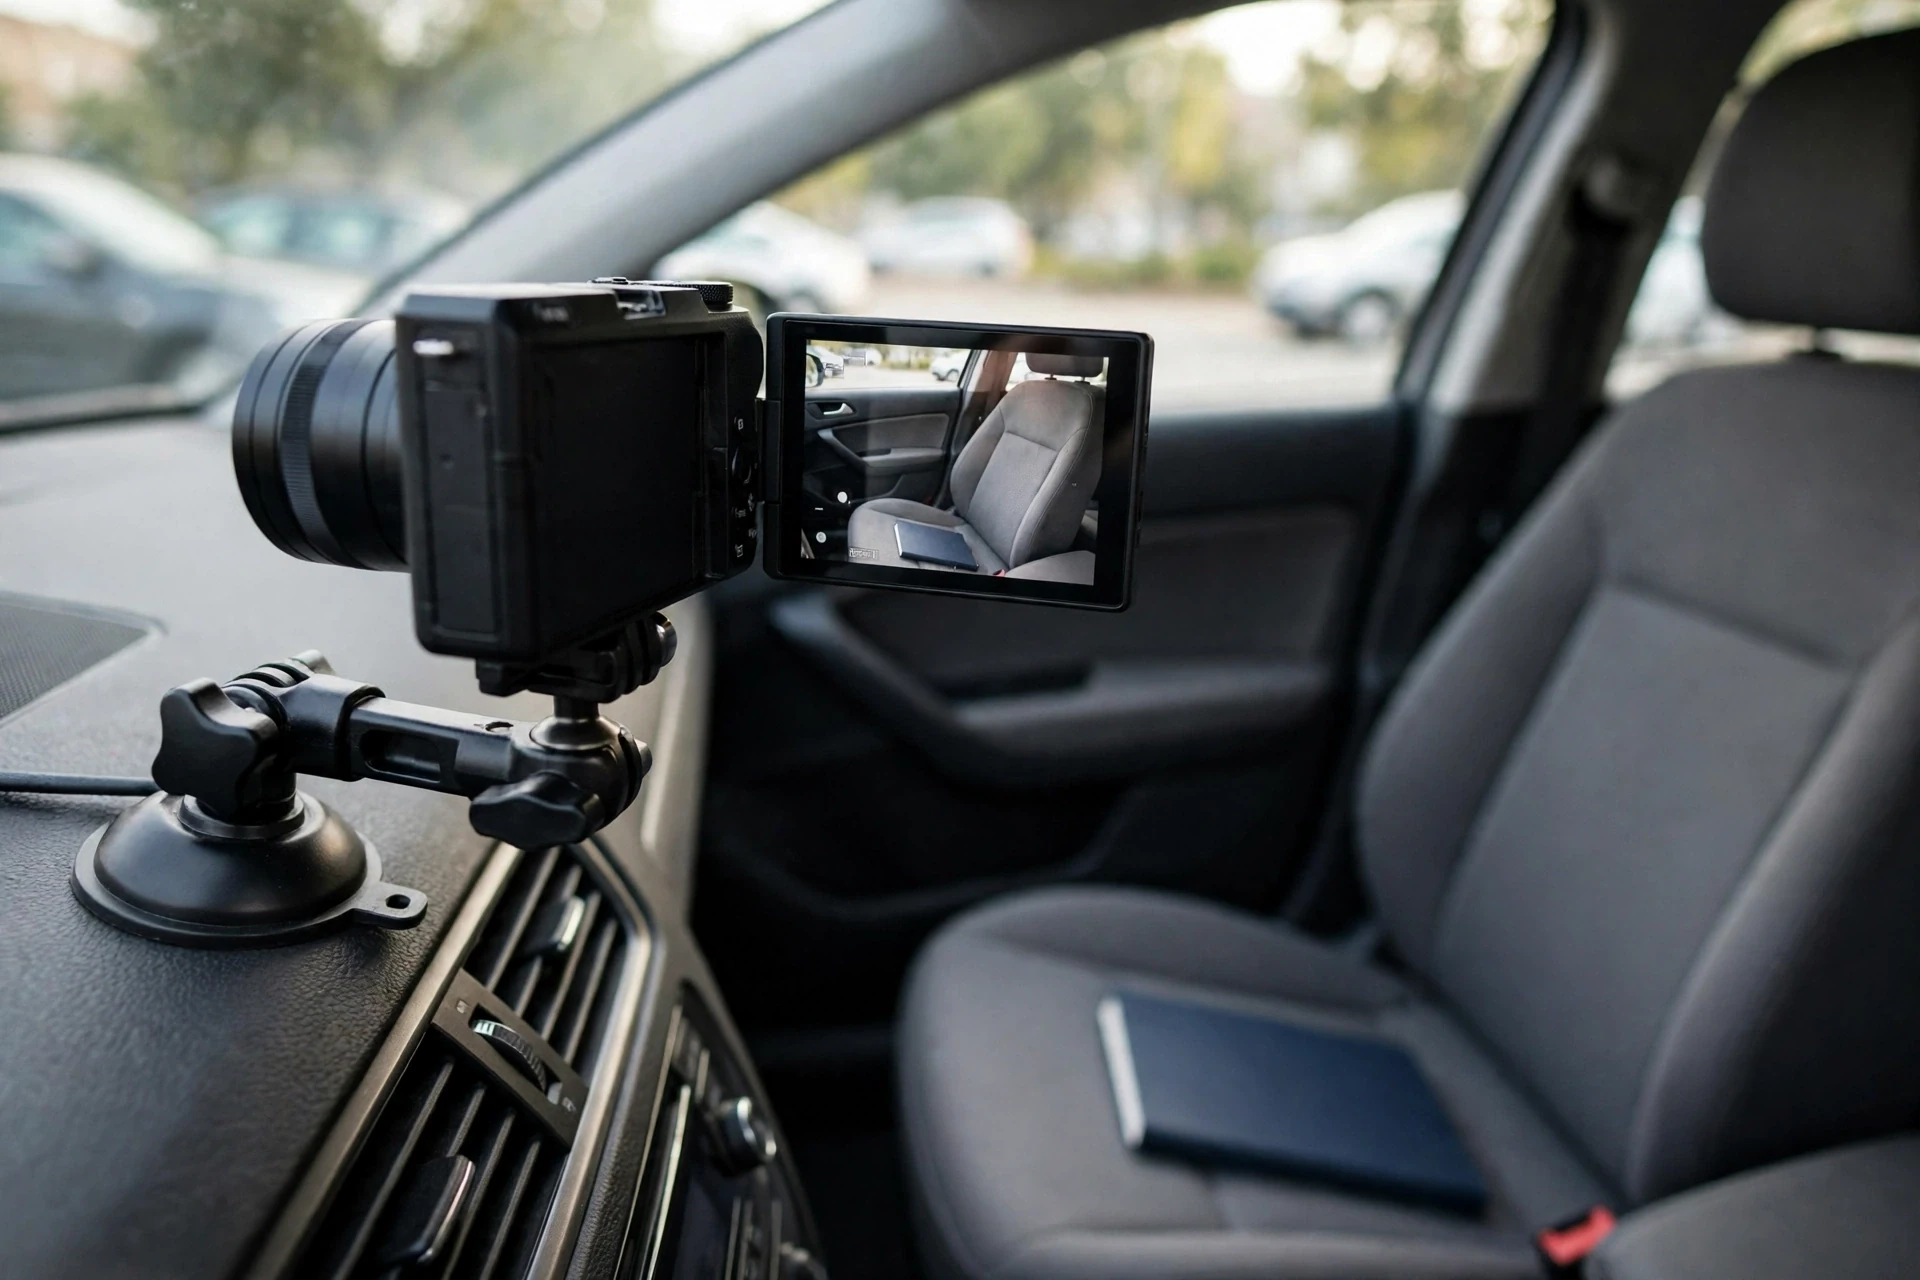
All three formats share one advantage that driving footage never has: you can use the flip screen. Frame yourself, check focus on your eyes, confirm exposure on your face rather than the bright window, and re-shoot a line that did not land. A parked video can be as polished as a studio video because, for filming purposes, it is one.
Driving footage, done the safe way
There are three driving angles worth building, and each one has a different job. The driver angle, from the dashboard mount, carries narration and reaction. The road angle, from low on the windshield, carries the journey and the scenery. The passenger angle, from the headrest mount, carries the road view over the passenger’s shoulder and the second voice. A video rarely needs all three. One angle, held for the whole drive, edits cleaner than three angles cut together from takes that do not match.
Solo driving footage follows the strictest version of the parked-first rule. You set the angle, press record, and drive. You talk from points you planned while parked, and you accept that some points will go unspoken because the road needed you. That is not a failed take. That is the format working. The edit removes the silences and the stretches where traffic took over, and what remains sounds like a person thinking aloud on a drive, which is what viewers came for.
With a passenger, the passenger is the operator. They start and stop takes, watch the battery and card, and tell you when a take is safe to repeat at the next stop. They never ask you to look at the screen, and they never hand you anything while moving. The division is absolute: driver drives, passenger operates. If you film alone and a take fails, it waits for the next stop. No take is worth reaching for the camera.
Talking while driving needs its own discipline. Short points, not arguments. A point you can state in one or two sentences survives traffic. A point that needs a chain of reasoning does not, and it will pull your attention trying. Save chains of reasoning for parked segments and let the driving segments carry impressions, reactions, and short observations. Glances at the camera should be glances, not looks. Your eyes belong on the road, and viewers accept a driver who watches the road. They trust that driver more, not less.
Sound on a driving take is always a compromise, and the edit should treat it that way. Keep the natural road sound low under the voice rather than stripping it out entirely, because the road sound is what makes the footage feel like a real drive. If a stretch is too noisy to follow, cut it or voice over it later from a parked re-record rather than forcing the viewer to strain. The next section covers the audio system in full.
Two people, one car
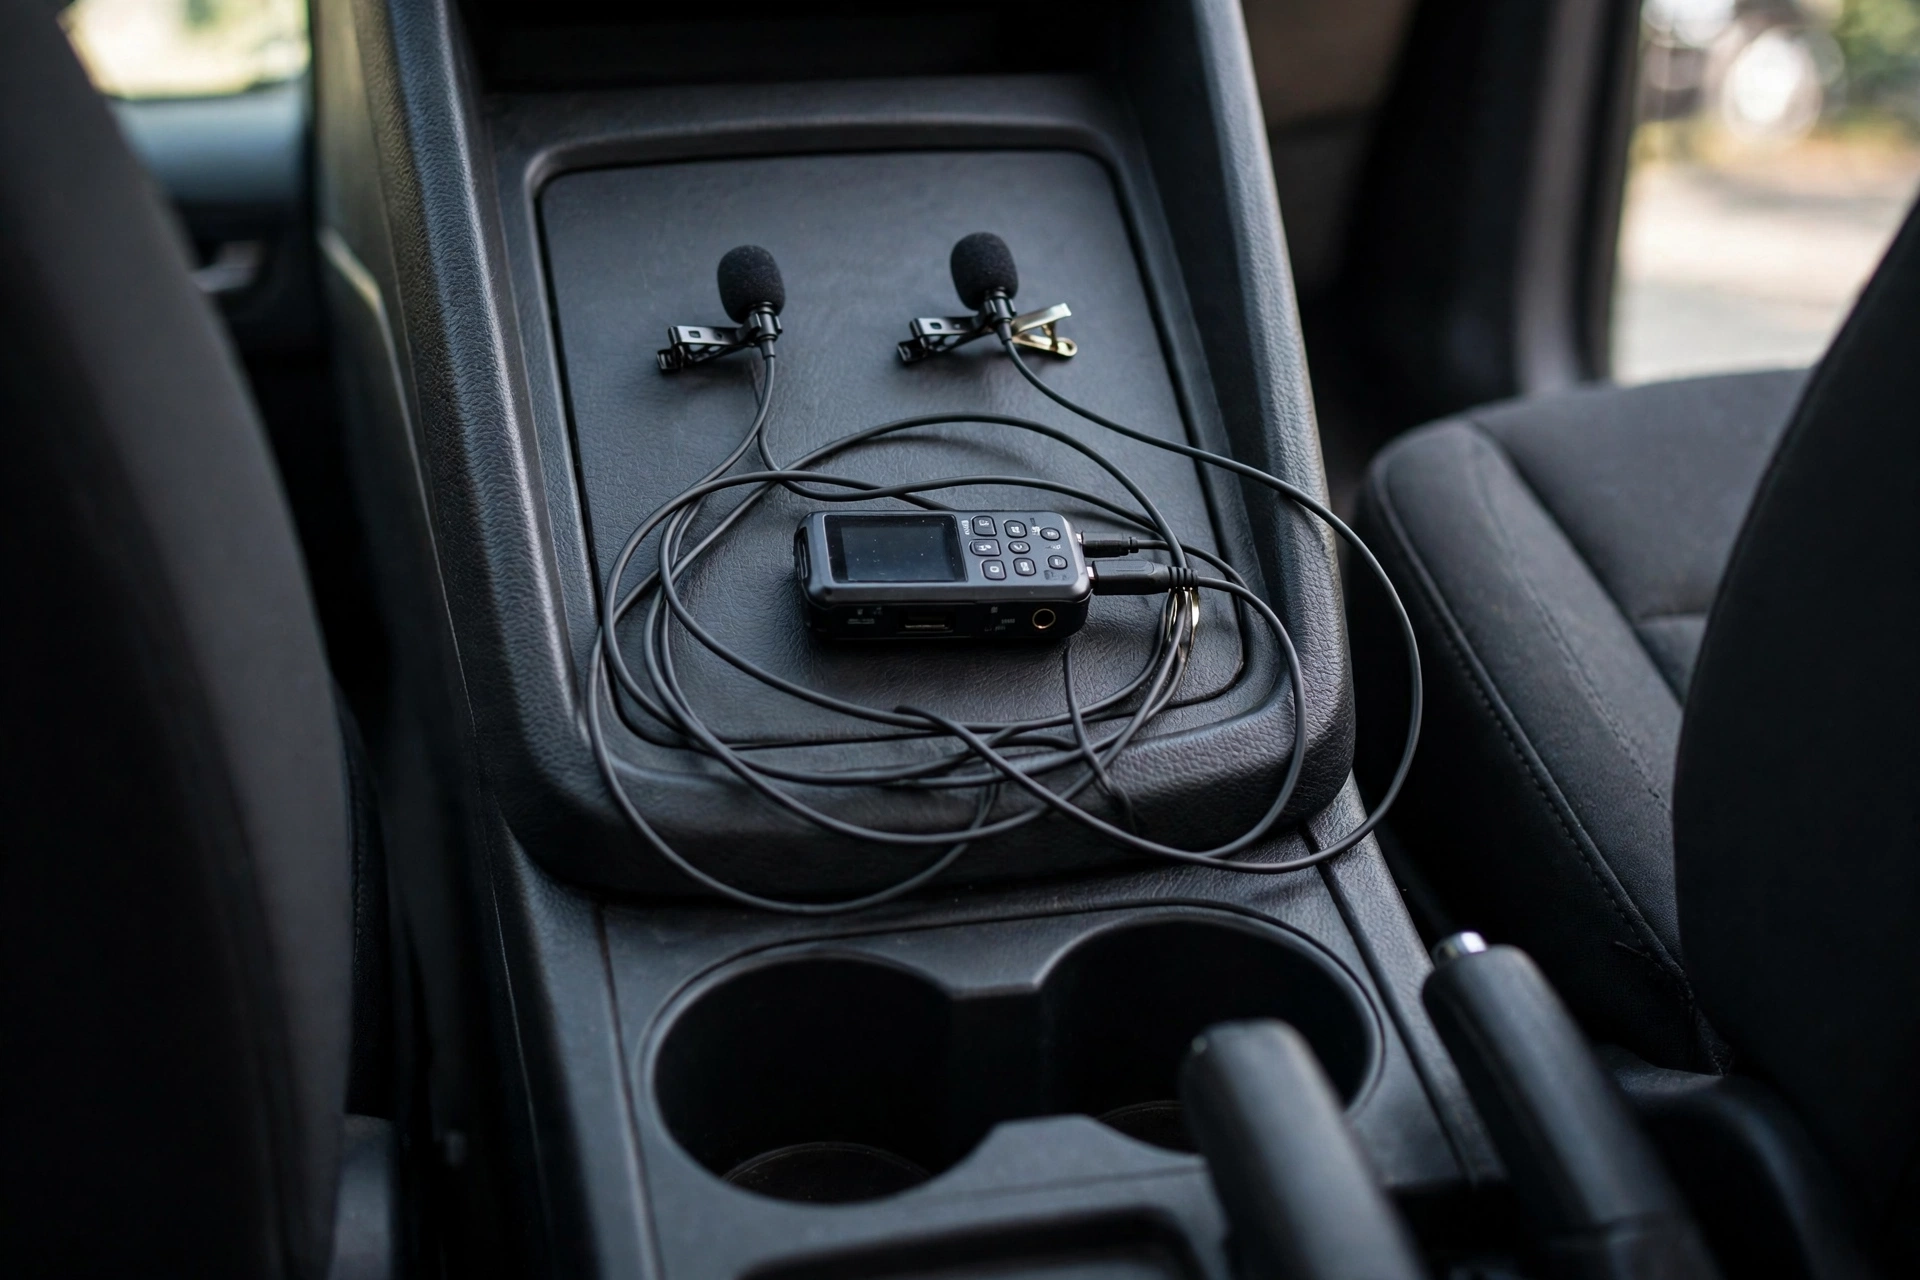
Car conversations fail on audio more than on picture. Two voices in a small, reflective box, one of them driving, both of them turning their heads: that is a hard recording, and a single camera microphone turns it into one muddy track where the louder voice wins and the quieter one disappears. The fix is two lavaliers, each on its own track, recorded to a small recorder or to two wireless receivers. Separate tracks let you lift the quiet voice and tame the loud one in the edit instead of accepting whatever balance the car gave you.
Seating matters as much as gear. The driver sits where the driver must sit. The passenger angles slightly toward the driver rather than facing straight ahead, which keeps both faces in the frame from a dashboard or headrest angle and keeps the passenger’s voice aimed near their microphone rather than at the window. If one person is much louder than the other, seat the louder person further from the other person’s lavalier, and set each track’s gain for its own voice while parked, each person speaking alone. On separate tracks, one person’s gain cannot clip the other person’s track. A little bleed between tracks is normal.
Crosstalk, where each microphone hears both voices, is normal in a car and manageable. Keep the microphones close to their own speaker, keep the car quiet, and accept a little bleed. Bleed becomes a problem only when it is loud enough to double the voice with a short echo. That happens when one microphone is much hotter than the other or when a voice is aimed straight at the wrong microphone. A quick level check while parked, with each person speaking alone, catches it before the drive.
Angles for two people are simple. The dashboard mount frames both faces from the front when it sits wide enough, and it is the best angle for a conversation because both people face the same way the viewer does. The headrest mount, looking forward over the front seats, frames the road and the backs of the front seats, and it is the best angle for a road-led video. For a reaction, use the dashboard mount in front of the passenger, which sees the face. Cut between them only when both angles were recorded at the same time. Cutting between takes filmed at different times breaks the conversation’s continuity in a way viewers feel even if they cannot name it.
One safety note belongs in this section because it is easy to forget with a second person in the car. The passenger is the operator, not a second director. They handle the gear, but they do not ask the driver to perform, react on cue, or look at the camera. A conversation that sounds natural is one where the driver was allowed to drive.
In-car audio that sounds clean
Car noise has a hierarchy, and the order tells you what to fix first. Tyre and road noise is the constant bed. Engine noise rises with speed and load. Heating and air conditioning add a steady hiss that microphones love and listeners hate. Wind noise appears the moment a window opens and overwhelms everything else. Work down that list. Close the windows for any take where voice matters. Turn the fan down or off for parked takes and low for driving takes. Choose a smooth road over a coarse one when the route is yours to choose. Each step costs nothing and each one makes the microphone’s job easier.
Microphone choice follows from distance. A lavalier clipped near the mouth gives the best ratio of voice to road noise, because it is close to the voice and far, relatively, from the noise. A camera microphone sits far from every mouth and close to nothing, so it hears the whole car at once. A shotgun microphone on the camera helps a little by narrowing what it hears, but it still sits far away, and in a small car its narrow pattern punishes every head turn. For driving takes, the lavalier is the default. For parked takes, the lavalier is still the default, because a parked car is quiet but not silent, and a close microphone forgives the rest. Our guide to recording better vlog audio covers lavalier placement and gain in more depth.
Professional car sound adds one more idea worth borrowing: position by direction. Microphones placed above, from the sun visor or rearview mirror area, are the best fallback when no lavalier is worn, because they sit closer to the mouth than any camera microphone and nothing the driver does with their arms gets in the way. A lavalier still beats them. Microphones placed below, from the center console area, need more checking, because every time someone gets in or out or adjusts position, the microphone’s relationship to the mouth changes. Microphones placed in front, on a suction holder low on the passenger-side windshield corner, below the driver’s sight line, give a forgiving, wide pickup that suits a parked car well. Never place a microphone where it blocks the driver’s view, even if the sound would be better there. A microphone in the sightline is a safety defect, not a sound choice.
Open windows deserve a straight warning. With a window open, wind noise dominates and no microphone position saves the take. If the shot needs an open window, mike from below, where the car door blocks the wind from reaching the microphone, and add a proper wind cover. Even then, expect the take to need work in the edit. The honest rule is simpler: windows up for voice, windows down only for sound effects and exterior shots where the wind is the point.
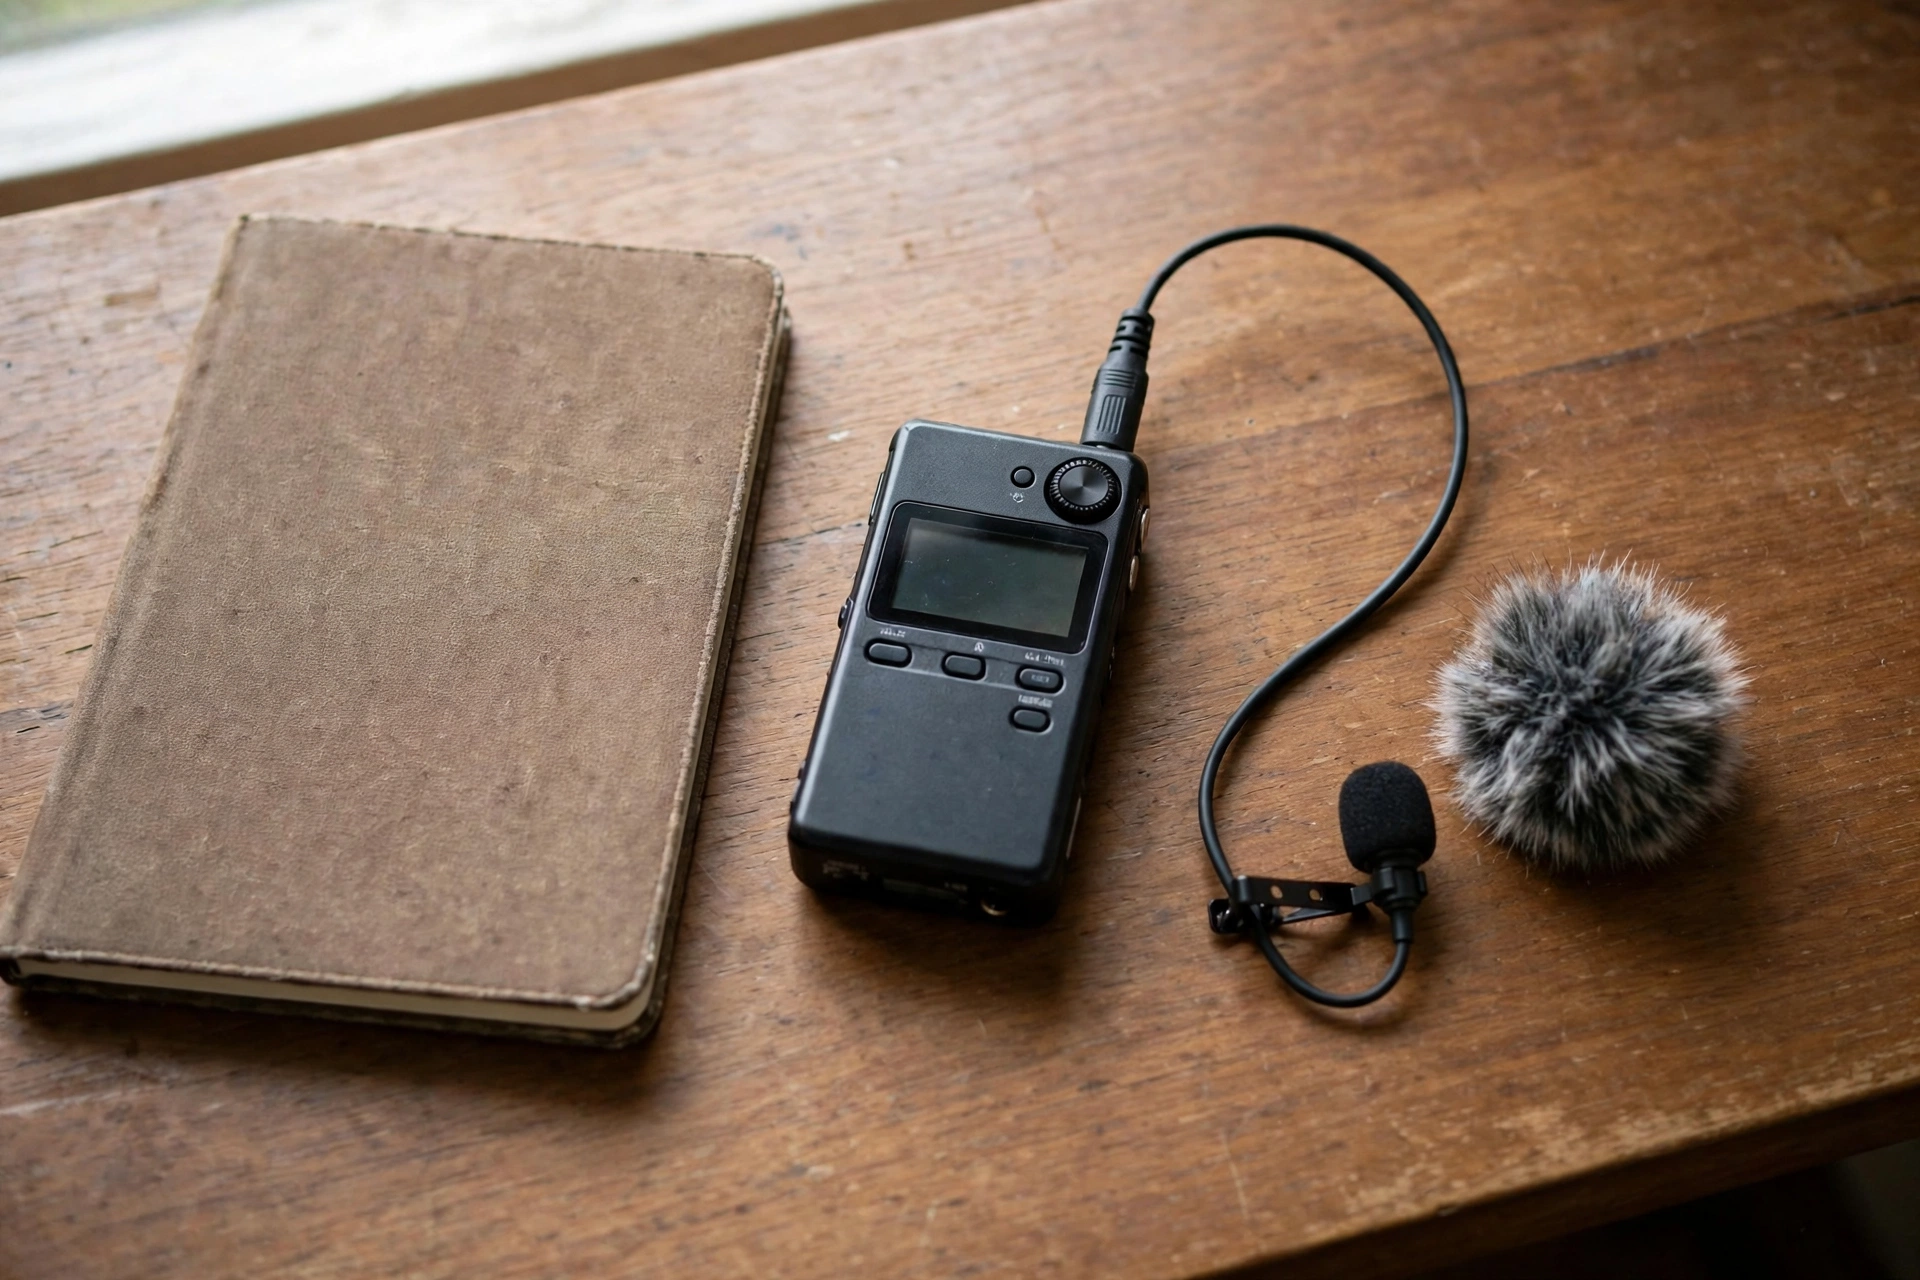
A separate audio recorder is the step that turns good car audio into clean car audio. The recorder sits on the console, takes the lavalier or lavaliers, and records without touching the camera at all. Sync is one clap on camera at the start of each take, visible and audible, and the edit lines the clap up. The recorder also gives you a backup: if the camera audio fails, the take survives. Voiceover recorded later, parked, is the fallback for any stretch that was too noisy to use. Record the voiceover in the same parked car, same microphone position, and lay a low bed of road sound from the driving take under it, so the join disappears.
In the edit, treat car sound as a layer, not a flaw. Keep a low bed of road sound under the voice so the drive feels real, cut the fan hiss with a gentle noise reduction pass rather than an aggressive one, and never strip the car out entirely. A driving video with no car sound feels like a studio video with a car picture behind it, and viewers trust it less.
Exterior and rolling shots
Exterior shots sell a car video. A clean side profile, a front three-quarter, a detail of a wheel or a badge: these are the pictures viewers remember, and all of them are filmed parked. Park the car somewhere the light and background help, walk around it with the camera in hand, and take the angles slowly. A parked hero shot with the car clean, the background simple, and the light low and warm will beat a shaky rolling shot every time.
Rolling shots, where the car moves while the camera moves with it, need a second vehicle or a safe closed location. The camera rides on the second vehicle or on a mount on the subject car, and the driver of the subject car drives normally while someone else worries about the picture. Never film a rolling shot alone when the shot needs someone to operate, adjust, or monitor gear while moving, and never hold a camera out of a window or off the side of a moving car. A tethered mount set while parked, tested parked then at low speed, and left untouched is the solo exception, under the same parked-first rule as every driving shot. The mount for an exterior rolling shot is a suction mount with a tether, tested parked, then tested at low speed on a quiet road, then used at real speed only if both tests were clean. Check the mount between runs. Heat, dust, and vibration loosen suction over time, and an exterior mount failure at speed is a danger to everyone behind you.
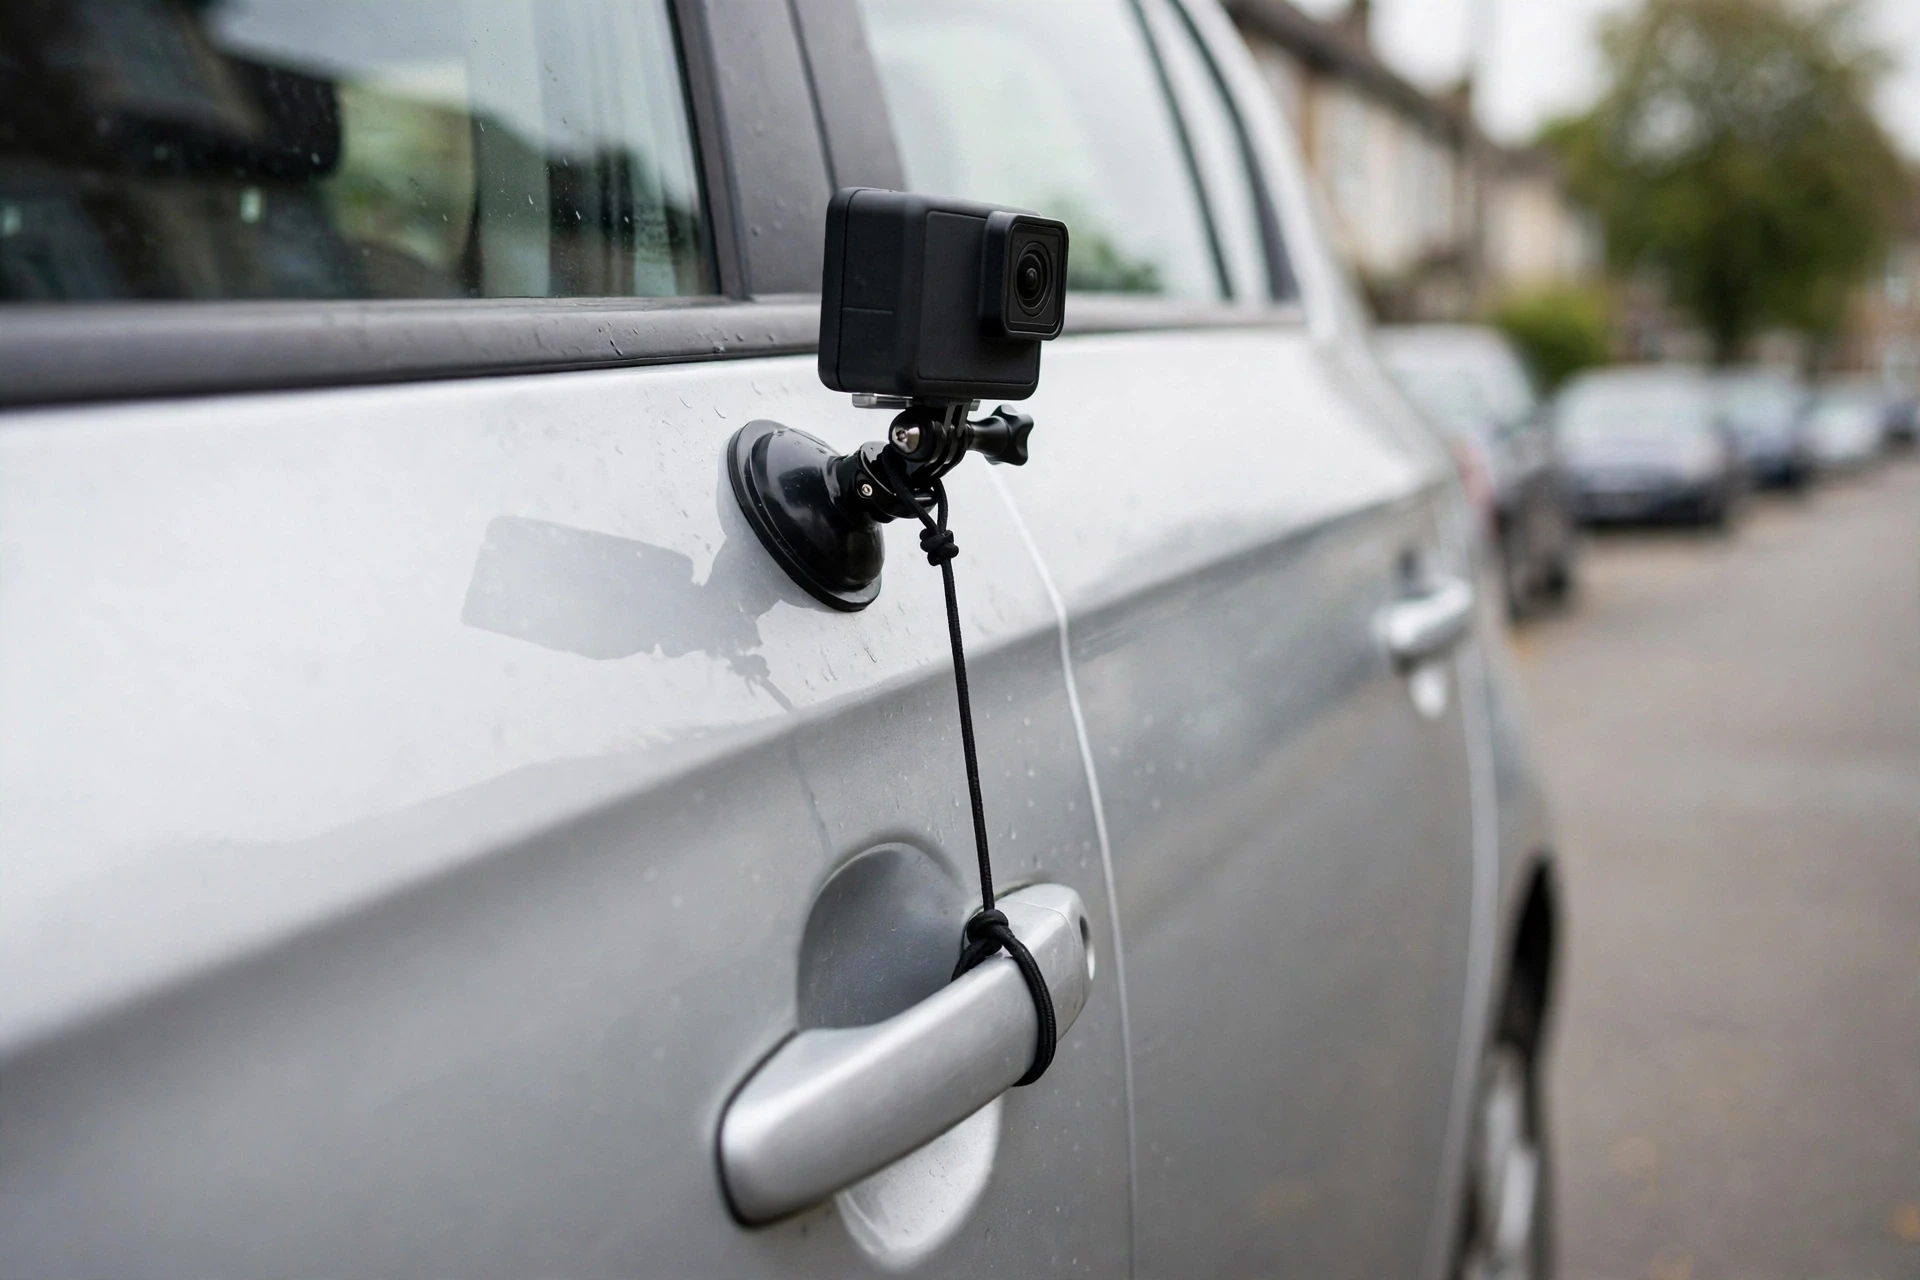
Road rules apply to exterior mounts just as they do to interior ones. Some places restrict what may be attached to the outside of a moving vehicle, and a mount that sticks out beyond the bodywork can be a separate problem. Check before you mount, keep the mount within the bodywork where possible, and keep the tether short so a failed mount cannot swing into another lane. If any of that is uncertain where you drive, the parked hero shot is the answer. It is always legal, always safe, and usually better looking.
Lens choice for exterior work is simple. A wide lens makes the car look small and the road look big, which suits a journey. A longer lens flattens the car and makes it look planted, which suits a hero shot. Film both while parked and let the edit decide. While rolling, one lens, one angle, one speed: the variables multiply fast enough without changing lenses mid-run.
Light inside a moving car
Light inside a car changes constantly. Sun, shade, tunnels, tree lines, and oncoming headlights all pass across the frame in seconds, and automatic exposure chases every change, pumping the picture bright and dark. The fix is to lock exposure for the face. Meter on the face, lock it, and accept that bright windows will blow out and dark stretches will go dark. Exposure tools like zebras and histograms, covered in our exposure tools guide, make that lock repeatable instead of guesswork. A face that stays readable matters more than a window that stays detailed, and viewers forgive a bright window instantly. They do not forgive a face that pulses.
White balance needs the same decision. Lock it to daylight for a daytime drive and let tunnels go warm rather than letting the camera swing the whole picture blue and orange at every bridge. For a parked video, set white balance properly for the light you are actually in, and re-set it if you move from sun to shade. Our white balance guide walks through the manual method. Mixed light, where daylight comes through one window and warm interior light through another, is the hardest case. Kill one source. Turn the interior light off, or shade the window, and the picture cleans up at once.
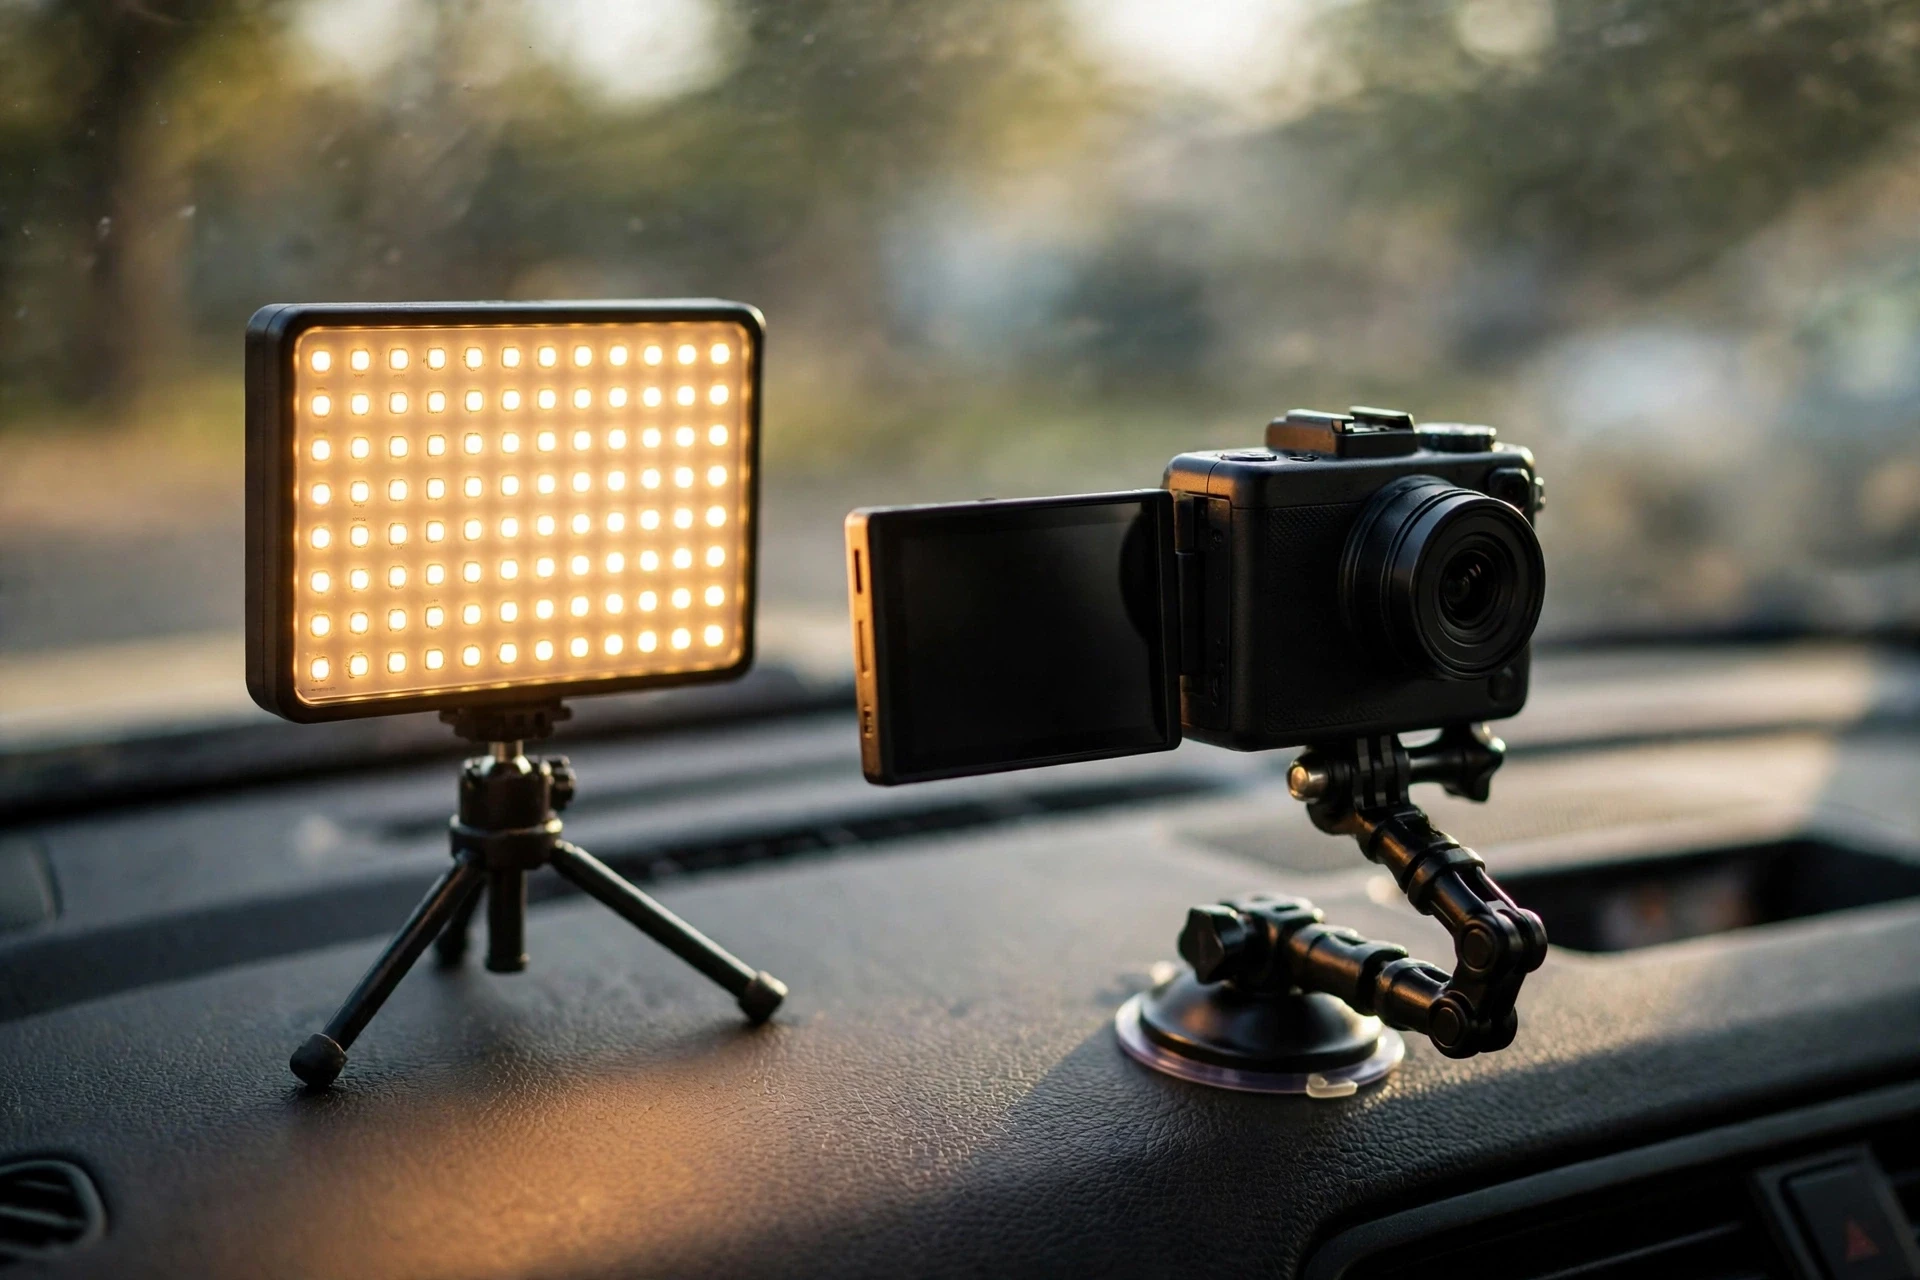
Small lights help parked videos and hurt driving ones. A small LED panel on the dashboard, aimed at the face, lifts a parked talking-head beautifully and costs nothing in attention. The same panel, switched on while driving, becomes a reflection in the windshield and a distraction in the driver’s peripheral vision. Rule: panels for parked takes, daylight for driving takes. At night, driving takes should be short, the face lit only by the car’s own interior light, and the expectations set accordingly. Night driving footage is atmosphere, not detail, and the edit should use it that way.
Your first car video
The first video plan is deliberately small. Pick one parked format from the parked section. Write five points, not a script. Set the camera on the dashboard mount, clip on the lavalier above the seatbelt line, park facing the light, and film each point as its own take. Between takes, check the battery, the card, and the last take’s sound. Cut the takes together, keep the best version of each point, and post that. One parked video teaches you more about car filming than five driving attempts, because every variable is under your control and every mistake is visible in the same session.
When the parked video works, add one driving segment. One angle, one road you know, one set of points planned while parked. Record it set-and-forget, cut it to the best minute, and place it inside the next parked video rather than building a whole video around it. The ratio to aim for is simple: parked carries the video, driving decorates it. As your setups get faster and your edits get tighter, the ratio can shift, but it should shift because the driving footage earned it, not because driving feels more exciting to film.
Before every shoot, run this checklist while parked. Mount holds full weight and passes the shake test. View clear, mirrors clear, airbag zones clear. Flip screen framing checked, then closed before moving. Lavalier clipped above the seatbelt, cable under the belt, level checked with a spoken sentence. Battery checked, spare battery or power bank in the car. Card space checked. Windows up for voice takes, fan low or off for parked takes. Points planned, route planned, next stop planned for anything that needs a change. That checklist takes two minutes and it is the difference between a car video and a car incident.
Car vlogging rewards patience more than gear. The creators who last are the ones whose setups never change, whose audio is always close and clean, and whose driving footage never asks the driver to do two jobs at once. Build the parked habit first, let the driving footage earn its place, and the car becomes what it should be: the easiest studio you own.
Is it legal to film while driving?
Recording itself is generally legal, but operating a device while driving often is not. Many places ban handheld phone use outright, some restrict what may sit on a windshield, and anything that pulls your attention from the road can fall under distracted-driving law. The safe setup is a mounted camera you set while parked and never touch while moving, and you should check the current rules where you drive rather than trusting an old table.
Can I use a vlogging camera instead of a phone or action camera in a car?
Yes, with a rig built for its weight, heat, and battery. A vlogging camera needs a mount rated above its loaded weight with a margin, shade and airflow against overheating on a dashboard, USB or power-bank backup for battery life, and a short mount arm to limit vibration. Its flip screen is used while parked and closed before you move.
What mount holds a heavier camera on a dashboard?
A suction mount rated above your camera plus lens, on a smooth, clean patch of dashboard, clear of the passenger airbag zone and your mirror line. Test it parked with full weight, again at low speed on a rough road, and again after a short run in the sun, checking for heat warnings. Textured dashboards defeat suction, so choose the spot deliberately before using a single-use adhesive pad.
Why does my in-car audio sound muddy?
Because the microphone is too far from your mouth and too close to everything else. A camera microphone hears the whole car at once. Clip a lavalier near your mouth, close the windows, turn the fan down, and the voice-to-noise ratio improves at once. If two people talk, give each one a lavalier on its own track.
How do I record two people in a car without crosstalk?
Give each person a lavalier on a separate track, set each track’s gain for its own voice, and seat the louder talker further from the other person’s microphone. Check levels while parked with each person speaking alone. A little bleed between tracks is normal; a loud echo-double means one microphone is much hotter than the other.
How do I stop the camera overheating on the dashboard?
Shade it, keep air moving across it, and shoot shorter takes with cooling breaks instead of one long take. USB power fixes battery life, not heat. If the camera shuts down in the sun, move it out of direct sun, let it cool, and shorten the next take.
Can I film a car review entirely parked?
Yes, and for a first video it is the best choice. Film the walk-around and details with the camera in hand, engine off, then film the talking parts seated with the camera on a dashboard mount and window light on your face. A parked review can carry a whole video, and a short driving segment can be added later once the parked format works.
What is the safest way to get exterior rolling shots?
Use a second vehicle or a closed, safe location, with a tethered suction mount tested parked and then at low speed before any real run. Never film a rolling shot alone when the shot needs someone to operate gear, and never hold a camera out of a moving car. A tethered mount set while parked and left untouched is the solo exception. If the rules where you drive are uncertain, film parked hero shots instead.
How do I sync a separate audio recorder with the camera?
Clap once on camera at the start of each take, visible and audible, then line the clap up in the edit. The recorder gives you a backup track if the camera audio fails, and a voiceover recorded later in the same parked car, in the same microphone position, laid over a low bed of road sound from the driving take, will match closely enough that viewers will not notice the join.
Why does my footage go bright and dark while driving?
Automatic exposure is chasing every change in light: sun, shade, tunnels, and tree lines. Lock exposure for your face and accept that bright windows will blow out. Lock white balance to daylight for a daytime drive and let tunnels go warm rather than letting the picture swing blue and orange at every bridge.
This guide is research-based: we compared published guidance and creator resources.
Keep exploring
Want your car videos to look and sound better? These guides cover the gear, audio, and safety behind them.
- Action Camera Vlogging Tips: Mounts, Settings and Waterproofing
- Best Action Cameras for Vlogging in 2026
- How to Record Better Audio for Vlogs in 2026
- Best Wireless Microphones for Vlogging in 2026
- How to Get Smooth Handheld Video Without a Gimbal: IBIS, OIS and EIS Explained
- How to Stabilize Shaky Video in Editing in 2026
- Filming in Bad Weather: Rain, Cold, Heat, Sand and Condensation
- Best Gimbals for Vlogging in 2026
- Vlogging Safety Tips: Stay Safe While You Film
- How to Vlog in Public Without Feeling Awkward in 2026
- Best Mobile Vlogging Kit for Creators in 2026
- How to Film Yourself: Talking-Head Tips for Vloggers in 2026