Last updated: November 2026
Bad audio ends a vlog faster than a shaky shot. Viewers forgive soft focus and flat light, but they click away from muffled, echoey, wind-blasted sound within seconds. A dedicated microphone is the single upgrade that makes a vlog feel professional, and it matters more than the camera it plugs into.
The hard part is not finding a good microphone. It is picking the right type. A wireless kit, a shotgun mic, a lavalier, and a USB mic all record voices, but they solve different problems, and the wrong type fights you on every shoot. This guide compares all four types side by side, names the best pick in each type, and ends with a simple way to choose based on how you actually film.
As an Amazon Associate I earn from qualifying purchases.
Quick picks: the best microphone for vlogging in each type
- Best wireless: DJI Mic 3: adaptive gain and 32-bit float backup recording in a 16-gram transmitter.
- Best shotgun: Rode VideoMicro II: 39 grams, no battery, both windshields in the box.
- Best lavalier: Rode Lavalier II: a locking plug and a flat cable that hides under clothing.
- Best USB: Rode NT-USB+: studio-grade voiceover sound with processing built in.
In this guide
- The short answer: match the mic to how you shoot
- The four microphone types at a glance
- Our picks in detail
- Wireless microphones: the freedom pick
- Shotgun microphones: the on-camera pick
- Lavalier microphones: the discreet pick
- USB microphones: the desk pick
- Which microphone should you buy?
- Five things to check before you buy
- Phone vlogging and live streaming: two special cases
- Set up your first vlogging mic in 10 minutes
- Seven mistakes that ruin vlog audio
- Frequently asked questions
- Keep exploring
The short answer: match the mic to how you shoot
There is no single best microphone for vlogging, because the best type depends on where you stand and how far you move. Walk-and-talk vlogs point to a wireless kit. Arm’s length filming on a camera points to a shotgun mic. Interviews and hidden mics point to a lavalier. Desk work points to a USB mic. If you only buy one microphone this year, buy the type that fits the videos you shoot most, not the one with the longest spec sheet.
Start with movement. If you walk while you talk, or your subject stands more than a few steps from the camera, the microphone has to travel with the voice. A wireless transmitter clipped to a shirt does that, and a shotgun mic on the camera cannot. If you mostly film yourself at arm’s length, with the camera on a tripod or in your hand, a shotgun mic is simpler, cheaper, and has nothing to charge. If your videos happen at a desk, with voiceover, talking-head videos, or livestreams, a USB mic beats every portable type on pure voice quality.
One rule runs through the whole guide: distance beats price. A cheap microphone close to your mouth sounds better than an expensive microphone three meters away. Every section below comes back to that rule in a different form, because it decides more vlog audio than any feature list does.
The four microphone types at a glance
Wireless kits clip to the speaker and move with them. Shotgun mics mount on the camera and record what the lens points at. Lavalier mics clip to clothing and hide in plain sight. USB mics sit on a desk and plug into a computer. That one difference, where the microphone sits, decides almost everything else about it.
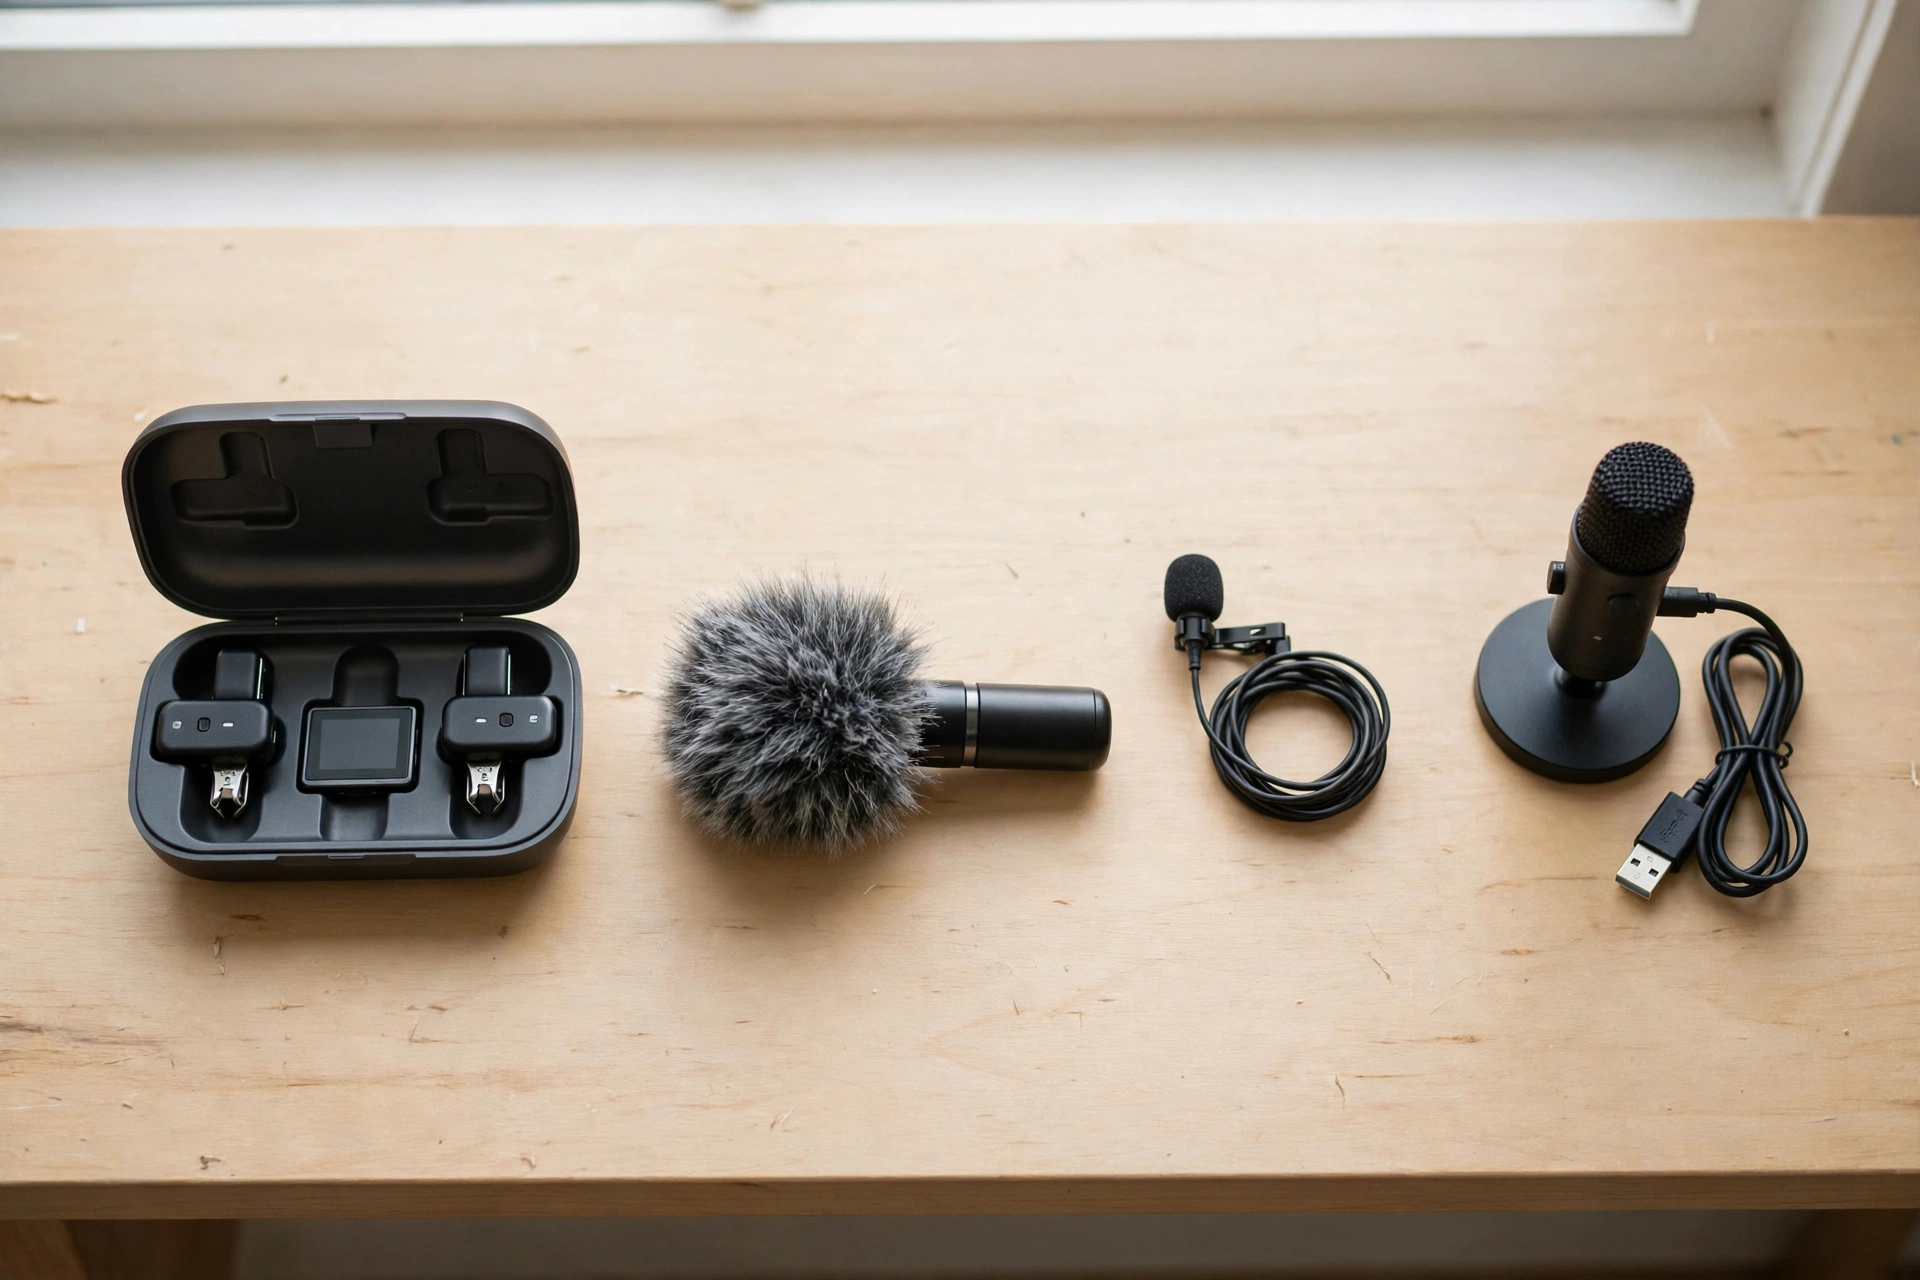
| Type | Best for | How it connects | Watch out for |
|---|---|---|---|
| Wireless | Walking, travel, interviews, two-person shoots | Receiver plugs into camera or phone | Batteries, pairing, visible clip on clothing |
| Shotgun | Arm’s length vlogs, b-roll, run-and-gun filming | 3.5mm cable to the camera mic input | Weak past two meters, hears the room |
| Lavalier | Interviews, hidden mics, clean sound on a budget | Cable to a camera, recorder, or wireless transmitter | Cable length, clothing rustle, needs a plug adapter for phones |
| USB | Voiceover, talking-head videos, livestreams at a desk | USB cable to a computer | Desk-bound, hears room noise in untreated rooms |
Most vloggers end up owning two types, not one. The usual pair is a wireless kit for everything outside plus a USB mic for everything at the desk. A shotgun mic often joins later as the grab-and-go option for days when charging and pairing feel like too much work. A wired lavalier is the cheapest way into clean audio of all, and it plugs into a wireless transmitter later, so it never becomes wasted money.
The table does not show one honest truth: no type wins on sound alone. A wireless transmitter and a shotgun mic can both record a great voice. What differs is which situations each one survives. The picks below name the best microphone in each type, and the sections after them explain where each type shines and where it fails.
Our picks in detail
Short answer: one best pick in each type. The DJI Mic 3 for wireless, the Rode VideoMicro II for shotgun, the Rode Lavalier II for lavalier, and the Rode NT-USB+ for USB.
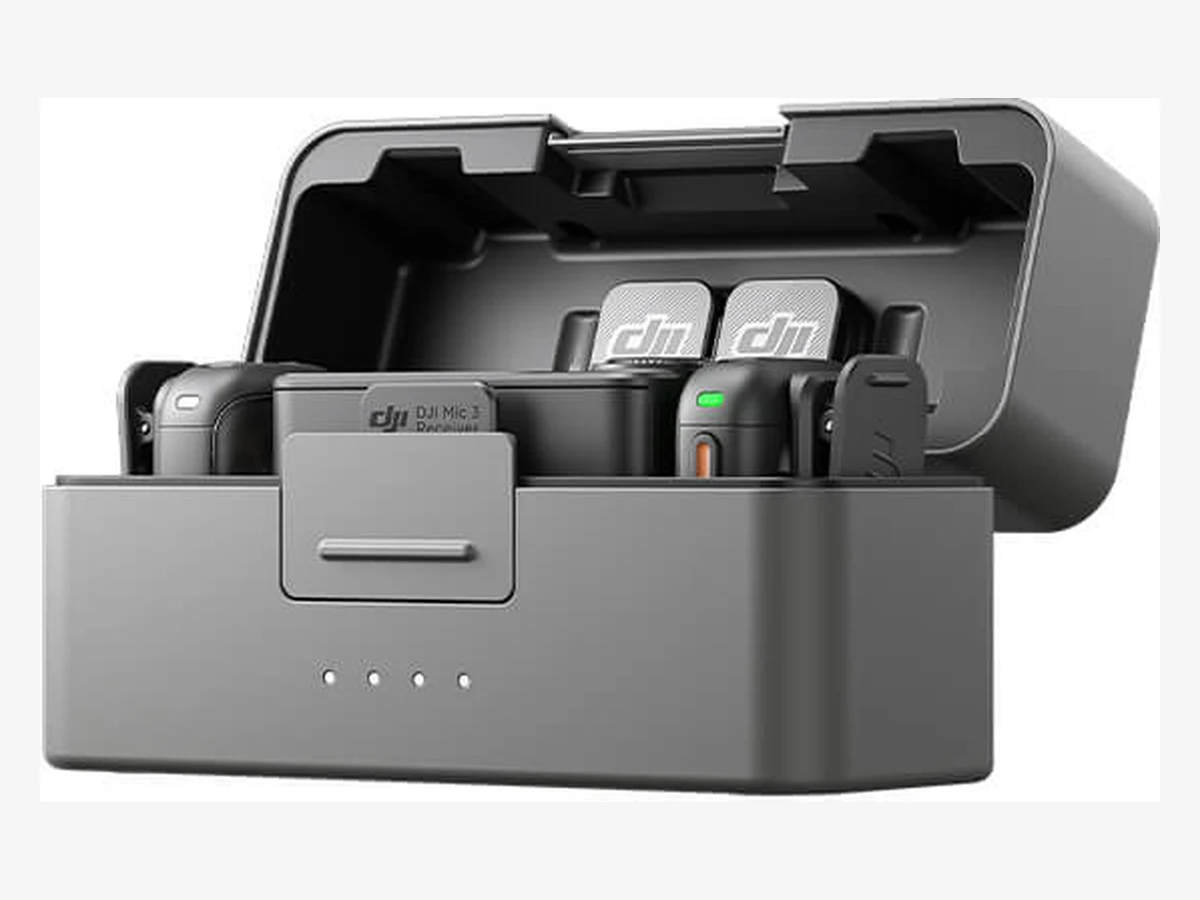
Photo: DJI
1. DJI Mic 3
The most complete vlogging mic system right now: adaptive gain that prevents clipping on its own, 32-bit float dual-file backup recording, and timecode, all in a 16-gram transmitter.
Each transmitter is both a wireless mic and a backup recorder with 32GB of internal storage, saving every take twice, an original file and an enhanced one, in 32-bit float. Sudden shouts survive. So do quiet whispers. The headline feature is adaptive gain control: it rides levels automatically to prevent clipping, with a dynamic mode that keeps levels consistent, plus two-level active noise canceling and three voice tone presets, Regular, Rich, and Bright, for shaping your sound at the source.
It scales up too. One receiver handles up to four transmitters, and the system supports eight receivers. A transmitter can pair directly with an Osmo Pocket 3 or action camera, no receiver at all. The 400-meter range, automatic frequency hopping, and Bluetooth 5.4 give it the longest range in its type. The trade-off is cost: it sits at the premium end, and Bluetooth recording straight to a phone only works with a handful of third-party apps, so plan on using the receiver for phone work.
Technical features
- Channels: 2 TX + 1 RX kit, up to 4 TX and 8 RX per system
- Onboard: 32GB storage, 32-bit float dual-file recording
- Audio: adaptive gain control, two-level active noise canceling
- Voice tone presets: Regular, Rich, Bright
- Timecode: embedded in recordings for post sync
- Range: up to 400m with automatic frequency hopping
- Battery: TX about 8h, RX about 10h, charging case about 28h total
- TX weight: 16g with magnetic attachment; Bluetooth 5.4
- Receiver: 1.1-inch touchscreen with dial
Pros
- Adaptive gain plus 32-bit float makes clipping almost impossible
- Timecode and dual-file recording are genuinely pro-grade
- Direct OsmoAudio link to DJI cameras, no receiver needed
- Tiny 16g transmitter disappears on clothing
Cons
- Premium price for the class
- Direct Bluetooth-to-phone recording works with few apps
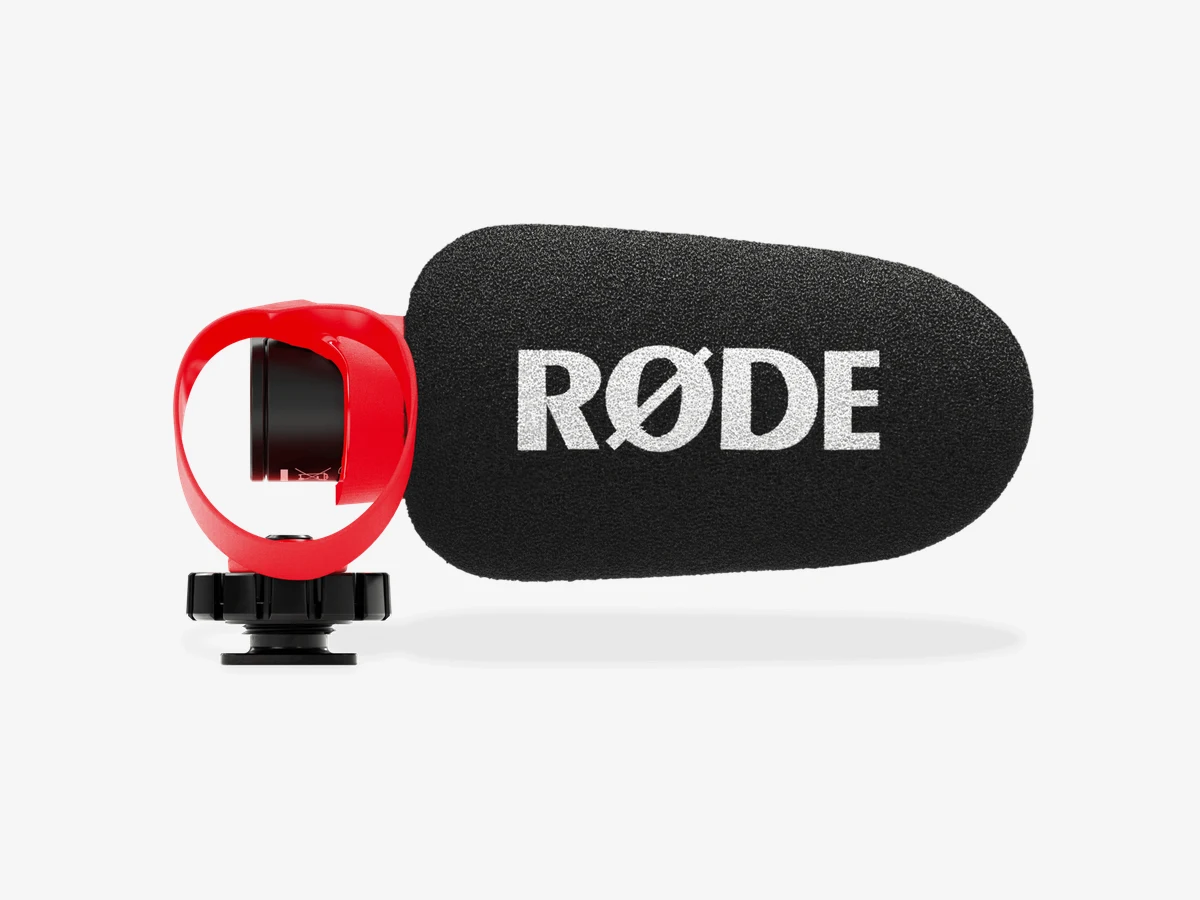
Photo: Rode
2. Rode VideoMicro II
One of the cheapest honest ways into clean vlog audio: 39 grams, no battery, no switches, and both a foam and a furry windshield in the box. Plug it in and record.
This is the mic to buy when you want better sound than the camera gives you and nothing else to think about. It draws its power from the camera mic jack, so there is nothing to charge and nothing to forget. The HELIX isolation mount sits between the mic and the camera and soaks up knocks, footsteps, and handling noise. The supercardioid pattern focuses on what is in front of the lens and pushes the sides and rear down, which is what makes a voice stand out from a noisy street or a busy room.
At 80mm long it never creeps into a wide shot, and at 39 grams it adds about a tenth of the weight of a small mirrorless camera on top of the body. The limits are honest ones. There are no controls at all, so you set your level on the camera and live with it. The mic is mono, and it has no headphone jack, so you check your audio after the take, not during it. It is also a short mic with a short reach: it does its best work at arm’s length, and past about two meters the room takes over. None of that is a fault at this size and weight. For a first external mic, this is the one to buy.
Technical features
- Supercardioid polar pattern with annular line tube technology
- 39g with mount, 80mm long, all-metal body
- Plug-in power from the camera or phone, no battery required
- No controls or switches, true plug-and-go operation
- HELIX isolation mount with cable management slots
- Foam and furry windshields included in the box
- 3.5mm TRS to TRS cable for cameras and TRS to TRRS cable for phones included
- Frequency range 20Hz to 20kHz, maximum SPL 110dB
- Works on cameras, smartphones, and action cameras with a mic input
Pros
- Only 39g, barely felt on a small camera
- Nothing to charge, nothing to switch on
- Both windshields included, rare at this size
- HELIX mount cuts handling noise properly
- Too short to creep into a wide shot
Cons
- No gain control, no headphone jack
- Mono only, no stereo mode
- Needs a camera that supplies plug-in power
- Short reach, arm’s length is its home
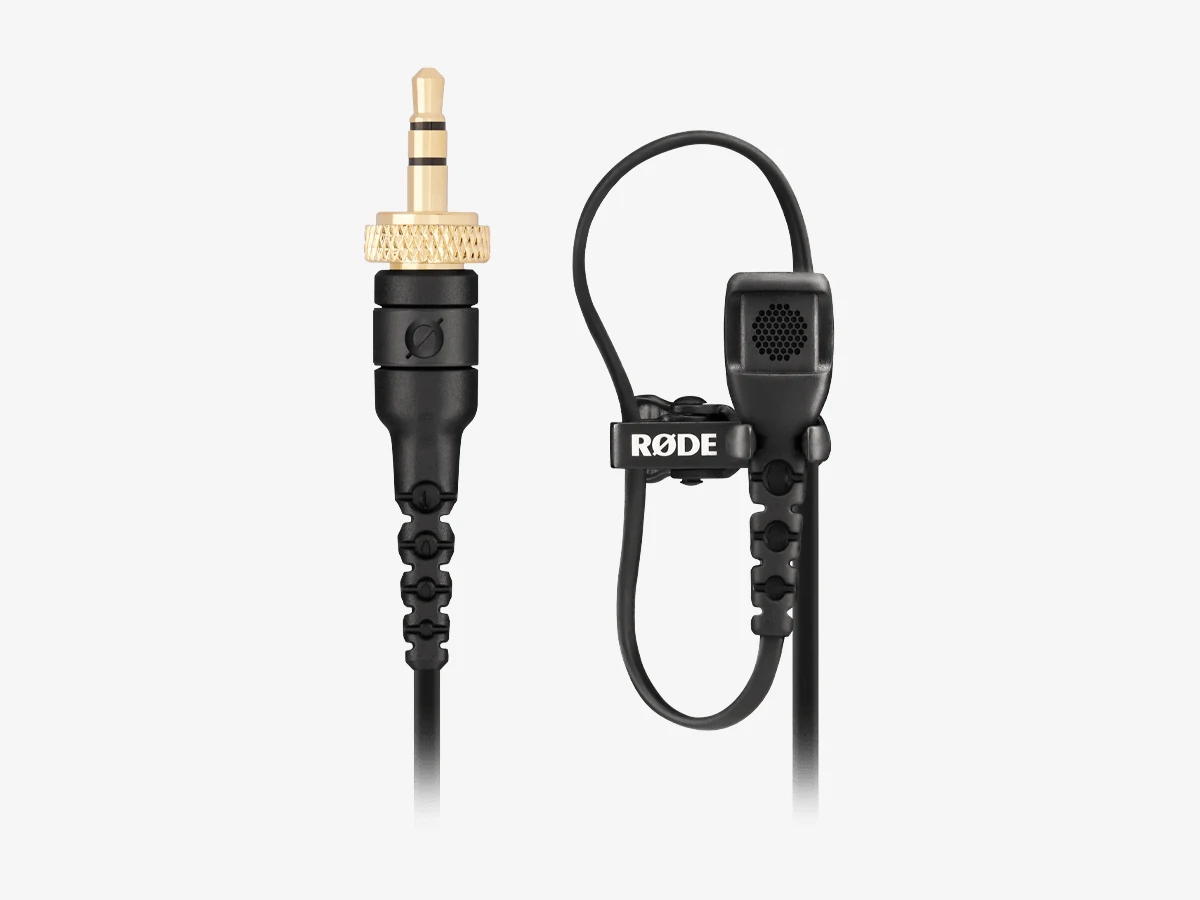
Photo: Rode
3. Rode Lavalier II
The best wired lavalier microphone for vlogging because it is built for the job vloggers actually give it: plugging into a wireless transmitter and surviving a full day on a moving person.
It has a locking plug, a flat cable that hides under clothing, and both a pop filter and a furry windshield in the box. The locking plug earns the top spot. Rode’s Wireless PRO and Wireless GO (Gen 3) transmitters have locking 3.5mm sockets, and the Lavalier II screws into those so a tug cannot pull the mic out mid-sentence. On the Wireless GO II and on a plain camera or recorder jack the same plug works as an ordinary TRS plug.
The 6mm capsule has a flat frequency response from 20 Hz to 20 kHz, so voices come out natural rather than boomy or thin, and the flat Kevlar cable threads under a shirt without rolling into a visible cord. The box is the most complete in its type: a pop filter for plosives, a mini furry windshield for wind, a mounting clip, colored ID rings, and a zip case. The one honest limit is the cable length: 1.2 m is right for a transmitter on your belt or a camera close by, and too short for a mic plugged into a camera on a tripod across the room.
Technical features
- Broadcast-grade omnidirectional condenser capsule, 6mm, flat frequency response
- 20 Hz to 20 kHz frequency range; 67 dB signal-to-noise ratio
- 3.5mm TRS locking connector, gold-plated, fits Rode Wireless GO II, Wireless Pro, Wireless GO (Gen 3), and AI-Micro
- 1.2 m flat Kevlar-reinforced shielded cable
- Plug-in power from the camera, recorder, or transmitter, no battery needed
- Maximum SPL 106 dB; sensitivity -38 dBV/Pa at 1 kHz
- Pop filter, mini furry windshield, mounting clip, colored ID rings, zip case in the box
Pros
- Locking plug screws into the Wireless PRO and Wireless GO (Gen 3) so it cannot be pulled out mid-take
- Flat cable hides under clothing better than a round cable
- Pop filter and furry windshield both included, so it works indoors and outdoors
- Flat, natural voice with no hyped bass or treble
Cons
- 1.2 m cable is too short for a direct run to a distant tripod camera
- Needs a TRRS adapter for a phone headphone jack
- Costs more than the Lavalier GO for a similar sound
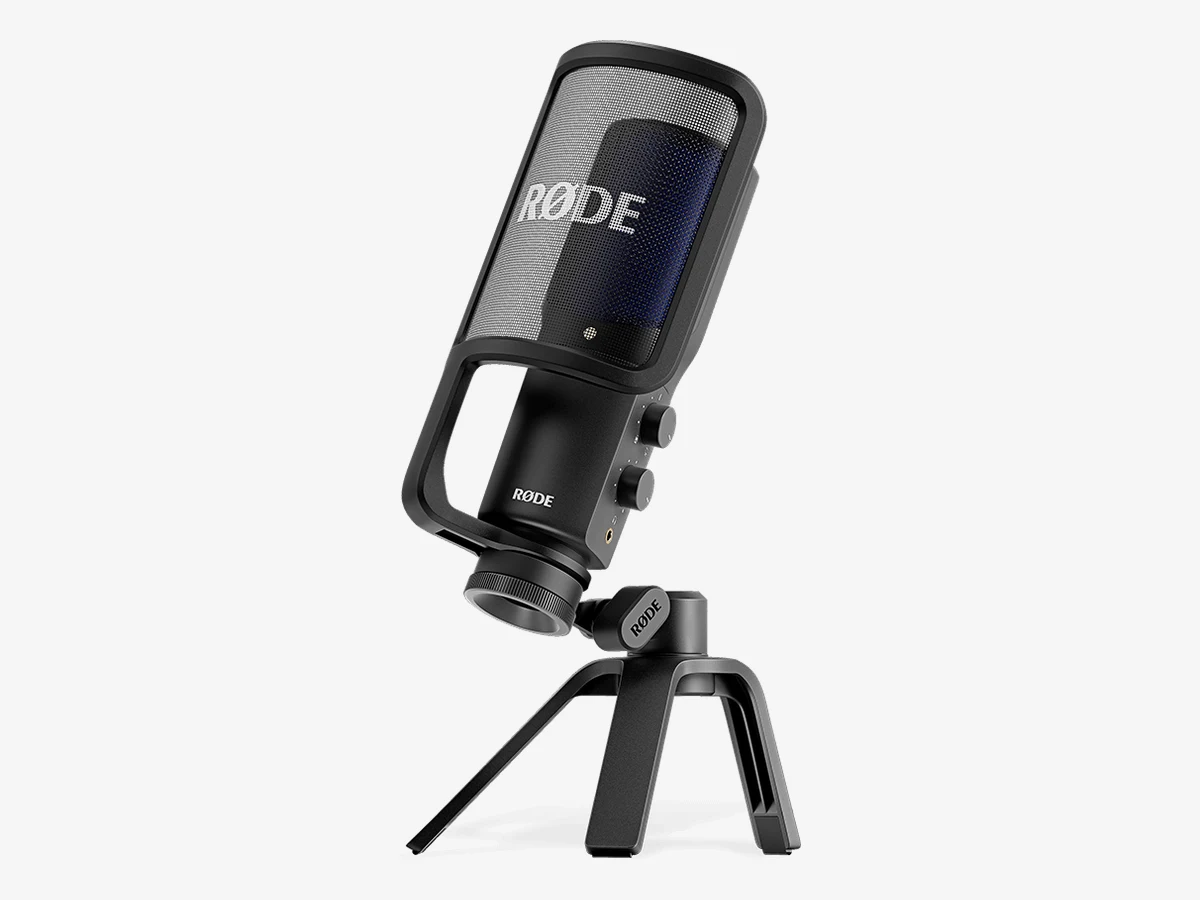
Photo: Rode
4. Rode NT-USB+
The best USB microphone for vlogging voiceover: a condenser with studio-grade detail and built-in processing that makes narration sound polished before you edit a word.
The NT-USB+ is the voiceover pick because it is built for exactly that job. Its large condenser capsule captures the warmth and detail that make narration over b-roll sound professional, and its low-noise preamp keeps the quiet parts of a recording clean instead of hissy. The built-in APHEX processing, switched on through the free Rode apps, adds compression, a noise gate, a high-pass filter, and the Aural Exciter and Big Bottom effects that give a voice broadcast presence. Those settings save to the microphone itself, so they travel with it to any computer.
Everything in the box is there for a reason. The detachable pop filter tames plosives without a separate screen to buy, the desk stand holds the mic steady, and the two dials on the body control headphone volume and the mix between your voice and your computer audio. The headphone jack gives you your own voice back with no delay, which matters when you are recording long narration. For a vlogger whose main desk job is voiceover, this is the mic to beat.
Technical features
- Type: condenser microphone with cardioid pickup pattern
- Connection: USB-C, class-compliant, works with computers, phones, and tablets
- Resolution: 24-bit, 48 kHz
- Processing: APHEX DSP (compressor, noise gate, high-pass filter, Aural Exciter, Big Bottom) via Rode Central, Rode Connect, and Rode Reporter
- Monitoring: 3.5 mm headphone output with zero-latency monitoring and mix control
- Pop filter: detachable pop filter included in the box
- Preamp: Revolution Preamp with low self-noise
- Mount: desktop stand and ring mount included
Pros
- Rich, detailed voiceover sound straight out of the box
- Built-in processing saves editing time on every video
- Pop filter, stand, and cable all included
- Zero-latency headphone monitoring with mix control
- Settings save to the mic and work on any computer
Cons
- Condenser capsule hears room noise, so it needs a quiet room
- No physical gain knob on the mic body; gain is set in software
- Larger than most desk mics, so it takes up real desk space
- USB only, with no XLR output for a later upgrade
Wireless microphones: the freedom pick
A wireless microphone system is a small transmitter clipped to the speaker and a receiver plugged into the camera or phone. The transmitter sits about 20 centimeters from the mouth, so the voice stays loud and clear while traffic, wind, and room echo fall behind it. For walking, travel, and interviews, no other type comes close.
That closeness is the whole argument. Sound falls off fast with distance, so a mic on your collar hears mostly you, while a mic on the camera hears mostly the room. A wireless kit keeps that advantage at any distance the radio link holds, which is why it is the default for walk-and-talk vlogs, street videos, and two-person shoots where the second person stands across the room.
Freedom has running costs. Transmitters need charging, and a dead transmitter ends a shoot the way a dead camera battery does. Pairing usually takes care of itself on modern kits, but a kit with two transmitters and a charging case is one more thing to pack, charge, and keep track of. The clip is also visible on camera, which bothers some vloggers, and a furry windshield is still needed outdoors because wind hits the tiny capsule directly.
Two features separate good wireless kits from average ones. The first is internal backup recording: when the transmitter records its own copy, a dropped radio link costs you nothing, because the clean file is still on the transmitter. The second is 32-bit float recording, which saves takes where a shout clips or a whisper comes in too quiet, since the level can be fixed afterward without distortion. Both are worth paying for if you film unscripted video where nobody does a second take.
For the full ranking, including budget wireless kits and the two-transmitter question, see the dedicated best wireless microphone for vlogging guide.
Shotgun microphones: the on-camera pick
A shotgun microphone mounts in the camera hot shoe and points where the lens points. It is the simplest upgrade in this guide: mount it, plug in the cable, hit record. No batteries, no pairing, no app, and nothing to charge before a shoot.
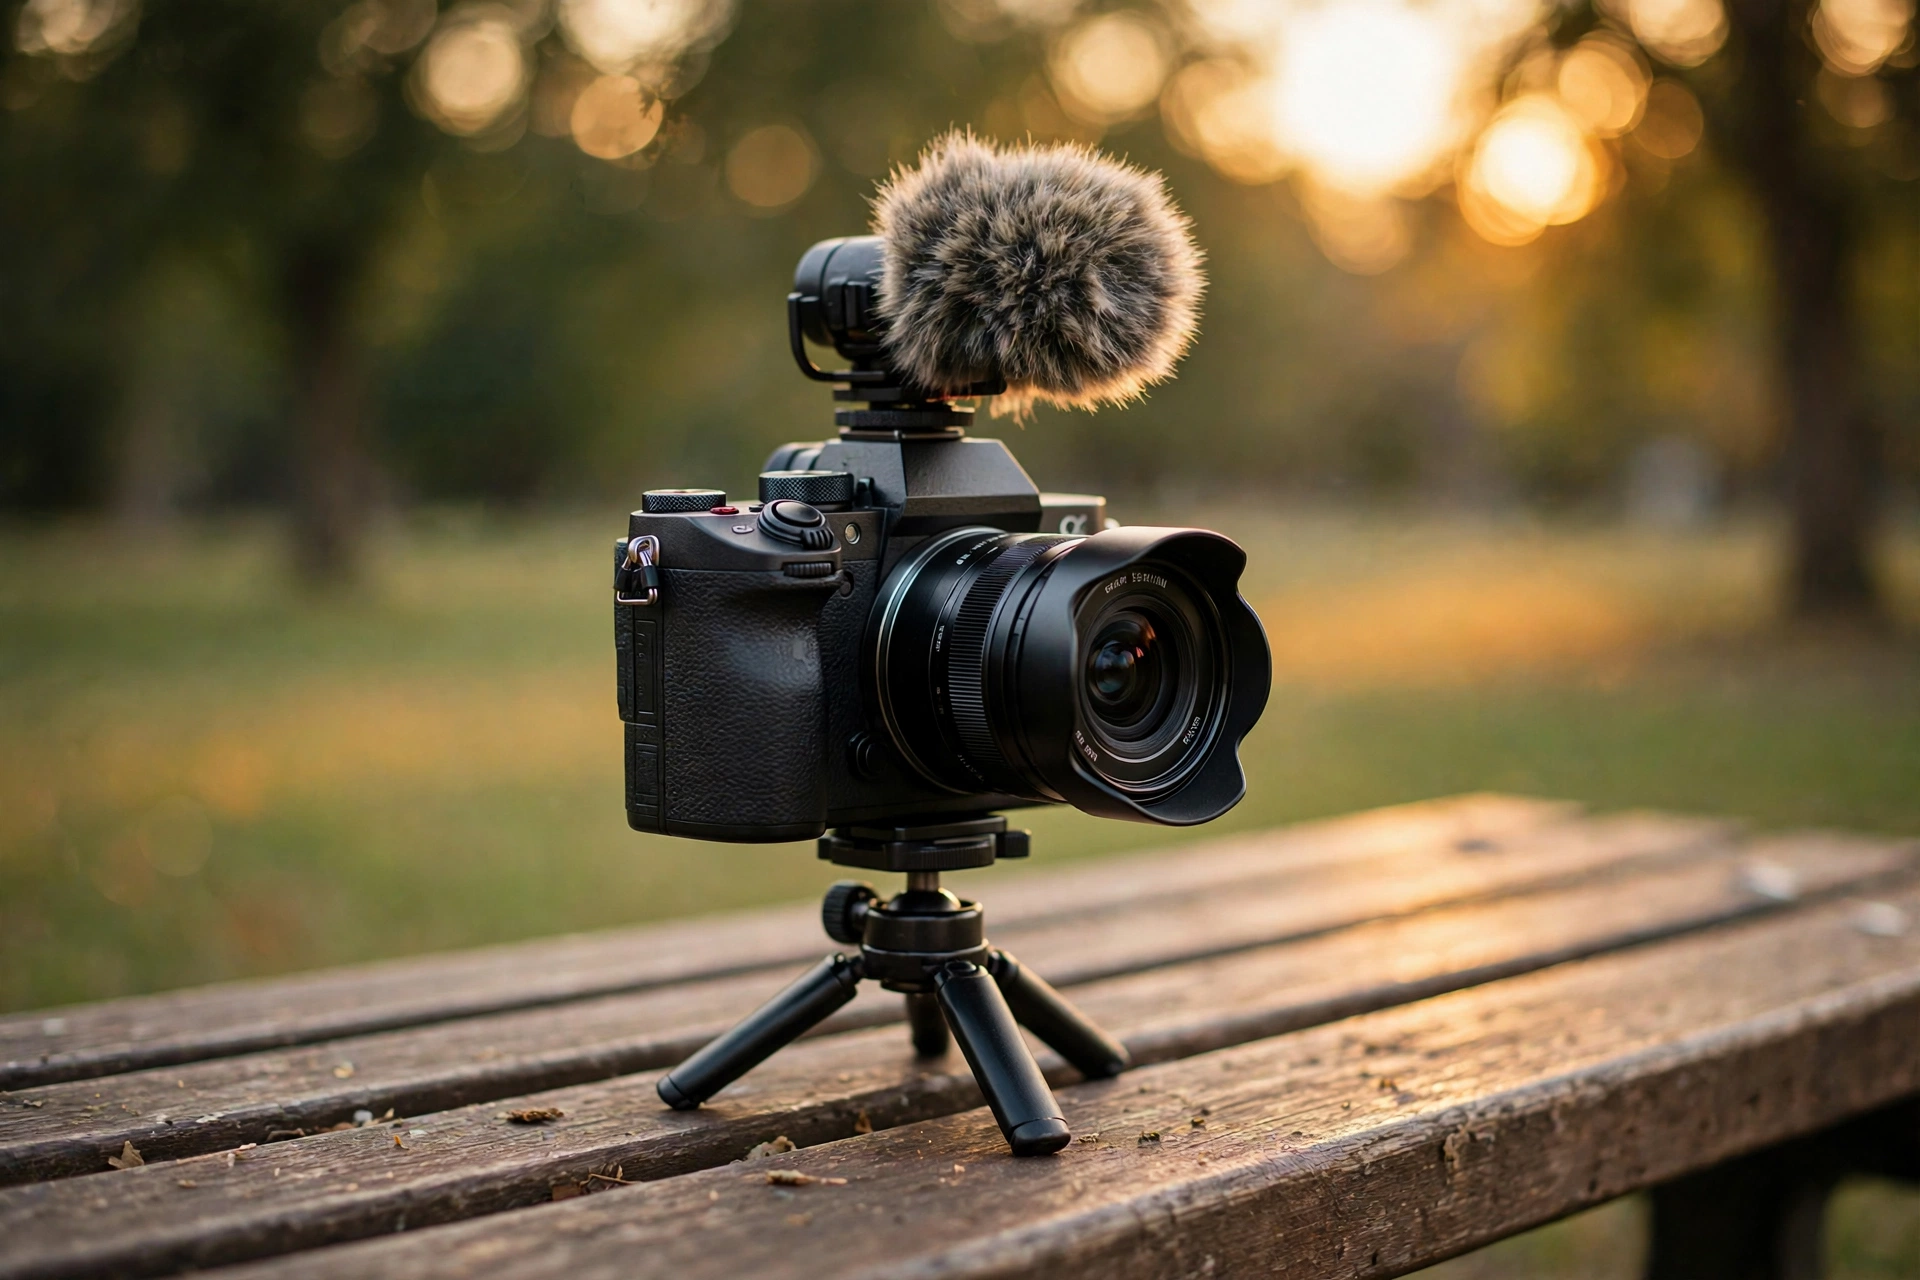
The shotgun pattern is directional. It favors sound coming from in front of the camera and pushes sound from the sides and rear down, which is what makes a voice stand out from a noisy street or a busy room at arm’s length. That direction is also its limit. Past about two meters, the room takes over, same as with every microphone in this guide. A shotgun mic records what the camera frames, so it is excellent for b-roll, cooking, workshops, and narration to camera, and poor for a subject walking away from the lens.
For most vloggers, a shotgun mic is the first external microphone, and often the only one for a long time. It costs less than a wireless kit for similar sound at close range, because no radio, battery, or second unit is involved. The best ones ship with both a foam windshield for indoors and a furry windshield for outdoors, and the furry one is not optional: wind rumble on a bare capsule is not fixable in the edit.
Check two things before buying. First, your camera needs a mic input and plug-in power, since most compact shotgun mics draw power from the camera jack. Second, watch the length: a long mic creeps into a wide shot, while a short one stays out of frame. For the full ranking of ten shotgun mics, from the cheapest honest pick to the pro-grade options, see the dedicated best shotgun microphones for vlogging guide.
Lavalier microphones: the discreet pick
A lavalier microphone, also called a lapel mic, clips to clothing a few inches below the chin and stays close to the mouth no matter where the speaker moves. It is the most discreet type in this guide, and the cheapest way to get clean, consistent voice audio.
The lavalier wins on consistency. Because it rides on the speaker, the distance to the mouth never changes, so the level never changes either. Walk across a room, turn your head, sit down, stand up: the voice stays the same. That steadiness is why interviews, documentaries, and talking-head videos have used lavalier mics for decades, and why a wired lavalier is still the smartest first microphone for a vlogger on a tight budget.
A wired lavalier has one obvious limit: the cable. At around a meter long, it reaches a wireless transmitter on a belt or a camera close by, but not a camera on a tripod across the room. Longer-cable lavaliers exist for exactly that job, and they cost little more. The other things to watch are clothing rustle, which a furry windshield and careful placement fix, and the plug: most lavaliers end in a 3.5mm TRS plug, so a phone needs a TRRS adapter, while a wireless transmitter usually takes the plug directly, and on a transmitter with a locking socket, a locking plug cannot be pulled out mid-take.
The clever part is that a wired lavalier is not a dead end. Plug it into a wireless transmitter and it becomes the microphone of a wireless system, with a smaller capsule hidden under clothing instead of a transmitter box clipped outside it. Many vloggers buy the lavalier first and add the transmitter later. For the full ranking of eight wired lavaliers, see the dedicated best lavalier microphones for vlogging guide.
USB microphones: the desk pick
A USB microphone plugs straight into a computer and needs no audio interface. It is the best-sounding type in this guide for the work that happens at a desk: voiceover over b-roll, talking-head videos, and livestreams. It is also the only type that stays at the desk.
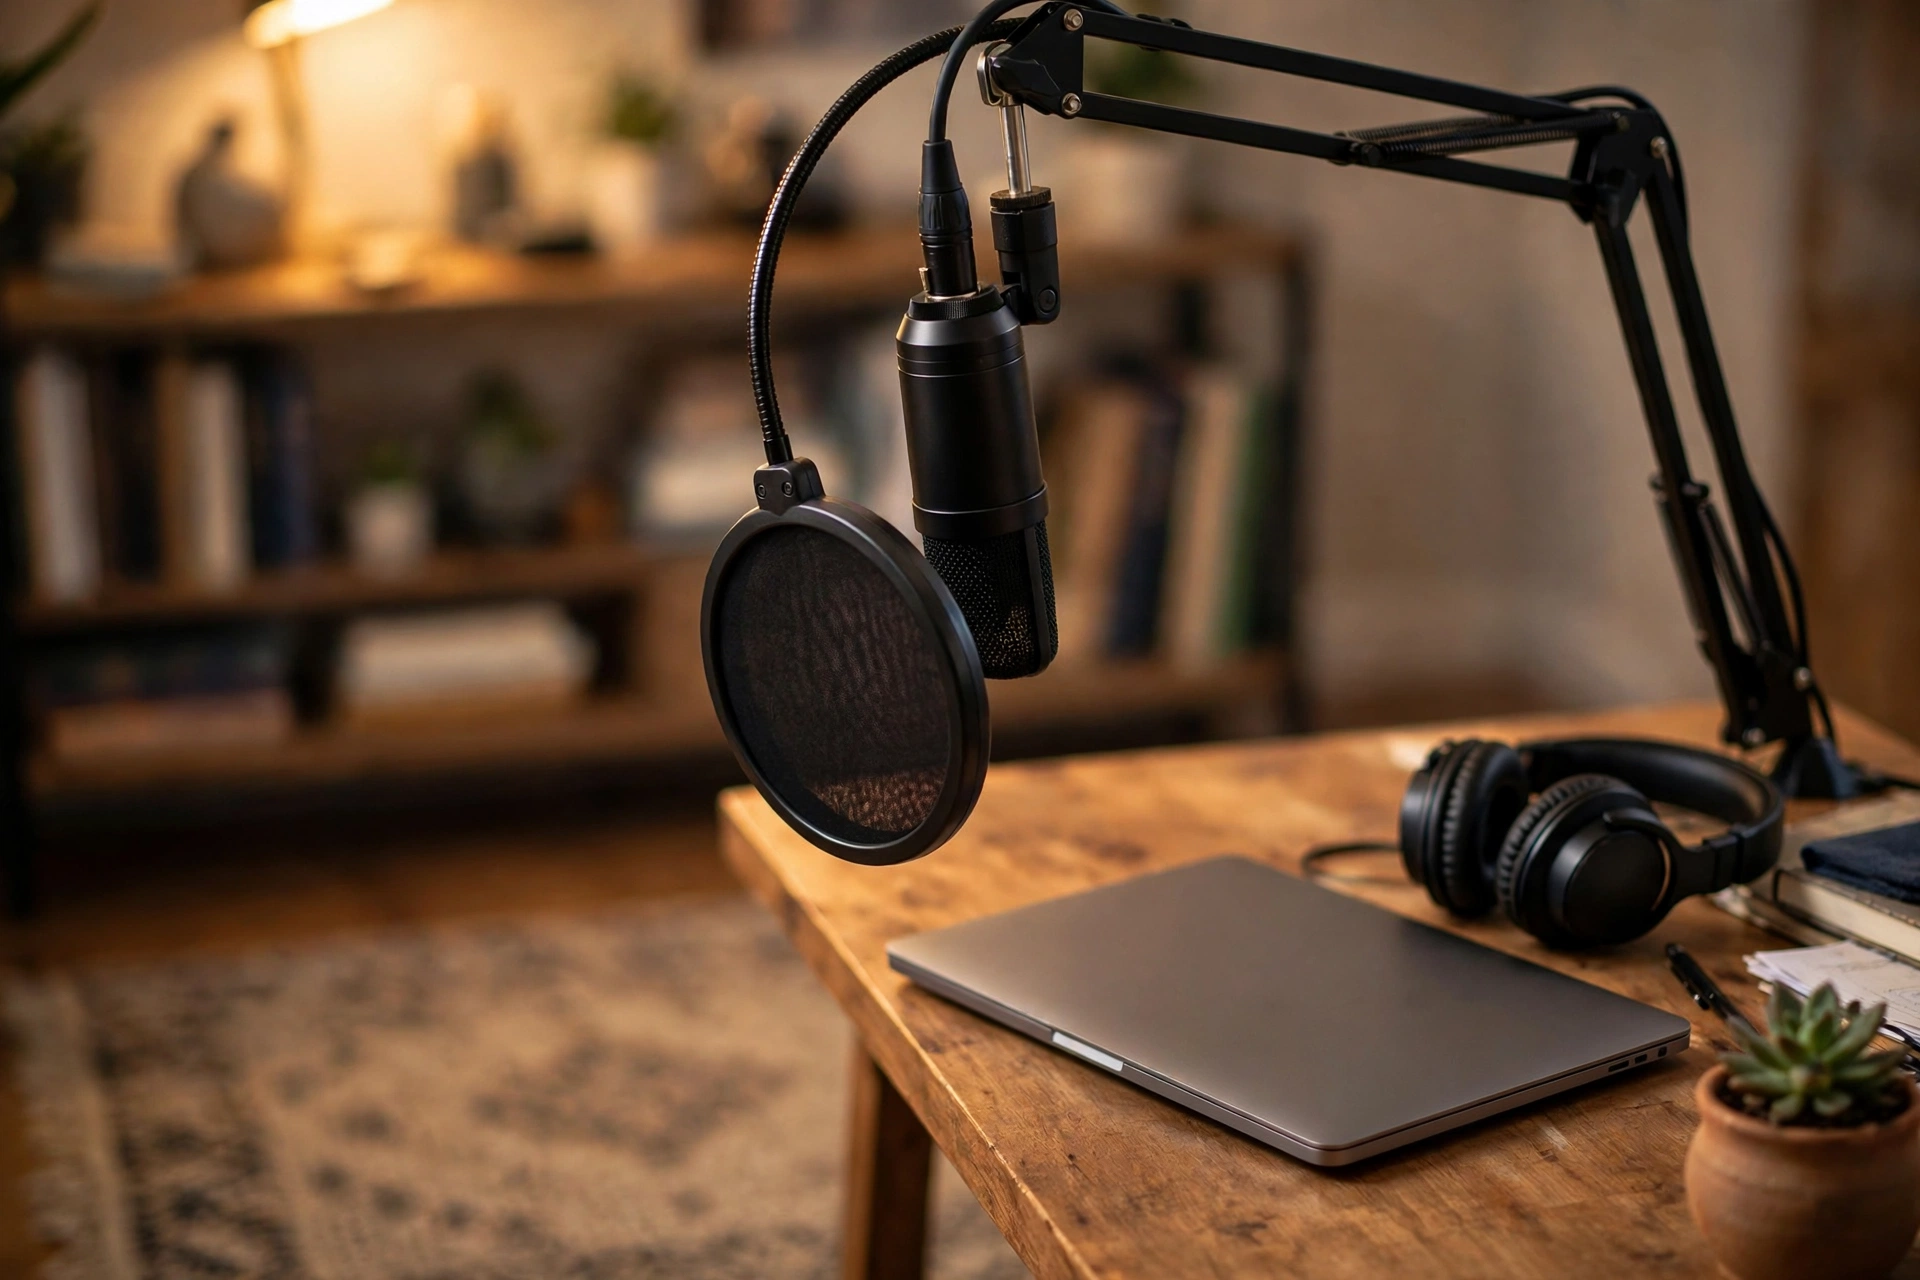
At a desk, a USB mic wins because it can be big. A large condenser capsule captures warmth and detail that a tiny clip-on capsule cannot, and the mic sits a fixed distance from your mouth on a stand or boom arm, so the sound is the same on every take. Many USB mics add a headphone jack for zero-latency monitoring, so you hear your own voice with no delay, and built-in processing that adds compression and a noise gate before the sound reaches your computer.
The capsule type decides the room it suits. A condenser hears fine detail, and also hears the fan, the keyboard, and the echo off bare walls. In a quiet, soft-furnished room that detail sounds rich and professional. In a noisy room it sounds like the room. A dynamic USB mic hears your voice up close and lets the rest of the room fall away, which is the safer buy for a normal room. Whichever capsule you choose, speak close to the mic, within a fist’s distance, and keep it off the desk surface on a stand or arm so knocks and typing do not travel up into the recording.
A USB mic is not a walking mic. It needs a computer, a cable, and a still position, and it has no wind protection. For the full ranking of seven USB microphones, including which one fits a noisy room and which one fits livestreams, see the dedicated best USB microphones for vlogging guide.
Which microphone should you buy?
Answer five questions about how you film, and the type picks itself. Most vloggers only need to answer the first two before the choice is obvious.
- Do you walk while you talk? Yes points to wireless. No points to shotgun or USB.
- Where does the video happen? Outside or on the move points to wireless or shotgun. At a desk points to USB. In interviews points to lavalier or wireless.
- How many voices? One voice fits any type. Two voices need a two-transmitter wireless kit, or two lavaliers into a recorder.
- What do you film on? A camera with a mic input takes any type. A phone needs a USB-C or Lightning receiver, or a mic with a USB-C output. Check the connector before you buy, because an older Lightning-only kit does not work with a USB-C phone.
- How much setup will you tolerate? A shotgun mic takes ten seconds. A wireless kit takes a minute plus charging. A USB mic takes a desk. Be honest here: the mic you actually use beats the mic you leave in a drawer.
| If you mostly film | Buy this type | Start here |
|---|---|---|
| Walking, travel, street vlogs | Wireless | DJI Mic 3 |
| Yourself at arm’s length, b-roll, run-and-gun | Shotgun | Rode VideoMicro II |
| Interviews, hidden mics, tight budgets | Lavalier | Rode Lavalier II |
| Voiceover, talking-head videos, livestreams | USB | Rode NT-USB+ |
If you can only buy one microphone and you film a bit of everything, buy the wireless kit. It performs well in the widest range of situations: it clips to you for talking-head shots, it follows you outside, and it mics a second person for interviews. A shotgun mic is the better single buy only if your camera stays within arm’s reach in nearly every video.
Five things to check before you buy
Run through this list before you order. It catches the mismatches that cause most returns.
- Connector: does the mic plug into your camera or phone as it ships, or does it need an adapter or a different receiver? USB-C, Lightning, and 3.5mm are not interchangeable.
- Power: does it need a battery, plug-in power from the camera, or a USB connection? A shotgun mic that needs plug-in power does not work on a camera that does not supply it.
- Monitoring: can you hear yourself while you record? A headphone jack on the mic or the receiver catches problems during the take instead of after it.
- In the box: are the windshield, cables, and mount included, or sold separately? A cheap mic with a full kit often beats a pricier mic that needs three add-ons. The microphone patterns and placement guide explains how pickup patterns change what a mic hears, which matters when you compare two mics in the same type.
- Second voice: will you ever film with another person? A single-transmitter kit cannot mic two people. Two-transmitter kits cost more up front and save a second purchase later.
Phone vlogging and live streaming: two special cases
Two kinds of vlogging bend the rules in this guide. Phone vlogging changes the connector, and live streaming changes what the microphone has to do while you record.
On a phone, the connector is the first question, not the last. A wireless kit with a USB-C receiver plugs straight into a current iPhone or Android phone, while an older Lightning-only kit does not fit at all. Some shotgun mics now carry a USB-C output too, so the same mic works on a camera and a phone. The dedicated best microphones for phone vlogging guide ranks six phone-first picks, including the smallest wireless kits made for vertical video.
Live streaming adds three demands: the mic must mix several sound sources, mute fast when something goes wrong, and keep working for hours without a battery worry. Desk USB mics with built-in mixers fit that job, and a wireless kit is the pick when the stream leaves the desk. The dedicated best microphone for live streaming guide ranks eight picks for streamers, from desk dynamics to wireless kits.
Set up your first vlogging mic in 10 minutes
Most bad vlog audio is not a bad microphone. It is a good microphone set up wrong. This ten-minute routine fixes the common setup errors before your first real shoot.
- Mount it and plug it in. Seat the mic firmly in the hot shoe or clip it to your shirt, then push the plug all the way home. A half-seated plug is the most common cause of dead audio.
- Set the level with your real voice. Talk at your normal volume, at your normal distance, and watch the meter. Aim for peaks around the middle of the scale, with headroom above them. A level set on a whisper clips on a laugh.
- Record a 30-second test clip. Film yourself walking the route you plan to shoot, then play it back on headphones. Listen for wind, rustle, hum, and echo before the real take, not after it.
- Fit wind protection before you go outside. Foam indoors, furry outdoors. Put it on before you leave, because wind rumble cannot be removed in the edit.
- Check the battery and the recording. Charge wireless transmitters the night before, and confirm the camera is actually recording audio, not just video. A silent take looks fine until playback.
- Clap once at the start. If you record sound on a separate device, a single clap gives you a sharp spike to line the audio up with the picture. The dedicated how to sync external audio with video guide walks through the whole workflow.
Do the test clip every time you change location. A quiet room and a windy street need different levels, different wind protection, and sometimes a different microphone. The test clip is free. A ruined take is not.
Seven mistakes that ruin vlog audio
These seven errors show up in vlogs at every budget. Each one is cheap to fix, and each one costs more in lost viewers than a new microphone would.
- Filming too far from the mic. Doubling the distance between mouth and mic roughly quarters the ratio of voice to room. Step closer before you buy anything.
- Trusting the camera meter alone. A meter shows level, not quality. Wind, rustle, and echo all meter fine. Only headphones tell you what the recording actually sounds like.
- Skipping wind protection outdoors. A bare capsule in wind records low rumble that no filter removes cleanly. The furry windshield costs little and saves takes.
- Recording in an empty room. Bare walls, hard floors, and empty corners echo. A rug, curtains, books, or soft furniture tame the echo more than any microphone upgrade does.
- Letting noise canceling do the work. Noise canceling helps in a pinch, but strong processing thins the voice. Fix the sound at the source first, and treat processing as a last resort.
- Forgetting to charge. A wireless transmitter dies mid-sentence with no warning you can hear on camera. Charge the night before, and carry the case.
- Buying on range and battery claims alone. Quoted range assumes a clear line of sight, and quoted battery life assumes a fresh unit in mild conditions. Real streets, walls, and cold weather cut both. The dedicated how to record better vlog audio guide covers room treatment and level setting in more depth.
Frequently asked questions
Short answers to the questions vloggers ask most about microphones, from which type to buy first to whether one microphone is enough.
What is the best microphone for vlogging?
The best microphone for vlogging for most vloggers is a wireless kit, and the best wireless pick is the DJI Mic 3, because it follows you anywhere and keeps the mic close to your mouth. But the right type depends on how you shoot: arm’s length filming points to the Rode VideoMicro II shotgun mic, interviews point to the Rode Lavalier II, and desk work points to the Rode NT-USB+ USB mic.
Do I need a wireless mic for vlogging, or will a shotgun mic do?
A shotgun mic does the job if you stay close to your camera and do not move much. Go wireless if you walk around, shoot at a distance, or want the mic close to your mouth while the camera stays back. Movement is the deciding factor, not budget.
Is a lavalier microphone better than a shotgun microphone?
For consistency, yes. A lavalier rides on the speaker, so the level stays the same wherever they move, while a shotgun mic hears more room as the distance grows. For simplicity, no: a shotgun mic mounts on the camera and needs no cable to the speaker. Interviews favor the lavalier, and run-and-gun filming favors the shotgun.
Can I use a USB microphone for vlogging outside?
No, not well. A USB microphone needs a computer, a cable, and a still position, and it has no wind protection. Walking with one gives you handling noise, cable noise, and wind noise. For walking, travel, and anything outside, use a wireless lavalier kit that clips to the speaker, or an on-camera shotgun microphone with a wind cover. The USB mic stays on the desk.
What microphone do I need for vlogging on my phone?
A wireless kit with a receiver that matches your phone port: USB-C for current iPhones and Android phones, Lightning for older iPhones. Check the receiver in the box before you buy, because a kit with the wrong receiver does not work at all. Small shotgun mics with a USB-C output also work well on phones.
Do I need two microphones, or is one enough?
One is enough to start. Most vloggers add a second type later, usually a USB mic for desk work after buying a wireless kit for filming outside, or the other way around. Buy the type that fits the videos you shoot most, and add the second type when your videos start asking for it.
Why does my vlog audio sound echoey even with an external mic?
Echo comes from the room, not the microphone. Bare walls and hard floors bounce your voice back into the mic a fraction of a second late. Move closer to the mic, add soft furnishings like a rug or curtains, and record away from bare walls. A dynamic mic also helps, because it hears less of the room than a condenser does.
Do I need a furry windshield, or is the foam one enough?
Foam is enough indoors and in still air. Outdoors you need the furry windshield, often called a deadcat: it breaks up wind before it reaches the capsule, while foam alone lets low rumble through. Wind rumble is not fixable in the edit, so fit the furry cover before you step outside.
This guide is research-based curation: we compared manufacturer specifications, published reviews, and current prices. Read how we choose.
Keep exploring
Good audio is only half the vlog. Here is the rest of the kit, from the camera to the edit.
- Best Vlogging Cameras
- Best Wireless Microphone for Vlogging
- Best Shotgun Microphones for Vlogging
- Best Lavalier Microphones for Vlogging
- Best USB Microphones for Vlogging
- Best Microphones for Phone Vlogging
- Best Microphone for Live Streaming
- How to Record Better Audio for Vlogs
- Microphone Patterns and Placement